manuals.online logo
Brands
  1. Home
  2. •
  3. Brands
  4. •
  5. ARTESYN EMBEDDED TECHNOLOGIES
  6. •
  7. Motherboard
  8. •
  9. ARTESYN EMBEDDED TECHNOLOGIES ATCA-7350 User manual

ARTESYN EMBEDDED TECHNOLOGIES ATCA-7350 User manual

ATCA-7350
Quick Start Guide
P/N:6806800H72C (August 2014)
When installing or servicing the
module or accessories, strictly
observe the safety precautions in
the Safety Notes Summary. Other-
wise, personal injury or property
damage may occur.
Make sure you receive all items of your
shipment:
• One ATCA-7350 blade
• One RTM-ATCA-7350
• One printed copy of Quick Start Guide
(this document)
• One printed copy of Safety Notes Sum-
mary
• Any other optional items that you
ordered
1What’s in the box?
Observe ESD-safe
measures
• Use either a properly grounded ESD wrist
strap or make sure that you are working
in an ESD-safe environment.
• Connect your ESD wrist strap to the ESD
connector at the front or the rear of the
system.
2
Checking Installation
environment
• Leave enough space around the cab-
inet. Prevent air blocking of fans and
provide controlled ambient air at
shelf air-inlet to ensure sufficient air-
flow and appropriate heat exchange
in the shelf.
• Consider heat dissipation when you
choose slots to install blades. If the
shelf is not fully configured, install
the blades in scattered slots. Unoc-
cupied slots must be protected with
• appropriate blank filler blades to
prevent air leaks.
3
Installation of
RTM-ATCA-7350
4
The following procedure describes the
installation of RTM-ATCA-7350. It
assumes that your system is powered on.
If your system is powered off, you can dis-
regard the blue LED and thus skip the
respective step. In this case it is a purely
mechanical installation.
1. Wear the ESD-preventive wrist strap.
2. Take RTM-ATCA-7350 out of the anti-
static package.
3. Fully open the upper and lower ejector
handles of the RTM.
4. Align the upper and lower sides of
RTMATCA-7350 with the guide rails
(the edges of the slot). Slide RTM-
ATCA-7350 along the guide rails until
the positioning pins of RTMATCA- 7350
are inserted in the positioning
5. holes in the shelf. The LEDs; OOS LED,
Blue LED, and healthy LED are on.
6. Make sure that the handles are in the
open position.
ATCA-7350-Quick Start Guide
Artesyn Embedded Technologies
Marketing Communications
2900 S. Diablo Way, Suite 190
Tempe, Arizona 85282
Artesyn Embedded Technologies
Lilienthalstr. 17-19
85579 Neubiberg/Munich
Germany
Finding more information
For more information on the product, see
the ATCA-7350 Installation and Use and
other related documentation.
Visit our Web site http://www.arte-
syn.com/computing. Use SUPPORT>TECH-
NICAL DOCUMENTATION link to look for
technical documentation.
Technical Assistance
To request technical assistance, visit our
Web site http://www.artesyn.com
Install ATCA-7350
Power on the blade
Close the upper and lower ejector handles.
The HOTSWAP LED blinks at the short blink
rate. The OOS and IS LEDs blink for 10 times
at the same time. When the OOS is on (red)
and the HOTSWAP LED is off, the ATCA-
7350 is powered on properly.
6
The following procedure describes the
installation of the blade. It assumes that
your system is powered. If your system is
unpowered, you can disregard the blue LED
and thus skip the respective step. In this
case it is a purely mechanical installation.
1. Wear the ESD-preventive wrist strap.
2. Take the ATCA-7350 out of the antistat-
icpackage.
3. Fully open the upper and lower ejector
handles.
4. Slide the ATCA-7350 along the guide rails
until the positioning pins of the ATCA-
7350 are inserted in the positioning
holes in the shelf.
5. Make sure that the upper and lower ejec-
tor handles are attached to the beam
properly.
6. On the RTM:Make sure that the ejector
handles are fastened to the beam. Close
the upper and lower ejector handles
inwards until the inner sides of the ejec-
tor handles are attached to the face
plate.
7. Use the screwdriver to fasten the captive
screws clockwise to fix RTM-ATCA-7350.
The LEDs of the RTM are off now.
8. Close the handles of the front blades.
55
9. Wait until the blue LED on the RTM is
OFF. A switched off blue LED indicates
that the payload of the RTM has become
active.
10.User the screwdriver to clockwise fasten
the screws to fix the ATCA-7350.
11.Connect the respective cables.
Install ATCA-7350(Contd...)
Other ARTESYN EMBEDDED TECHNOLOGIES Motherboard manuals

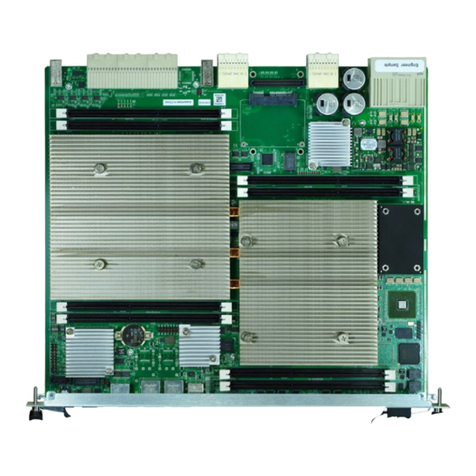
ARTESYN EMBEDDED TECHNOLOGIES ATCA-7370 User manual

ARTESYN EMBEDDED TECHNOLOGIES

ARTESYN EMBEDDED TECHNOLOGIES ATCA-7370 User manual

ARTESYN EMBEDDED TECHNOLOGIES ATCA-7370 Quick start guide

ARTESYN EMBEDDED TECHNOLOGIES

ARTESYN EMBEDDED TECHNOLOGIES ATCA-7370 Quick start guide

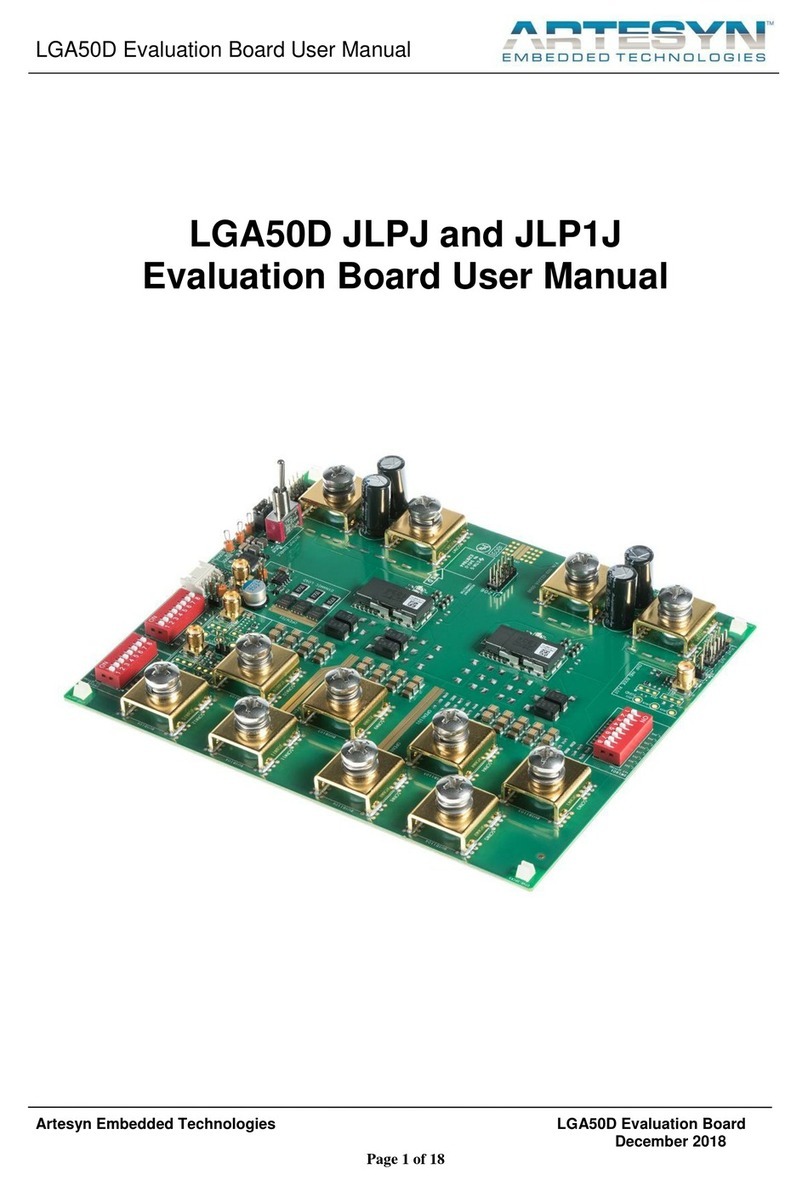
ARTESYN EMBEDDED TECHNOLOGIES LGA50D JLPJ User manual

ARTESYN EMBEDDED TECHNOLOGIES

ARTESYN EMBEDDED TECHNOLOGIES LGA50D JLPJ User manual

ARTESYN EMBEDDED TECHNOLOGIES MVME7100ET User manual

ARTESYN EMBEDDED TECHNOLOGIES

ARTESYN EMBEDDED TECHNOLOGIES MVME7100ET User manual

Popular Motherboard manuals by other brands

Asus A7A266 user manual

Asus

Asus A7A266 user manual

OLIMEX PIC32-PINGUINO-MX220 user manual

OLIMEX

OLIMEX PIC32-PINGUINO-MX220 user manual

Renesas ZMOD4510-EVK user manual

Renesas

Renesas ZMOD4510-EVK user manual

Asus TX97-XE user manual

Asus

Asus TX97-XE user manual

DFI SB331-IPM user manual

DFI

DFI SB331-IPM user manual

ASROCK ALIVENF7G-GLAN installation guide

ASROCK

ASROCK ALIVENF7G-GLAN installation guide

Intersil ISL6296 Application note

Intersil

Intersil ISL6296 Application note

DFI CS30-TC user manual

DFI

DFI CS30-TC user manual

Intel DQ67OW Product guide

Intel

Intel DQ67OW Product guide

Aries Embedded M100PFEVP Hardware manual

Aries Embedded

Aries Embedded M100PFEVP Hardware manual

Infineon LITIX Linear TLE4242G manual

Infineon

Infineon LITIX Linear TLE4242G manual

SIMCom Wireless Solutions SIM5320AL EVB user guide

SIMCom Wireless Solutions

SIMCom Wireless Solutions SIM5320AL EVB user guide

ASROCK A55M-VS Quick installation guide

ASROCK

ASROCK A55M-VS Quick installation guide

ACube Systems Sam440ep-flex user guide

ACube Systems

ACube Systems Sam440ep-flex user guide

onsemi Ezairo 7160 SL Getting started guide

onsemi

onsemi Ezairo 7160 SL Getting started guide

Supermicro X10DAL-i user manual

Supermicro

Supermicro X10DAL-i user manual

Seco SECOCQ7-mITX2.0 user manual

Seco

Seco SECOCQ7-mITX2.0 user manual

AOpen AX45S-533 Online manual

AOpen

AOpen AX45S-533 Online manual

manuals.online logo
manuals.online logoBrands
  • About & Mission
  • Contact us
  • Privacy Policy
  • Terms and Conditions

Copyright 2025 Manuals.Online. All Rights Reserved.