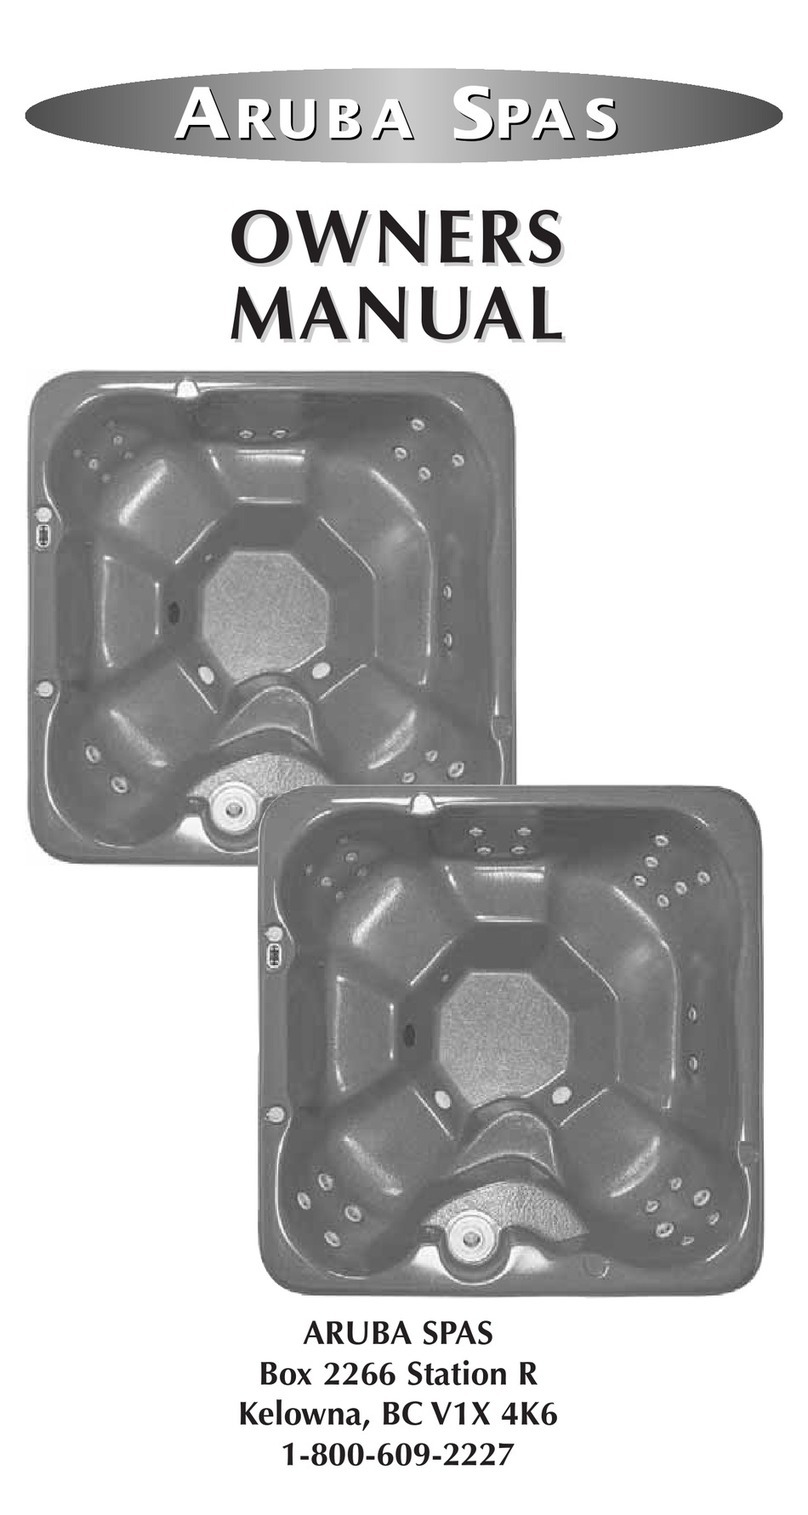
Aruba Spa Hot Tub Models 2003 User manual

OWNERS
OWNERS
MANUAL
MANUAL
ARUBA SPAS
Box 2266 Station R
Kelowna, BC V1X 4K6
1-800-609-2227

1
INTRODUCTION
INTRODUCTION
Dear
Dear Ar
Aruba Customer
uba Customer,
,
Thank you for purchasing an
Aruba Spa. At Aruba Spas
our philosophy is simple,
build the best spa, back it
with an excellent warranty
and with comprehensive cus-
tomer service. The 2004
Aruba Spa includes many
features, which are designed
to ensure that your spa is
dependable and simple to
operate. This manual will
guide you
through the
set-up,
installation
and start-
up of your
new spa. It
will explain
how to
operate and
care for
your spa.
We believe
reading this
entire
owner’s
manual is
the simplest
way to ensure the full enjoy-
ment of your new Aruba Spa.
It is most important that you
read and follow the safety
instructions included in this
manual. You should become
familiar with all of the safety
guidelines listed in this man-
ual and make sure you fol-
low them while using your
spa.
At Aruba what we know
how to do best is build spas.
We have learned that quality
through simplicity is the best
way to build a spa. We
believe that knowing how
your spa is built will make
installing and operating it
easier, so the first part of this
manual explains how your
spa is built. Please take the
time to read this section of
your owner’s manual.
It is important that you keep
this manual for reference
purposes.
We have
tried to
make sure
this manual
includes all
the infor-
mation you
will need
about your
spa.
If you have
any further
questions or
need addi-
tional infor-
mation
please call one of our cus-
tomer service repre-senta-
tives at 1-800-609-2227. We
are certain that you will find
owning an Aruba Spa as
relaxing as using it.
The highlighted terms are
used throughout this manual
to indicate facts that are par-
ticularly important for your
safety, and for maintaining
your spa in good working
order.
HAZARD
Denotes risk of personal
injury.
WARNING
Denotes a circumstance
that could cause personal
injury or a circumstance
where damage to the spa’s
surface, structure or equip-
ment could occur.
IMPORTANT
Denotes extremely important
information.

2
HOW
HOW YOUR ARUBA
YOUR ARUBA SP
SPA
AIS BUIL
IS BUILT
T
At Aruba, building spas is our passion. We believe that qual-
ity through simplicity is the best way to build a spa. Over
the years we have refined our spa construction process to
achieve the best results. We are proud of the results that we
have achieved using the methods described below and hope
that knowing how your spa is made will make installing and
operating it easier.
The building process starts with the shell of the spa. At
Aruba Spas we use the thickest acrylic sheet available. Using
a thicker acrylic sheet is important because the spa shell is
formed by placing a heated acrylic sheet over a vacuum-for-
mer, which molds it into the shape of the spa. As the acrylic
sheet is formed it stretches and thins. Using a thicker acrylic
sheet ensures a stronger and more durable surface.
Fiberglass backing is then applied to provide structural sup-
port for the acrylic shell. A triple bond system is used to
ensure a complete bond is formed between the acrylic spa
shell and the fiberglass structural support. A unique type of
resin is applied as a skin coat to the outside surface of the spa
shell. This skin coat is then backed by an additional layer of
fiberglass reinforced resin. The skin coat forms a chemical
bond between the acrylic spa shell and the fiberglass struc-
tural support. This triple bond system ensures the long last-
ing integrity of both the spa shell and spa surface.
After fiberglassing, the holes for the jets are precision drilled
through the spa shell. The rough surface of the fiberglass
backing around the holes is then machined and smoothed.
We take this extra step in manufacturing to ensure the jets
seat against a smooth surface for a tight fit and seal.
The plumbing system is then installed and lines are attached
to each of the jets. A manifold is installed at each junction
between the main plumbing line and the lines leading to the
jets. Running a short line from the manifold directly beneath
the jets provides the best water pressure and allows the jets
to operate at their full capacity. Once the spa is plumbed it is
water tested as part of our quality inspection process to
ensure that there are no leaks.
The spa shell is then lowered into the framed cabinet or “spa
skirt”. At Aruba Spas we use this innovative process to
ensure the structural integrity of our spas. Wooden supports

3
are then custom fitted by hand to the areas underneath the
seats and stairs to provide additional strength to these areas.
This process recognizes that every spa is not identical and
ensures individual inspection and custom fitting of each spa.
The spa shell is then insulated with 2 LB closed cell foam. As
Aruba Spas are made in Canada we know Canadian weath-
er conditions. With this in mind we use enough insulation to
get the maximum obtainable R factor from our insulating
foam. The use of closed cell foam ensures that water cannot
be absorbed into the insulation. The insulation also locks all
supports into place and secures the spa to the spa frame.
The electronic operating system, which controls the heating,
filtration and lighting systems is then installed and pre-test-
ed in our factory. We have selected a well designed operat-
ing system that is easy to use and features a number of ener-
gy-saving options.
The final touch to the spa is the attractive spa skirt with
removable corners and side panels fitted onto the frame to
allow easy access to all plumbing. The spa skirt is made
from solid tongue-in groove, red cedar and is designed to use
shorter lengths of wood that may otherwise not have been
utilized. We only use wood that has been harvested from
select-cut forests using environmentally responsible tech-
niques.
GETTING ST
GETTING STARTED
ARTED
Your spa comes complete with the following items:
• Aruba Spa Owner’s Manual
• 50 amp GFCI Breaker
• Instructional DVD/Video
•Tapered Grey Spa Cover with locks and Spa Cover
Limited Warranty.
• Aqua Flo Flow-Master Owners Manual
• Aruba Spas Limited Warranty Registration
• Allen Key
Please check to make sure you have received all these items.
In addition, if you have ordered any extra accessories please
check to make sure that they have been included with your
spa.

4
TOOLS REQUIRED FOR INSTALLATION
• Voltmeter
• Ammeter
• Ohmmeter
• Screwdrivers (Phillips & flat head)
• 2 wire restrainers
• Wire cutters
• Wire strippers
• #6 AWG 3 wire (plus ground)
ITEMS REQUIRED FOR THE
INSTALLATION OF YOUR SPA
• At least four people are required at time of delivery to
place your spa into position.
• 220 Volt Electrical Service
• An Electrician to do the electrical connection.
• 50 Amp GFCI circuit breaker (included with your spa, see
page 8)
• An Allen Key to open and remove the access panel. (sup-
plied by Aruba Spas)
This manual suits for next models
1
Table of contents
Other Aruba Spa Hot Tub manuals
Popular Hot Tub manuals by other brands

CalderaSpas
CalderaSpas CalderaSpas Utopia Series owner's manual

anko
anko SS-601A user manual

CalderaSpas
CalderaSpas CANTABRIA owner's manual

Dimension One Spas
Dimension One Spas HYDRO SPORT Installation and owner's guide

Bestway
Bestway Lay-Z-Spa Maldives HydroJet Pro manual

Dimension One Spas
Dimension One Spas Nautilus Specifications