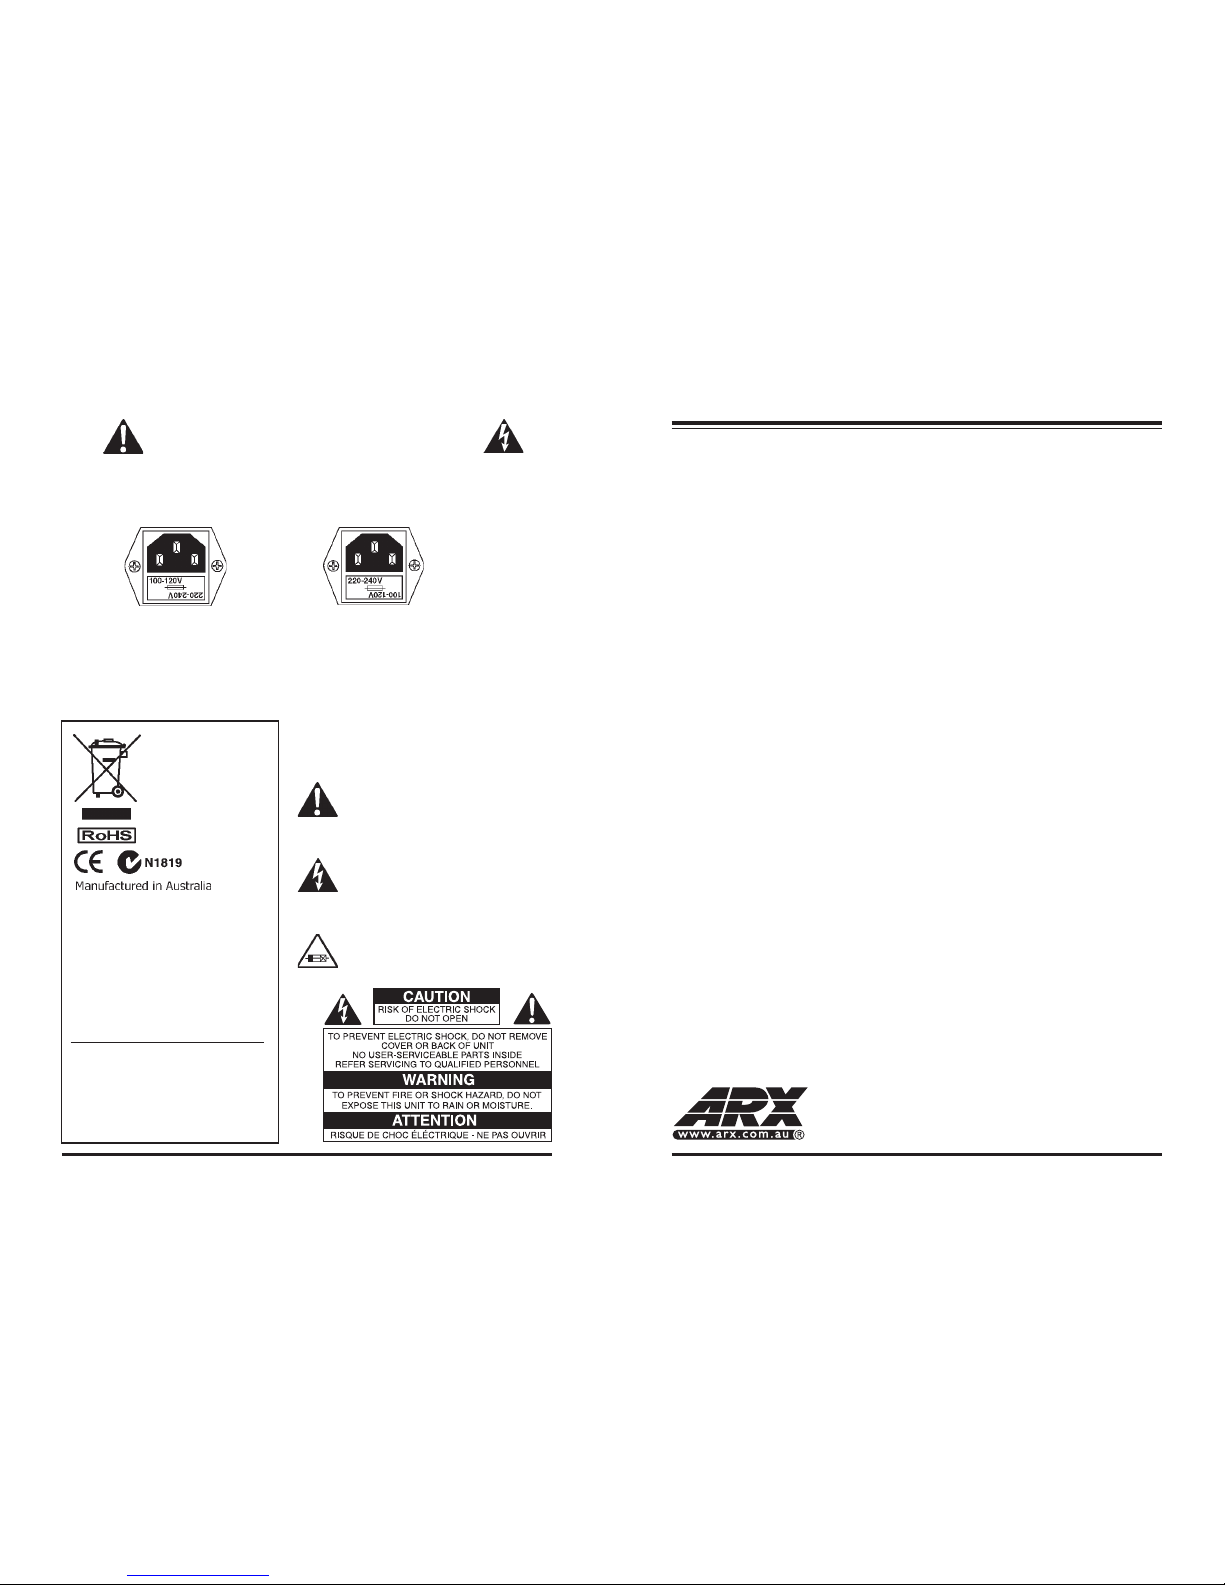
MaxiMIX Owner's Manual v 3.0 CE ©2010 ARX® MaxiMIX Owner's Manual v 3.0 CE ©2010 ARX®
InstallerTMSeries
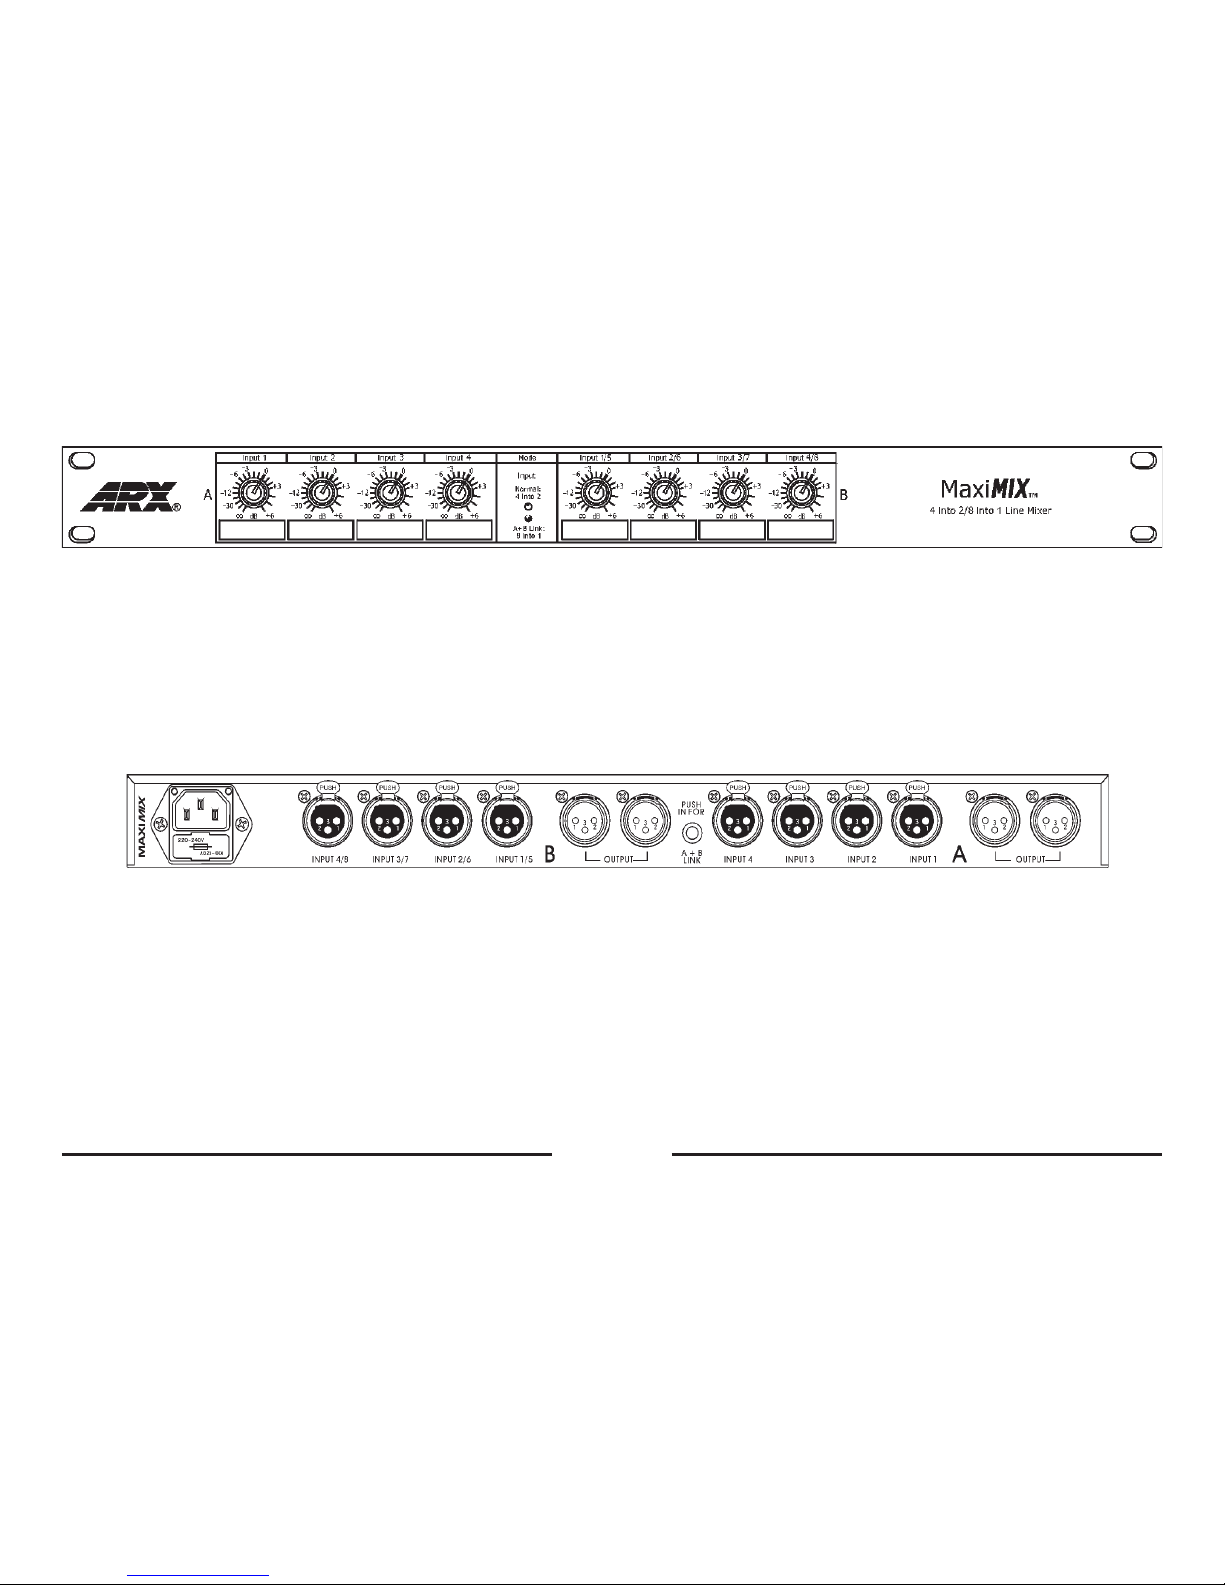
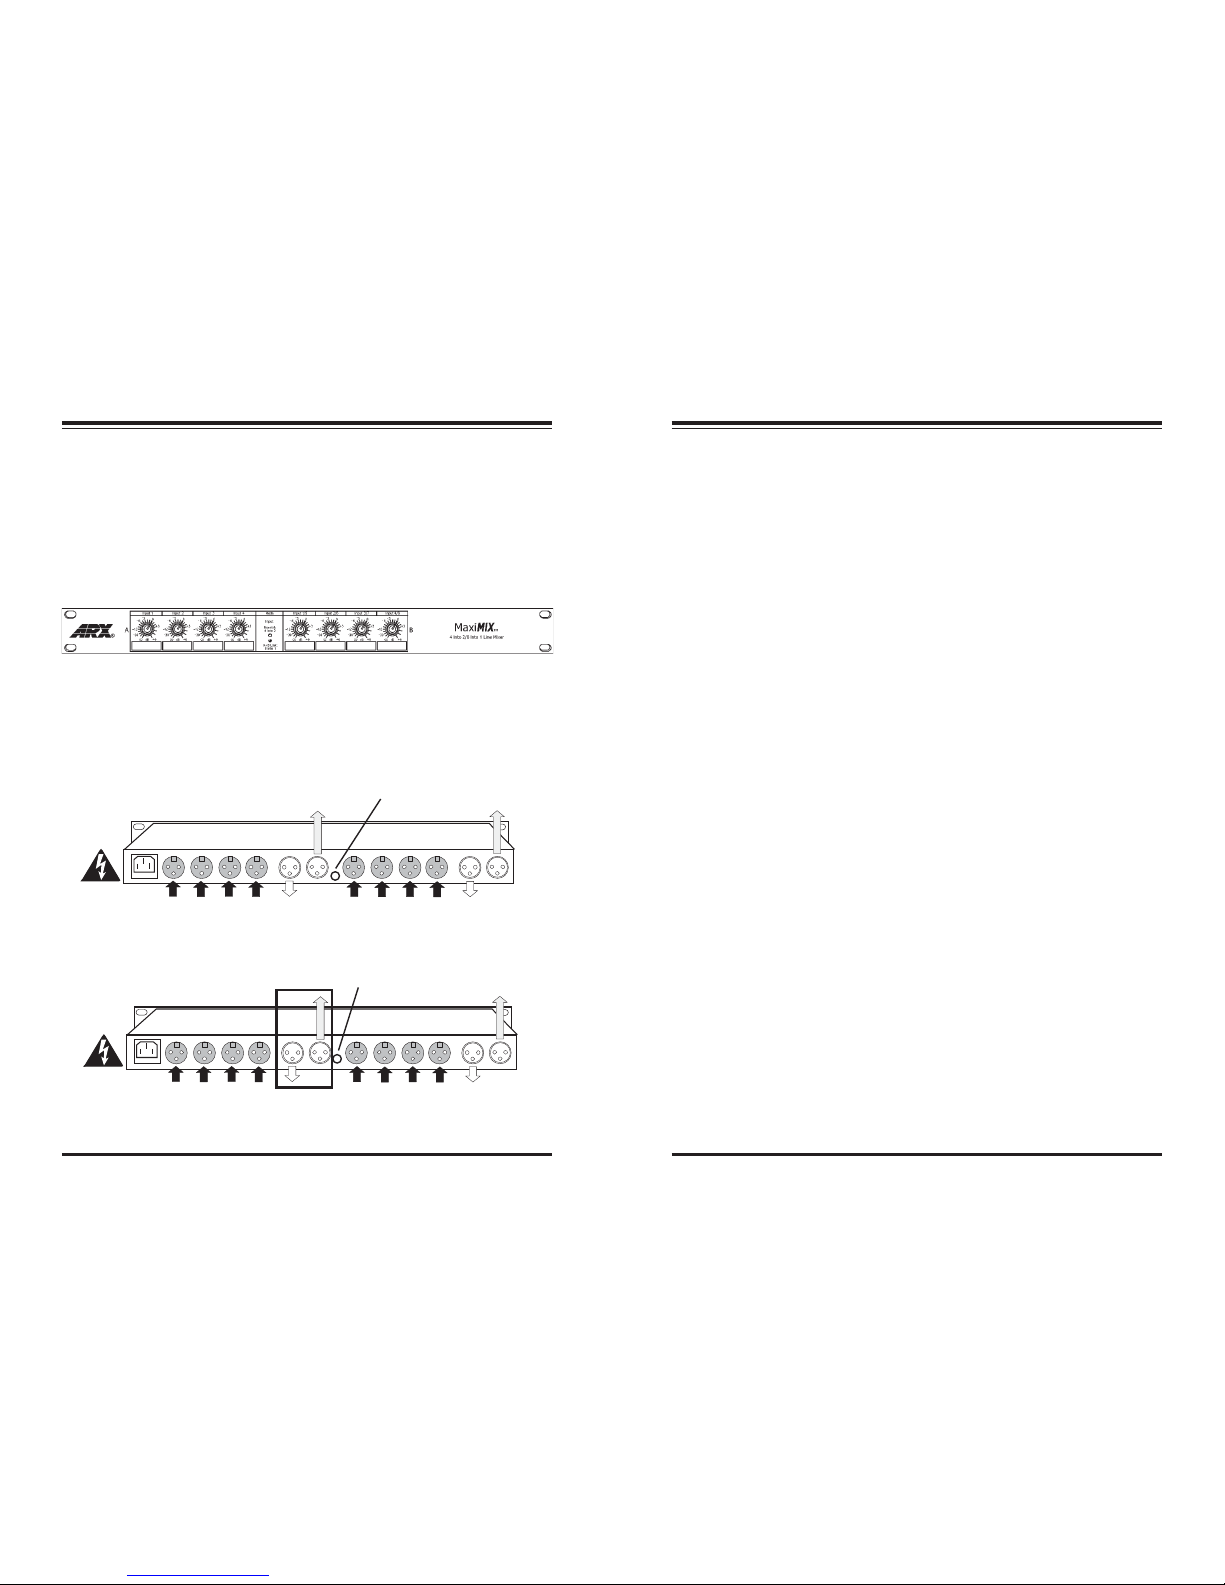
MaxiMIX
OWNER’S
MANUAL
ARX Systems Pty Ltd, PO Box 15,
Moorabbin, Victoria 3189, Australia
Phone: (03) 9555 7859 Fax: (03) 9555 6747
International Fax: +61-3 -9555 6747
On the Web: www.arx.com.au
8
Warranty Service Procedure
Should it become necessary to have your equipment serviced under the terms of the
warranty, please follow these steps:
1. Call your ARX distributor for a Return Authorization (RA) number;
2. Carefully repack the unit, in its original packaging where possible, including a note
with a description of the problem, and a copy of the receipt showing date of
purchase. Attach these to the actual unit itself. Don’t forget to write your name and
address clearly, and include a phone number where you can be contacted during
normal business hours. Make it easy for our service technicians to contact you if
they have a question. Also, use plenty of packing material - better to be safe than
sorry.
3. Send the unit freight prepaid to ARX Systems, at the address given you with your
RA number. We will pay the return freight when the serviced unit is returned to you.
4. We strongly recommend you insure the package. We can’t fix it if it gets lost! Send it
by UPS, Fedex, DHL or any similar service that can track the package. Parcel Post
is not recommended
If Warranty Registration Card is missing, please write to ARX in the country of pur-
chase, stating model and where purchased, or to ARX, PO Box 15, Moorabbin, Victoria
3189, Australia.
INTERNATIONAL LIMITED WARRANTY
ARX Systems (ARX) warrants to the first purchaser of any ARX equipment that it is free
from defects in materials and workmanship under normal use and service. ARX’s sole
obligation under this warranty shall be to provide, without charge, parts and labour
necessary to remedy defects, if any, which appear within twelve (12) months from
date of purchase, and for a further twelve (12) months supply parts only.
This is our only warranty. It does not cover finish or appearance items, burned voice
coils, or if the equipment has been, in ARX’s sole judgement:
•Subjected to misuse, abuse, negligence or accident;
•Repaired, worked on, or altered by persons not authorized by ARX;
•Connected, installed, adjusted or used for a purpose other than that for which it
was designed. This includes running a speaker system with the ISC leads disconnect-
ed, or with a non-ARX crossover, or with the wrong processor.
This warranty gives you and us specific legal rights and you may also have other rights
which may apply.