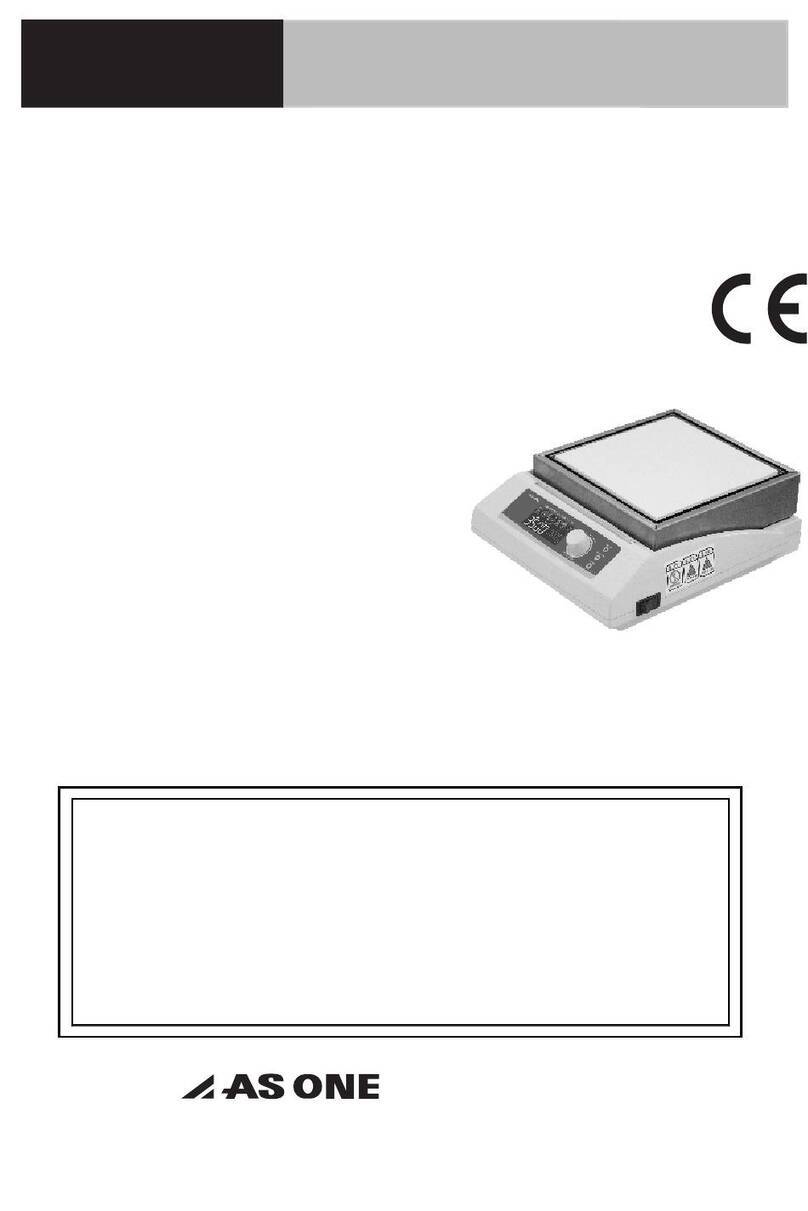
AS ONE HI-1000G User manual

AS ONE Corporation
Instruction Manual 1517081
Instruction Manual
Hot Plate
HI-1000G
Contents
Precautions for Installing and Using of Product..............2
Product Overview............................................................4
Method of Operation .......................................................4
Explanation of Operation Panel ......................................5
Explanation of Normal Operation....................................6
Explanation of Timer Operation ......................................7
Product Specifications ....................................................8
Thank you for your purchase.
Thank you very much for purchasing our product. In order to ensure that this product is used
safely
and in a favorable condition, please read this Instruction Manual, and use this product in the correct
manner.
After reading this Instruction Manual, keep it in a safe place where the user can refer to it at any time.
In addition, if you lend or tr
ansfer the product, please provide this Instruction Manual with the product
in a location that is easy to find, so that the new user can learn how to use it safely and correctly.
1-5170-81

-2-
Precautions for Installing and Using of Product
Please observe the following points for safe use.
For 230 V AC(
±
5%)
The power-supply voltage for this product is 230 V AC(±5%).
Using a different power-supply voltage may result in fire or failure.
Grounding required
Always ground with a ground wire to prevent an electric shock.
Corrosion
Be careful with corrosive samples.
Evaporation
Do not allow the liquid in the container you are using to evaporate.
It may result in failure or fire.
This product does not include an evaporation-prevention system.
High temperature
Pay attention to the set temperature for heating flammable materials.
When using containers or parts made of resin, monitor the heater's operation
because there is a possibility of melting or ignition when the temperature is
erroneously set too high.
High temperature
Be careful when touching the main unit or sample during use or immediately after
use.
Pay attention since the main unit or sample may be hot during or after use,
depending on the set temperature.
Explosion
Be careful of flammable substances, such as organic solvents.
Because the temperature becomes high during operation, do not use anything that
could vaporize, catch fire, or explode as a heat medium or sample. Explosive
substances include nitric esters and nitro compounds, and flammable substances
include peroxide salts, inorganic peroxides, nitrates, and organic solvents.
Abnormality
If you notice an abnormality with the main unit of the product, immediately stop
using it, turn off the power switch and unplug the power plug.
Disassembly
prohibited
Do not disassemble the product.
Disassembling the product may cause an electric shock or injury.
Modification
prohibited
Do not modify the product or use it for purposes other than the intended use.
Modifying the product or using it in a way other than for its intended purpose may
cause an electric shock, injury, or failure.
Unattended
operation prohibited
Always monitor the sample condition during heating, and do not leave it unattended
at any time.

-3-
Precautions for Installation and Use of the Product
Please observe the following points for safe use.
Do not use with an outlet other than a 230-V AC(±5%) outlet.
•It may cause fire or failure.
Do not touch plugs and switches with wet hands.
•
It may cause an electric shock or injury.
Do not use the product in water or liquid. Do not immerse it in water or splash
water on it.
•It may cause a fire, electric shock, or failure.
Do not use flammable liquids or gas near the product.
•There is a risk of ignition, explosion, or fire.
Keep away from fire. Do not place in a high-temperature places such as close to
a heater or under direct sunlight.
•It may cause deformation, failure, or fire.
Never modify or repair without authorization.
•It may cause a fire or electric shock. Contact a distributor for repair.
Do not use the product when the power cord or power plug is damaged. Do not
use if the power plug is loose when inserting it.
•It may cause a short-circuit, electric shock or fire.
Make sure to unplug the product from the power outlet after using it.
•Leaving the product plugged in may cause an electric shock or fire by electric
leakage due to insulation deterioration.
Do not apply a load exceeding the recommended capacity on the top board. Do
not scratch with sharp objects.
•It may cause damage or performance deterioration.
Do not damage, alter, forcefully bend, pull, twist, or bundle the power cord.
•It may cause an electric shock or fire by electric leakage due to insulation
deterioration.
Do not place in an area with high humidity or dust, or where gas is generated.
•It may cause an electric shock, fire or failure due to a short-circuit or heat generation.
Do not forcefully press the operation switch.
•It may cause failure.
Do not drop the product or let it fall. Do not apply any strong impact.
•It may cause failure or damage.

-4-
Product Overview
<Names of product parts>
Method of Operation
Connect the power plug
Check that the power switch is turned OFF and insert the power plug in a power outlet with three-core
grounding.
How to operate
Turn on the power switch located at the front of the main unit.
Set the temperature (pages 5 to 7) with the operation panel located at the front of the main unit.
When the heating plate reaches the desired temperature, place the sample on it.
After finishing, turn off the power switch located at the front of the main unit.
Unplug the power socket from the power outlet after use.
Unattended
operation prohibited
This product does not have an evaporation prevention system.
Always monitor the sample condition during heating, and do not leave it unattended
at any time for safety.
Heating plate
Operation panel Power switch

-5-
Explanation of Operation Panel
Names of operation panel parts
Function of each part
NO.
Name
Function
Actual temperature display
(PV)
Displays the current heating plate temperature.
Displays the function setting when setting the timer.
Set temperature display
(SV)
Displays the set temperature or set timer time.
Displays the set time when timer is set.
When displaying the set time, 1.02 indicates 1 hour and 2 minutes.
TIMER MODE key
Selects the function when using the timer.
DOWN key
Reduces the value of the displayed setting.
UP key
Increases the value of the displayed setting.
TIMER START key
Starts/stops the timer operation.
HEATER lamp
Lights up when heater is on.
TIMER lamp
Flashes during timer counting and turns on when the timer count
is up.
Actual temperature
display
Set temperature
display
HEATER lamp
TIMER lamp
TIMER
MODE key
UP key
DOWN key TIMER
START key

-6-
Explanation of Normal Operation
Turn the power ON.
The normal operation mode starts 4 seconds after the
initial screen appears.
Heating plate temperature
25°C
Previous set temperature
40°C
Enter the set temperature (SV).
Press the UP/DOWN key and set the desired temperature.
* The previously set temperature (SV) appears before setting.
* Turn the power OFF after use.
Timer Type
Three types of timer operation described below are possible with this device.
Screen
display
Name/Function
Temperature adjustment
status (Graph)
Main purpose of use
ON timer
Sets the time to start
temperature
adjustment.
* Starts temperature adjustment 1
hour later and increases the
heating plate temperature to the
set temperature.
OFF timer
Sets the time until
completion.
* Completes temperature controls
2 hours after starting operation.
After that, continues to natural
cooling.
* Maintain the current temperature
for 30 minutes, complete the
temperature adjustment and
return to room temperature.
SV-OFF timer
Starts the countdown timer
when the set temperature
is reached. Turns OFF
when the time ends.
* Increases the temperature of the
heating plate to the set
temperature. When the heating
plate reaches the set
temperature, maintains the
temperature for 1 hour and then
finishes operating.
Heats according to the set target temperature. Stable
temperature adjustment is possible via PID control.

-7-
Explanation of Timer Operation
Turn the power ON and enter the setting temperature (SV).
Use the UP/DOWN key to set the desired temperature.
* Same as for normal operation.
Heating plate
temperature 25°C
Set temperature 40°C
Select whether to use the timer.
Press the UP/DOWN key and select 0 or 1.
0: Without timer
1: With timer
* When selecting 0, press the next TIMER MODE key to return to the
temperature-setting screen.
Timer used
Select the timer function.
Press the UP/DOWN key and select 2, 5, or 7.
2: (1) ON timer
5: (2) OFF timer
7: (3) SV-OFF timer
ON timer selected
Set the timer time.
Press the UP/DOWN key to set the time.
* The unit is [hh.mm (hours and minutes)].
Between 1 minute and 99 hours 59 minutes.
Set to 1 hour 32
minutes
Display of timer's remaining-time monitor.
Start of timer operation.
When using the (1) ON or (2) OFF timer, press the TIMER START key
and start the timer.
When using the (3) SV-OFF timer, the timer starts when the set
temperature value is reached.
* The TIMER lamp flashes during timer counting.
The TIMER lamp turns on when the timer operation ends.
* The TIMER START key works only in this screen.
Showing timer's
remaining time
Return to the temperature-setting screen.
Three types of timer
operation are possible. Timer
setting times are between 1
minute and 99 hours 59
minutes in units of 1 minute.
* To prevent erroneous operation and setting errors,
perform test operations at low temperature and for
short periods without placing any sample on the
heating plate. Make sure to check that the
temperature adjustment shows STA RT or OFF.
* During timer operation, it is not possible to resume operation and continue for the
remaining time after pausing. Pressing the TIMER START key during timer operation,
will end timer operation. (If it is during (2) OFF timer operation, the remaining time on
the timer will change to 0.00 and heater output will switch off.) After pressing TIMER
START again, it will restart from the original set time.
* There may be a case where the operation ends without reaching the set temperature
in (2) OFF timer if the set time is too short.
* Be sure to prevent heating an empty container due to evaporation of the sample when
performing timer operation for an extended period.
Precautions

-8-
Product Specifications
Product name
Hot plate
Model
HI-1000G
Service temperature range (°C)
Room temperature +5 to 300
Temperature display accuracy
±2°C
Heating plate dimensions (W ×D mm)
400 ×300
Heating plate material/Surface treatment
AI
Load capacity (kg)
10
External dimensions (W ×D ×H mm)
440 ×372 (including protrusions) ×123
Weight (kg)
11
Mica Heater capacity (W)
1,600
Power supply
230 V AC(
±
5%), 50/60 Hz / 2M 3P
:
O-Type
Safety mechanism
Manually reset overheating prevention system.
Ambient temperature range (°C)
5 to 35
Made In Japan
Resetting the overheating prevention system
When the overheating prevention system is activated, turn OFF the power switch and unplug the power
plug.
Wait until the heating plate and the main unit cools down to room temperature.
*Handling the product when it is hot is very dangerous and may cause injuries such as burns. In addition,
the overheating prevention system cannot be reset until the temperature has fallen to a safe level.
To reset the product, insert a stick (made of an electrically non-conductive material) into the reset hole
located on the underside of the main unit and press the switch inside.
Before restarting the product, remove the cause that activated the overheating prevention system.
Instruction Manual No.Ver1
May 2019
Table of contents
Other AS ONE Cooktop manuals
Popular Cooktop manuals by other brands

GE
GE Monogram ZEU30R installation instructions

ITW Food Equipment Group
ITW Food Equipment Group Vulcan VCRH12 Installation & operation manual

Dometic
Dometic D21 installation manual

AMIRIDIS-SAVVIDIS
AMIRIDIS-SAVVIDIS United CP3636 instruction manual

GE
GE Monogram ZEU30R owner's manual

Omega
Omega OI63Z Installation, operation and maintenance instructions

Bertazzoni
Bertazzoni B3H0..Q7X2D Type A Installation, service and user instructions

Wolf
Wolf CG Series Service manual

Jenn-Air
Jenn-Air JEC8430 installation instructions

Whirlpool
Whirlpool RCS2012 Use & care guide

Smeg
Smeg SA911XA Brochure & specs

Technika
Technika TGGCM64-5 Instructions for use and installation