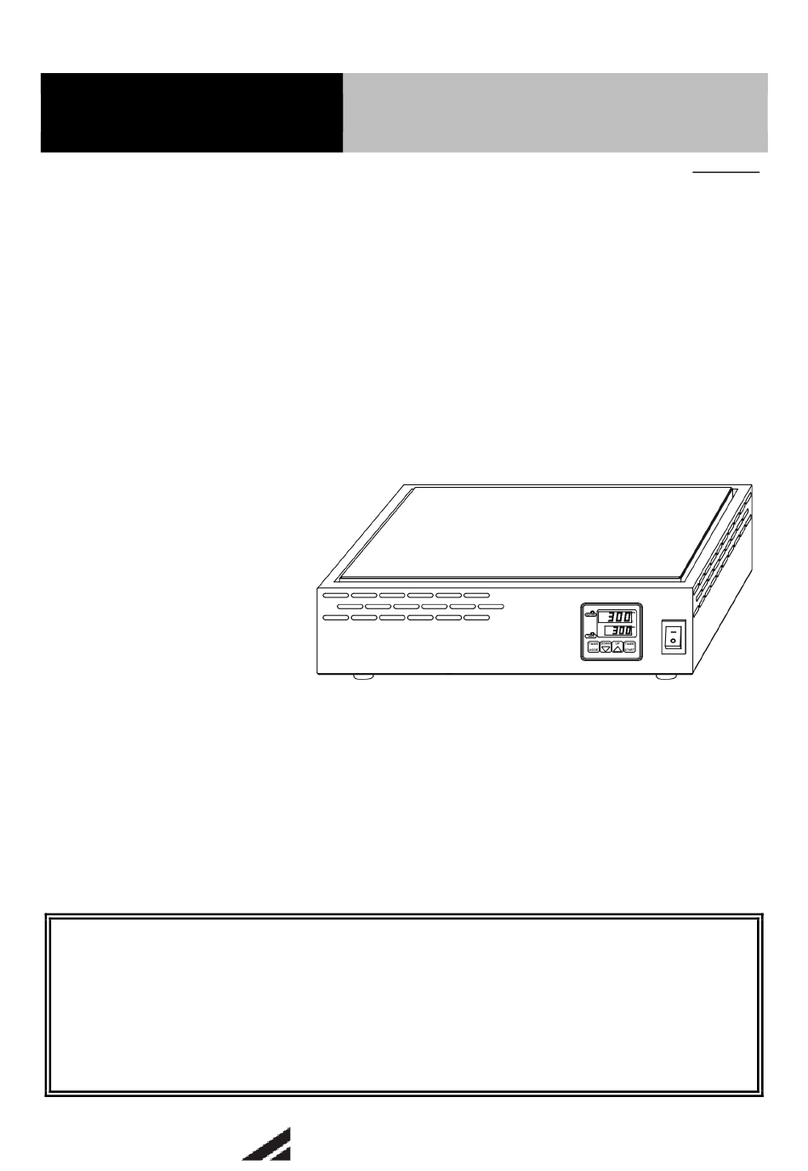
AS ONE NDK-1A-I User manual

Table of Contents
1
2
3
4
7
9
11
13
15
17
18
18
19
19
20
21
22
26
取扱説明書
Digital Hotplate
Instruction Manual
CORPORATION
1-4601-31-90,-91、1-4601-32-90,-91

➊ -|Transparent setting guide|-
Danger
Warning
Caution
Suggestion
This indicates the general
This indicates the prohibition the
case can cause the electric shock
This indicates the prohibition
This indicates the caution
This indicates the risk of
electric shock under certain
This indicates the caution for
explosion risk under certain
This indicates the connection
This indicates the handling
Safety considerations

➊ -|Transparent setting guide|-
Caution during use
Caution
Caution
Warning

➊ -|Transparent setting guide|-
Installation instructions
Caution
Caution

➊ -|Transparent setting guide|-
Product overview
■ Unit Description
The front side
Description Description
control
control
- LCD indication part
1 4
5
6
2 3
1
2 3
4
5
6

➊ -|Transparent setting guide|-
Product overview
Fuse holder
◆The back side
1 2 3 4 5

➊ -|Transparent setting guide|-
Product overview
■ Dimensions
NDK-1A-I, NDK-1A-F
NDK-2A-I, NDK-2A-F
204 204
240
90
280
284
360 320
284
90

➊ -|Transparent setting guide|-
3. Setting the set temperature (SV)
Order of the operation
1. Check the power
2. Input the power
AS-1
ND-1
■ Before using the product
caution during use
installation instructions
■ Operation during power outages
4. Start running / Stop
Caution
Caution

➊ -|Transparent setting guide|-
Order of the operation
5. All parameters
press once
press once
Setting key lock
key 3 sec
Stop operation
Start operation
3 sec
PRGON
See
ST-T
See
See
See Key lock in other functions
STOP mode
once

➊ -|Transparent setting guide|-
SETUP group
PV SV
correction
setting
Total
Sound
AL-L
ST-T
PRG
AT
OT
BUZ
AD
ALM
AL-H
OFF
30)0
00)0
0)0
ON
OFF ON
OFF
0000
ON
OFF PRG
ST-TOFF.
OFF T--1 T--2 T--3
OFF
T--4
ON
STOP
mode
ALMON
after it is set to
ON

➊ -|Transparent setting guide|-
P00)0
P00)1
I0000.
SPON
band
Hysteresis
Manual reset
SPT
SP
P
I
D
T
HYS
REST
OFF
5
00#0
0040
0010
002
00@0
05)0
ON
SETUP group
PV SV
Sec

➊ -|Transparent setting guide|-
SETUP group function
2. Temperature correction [AD]
)0
HHHHor LLLLis
3. Auto-tuning [AT]
ATON
ATOFF
AT
ATON
AT
ATOFF.
PID
OPEN
PID
PID
1. Alarm [ALM]
ALMON
set to OFFON
AL-HAL-L
BUZ
AL-HAL-L
H H
4. Indication of total operation time [OT]
5. Operation sound [BUZ]
BUZON
-
-
-
-

➊ -|Transparent setting guide|-
SETUP group function
8. Manual reset[REST]
REST
REST
SV
7. Hysteresis [HYS]
Hysteresis
HYS
SV
HYS
HYS
6. Sampling [SP], Sampling time [SPT]
SP] is set to ON,
SPT5
SPOFF to ON
RESTI0000

➊ -|Transparent setting guide|-
1. Timer mode
Setting the timer
ST-T
ERR
BUZON
ST-TONOFF
WAIT
PRG
Mode Description
OFF
SV
T--1
SV
ON
ON
ON
ON
T--2
SV
OFF
OFF
OFF
OFF
T--3
SV
ON
OFF
ON
ON
ON
OFF
OFF
OFF
SV
T--4
SV
WAIT
WAIT

➊ -|Transparent setting guide|-
Setting the timer
2. Setting the time mode
ST-T
ST-T
is set to OFF
ON OFF ON WAIT
T-1 T-2 T-3
T-4
STOP mode
PV PV
SV
PV PV
OFF
PV
SV 0000 0000 SV 0000
SV 0000
SV 0000

➊ -|Transparent setting guide|-
1. Program operation
SVTIMWAT
TIM
SV
TIMWAT
SV
BUZON
WAT
ST-T
PRG1 STP1 STP2 STP3 STP4
SV 10 20 35 20
TIM 5555
WAT 5 5 10 5
PRG1
Setting the program
10
Step 1 Step 2 Step 4Step 3
20
35
5 10 15 20 25 35 40 45
0

➊ -|Transparent setting guide|-
2. Program setting
Setting the program
PRGOn
SV1
TIM1
WAT1
TIM0
repetition s for each
Step 1 Step 2 Step 8
PRG1
STP1
PRG2 PRG9
STP2 REP1STP8
STOP
mode

➊ -|Transparent setting guide|-
Other functions
2. Indication of operation time
3. Sound when reaching the SV
BUZON
1. Key lock ( key 3 sec.)
LOCK
FREE
Red
Run
Stop
4. LED bar indication
5. Multi inputs
6. Loop break alarm (LBA)
LBA
LBA
BUZ
LBA
HHHHLLLLOPEn

➊ -|Transparent setting guide|-
Error display
BUZ
Display Description
HHHH
LLLL
OPEN
LBA
CAL
ERR
1. Operate bimetal switch
2. Fuse disconnection
When operating safety devices

➊ -|Transparent setting guide|-
Factory defaults
SV )0 PRG OFF I 0040
ALM OFF AT OFF D 0010
AL-H 30)0 BUZ ON T 002
AL-L 00)0 SP OFF HYS 00@0
AD 0)0 SPT 5 REST 05)0
ST-T OFF P 00#0
About the maintenance
Do not disassemble, repair or modify the product.
※
It may cause personal injury, electric shock ans re because of the malfunction.
Warning
This manual suits for next models
3
Table of contents
Other AS ONE Cooktop manuals
Popular Cooktop manuals by other brands

GE
GE Monogram ZEU30R installation instructions

ITW Food Equipment Group
ITW Food Equipment Group Vulcan VCRH12 Installation & operation manual

Dometic
Dometic D21 installation manual

AMIRIDIS-SAVVIDIS
AMIRIDIS-SAVVIDIS United CP3636 instruction manual

GE
GE Monogram ZEU30R owner's manual

Omega
Omega OI63Z Installation, operation and maintenance instructions

Bertazzoni
Bertazzoni B3H0..Q7X2D Type A Installation, service and user instructions

Wolf
Wolf CG Series Service manual

Jenn-Air
Jenn-Air JEC8430 installation instructions

Whirlpool
Whirlpool RCS2012 Use & care guide

Smeg
Smeg SA911XA Brochure & specs

Technika
Technika TGGCM64-5 Instructions for use and installation