Model No : FF-D008
Modell Nr. : FF-D008
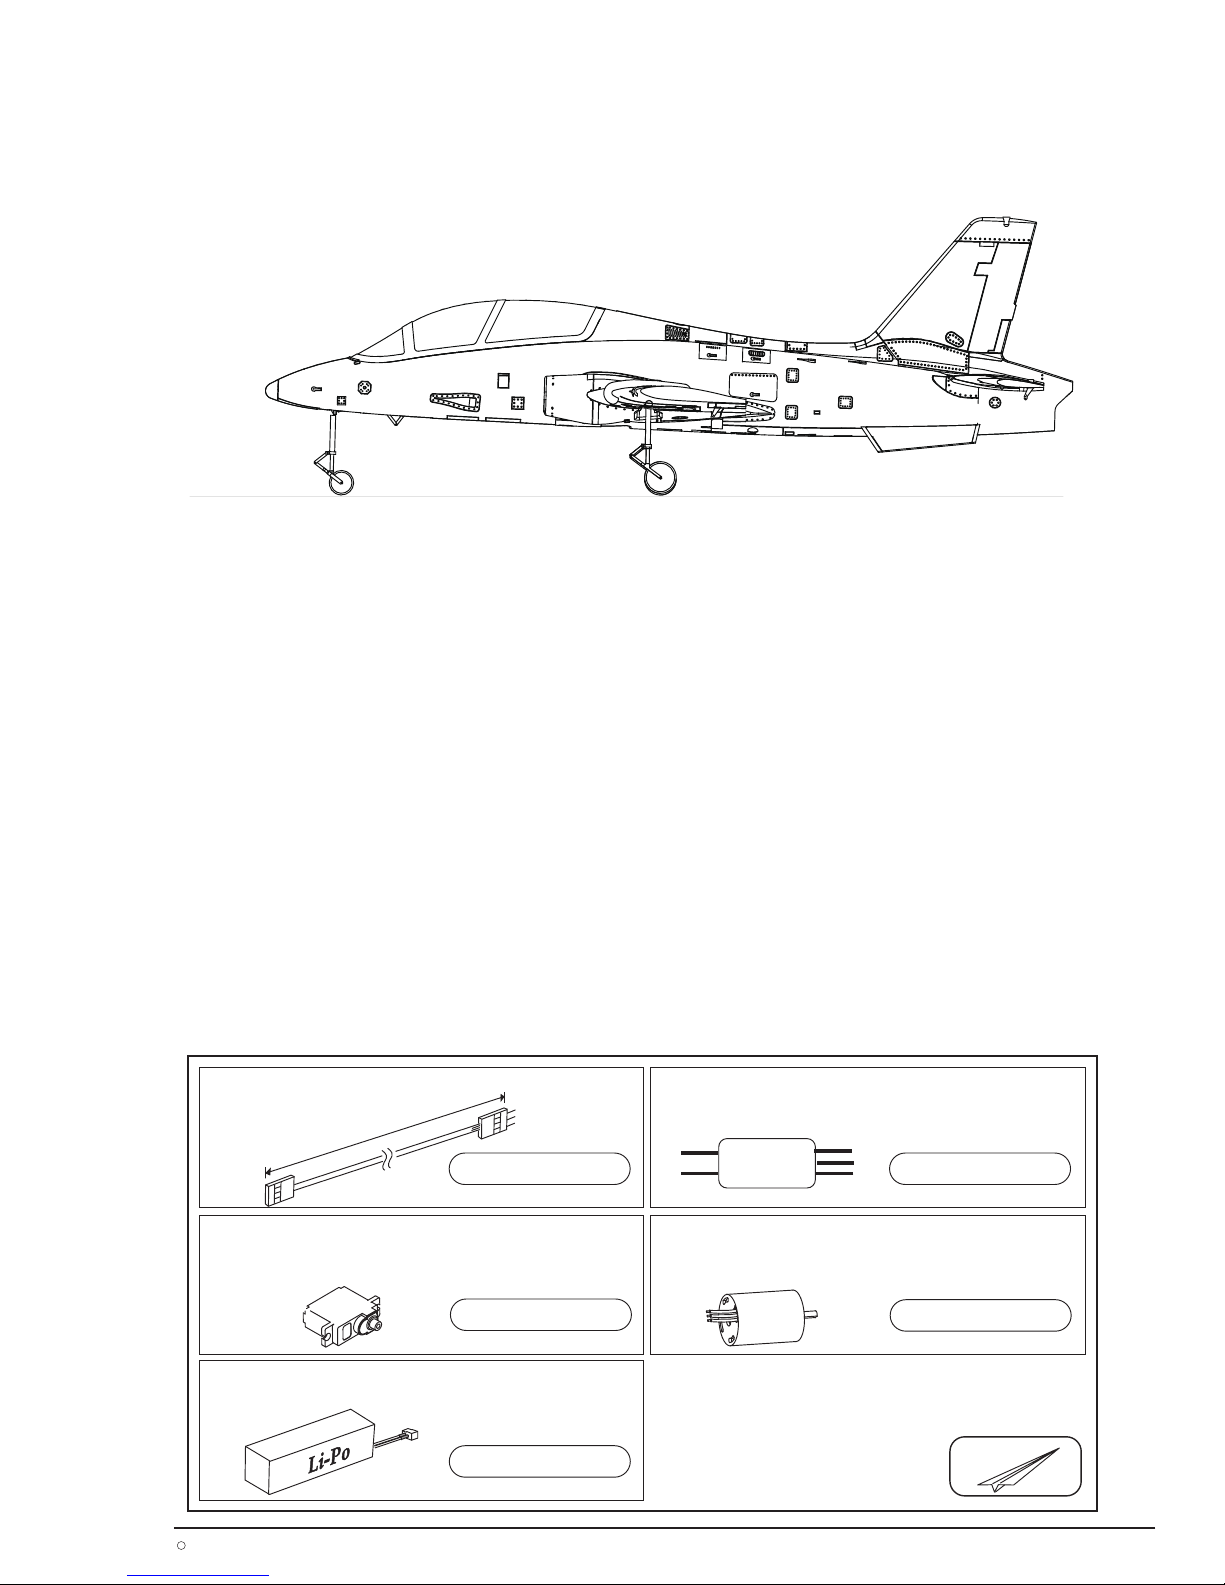
MB-339
Scale EDF Radio Control model airplane
Vorbildgetreues R/C-Modellflugzeug aus
Wingspan : 1,375mm
Spanweite : 1,375mm
UNDER SAFETY PRECAUTIONS
Sicherheitshinweise
This radio control is not a toy!
Dieses Modell ist kein Spielzeug
- Always keep this instruction manual ready on hand for quick reference.
die Bedienungsanleitung immer mitnehmen um sie immer zur Hand zu haben
- Assemble this kit only places out of children reach.
Modell bitte ausserhalb der Reichweite von Kindern aufbauen
- First-time builders of EDF model should seek the advice of experienced modellers before
beginning assembly and if they do not fully understand any parts of the construction.
holen Sie sich die Hilfe eines erfahrenen Modellbauers wenn Sie ein EDF-Modell das erste
mal bauen und Probleme mit dem Aufbau und der Konstruktion haben
- Taking out liability insurance is recommended.
vor Inbetriebnahme das Modell auf Sicherheit überprüfen
- You are responsible for this model’s assembly and safe operation.
Sie sind für den sicheren Aufbau und den sicheren Betrieb des Modells verantwortlich
4 pcs required
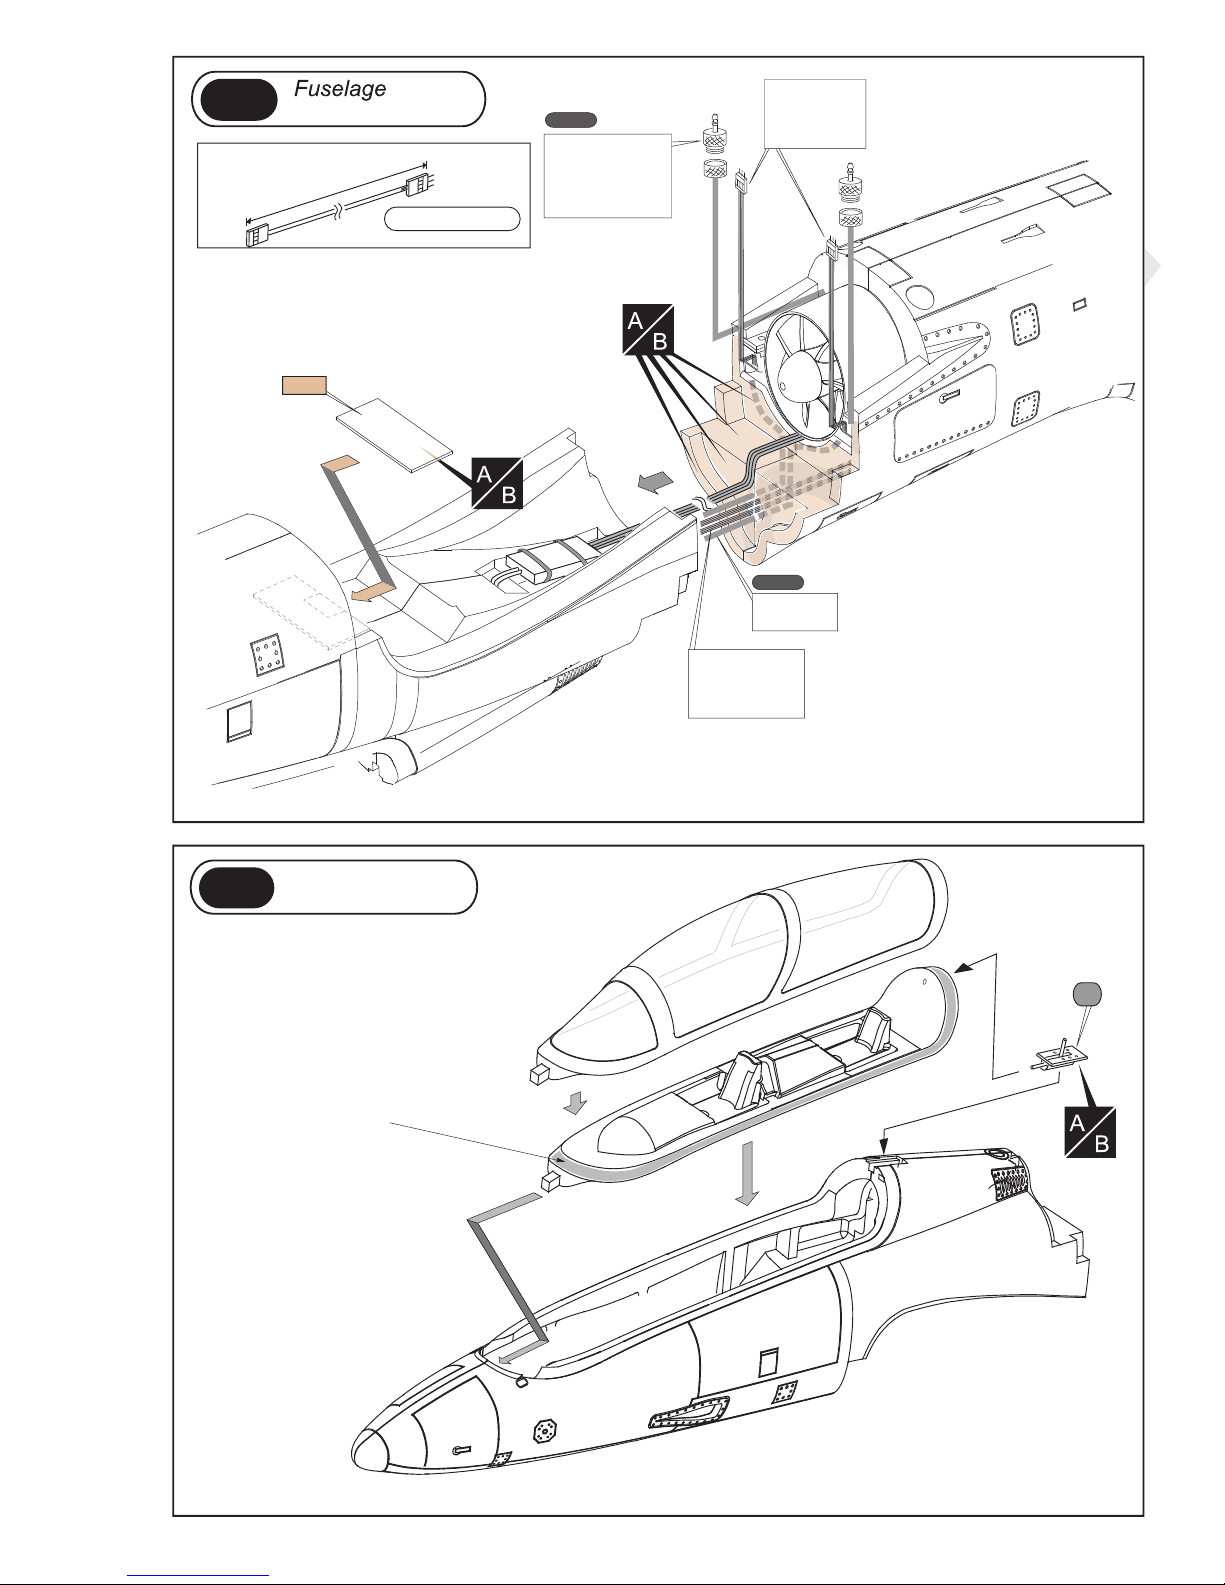
1. Signal cable Servoverlängerungskabel
- Elevator
- Aileron
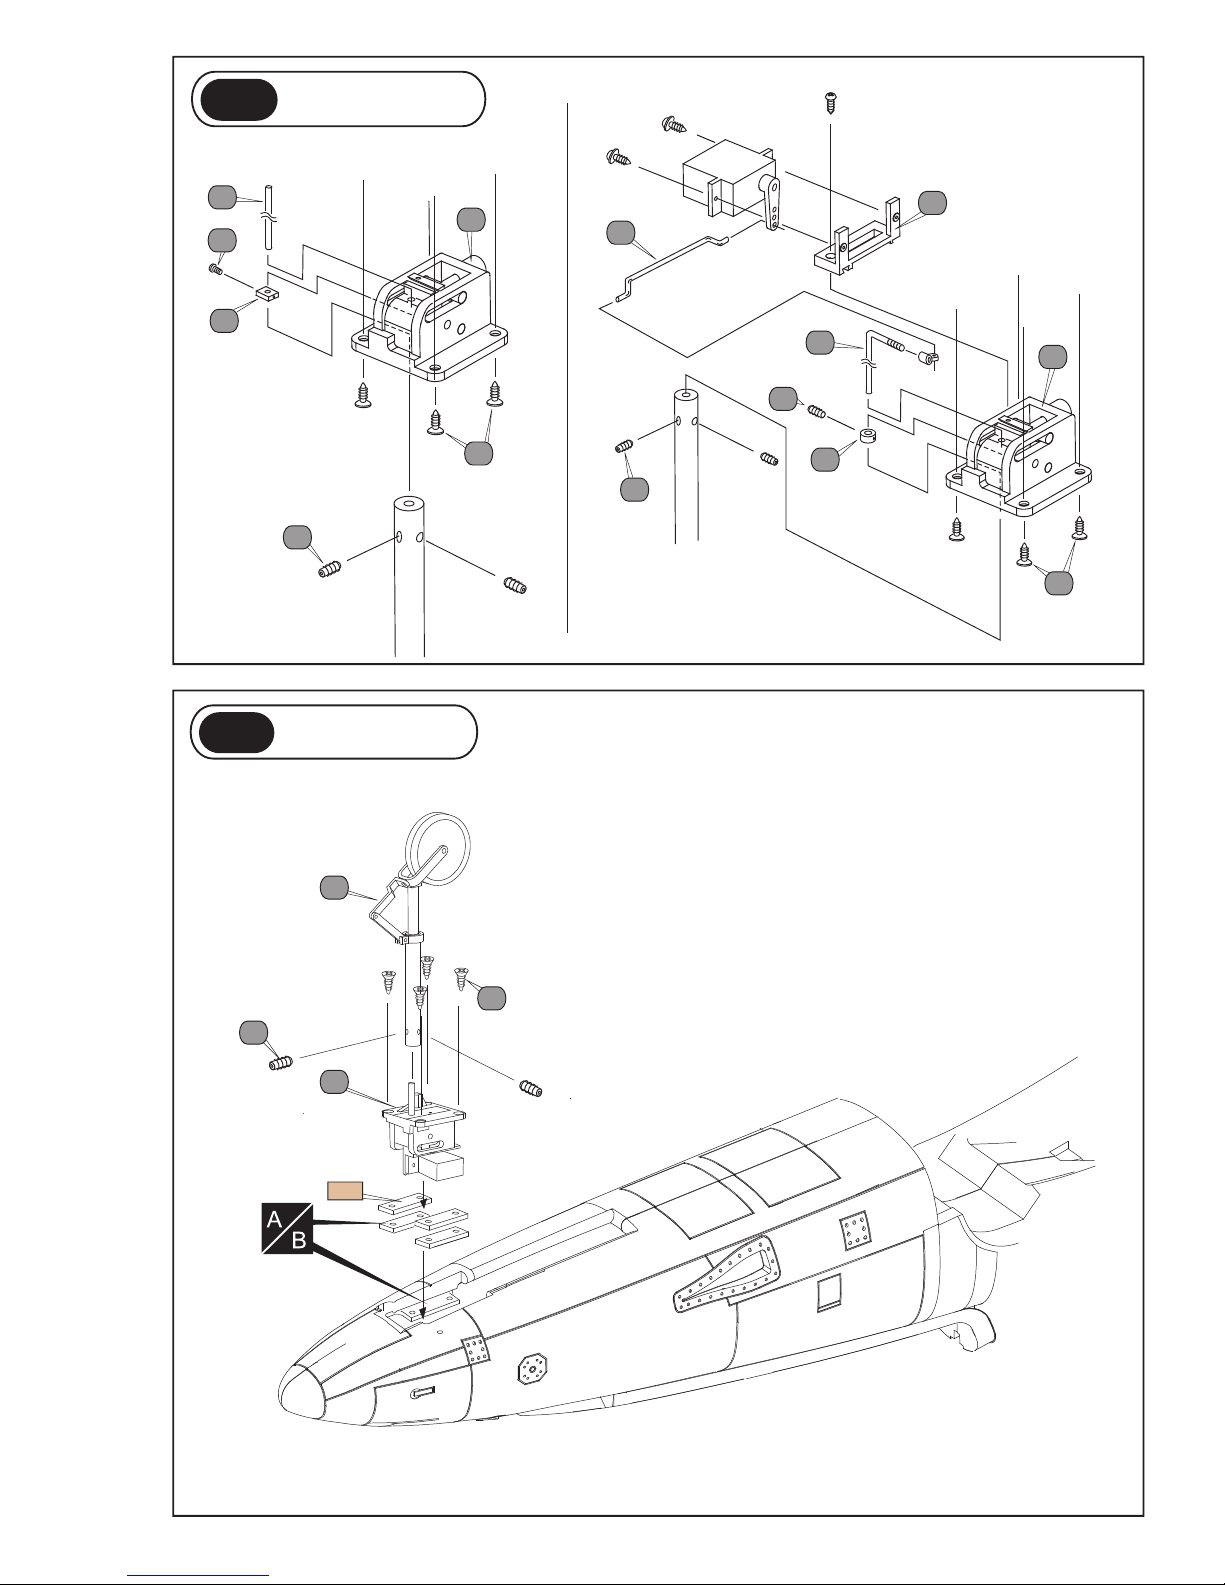
2. Micro servo Microservo´s
Dimension : 23mm (L) x 28mm (H) x 12mm (W)
Größe: 23mm (L) x 28mm (H) x 12mm (B)
You need to purchase the following accessories separately to complete the model.
Folgende Teile werden zum Aufbau noch benötigt:
5 pcs required
800mm
1 pc required
4. 60A Electric Speed Control (ESC) w/BEC
60A Flugregler mit/ohne BEC
60A
w/ BEC
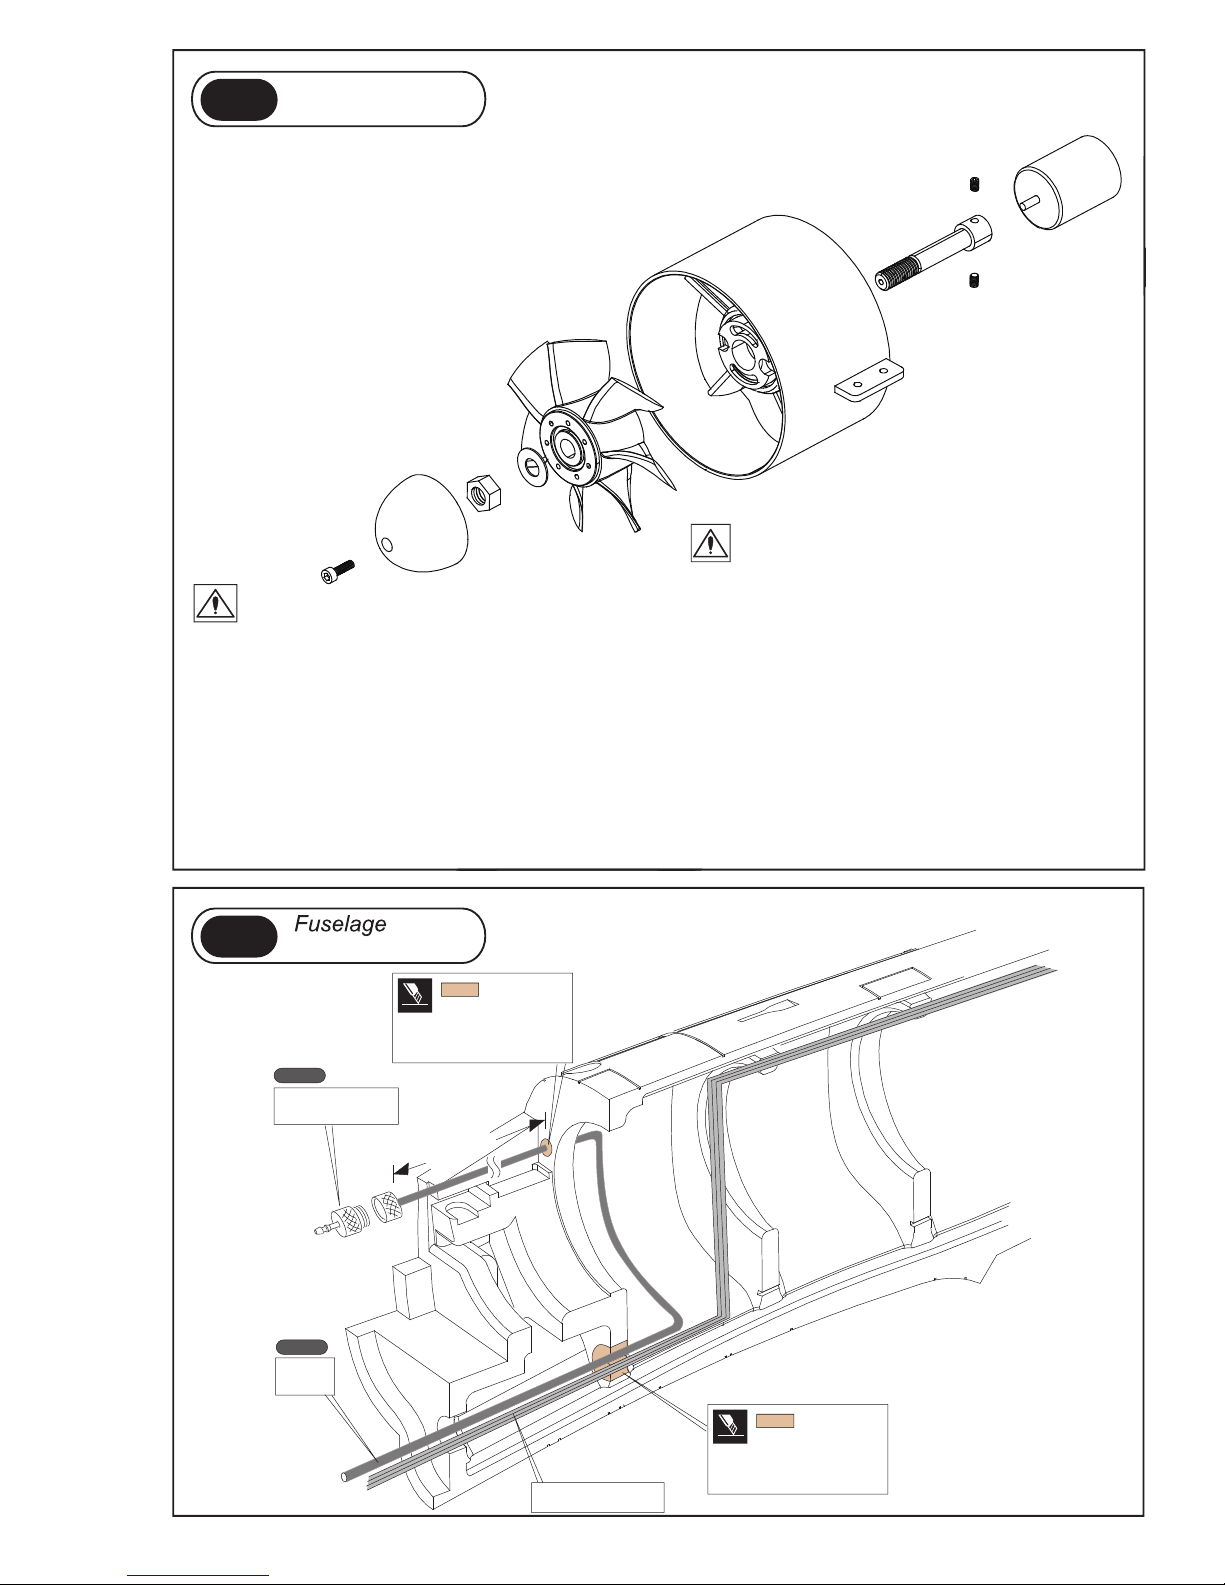
5. B36 Brushless Motor, 1500-1600kv,
Outruuner or Inrunner, Shaft dia 5mm
Innen- oder Aussenläufer Welle 5mm
1 pc required
3. Li-Po Battery, LiPo-Akku, 5-6 cells, Zellen
3600mAh 20C, 3600mAh
CCopyright 2009 Fly Fly Hobby Designed and Manufactured by : Fly Fly Hobby Mfg. http://www.flyflyhobby.com
FLYFLY
HOBBY
4x für Höhenruder und Querruder
5x für Höhenruder und Querruder
1x für Höhenruder und Querruder
1x für Höhenruder und Querruder
1 pc required
1x für Höhenruder und Querruder