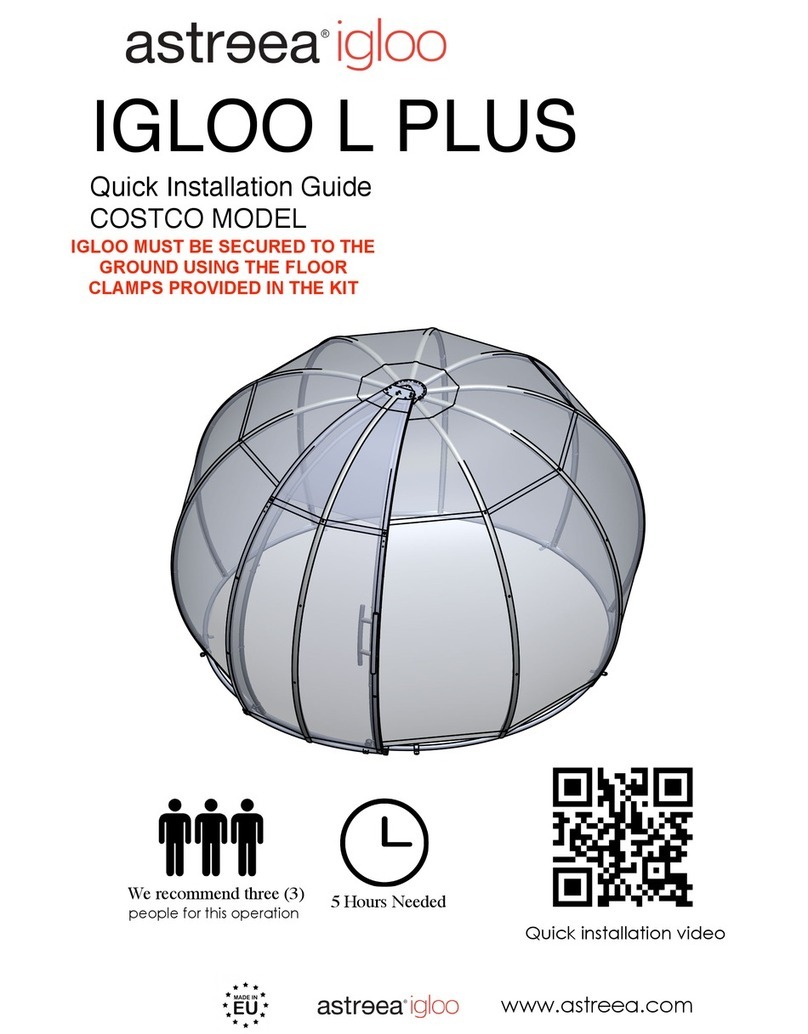
astreea Igloo Plus User manual

Built for a lifetime.
Installation
Guide
ENG
ITM. / ART. 2127500

Before you start:
1. We recommend three people for this operation
2. Time needed: up to 8 hours
3. Retain this Guide for future reference
4. These cards that you will find in the Guide are very
important. Please give them your attention.
Astreea igloos North America, LLC PO Box 773192
Eagle River Alaska 99577 www.us.astreea.com
Please call our customer service
Video Installation
Scan for:

Introduction, Safety regulations, Information regarding assembly and maintenance,
Cleaning, storage and disposal.
1.1 Base rails, stop plate and locking plate.
1.2 Vertical poles
1.3 Support plate on the vertical pole
1.5 Second vertical pole
1.7 Anchor the frame to the floor
3.1 Upper poles
3.2 Right lower pole
3.3 Central lower pole
3.4 Left lower pole
3.5 Base door rail
3.7 Upper panels
3.8 Right lower panels
3.9 Left lower panels
4.1 Place the door on the igloo
4.4 Applying the protective strips
2.3 Second upper panel
2.4 Mounting the rest of the panels.
2.5 Identifying the strips
2.7 Mounting the gutter panel
2.8 Mounting the left/right side of the door strips
Mount the accessories
3. Mounting the Door
4. Install the door onto the Igloo
04
06
08
10
11
12
13
14
15
28
46
30
31
32
33
34
35
36
37
38
39
40
41
43
44
45
16
18
19
20
21
22
24
25
26

Installation Guide - Igloo Plus - Size L
Page 04 Proudly manufactured by ARSAT® in the European Union
installation of the igloo should be done
anchoring! with metal clamps and
screws that are suitable for your ground material.
place should be done by using the additional Astreea® Weights
recommended to remove the cover in case of storm or hurricane
alerts.
open! Use the locking system to close the igloo!
are secured!
-
ommended to broom off the snow regularly to prevent collapsing.
and tighten them if necessary. Also, check the cover for leaks or
other damage.
damage it.
1. Introduction
The equipment has been designed exclusively for outdoor use. Use with care, without affecting the structure or the cover of the
igloo. Any other use, different from that described in these instructions, could cause damage to the igloo and represent a serious
hazard for the user. Proper functioning depends on the correct use and adequate maintenance of the equipment. Therefore, it
is advisable to carefully read the instructions to prevent issues that are incompatible with proper functioning and durability. All
information required to ensure the best use of this igloo is provided, together with instructions and useful advice for its correct
maintenance. The Manufacturer is relieved of all responsibility in the case of negligence and non-observance of these rules.
This booklet includes the rules of use and maintenance for the
Astreea® Igloo. This booklet is an integrated part of the product
and should be kept within reach to be consulted for the entire
time of use. The equipment described in these instructions of use
complies with current safety provisions and state-of-the-art tech-
nology. However, should the equipment be used in an improper
Without anchoring
Weights*
Spikes to ground
Bolted to hard surface
Max. wind speed applicable
Keep the packaging and small parts out of the reachof children or
pets. Risk of suffocation!
Always evac-
uate the igloo during stormy weather and look for suitable refuge!
during assembly and ensure that your
cover.
while on the ladder when
installing the vertical poles of the frame! There is an increased risk
, open fire or other sources of
direct heat inside or in the vicinity of the igloo! It is recommend-
ed to only use outdoor-type electric space heaters and electrical
equipment.
electrical equipment of the igloo.
unattended in the igloo!
inside the igloo during summer time! Always make sure to
a door or window open for a good air flow or remove the cover
entirely.
Coming in contact with the very hot or very cold surface of the

Installation Guide - Igloo Plus - Size L
Page 05Proudly manufactured by ARSAT® in the European Union
The Astreea® Igloo must be secured to the ground using the aluminum fixing
clamps, included in the package, and screws that are suitable for your ground
material. If you are not sure which screws are suitable, seek the help of
qualified personnel from your local hardware store.
If the Igloo is installed on soft ground or surfaces where the clamps cannot be
secured to the ground, then other means must be used to keep the Igloo
secured during windy conditions.
assembled and fixed to the ground.
or damage may occur.
clean cloth, warm water and a mild detergent.
bleach or acetone that could
damage the igloo!
tumble dry, dry clean or iron the cover!
The Canopy cover can be machine washed following the instruc-
tions on the label.
or caustic cleaning products or hard
brushes for cleaning!
After disassembly, make sure all parts
are clean and dry.
in a cool, dry, well-ventilated space, protected
from frost, direct sunlight and other heat sources.
change of color and an early aging of the materials.

Installation Guide - Igloo Plus - Size L
Proudly manufactured by ARSAT® in the European Union
IGL01 IGL03
IGL02
5x Base Rails
10x Upper Poles
10x Lower Poles
9x Upper Panels1x Gutter Panel
8x Lower Stripes 8x Upper Stripes
Stripes of protective
sealing
46x
1x Locking Plate 1x Stop Plate
8x Lower Panels1x
IGP07
IGP35
IGPL05A
IGPL05B
IGPS01
IGPL01
IGPL02
1x Central Bolt Assembly
IGPL04
IGCL03
1x Crow Plate 1x Support Plate
IGPL03

Installation Guide - Igloo Plus - Size L
Page 07Proudly manufactured by ARSAT® in the European Union
IG05
WR13
ASPK01
W87089SM850912
IGP08SM8207991
2x Clothing ranks 5x 66x
7380 screws
24x
7380 screws
13x
7991 screws
19x
7991 screws
2x 19x
7991 screws
24x
7380 screws
11x
7380 screws
23x
7991 screws
16x
912 screws
16x M8 locknut
10x
7381 screws
10x
Missing or you lost spares?
Wrench no.13 Allen key no. 2.5, 3,
5x Spikes* for
Securing to ground
*optional
22x M8 nuts 11x
screws
24x 11x Rubber
24x Rubber
The Astreea® Igloo is designed for any season. Update your existing product
with for year round use.
astreea.com/igloo
Scan for:
SE410
NM8934
NM87040SM4107991

Installation Guide - Igloo Plus - Size L
Page 08 Proudly manufactured by ARSAT® in the European Union
Place the base rails on the floor. Consider one base rail as door rail. Place the stop plate on the left side of the door rail and the locking
plate on the right side.
Door Rail
IGP07

Installation Guide - Igloo Plus - Size L
Page 09Proudly manufactured by ARSAT® in the European Union
Join the base rails on the left side and on the right side of the door rail. Place the stop plate on the left side of the door rail and fix it with
Join the other rails and fix them as shown in the detail C.
B
B
M8 nut
M8 nut
Door Rail
M8 nut
912 screw
912 screw
IGP07
SM850912
SM850912
NM8934
NM8934
NM8934
SM850912
IGP07

Installation Guide - Igloo Plus - Size L
Page 10 Proudly manufactured by ARSAT® in the European Union
Insert 1 pc. of frame ring on the upper pole and 3 pcs. on the lower pole. Join the upper pole with the lower pole and fix it using the
D
D
IGP35
IGP35
IGL03
IGL02

Installation Guide - Igloo Plus - Size L
Page 11Proudly manufactured by ARSAT® in the European Union
Insert 1 pc. of electric frame ring on the upper electric pole and 3 pcs. on the lower electric pole. Join the upper pole with the lower pole
M8 Nuts
7991 screw
7380 screw
IGP35
IGL03
NM8934
SM8207991
IGCL03

Installation Guide - Igloo Plus - Size L
Page 12 Proudly manufactured by ARSAT® in the European Union
sure to hold on to it until the opposed pole is mounted.
M8 Nut
Base Rail
Door Rail
NM8934
IGL03
IGP35
SM850912
IGL01

Installation Guide - Igloo Plus - Size L
Page 13Proudly manufactured by ARSAT® in the European Union
F
G
F
G
M8 Nuts
7991 screws
M8 Nut
912 screw
Door Rail
SM8207991
SM850912
NM8934
NM8934

Installation Guide - Igloo Plus - Size L
Page 14 Proudly manufactured by ARSAT® in the European Union
M8 Nut
M8 Nut
Door Rail
NM8934
NM8934
SM8207991

Installation Guide - Igloo Plus - Size L
Page 15Proudly manufactured by ARSAT® in the European Union
Door Rail
5x
2
1
3
4
5
IG05

Installation Guide - Igloo Plus - Size L
Proudly manufactured by ARSAT® in the European Union
2.1 First upper panel
1. Identify the short and the long part of the panel
sealing on the
opposite face lateral D
sealing
This operation may cause static electricity discharge!

Installation Guide - Igloo Plus - Size L
Page 17Proudly manufactured by ARSAT® in the European Union
Do not tighten the screws until all the panels are installed!
I
I
D6 washer
D6 rubber washer
Panel
Door Rail
IGPL03
W87089

Installation Guide - Igloo Plus - Size L
Page 18 Proudly manufactured by ARSAT® in the European Union
2.2 First lower panel
Mount the first lower panel on the right side of the door, under the upper panel, and align the lower holes of the upper panel with the
screws and fix it on the lower frame rings. Make sure that the frame rings are aligned with the vertical pole.
7380 screw
7380 screw
M6 nut

Installation Guide - Igloo Plus - Size L
Page 19Proudly manufactured by ARSAT® in the European Union
Install the second upper panel under the polycarbonate disc of the central bolt assembly. Make sure that the left part overlaps with the
Door Rail
with the first upper panel

Installation Guide - Igloo Plus - Size L
Page 20 Proudly manufactured by ARSAT® in the European Union
2.4 Rest of the polycarbonate panels.
needs to slide underneath it.
Door Rail
IGPL02
This manual suits for next models
1
Table of contents
Other astreea Patio Furniture manuals
Popular Patio Furniture manuals by other brands

Kettler
Kettler ELEGANCE LOUNGE operating instructions

MAY
MAY ALBATROS AZ024 installation instructions

Suncast
Suncast BMPS6400 Assembly instructions

Kay Home Products
Kay Home Products Patio-Mate owner's guide

Treasure Garden
Treasure Garden Monaco BKM100 Assembly and operation guide

Agio
Agio WOVEN PATIO ROCKER 966664 Assembly instructions