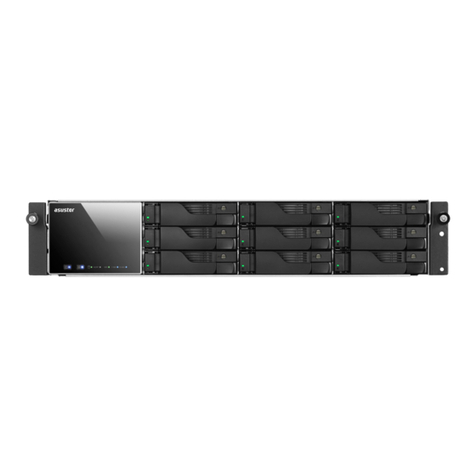
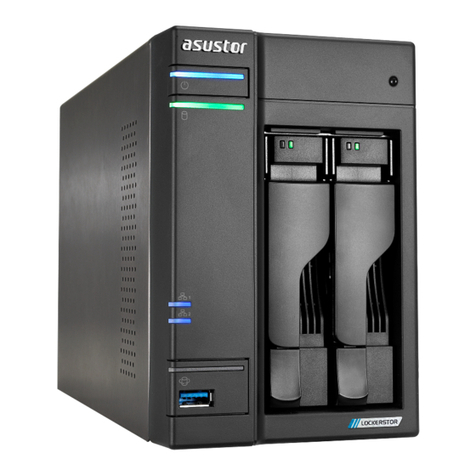
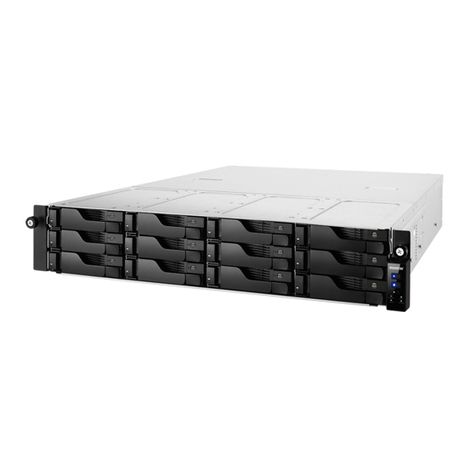
ASUSTOR Lockerstor 10 Pro User manual

Memory Installation Guide
For the ASUSTOR Lockerstor 10 Pro NAS
Ver.1.0.4.1016

ASUSTOR NAS Memory Installation Guide
Page 2 of 11
Table of Contents
1.Introduction ................................................................................................................3
1.1. Notes and Precautions.............................................................................................3
1.2. Parts and Tools Needed...........................................................................................3
2.Installation Guide .........................................................................................................4
2.1. Removing the Cover................................................................................................4
2.2. Installing Memory ...................................................................................................5
2.3. Replacing the Cover.............................................................................................. 10
3.Appendix ................................................................................................................. 11
3.1. Troubleshooting................................................................................................... 11
3.2. Contact ASUSTOR Technical Support........................................................................ 11

ASUSTOR NAS Memory Installation Guide
Page 3 of 11
1.
I
In
nt
tr
ro
od
du
uc
ct
ti
io
on
n
1.1.Notes and Precautions
The Lockerstor 10 Pro supports up to 64GB of memory. Before adding or removing memory modules,
please read the following precautions thoroughly.
Your NAS and memory modules use high precision electronic components and are extremely sensitive.
To avoid invalidation of your warranty during its product warranty period, we recommend that:
Memory for the Lockerstor 10 Pro may be purchased online at the ASUSTOR Accessories Store
found at http://shop.asustor.com.
You should not install memory if you are not familiar with upgrading memory on a computer.
You should not touch connectors or open the memory module compartment cover.
ASUSTOR is not responsible for damage that occurs as a result of your failure to follow the instructions
intended for your ASUSTOR product. ASUSTOR is not responsible for any product from which the
serial number has been removed or that has been damaged or rendered defective (a) as a result of
accident, misuse, abuse, contamination, improper or inadequate maintenance or calibration, or other
external causes; (b) by operation outside the usage parameters stated in the user documentation that
shipped with the product (c) by software, interfacing, parts, or supplies not supplied by ASUSTOR; (d)
by improper site preparation or maintenance; (f) from loss or damage in transit; (g) by modification or
service by anyone other than (i) ASUSTOR or (ii) an ASUSTOR authorized service provider.
Be careful not to injure your hands or fingers with sharp edges of the memory module, inner
components, chassis materials or circuit boards of your NAS. ASUSTOR takes no responsibility for
injury caused.
ASUSTOR does not guarantee compatibility with third party memory modules.
Be sure to turn off your NAS and peripherals and disconnect all attachments and connection cables
before adding or removing memory modules.
To prevent damage from electrostatic discharge to memory modules, follow the instructions below:
Do not work at a location that produces static electricity, such as on a carpet.
Before adding or removing memory modules, be sure to always wear an antistatic wrist strap and
properly connect it to a ground line. Do not touch sensitive components inside your NAS.
Improper insertion of memory modules may cause damage to the module, slot, motherboard or a
combination thereof and is not covered by ASUSTOR’s limited warranty.
Use a screwdriver that matches the size of the screws.
Do not remove or loosen screws not mentioned in this guide.
1.2. Parts and Tools Needed
Phillips head screwdriver

ASUSTOR NAS Memory Installation Guide
Page 4 of 11
2.
I
In
ns
st
ta
al
ll
la
at
ti
io
on
n
G
Gu
ui
id
de
e
2.1. Removing the Cover
Shutdown the NAS by selecting [Shut down] from the ADM User Menu.
Wait for unit to power off completely.
Disconnect all cables and devices connected to the NAS including the power cable.
Use a screwdriver to loosen the three screws found on the rear of the NAS as shown in the illustration.

ASUSTOR NAS Memory Installation Guide
Page 5 of 11
Grip the cover from both sides with two hands and then gently push towards the rear of the NAS to
remove it from the chassis.
2.2. Installing Memory
Upgrading RAM on rear side of motherboard
Upon opening the NAS, RAM slots are found on the rear of the motherboard, which is found
on the left hand side of the NAS. Insert a SO-DIMM module into an empty slot at a 45°angle
and align the notches of the RAM and the slot.

ASUSTOR NAS Memory Installation Guide
Page 6 of 11
Gently push the SO-DIMM module down until both latches click into place. RAM should be
flush with the motherboard.
Upgrading RAM on front side of the motherboard
Disconnect power cable and fan cables.

ASUSTOR NAS Memory Installation Guide
Page 7 of 11
Remove screws.
Remove case screws on the left and right.
Remove bottom case screws.

ASUSTOR NAS Memory Installation Guide
Page 8 of 11
Remove screw holding in backplane and slide left to remove.
Remove ATX power cables from motherboard.
Undo M.2 screw and gently lift M.2 assembly from motherboard.

ASUSTOR NAS Memory Installation Guide
Page 9 of 11
Undo motherboard screws.
Gently lift motherboard from chassis in the direction as indicated by the arrow.

ASUSTOR NAS Memory Installation Guide
Page 10 of 11
Place motherboard on a non-conductive static-free surface, install RAM as indicated by undoing
both clips and inserting RAM until clips close automatically. Ensure notch on SO-DIMM module
aligns with slot.
2.3. Replacing the Cover
Replace the cover and tighten the three screws that were removed previously.
Reconnect all cables including the power cord and then start up the NAS.

ASUSTOR NAS Memory Installation Guide
Page 11 of 11
3.
A
Ap
pp
pe
en
nd
di
ix
x
3.1. Troubleshooting
Q: After installing new memory my NAS won’t start. What’s wrong?
A: Please follow the steps below to resolve this issue:
1. Check if the LED indicators, system buzzer, and LCD display panel are operating normally.
2. If your NAS is unable to recognize the new memory module or is unable to start up normally, please
check that you have used compatible memory.
3. Uninstall and reinstall newly-added memory to confirm that it has been installed properly.
4. If your NAS still does not operate normally, please remove the newly installed memory module, and
then restart the NAS to see if it boots up normally.
5. If all previous steps have not solved your problem, please contact your local dealer or ASUSTOR
customer service.
3.2. Contact ASUSTOR Technical Support
Contact us:
1. Email: support@asustor.com
2. Online Support Form: http://www.asustor.com/service/online_support
3. ASUSTOR Online Community: http://forum.asustor.com/
Other manuals for Lockerstor 10 Pro
1
This manual suits for next models
1
Table of contents
Other ASUSTOR Network Storage Server manuals
Popular Network Storage Server manuals by other brands

Freecom
Freecom SILVER STORE 2-DRIVE NAS Features

Adaptec
Adaptec 5325301573 quick start guide

HP
HP P6300 Enterprise Virtual Array installation guide

Western Digital
Western Digital WDBWVL0080KBK Maintenance Guide

MAXDATA
MAXDATA SR 1202 quick guide

Imagine communications
Imagine communications NEXIO NX1010 series Hardware guide