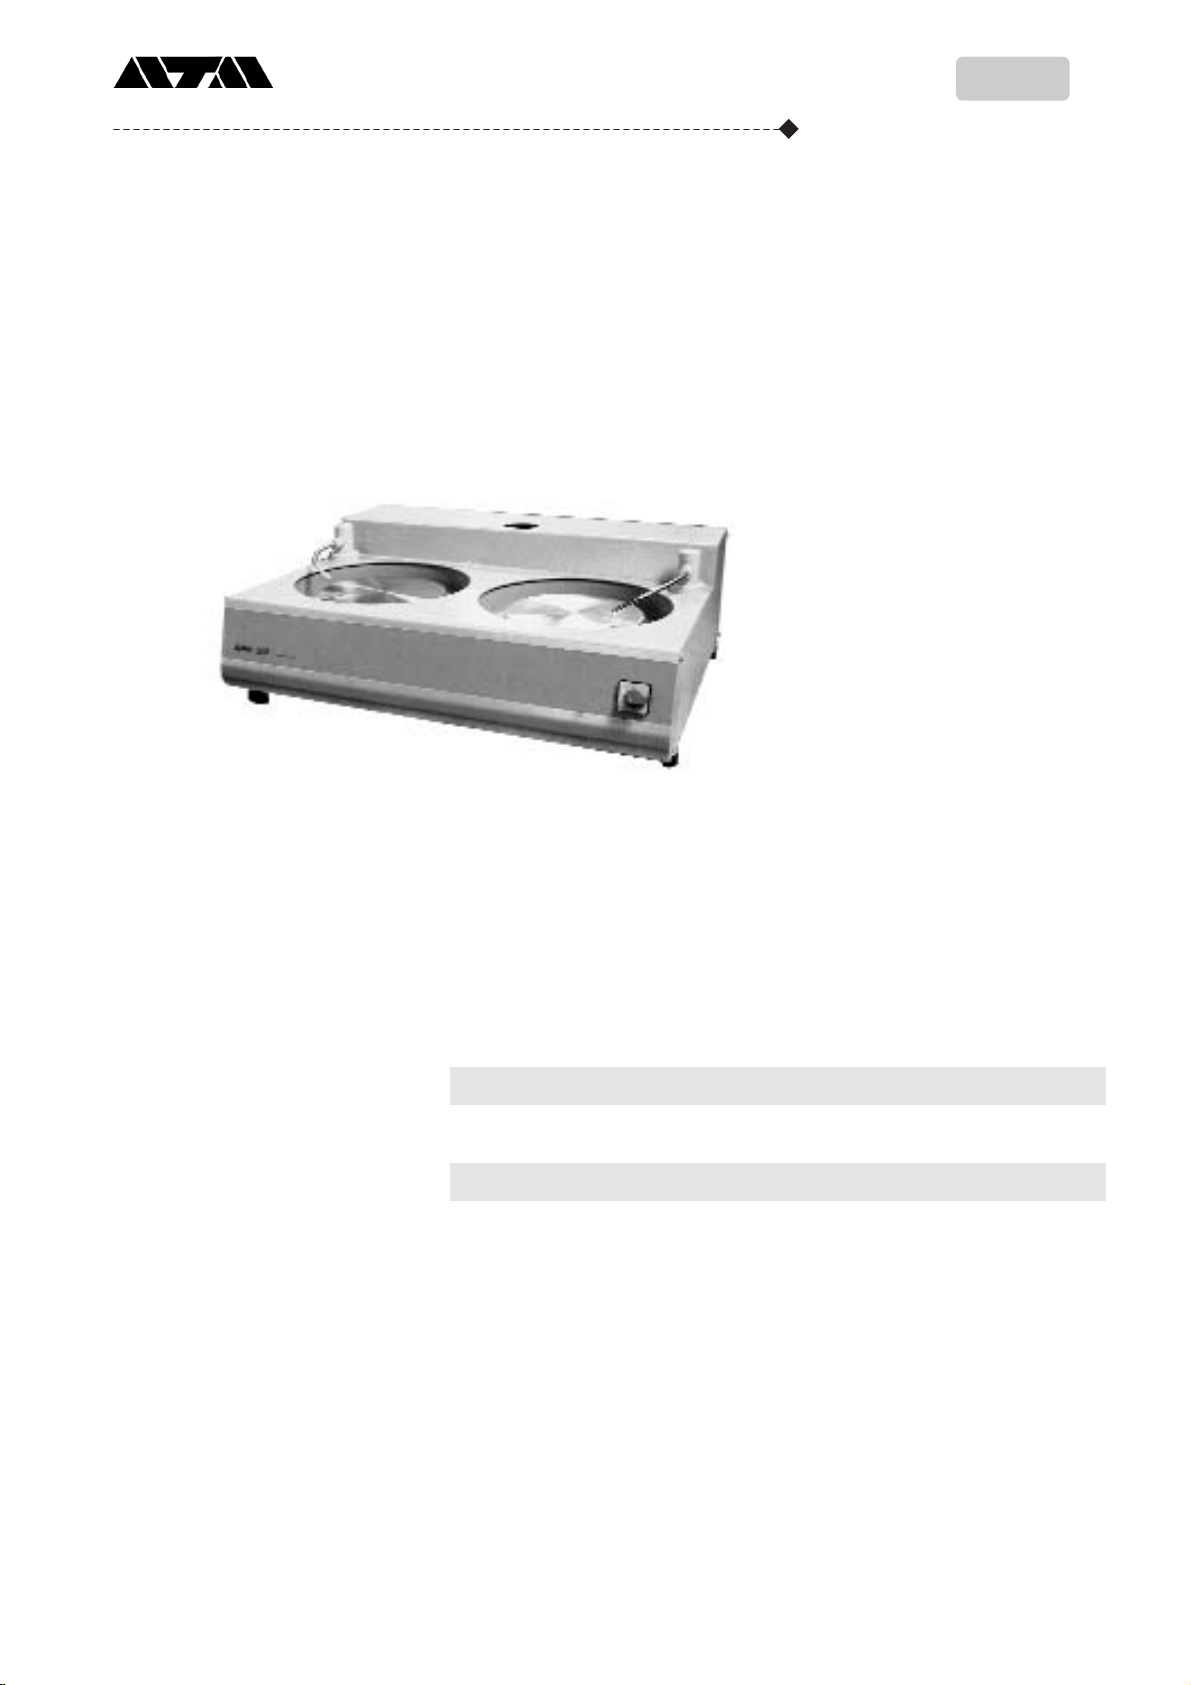
ATA Saphir 330 User manual

1
330Saphir
Instruction Manual
Metallography
ATM GmbH Driescheider Weg 57 D-57610 Altenkirchen Tel. 0 26 81/95 39 -0 Fax 0 26 81/95 39 -20 eMail [email protected] Web http://www.atm-m.com
Grinding- / polishing machine
Saphir 330
follow all instructions and safety
regulations in any case.
Equipment
Model
Acceptance
Date
Signature
made in Germany
This instruction manual is part of
delivered equipment. Please,

2
330Saphir
Instruction Manual
Metallography
0.1 Nameplate
Saphir 330
600 rpm
400 50 0,55

3
330Saphir
Instruction Manual
0.2 Declaration of Confirmity
EC-Declaration of Confirmity
Following art 4 and annex II point C of european directive 89/392/EEC and complements
We hereby certify that the following safety component complies with all the relevant Essential health and Safety
Requirements of the EC Machinery Directive 89/392/EEC as amended and the National Laws and Regulations
adopting this directive.
Description of equipment: Grinding- / polishing machine
Type: Saphir 330
Serial No.:
European directive(s): EC-machinery directive (89/392/EEC)
EC-low voltage directive (73/23/EEC)
European standards: EN 292-1 / EN 292-2
National standards and Manufactured in Germany
specifications:
Date/Manufactures-Signature: ATM GmbH
Position: Manager
ATM GmbH

4
330Saphir
Instruction Manual
Metallography
0.1 Nameplate 2
0.2 Declaration of confirmity 3
0.3 Contents 4 - 5
1.0 Product Describtion
1.1 Introduction 6
1.2 General Describtion and features 7
1.2.1 Main drive 7
1.3 Technical Data 7
1.4 Measures and installation 8
2.0 Safety Regulations
2.1 General precautions 9 - 10
2.1.1 Warning sign 9
2.1.2 General 9
2.1.3 Safety information 9 - 10
2.1.4 Emergency statement 10
2.2 Safety test 11
3.0 Operation
3.1 General 12
3.2 Control display 13
3.3 Coolant connection, drain and electrical connection 14
3.3.1 Connections back 14
3.3.1.1 external coolant inflow 14
3.3.1.2 electrical connection 14
0.3 Contents
Index Page

5
330Saphir
Instruction Manual
Metallography
4.0 Starting
4.1 Introducing 15
4.2 Installated equipment 15
4.3 Conditions 15
4.4 Put on working wheel 16
4.5 Grinding / polishing by hand 17
5.0 Maintenance
5.1 Introducing 18
5.2 Drain cleaning 18
5.3 Cabinet cleaning outside 18
6.0 Dispatch
6.1 packing 19
6.2 shipping 19
7.0 Disturbance and steps 20
8.0 List of spare parts 21
9.0 Electrical chart 22 - 23
Index Page

6
330Saphir
Instruction Manual
Metallography
1.0 Product Describtion
1.1 Introducing
Saphir 330 is a grinding-/ polishing
machine for manual wet grinding or
polishing of different materials,
suitable for laboratory and industry.
Through variable driving possibilities
(switch over for 2 speeds or
variable speed) Saphir 330 allows
different opportunities for grinding
and polishing.
Different operation speed is realized
through various working wheels
(Diameter 200, 230, 250mm).
Also grinding paper and polishing
cloths, which are used at present
could be operated further more.
For half automatic operation
standard machine Saphir 330 could
be retrofitted at any time with
automatic attachment Rubin 500.
Working wheel Water valve
Main switch

7
330Saphir
Instruction Manual
Metallography
1.2 Technical Data Saphir 330
Electrical specification 400V / 50Hz; 3 phases
Motor power 0,55 kW
Working wheel Diam. 200, 230, 250 mm
Speed 150 or 300 rpm
optional 150 and 300 rpm 0,3 / 0,45kW
optional 50-600 rpm
Weight approx. 45 kg
Measures (WxHxD) approx. 670x260x580 mm
Cabinet welded aluminium mono bloc construction
Admissible temperature of environs 0 - 40°C
Admissible temperature of shipping 0 - 40°C
Admissible temperature of storage 0 - 40°C
1.2.1 Main drive
Saphir 330 is equipped with a powerful motor, which is connected with
maintanance-free V-belt to the working wheel.
1.0 Product Describtion
1.2 General describtion and features

8
330Saphir
Instruction Manual
Metallography
1.4 Measures and installation
It is not necessary to set-up the Saphir 330 on a special place, a flat table
is enough. It must be available a electrical and water connection.

9
330Saphir
Instruction Manual
Metallography
2.0 Safety regulations
2.1 General precautions
2.1.1 Warning sign
!This sign point to special fea-
tures on the machine.
2.1.2 General
Attention of this instruction manual with safety precausions is condition for
not dangerous operation with Saphir 330.
Instruction of operator is necessary. Constructive changes and wrong opera-
tion expires warranty claims. Failures have to be reported to supplier (manu-
facturer).
2.1.3 Safety information
!Unit has to be operated according to instructions only.
!Before opening unit main plug has to be disconnected.
!Don´t leave any parts on working wheel.
!Don´t put anything on top or into air slots.
!Watch that air slots are always open.
!If you don´t use unit over a long time (e.g. over night) please turn
extern water supply off.
!Regular installation is necessary (look at 4.0). Instruction of operator
is necessary. In case of wrong installation you don´t get warranty
claims.

10
330Saphir
Instruction Manual
Metallography
2.1.4 Emergency statement
!Grinded samples has to be holded firmly on working wheel.
Attention: Side tilt of samples give rise to catapult away.
!Hold samples with both hands, if possible.
!Operator has to be instructed in case of cutting injuries with contact of
coolants and abrasives.

11
330Saphir
Instruction Manual
Metallography
2.2 Safety test
!Saphir 330 should once a day checked regarding safeting and
operating performance. Following points have to be considerated as
important:
1. Emergency stop switch (main switch)
test: - activate main switch
- switch main switch off
effect: machine disconnected
malfunction: machine do not disconnected
measure: During malfunction turn off the machine with main switch,
call service technician.

12
330Saphir
Instruction Manual
Metallography
3.0 Operation
3.1 General Grinding / polishing process with this machine (without Rubin 500) is only
operated by hand.
Working wheel
Water tube

13
330Saphir
Instruction Manual
Metallography
4. Position ”1”
1. Main switch If you operate emergency stop switch, the machine stops immediately.
2. Position “2” In this position working wheels rotates with 300 rpm (Only with switch-over
for motor polarity).
3. Position “0” In this position machine switched off complete.
4. Position “1” In this position working wheels rotates with 150 rpm or 300 rpm
(according to equipment).
5. Controller for variable speed During operation necessary speed could be adjusted from 50 - 600 rpm.
(optional)
3.2 Control display (Illustration Saphir 330E)
3. Position “0”
1. Main switch
5. Controller
for variable speed (optional) 2. Position “2”

14
330Saphir
Instruction Manual
Metallography
3.3.1.1 External Coolant inflow
1/2 inch connection with compressive tube should be attached to coolant
system. Water drain should be at connected with outflow.
3.3.1.2 Electrical connection
At the back 2 metre connection cable comes out. Inspect the operating
voltage on the name plate. Protection conductor must be inspected.
Connection must be secured with 16A.
3.3.1 Connection back (Illustration with Rubin 500)
3.3 Coolant connection, drain and
electrical connection
Connection for air pressure
(optional for Rubin)
3.3.1.1 external Coolant inflow
Water drain
3.3.1.2 Electrical connection

15
330Saphir
Instruction Manual
Metallography
4.0 Starting
4.1 Introducing
4.2 Installated equipment
4.3 Conditions
Please check after unpacking Saphir 330 on any damages and completen-
ess of parts and accessories.
!Install unit carefully! There will be no warranty for any damages
occuring through installation.
Saphir 330 should be placed on a flat table. Connect electrical power
cable and water supply.
After regular water and electrical connection machine is ready for
operation.

16
330Saphir
Instruction Manual
Metallography
4.4 Put on working wheel Choose suitable working wheel (Diam. 200, 230 or 250mm) and put the
wheel with the tree pins on carrier wheel. Make sure that pins proberly into
holes of carrier wheel. Correct locking of pins can be easily arranged if you
put pins on guide groove carrier plate and rotate working wheel afterwards
(You can also use wheel with one pin only).
!Make sure that working wheel is running plane.

17
330Saphir
Instruction Manual
Metallography
4.5 Grinding/polishing by hand 1. Put suitable working wheel on (Diam. 200, 230 or 250mm)
2. Put grinding paper on. Fixing follows through adhesive film or
suitable clamping rings, which are delivered as optional. Polishing
cloths are provides with self adhesive back.
3. Switch unit on, in case of variable speed necessary speed could be
adjusted with controller.
4. Arrange flexible water spoute over working wheel. After first
installation their might be air in the water tubes, therefore please turn
water control knob just slightly on. During sample preparation you
can adjust water flow according to your needs by turning water
control knob in various positions.

18
330Saphir
Instruction Manual
Metallography
5.0 Maintenance
5.1 Introducing
5.2 Drain cleaning
5.3 Cabinet cleaning outside
Saphir 330 needed no especially maintenance. However direct one´s
attention to care collect bowl. Duration of life will be increased corre-
spond. After operation the collect bowl should be wipe out.
To avoid clogging drain was to be flushed with water regulary. If abrasive
starts hardening, loosen drain tube and remove sedimentation with a flat
brush.
Cabinet and front sheet should be cleaned from time to time with a wetted
cloth. Do not use any chemicals or cleaning medium containing abrasive
particles.

19
330Saphir
Instruction Manual
Metallography
6.0 Dispatch
6.1 Packing Packing
The unit would be packed in a box.
Measures BxHxD: 750x700x600mm
Weight: dependent on model approx. 50 kg
It´s only allows to lift up the box under bottom. Box do not hard let off so
that avoid damaging of sensitive electronical and mechanical things.
!During unload pay attention for persons or parts of bodys who are
under the unit, lest anything should happen.
6.2 Transport

20
330Saphir
Instruction Manual
Metallography
7.0 Disturbance and steps
Disturbance Reason of disturbance Elemination
No function at all a. Unit is diconnected from main Control main cable
electrical power supply
b. Main switch off Turn main switch on
Main motor does not run a. Overload relais off Starts automatically after view
minutes
No water supply a. Water valve closed Opening of valve
b. Water tube is extremely bended Straighten water tube out
Working wheel is not running plane Dirt (abrasive) between working Cleaning or replace if necessary
wheel and carrier wheel
Table of contents
Popular Grinder manuals by other brands

Vigor Equipment
Vigor Equipment V6903 Application note

Eastwood
Eastwood TG1800 instructions

Bosch
Bosch PWS 1900 Professional Original instructions

Truper
Truper TPN-874 manual

Flex
Flex L1109FE operating instructions

MK Diamond Products
MK Diamond Products SDG-11 Owners manual, parts list & operating instructions

Parkside
Parkside PDFW 120 A2 Translation of the original instructions

Makita
Makita GA4042C technical information

MasterForce
MasterForce 241-0438 Operator's manual

NUTOOL
NUTOOL NAG125VS Original Operating Instruction

Power Fist
Power Fist 8843526 instructions

CO/Tech
CO/Tech DM-160B-UK Original instructions