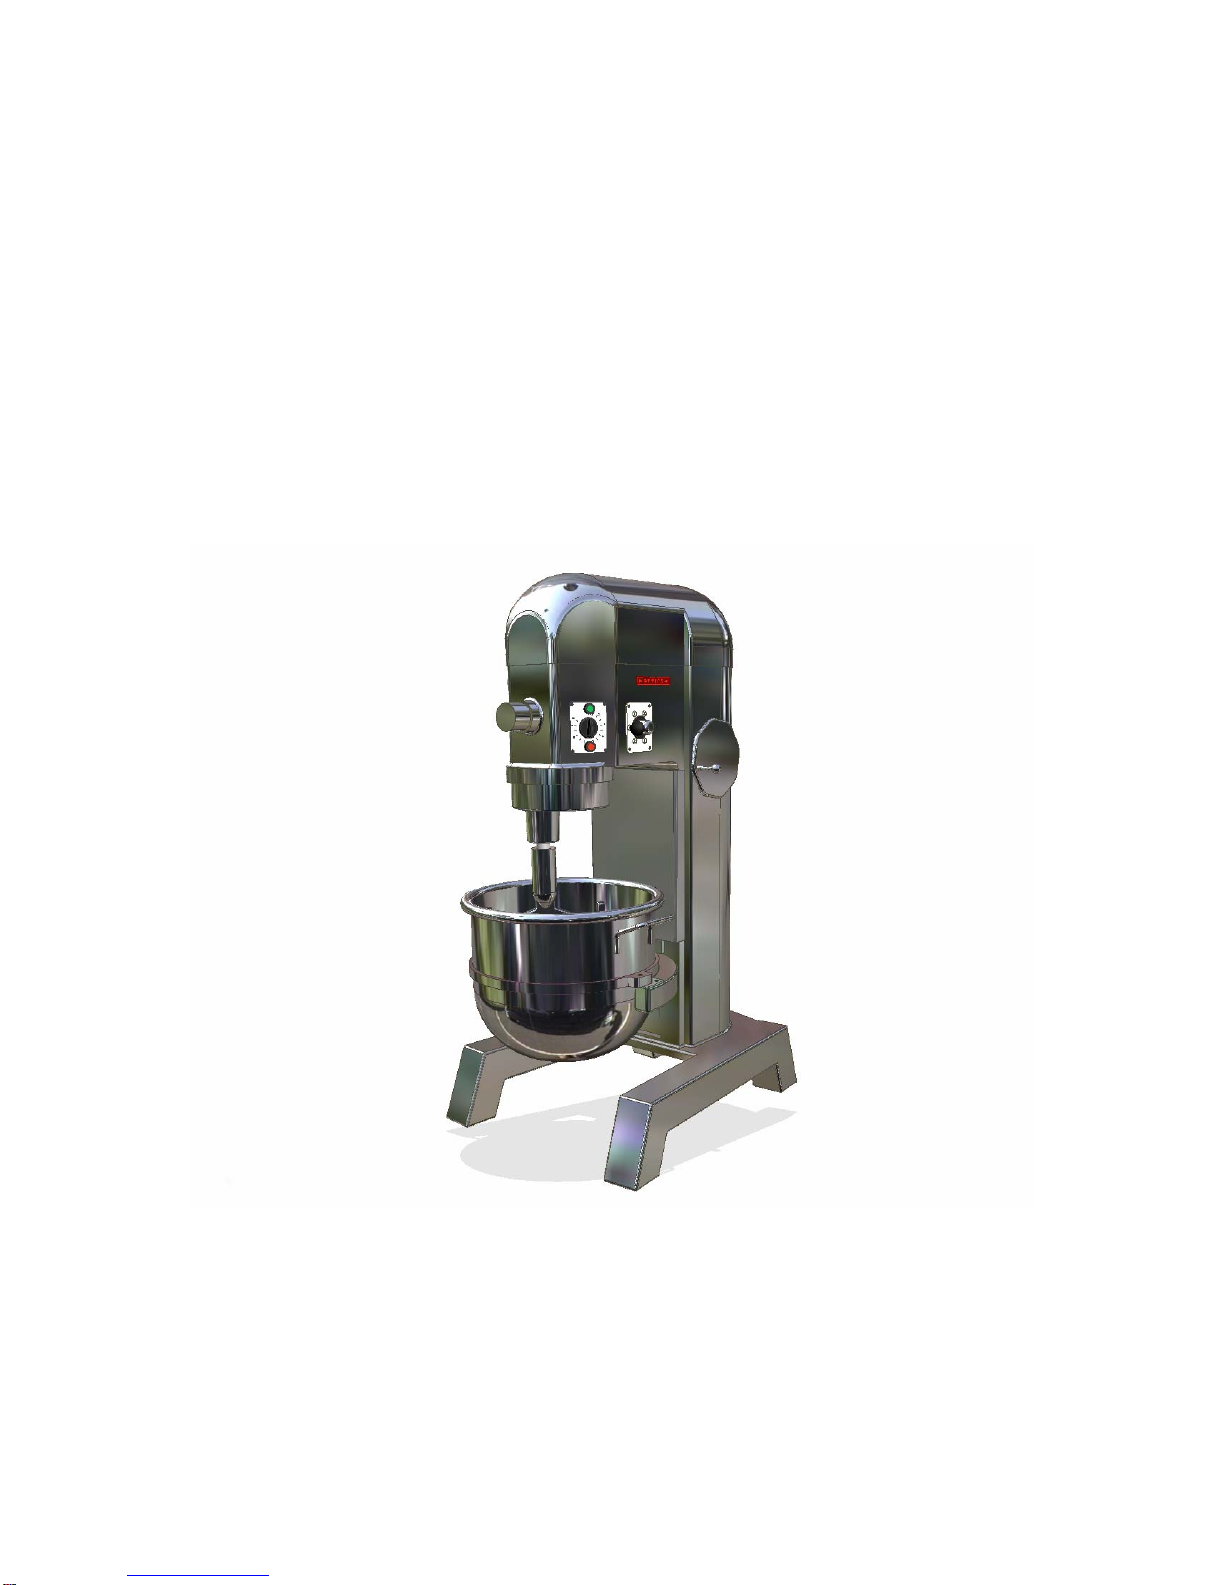
ATTIAS USA-60 User manual
ATTIAS
MANUFACTURERS OF ATTIAS DOUGH MIXERS
COMMERCIAL DOUGH MIXERS
INSTALLATION AND OPERATING
INSTRUCTION MANUAL
MODEL# USA-60
MODEL# USA-80

Installation, Operation and Care of USA-60 and USA-80
ATTIAS COMMERCIAL DOUGH MIXERS
SAVE THESE INSTRUCTIONS
GENERAL SPECIFICATIONS
ATTIAS USA-60 model mixer is a heavy duty 60 quart mixer which features a 5
horsepower motor, a timer and a # 12 attachment hub, with the use of bowl adapters
and special agitators.
ATTIAS USA-80 model mixer is a medium duty 80 quart mixer designed primarily for
use in general kitchen applications. This mixer features a timer and # 12 attachment
hub as standard equipment and is powered by a 5 horsepower motor.
ATTIAS USA-80 mixer is heavy duty 80 quart mixer which features a 5 horsepower
motor, a timer and a #12 attachment hub, with the use of bowl adapters & special
agitators.
ELECTRICITY- 208/220/240 – single phase or 3 phase
*AVAILABLE IN 50 CYCLES FOR OVERSEAS/INTERNATIONAL USE*
ALL MIXERS COME WITH:
-Stainless Steel Bowl
-Dough Hook
-Flat Beater
-Wire Whip
OPTIONAL
-Bowl Dolly
-Cheese Grater Attachment
-Meat Grinder Attachment
-Vegetable Shedder Attachment

INSTALLATION
UNPACKING
Immediately after unpacking the mixer, check for possible damage. If this machine is
found to be damaged after unpacking, save the packaging material and contact the
carrier with in 15 days of delivery.
Prior to installation, test your local electrical service to assure that it agrees with the
specifications on the machine plate. Call Attias with any questions.
LOCATION
Place the mixer in its operating location. There should be adequate space around the
mixer for the user to operate the controls and install and remove bowls. The area above
the mixer should allow the top cover to be removed for routine maintenance and
servicing.
CHECK LUBRICATION BEFORE USE
This mixer is shipped with oil in the transmission and planetary. Check oil levels before
starting mixer. Refer to LUBRICATION, for applicable lubrication procedures.
ELECTRICAL CONNECTIONS
WARNING: ELECTRICAL AND GROUNDING CONNECTIONS MUST
COMPLY WITH THE APPLICABLE PORTION OF THE NATIONAL
ELECTRICAL CODE AND/OR OTHER LOCAL ELECTRICAL CODES.
WARNING: DISCONNECT ELECTRICAL POWER SUPPLY AND PLACE A
TAG AT THE DISCONNECT SWITCH INDICATING THAT YOU ARE
WORKING ON THE CIRCUIT.
ELECTRICAL DATA
Model Volt/Hz/Ph Phase Cycle
USA60 208/220/240 Single or 3 Phase *available in 50 cycles for overseas*
USA80 208/220/240 Single or 3 Phase *available in 50 cycles for overseas*

CHANGING SPEEDS
The GEAR SHIFT LEVER is used to change speed. Always stop mixer before
changing speeds. To change speed, push the STOP button, move the gear shift
lever to the desired speed, and restart the mixer by pushing START button.
NOTE:If you do not stop the mixer to change speeds, it will automatically shut
itself off and you will have to restart it after changing speeds.
STANDARD BOWL LIFT
The handwheel is used to raise and lower the bowl on mixers with the standard bowl
lift. Turn the handwheel clockwise to raise the bowl or counterclockwise to lower it.
POWER BOWL LIFT (Optional)
CAUTION: Before lowering the bowl onto a bowl dolly, always unlock both
bowl clamps.
To raise the bowl and the bowl support, move the switch lever clockwise to the RAISE
position.
To lower the bowl and bowl support, move the switch lever counterclockwise to the
LOWER position.
In case of a power failure, the bowl may be raised or lowered manually. Remove the
apron (secured by four thumb screws) and use 1 inch open-end wrench to turn the lift
screw hex in the desired direction.
MIXING
This section explains operation of the mixer and how to install bowl, agitators, and
attachments. A separate
Use and Applications Handbook
is provided with the mixer
which contains information on mixing procedures and outlines specific uses for
agitators, attachments, and accessories.
Bowl
New mixer bowls and agitators (beaters, whips, and dough arms) should be thoroughly
washed with hot water and a mild soap solution, rinsed with either a mild soda or
vinegar solution, and thoroughly rinsed with clear water BEFORE being used. This

cleaning procedure should also be followed for bowls and agitators before whipping egg
whites or whole eggs.
Note: The bowl must be installed before the agitator.
To install the bowl, fully lower the bowl support. Position the bowl so the alignment
bracket on the back of the bowl is under the retainer on the bowl support and the
alignment pins on the front of the bowl support fit in the holes in the bowl. Lock the
bowl in place by rotating the bowl clamps over the ears of the bowl.
If a bowl adapter is required, install it on the bowl support as you would the bowl and
then install the bowl on the adapter.
Agitator
To install an agitator, the bowl must be installed and fully lowered. Place the agitator in
the bowl, push it up on the agitator shaft, and turn it clockwise to seat the shaft pin in
the slot of the agitator shank.
To Raise the Bowl While Mixing
To raise the bowl while the agitator is mixing the product (when required by recipe or
when using the Bowl Scraper Attachment): Load ingredients. Close Wire Cage
Assembly. Select Low speed. To begin mixing, press and hold the START button; then
raise the bowl.
Attachments
To install an attachment, loosen the attachment hub thumb screw and remove the plug.
Insert the attachment into the attachment hub, making certain that the square shank of
the attachment is in the square drive of the mixer. Secure the attachment by tightening
the thumb screw.
Move the gear shift lever to the desire speed. With the bowl support all the way up and
the wire cage in the front-center position, start the mixer to operate the attachment.
The meat and food chopper attachment should be operated in second or third speed. If
material in the cylinder stalls the mixer, push STOP button at ones. DO NOT attempt to
restart the mixer in a lower speed – remove the adjusting ring, knife, plate, and worm
and clear any obstruction.
Note: THIS ATTACHMENT MUST NOT BE USED TO CHOP BREAD CRUMBS.
Mixer Speeds

Speed 1 (Low) – This speed is for heavy mixtures such as pizza dough, heavy batters,
and potatoes.
Speed 2 (Medium-Low) – This speed is for mixing cake batters, mashing potatoes,
and developing bread dough.
Speed 3 (Medium-High) – This speed is for incorporating air into light batches, as
well ass finishing whipped items.
Speed 4 (High) – This speed is for maximum and accelerated air incorporation into
light batches.
CLEANING
WARNING: DISCONNECT ELECTRICAL POWER SUPPLY AND PLACE A TAG AT
THE DISCONNECT SWITCH INDICATING THAT YOU ARE WORKING ON THE
CIRCUIT BEFORE BEGINNING ANY CLEANING PROCEDURE.
.
The mixer should be cleaned thoroughly daily. DO NOT use a hose to clean the mixer!
It should be washed with a clean damp cloth. The base allows ample room for cleaning
under the mixer. The apron may be removed by loosening the thumb screws. Behind
this apron is an access cover which may be removed for cleaning.
MAINTENANCE
WARNING: DISCONNECT ELECTRICAL POWER SUPPLY AND PLACE A TAG AT THE
DISCONNECT SWITCH INDICATING THAT YOU ARE WORKING ON THE CIRCUIT
BEFORE BEGINNING ANY MAINTENANCE PROCEDURE.
LUBRICATION
Planetary
The planetary oil should be checked periodically. To check, DISCONNECT ELECTRICAL
POWER SUPPLY and remove the Drip Cup-Splash Guard. Oil should be even with the
bottom of the fill plug hole. If it is not, slowly add the recommended planetary lubricant
until it is. Replace the fill plug and the Drip Cup- Splash Guard.

A Drain Plug is located on the bottom of the planetary. Should draining become
necessary, remove the Drip Cup- Splash Guard and place a suitable catch pan under the
draining plug. Remove the drain plug, allow oil to completely drain, and replace the
drain plug. Remove the fill plug and pour in six fluid ounces of the recommended
planetary lubricant. Replace the Fill Plug and the Drip Cup-Splash Guard. Contact
ATTIAS OVEN CORP. for the recommended planetary lubricant.
Planetary Seal
Occasionally, the planetary seal may become dry and begin to squeak. To correct this,
work a little lubrication under the lip of the seal.
Transmission
The transmission oil should be even with the line on the Oil Level Gauge when the
motor is NOT running. If the oil falls below this line, DISCONNECT ELECTRICAL POWER
SUPPLY and remove the Top Cover, which is secured by two screws. Remove the
Transmission Fill Plug and add a small amount of the recommended transmission oil
until it returns to the proper level.
DO NOT overfill the transmission as leakage may result. Contact you ATTIAS OVEN
CORP. for the recommended transmission oil.
Bowl Lift
The slideways and lift screw should be lubricated approximately twice a year. To reach
these areas, fully lower the bowl support and remove the apron, which is secured by
four thumb screws. Wipe a thin coat of lubricate on the bowl clamp area of the bowl
supports, each slide way, and the lift screw. Replace the apron.
Note: on units with a manual bowl lift, the handwheel gearing should be lubricated
periodically. To do this, DISCONNECT ELECTRICAL POWER SUPPLY and remove the top
cover. Wipe a coat of Lubricate on the gear teeth and replace the top cover.
ADJUSTMENTS
AGITATOR CLEARANCE
The agitator clearance should be checked with each bowl change. The agitator must
not touch the bowl and the maximum clearance between the bottom of the bowl and
the Flat Beater is 1/8”; the maximum clearance between the bottom of the bowl and
the Dough Arm is 5/16”.
Install a Bowl and Agitator. If the Bowl and Beater come into contact before the Bowl
Support reaches its stop, adjust the Stop Screw upwards following the procedure below.

TO MEASURE THE CLEARANCE
Pour enough flour in the bowl to cover the bottom of the bowl where the beater travels.
With the bowl fully raised, briefly run the mixer in speed 1.
Turn off the mixer, DISCONNECT ELECTRICAL POWER SUPPLY, and measure the depth
of flour where the beater has traced a path. This measurement should be taken at
several points around the bowl to assure accuracy.
TO ADJUST THE BOWL/AGITATOR CLEARANCE
•Remove the Apron.
•Loosen the bottom Locking Nut and turn the Stop Screw counterclockwise to
increase the clearance or clockwise to decrease clearance.
•Tighten the Locking Nut while holding the Stop Screw.
CAUTION: Make sure the switch button on the bowl height sensing switch is
never below the bottom of the actuator.
•When the Bowl Support is fully raised, the Switch Button on the Bowl Height
Sensing Switch should be 1/8” above the bottom of the Nylon Actuator to move
it up or down.
•After the adjustments are made, replace the Apron.
•Reconnect the electrical power supply.
•Carefully operate the bowl lift several times to check the adjustment
BOWL CLAMPS
The height of the bowl clamp is controlled by a spring washer and lock nut, which are
located on the bottom of the bowl support. Turning the lock nut clockwise will loosen
the clamp, counterclockwise will tighten it. If repeated adjustments are necessary, or
additional service is indicated. Contact ATTIAS OVEN CORP. for more information.

TROUBLESHOOTING
SYMPTONS POSSIBLE CAUSE
Mixer will not start. 1. Gear shift lever between gears (not fully
engaged).
2. Circuit protector in open position – check
fuse or disconnect switch.
3. Mixer or attachment overloaded.
4. Bowl not all the way up.
5. Wire Cage Assembly is not in the front-
center position.
Agitator touches bowl. 1. Bowl clamp(s) not closed.
2. Improper agitator clearance – see
MAINTENANCE for adjustment procedures.
3. Bowl clamp(s) improperly adjusted – see
MAINTENANCE for adjustment procedure.
Planetary seal squeaks. 1. Seal requires occasional lubrication – see
MAINTENANCE.

HOW TO CARE FOR THE ATTIAS
60-QUART AND 80-QUART MIXER BOWLS
(DO’S AND DON’TS)
1) DO NOT use abrasive cleaning materials, such as Brillo pads or metal scrapers. The
tin is soft and should be cleaned with a soft cloth.
2) DO NOT use a cleaning agent containing a high percentage of free alkali or acid.
3) DO NOT use detergent containing a high percentage of Tin-sodium phosphate or
meta-silicate. Tin is reactive to both.
4) DO NOT subject tinned surfaces to extreme heat. The melting point of tin is
approximately 450 degrees.
5) DO NOT abuse or strike the side of tinned containers with metal stirring utensils. Tin
is soft and can be removed by continual abrasion.
6) DO NOT store a tinned item in a location of high humidity for long periods of time.
7) Rinse thoroughly after washing to remove agents that may be reactive to tin.
8) If sterilizing agent containing chlorine is used, the tinned surface must be thoroughly
rinsed. Chlorine is corrosive to tin.
9) Dry thoroughly after rinsing and store in a dry environment.
10) If water is exceptionally hard, drying is necessary to prevent permanent spotting.
This manual suits for next models
1
Table of contents
Popular Mixer manuals by other brands

KitchenAid
KitchenAid KSM95ER - 4.5-qt. Ultra Power Stand Mixer Use & care guide

Ashly
Ashly mXa-1502 Update instructions

DiGiQuest
DiGiQuest WHIP 250 GRIGIO user manual

Kasanova
Kasanova MIXER BULLET instruction manual

Sunbeam
Sunbeam Mixmaster Compact MX5900 Instruction booklet

VocoPro
VocoPro SmartTVOke Product information sheet

Orava
Orava RM-700 instruction manual

Bartscher
Bartscher 101.920 instruction manual

Varimixer
Varimixer AR80 Series operating instructions

Breville
Breville Handy Stand Mixer BEM600XL Instruction booklet

Cuisinart
Cuisinart Precision Master SM-35 Series Quick reference guide

Hamilton Beach
Hamilton Beach Eclectrics 63232-MX manual


