Installing the Fan
Build a mounting box around your existing gable or passive vent
inside the attic. Measure the length between the studs adjoining
the vent and cut the 2x4 boards to complete the box as shown
in Figure 1. Secure the boards in place using woodscrews. When
completed, the mounting box should provide an air channel for
the gable fan to properly exhaust through.
Step 2 - Building the Mounting Box
Mounting box should be no larger than 21”x21”. If gable
or passive vent extends beyond this area, block off excess
venting area to prevent backow of exhaust air.
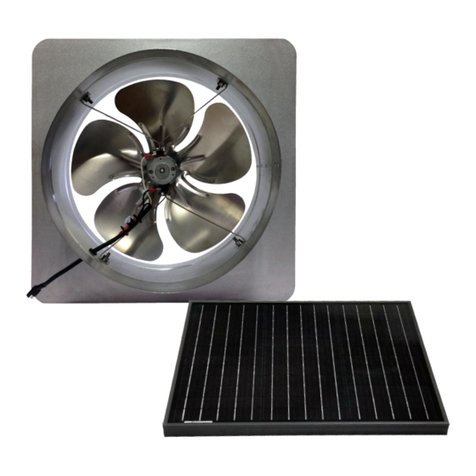
Next, remove all packaging material and tape from your fan. Install
the Attic Breeze retrot-style solar fan ush to the mounting box (see
Figure 2). The fan housing (cylinder) should be positioned facing
toward the attic space. Secure the fan unit to the mounting box
with self tapping screws.
Step 3 - Installing the Fan
Figure 1 - Building the Mounting Box
Begin by Locating the power cable included with your Attic Breeze
solar attic fan. Make sure the power cable is long enough to reach
the location where the remote solar panel will be installed.
Step 1 - Remote Mounted Solar Panel
If additional power cable length is needed for your
installation, Attic Breeze offers a 40 foot extended power
cable as an available option.
Route the power cable through the attic, starting from the fan area
to the location where your remote solar panel will be installed and
secure the power cable in place. The power cable may be routed
out of the attic by bringing the cable through an existing passive
vent, penetrating a gable wall and running the cable along the
roof eve, or simply routing the power cable directly through the
roof. When making any wall or roof penetration, caulk around the
penetration using a roof-grade weatherproof sealant.
Install the solar panel mounting brackets per the instructions
included with your specic Attic Breeze bracket kit. Plug in the
power cord to the connector on back of the remote solar panel
and securely mount the solar panel/bracket assembly as required
to your roof or structure.
Figure 2 - Installing the Fan
If installing a Breeze Mate® control system, please follow the
instructions included with that product at this time. Plug the power
cable from the solar panel or Breeze Mate® connector into the
power cable connector on the fan (black cable).
ATTENTION: KEEP THE SOLAR PANEL COVERED DURING
INSTALLATION. After the power cable is connected, your
Attic Breeze solar fan may begin operating immediately
when exposed to sunlight.

