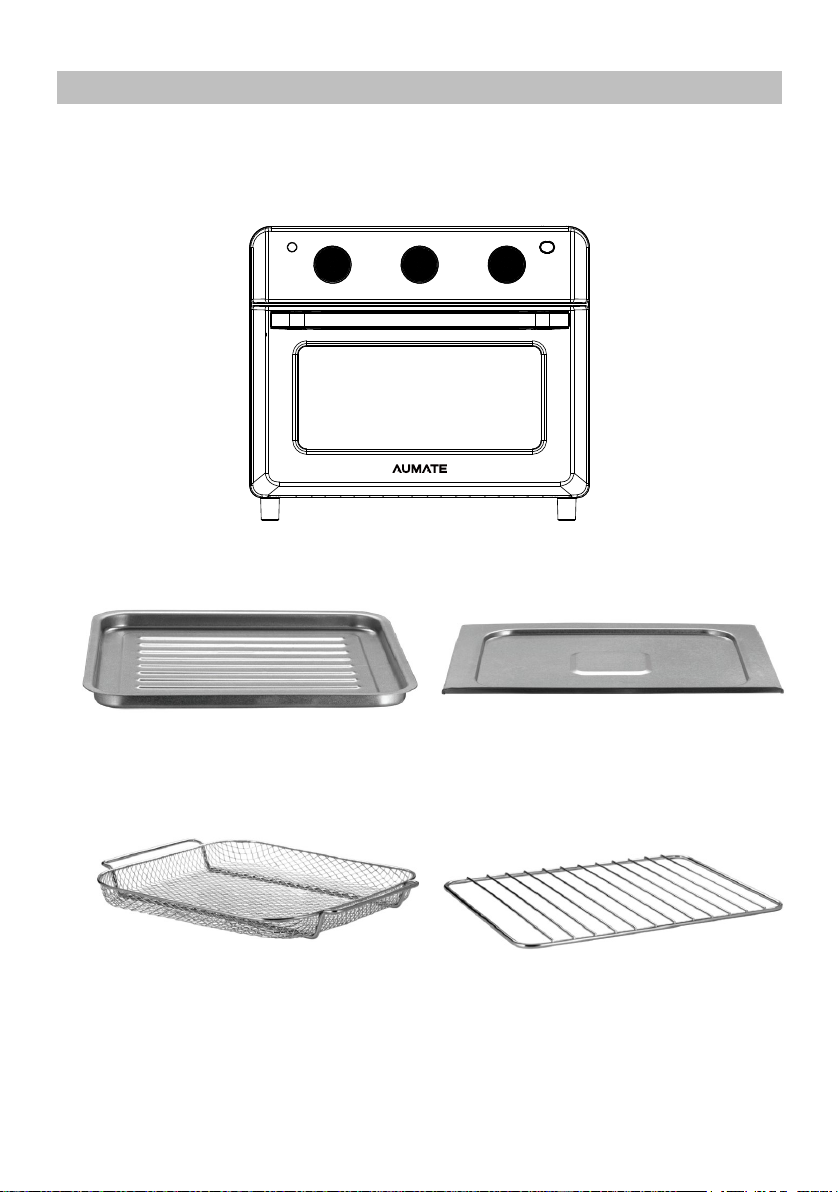
After air frying, unplug the power cord, clean the crumb tray,
oven rack, baking pan and fry basket, and store them for next
use.
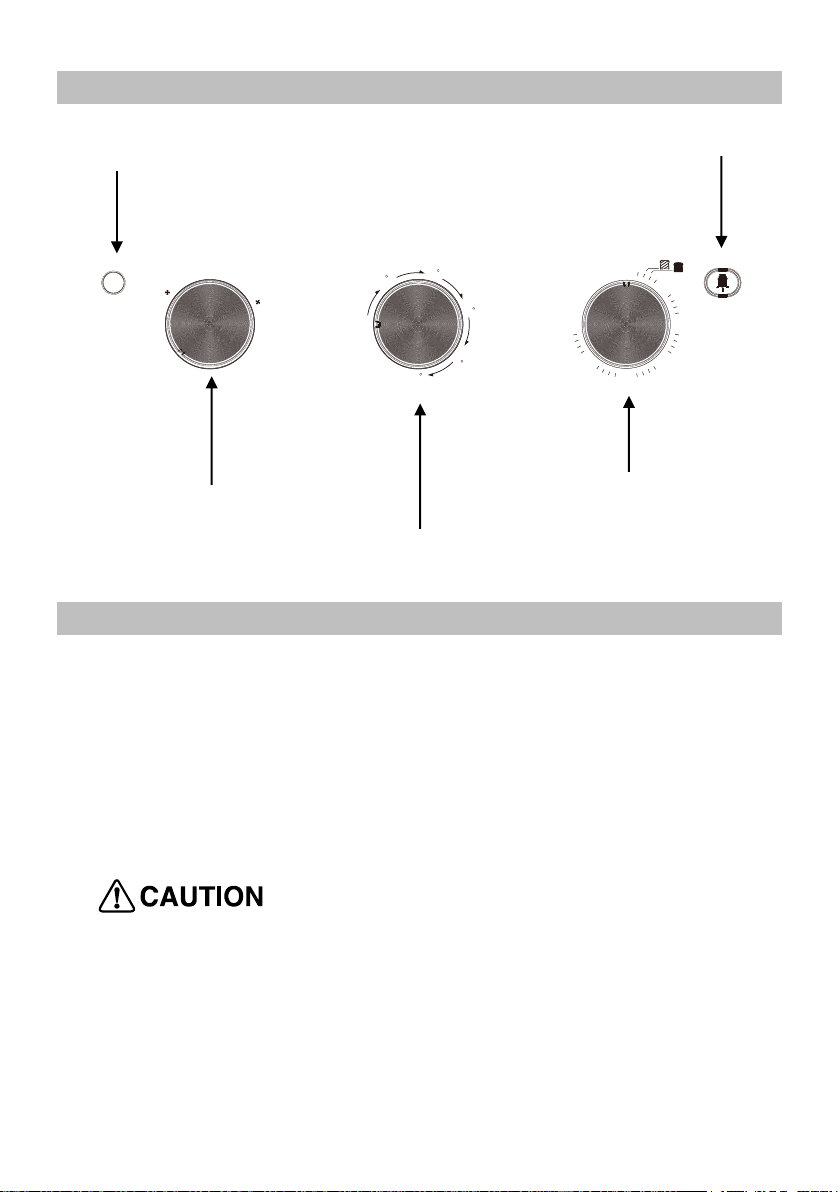
Power Indicator:
1. The light turns on when it isworking.
2. Functioning button:7 Switches,andthese 7 Switches are:
WARM, BROIL, BROIL TOAST, BAKE, BAKE& AIR FRY
3. Temperature button:within 100℃-230℃
4. Timing device:when using the toast, time can be set to:4 Mins &
5.5 Mins;if not using the toast, time can be set towithin:1~60
Mins;the light will be turn on when it works.
5. Oven light switch: press the button of oven light switch, the oven
light becomes bright, press itagain, the oven light goes out.
CLEANING& .MAINTENANCE
WARNING: Never immerse cord, plugs, or appliance in water or
other liquid. Do not plug in the appliance or operate the control
panel with wet hands.
Clean the appliance after every use.
Always unplug the appliance and let it cool down completely
6
before cleaning.
Never use abrasive utensils or corrosive products to clean the
appliance.
Apply a cleaning agentto a cloth and wipe down the exterior.
Apply a mild liquid soap solution to a damp cloth or sponge and
wipe down interior. Remove any residue with a damp cloth.
Clean accessories in dishwasher, or hand wash with a nylon
scoring pad or brush in warm, soapy water.