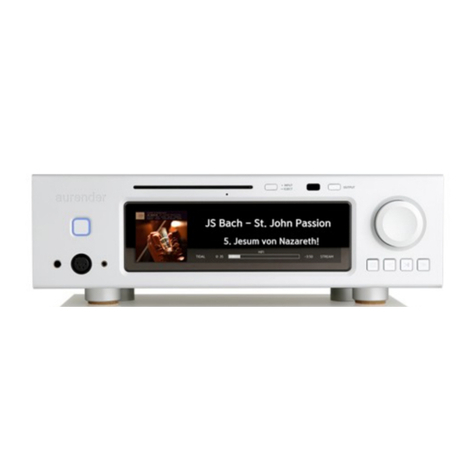
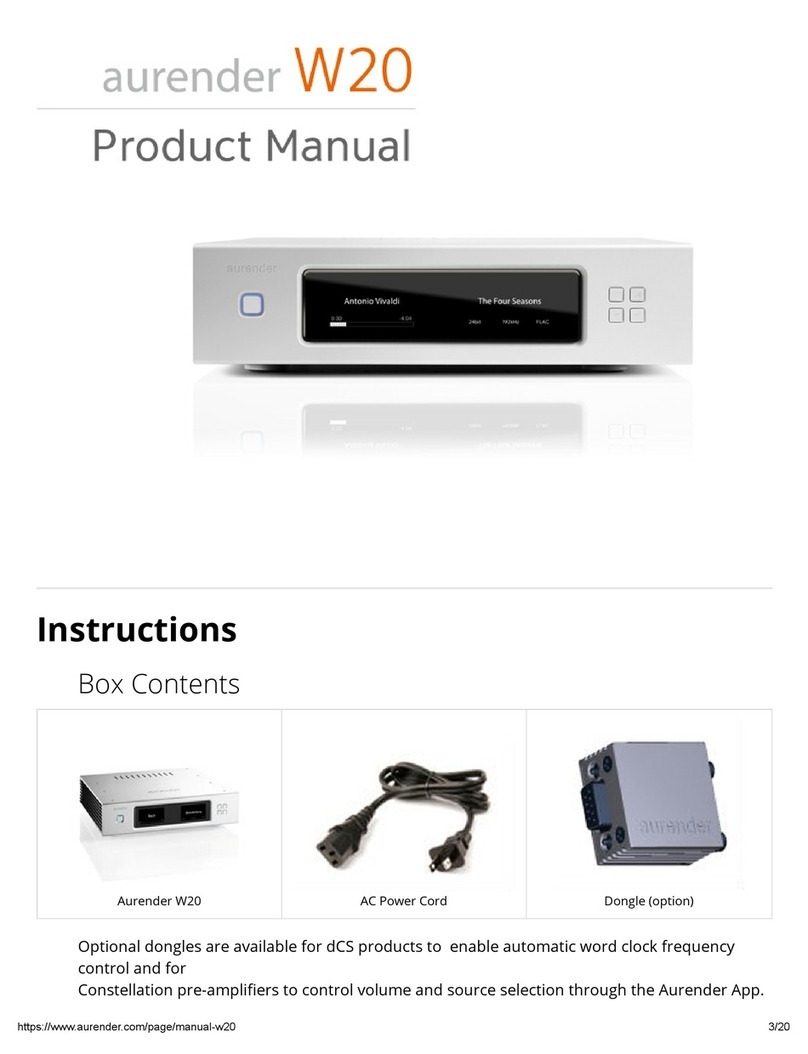
Aurender N20 User manual

www.aurender.com
Customer Service: [email protected]
Aurender America Inc.
20381 Lake Forest Drive, STE B-3 , Lake Forest, California 92630, USA
N20 Hardware Installation Guide
V 1.1.1
This Limited Warranty covers any defects in material or workmanship under normal use during the Warranty Period.
Aurender products warranty period is 2 years.
Warranty Notice
To fully utilize N20 below equipment is required. iPad, wireless router, one of the Aurender Music Server models,
LAN cables, Internet connection.
Requirements
1) Please do not open the unit’s enclosure.
2) Please do not place strong magnetic material near the unit.
3) Dust, hot temperature, high humidity can cause the product to malfunction.
4) Please detach AC cable only after the unit is powered off fully
5) Aurender is not responsible for any data loss from the unit. Please make sure that your Aurender does not contain
the ONLY copy of your music library!
Caution
Before connecting audio cables, first check to see that all devices are grounded using grounded plugs and
grounded sockets. In addition, all devices should be turned off, before connecting any audio or digital cables. If the
devices are not grounded, a voltage potential difference between devices can cause a voltage surge through the
audio cable that can weaken and eventually damage sensitive circuits in D/A converters and other devices.
Warning
Aurender is a linux based device and utilizes Linux, MPD and other open source software covered by the GNU
General Public License version 2 (some parts of it are under different licenses compatible with the GPLv2). To
receive the modified source, please contact suppor[email protected] with the following information: date of
purchase, name of dealer purchased from, model and serial number.
Notice
1) Place the unit on a flat, sturdy surface.
2) Please do not install N20 near other devices which generate heat.
3) Please do not stack other devices on top of the unit.
4) Please ensure that the unit has at least 4 inches of space on each side for proper ventilation.
Placing the unit

Front panel
In the default mode, pressing will power the unit on and completely off. In the Standby mode, pressing the front
panel button will put the unit into standby, and the unit will turn on instantly. In standby mode, to turn the unit
completely off, press the front panel power button once so that it wakes up from stand-by mode. And then press
the front panel power button again. The light exterior to the button will start to flash. Flashing will stop when the
unit is off.
1. On/Off/Standby
2. 8.8" Wide Front LCD Display
3. Display Menu button
Press to cycle through 2 display options: Song Information and Playlist. Songs from playlists may be selected using
the four buttons on the right side of the front panel display. Use buttons 5 and 6 ("Next" and "Previous") to scroll
between playlists and button 4 "play/pause") to select a playlist. After the playlist is selected, press button 4 again to
start playback. Once the playlist is selected, buttons 5 and 6 buttons can be used to select songs within the selected
playlist.
To see the Device Information Display (including details about Server name, LAN/Wi-Fi status, IP address, and
other information), press and hold the Menu button (3) for about three seconds until the display blinks. Release the
button and wait a moment for the Device Information Display to appear. To return to the normal display, press the
button again.
4. Play/Pause button
Press to start or pause playback.
5. Previous button
Press to skip to the previous track.
6. Play Next button
Press to skip to the next track.
3 4
1
2
5 6

3 4 5 6 7 81 2 9
10 11 12 13
Rear panel
The N20 is supplied without hard drives installed. If it is your intent to import digital audio files into the N20, you will
need to install the appropriate hard drive(s)/SSD(s) first. Please refer to the “Recommended Hard Drive” and “Hard
Drive Installation” section of this manual.
1. User-installable SSD/HDD Slots
Connect this using the AC Power cord to a grounded power source/outlet.
2. AC Power Inlet
The real panel power switch controls power to the unit. Turning if off is equivalent to unplugging the unit. Before
turning the rear panel power switch OFF, make sure to shut the unit down properly. Because N20 has UPS circuitry
inside, it will take some time for the unit to be drained of power after the power switch turned off.
3. AC Power Switch
Use the dedicated USB Audio port to connect to asynchronous USB DACs. (5V/1A). Can be turned off when not in
use, for better fidelity on SPDIF outputs.
4. Dedicated proprietary USB Audio Class 2.0 Output
Connects to the XLR input of a digital-to-analog converter.
5. AES/EBU XLR Output
Connects to the optical input of a digital-to-analog converter.
6. Optical Output
Connects to the digital coaxial RCA input of a digital-to-analog converter.
7. Coaxial RCA Output (SPDIF)
Connect to the digital coaxial BNC input of a digital-to-analog converter.
8. Coaxial BNC (SPDIF) Output
Connect to the BNC output of the master word clock.
9. Coaxial BNC Word Clock Input
10. Earth Terminal
Both ports can be used to copy files from USB memory devices. Either port can also be connected to dCS systems
by using the optional USB to RS232 dongle. Connecting the dCS RS232 control cable will enable automatic clock
selection between the Aurender N20 and the dCS Master Clock. These ports should not be used as audio outputs.
11. 12. USB 3.0 Data Port 1, 2
To connect to a router, switch or access point via Ethernet. The Ethernet cable should be connected to the router
prior to turning on the Aurender.
13. Gigabit Ethernet Port

STEP 1: Connect to Power
Using the included power cable, connect your Aurender to 110V/120V or 220V (depending on your region)
electrical outlet or a power conditioner/surge protector.
STEP 2: Connect to Local Area Network (LAN)
Your Aurender server must be connected to your router via a hard-wired Ethernet connection. Aurender servers
do NOT have any WiFi connectivity (this is by design as most WiFi networks are unreliable and subject to drop-
outs and limited bandwidth).
In cases where your listening room location makes it physically impossible to run an Ethernet
connection back to the router, you might consider using a WiFi extender or ethernet-over-powerline adapter to
establish connectivity. Please contact Aurender Support for assistance.
Below is a diagram of a common connection schematic. Your network configuration may vary.
Note: Your Aurender is supplied with a generic IEC power cable. However, many Aurender
users choose to use an upgraded power cable for enhanced performance. Please consult your dealer for cable
recommendations.
STEP 3: Connection to Main Amplifier or Preamplifier
Using the included power cable, connect your Aurender to 110V/120V or 220V (depending on your region)
electrical outlet or a power conditioner/surge protector.
Router
NAS
iPad
Speaker Speaker
Master Clock (optional)
DAC
AMP
Aurender N20
Table of contents
Other Aurender Stereo System manuals
