User Manual
Commercial Countertop Griddles, Charbroilers, and Ranges
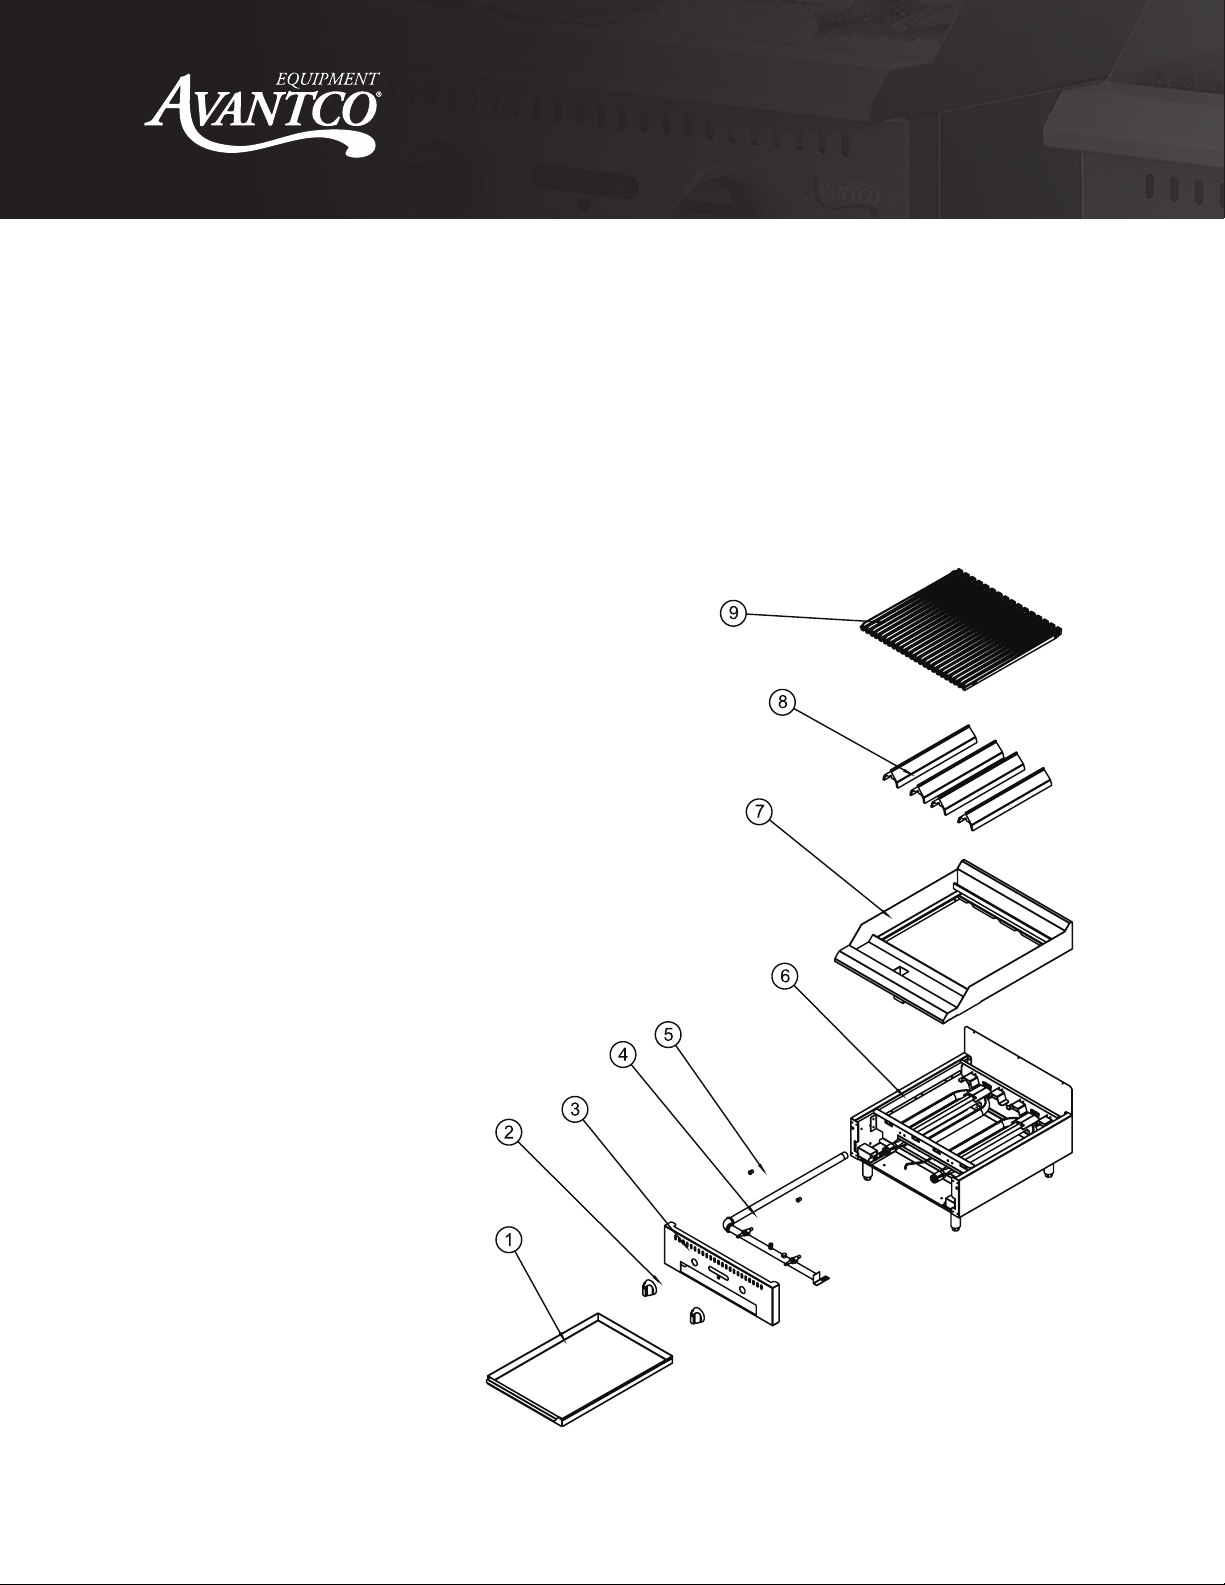
3
www.AvantcoEquipment.com
This manual contains important information regarding safe operation of your Avantco snack
oven. Please read thoroughly before equipment setup, operation, or maintenance. Failure to
comply with regular maintenance guidelines outlined in this manual may void the warranty!
• Please observe all local and national codes and ordinances.
• Installation must conform with local codes, or in the absence of local codes, the National Fuel
Gas Code, ANSI Z223.1 (latest edition). In Canada, installation should conform to installation
codes for gas burning appliances and equipment standard CAN/CGA-8149.1 or the propane
installation code, CAN/CGA-8149.2, as applicable.
• Installation must be performed according to the manufacturer’s instructions and by qualified
and authorized persons.
• For repairs, contact an authorized service technician only and request original replacement
parts;
• Before operating the product and whenever there is any doubt about its operation, the user
has the duty to read and understand this manual in detail.
• Install the equipment in a place where there is sucient physical space for perfect handling
of the equipment.
• Never use your equipment without first installing it correctly.
• If any abnormalities in operation are observed when using the equipment, discontinue use,
close the manual gas shut-o valve, and call an authorized service technician to correct the
problem.
• Any unauthorized alterations and / or tampering is DANGEROUS and will void all warranties.
• Close the gas valve that powers the equipment and check that the knobs are in the closed
position when: not in use, before servicing and cleaning the product.
• Fully assemble all components before turning on the product.
• Use three or more people or a load lifting device to move and install.
• Do not soil, remove, or obstruct the identification labels.
• For proper operation of the appliance, do not obstruct the flow of gas and ventilation.
• When your product is in use, accessible parts can become hot, and children should be kept
away.
• Ensure that children do not play with the equipment.
• Always check that the gas connections are correctly installed, and have no malfunctions and
no gas leaks.
• Carefully keep this manual for future reference.
• Failure to follow the instructions in the consumer manual for product installation conditions
will void your warranty.
• Never use the equipment if it is damaged or not working properly.
• Water or oil may make the floor slippery and dangerous. To avoid accidents, the floor must
be dry and clean.
Safety
Conforms to:
UL 197, UL Standard for Commercial Electric Cooking Appliances
ANSI Z83.11-2016/CSA 1.8-2016, Gas Food Service Equipment;
CSA CSA 1.8, 4th Ed., Issue Date: 2016-02-01