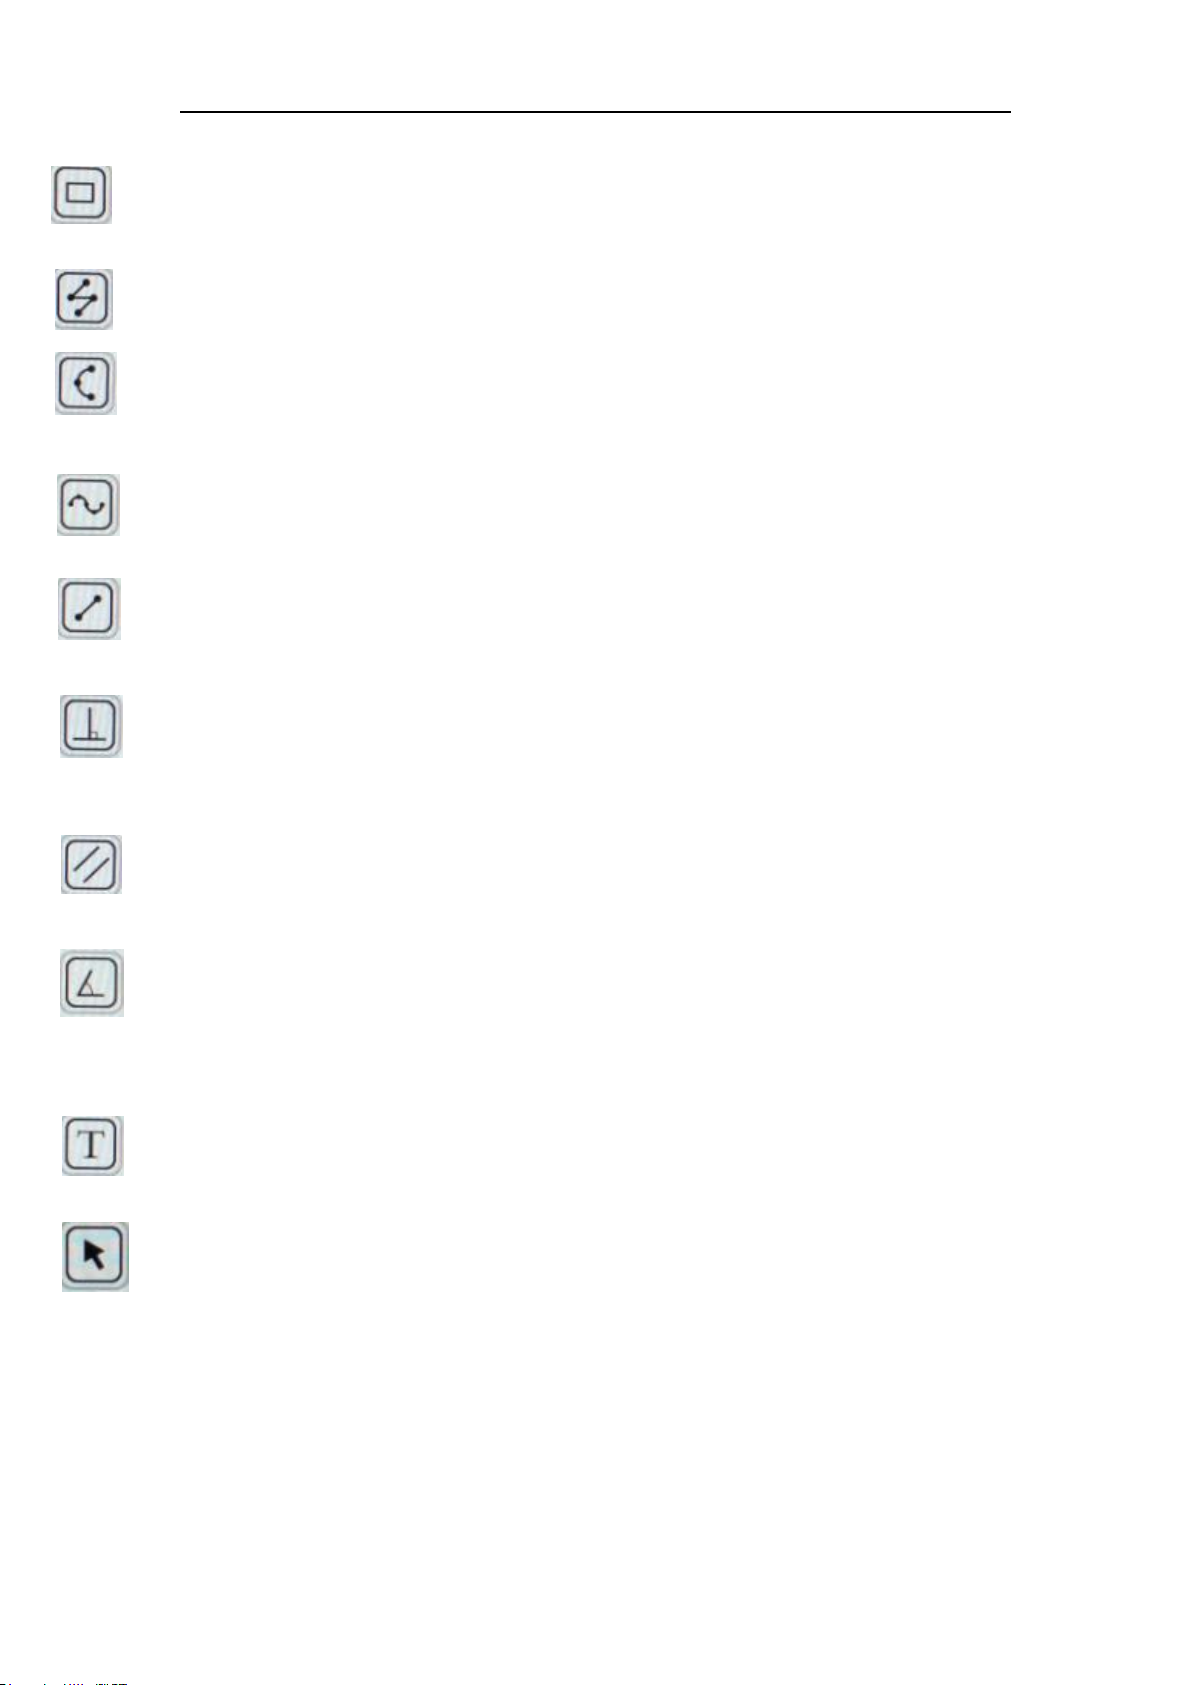
Measurement introduction
Coordinate point: Draw a marker over the image, and it indicates the coordinate point value.
Circle radius measurement: Click any point in the interface to determine the center of the circle,
and click second time to determine the distance between the circle center and the
point on the circle, which is radius.
2 point circle: Click any point in the interface to determine the point on the circle. And then
click to determine the diameter distance between two points and the value is the
radius.
3 point setting circle: Click any point in the interface to determine the point on the circle. And then
click the distance between the diameter and the point. Thirdly, click the distance between the circle
and the second point. The value is the radius.
Center distance: Choosing one of three ways to draw a circle, then measure the distance
between two circle center.
Concentric circle: Click to determine the center of the circle at any point in the interface.
Next, click to determine the distance between the center of two circles. Thirdly,
click to determine the distance between the center of two circles. Then
measuring the radius of the two circles
Distance between circle and line: Click anywhere to determine the circle center, and click
-----------again to determine the center distance.
Polygon: Click anywhere on the screen to determine one angle, and it will increase one
---------- angle when clicked each time. Measures the area of the polygon.
Crosshair: Click anywhere on screen to draw a crosshair and show the coordinate
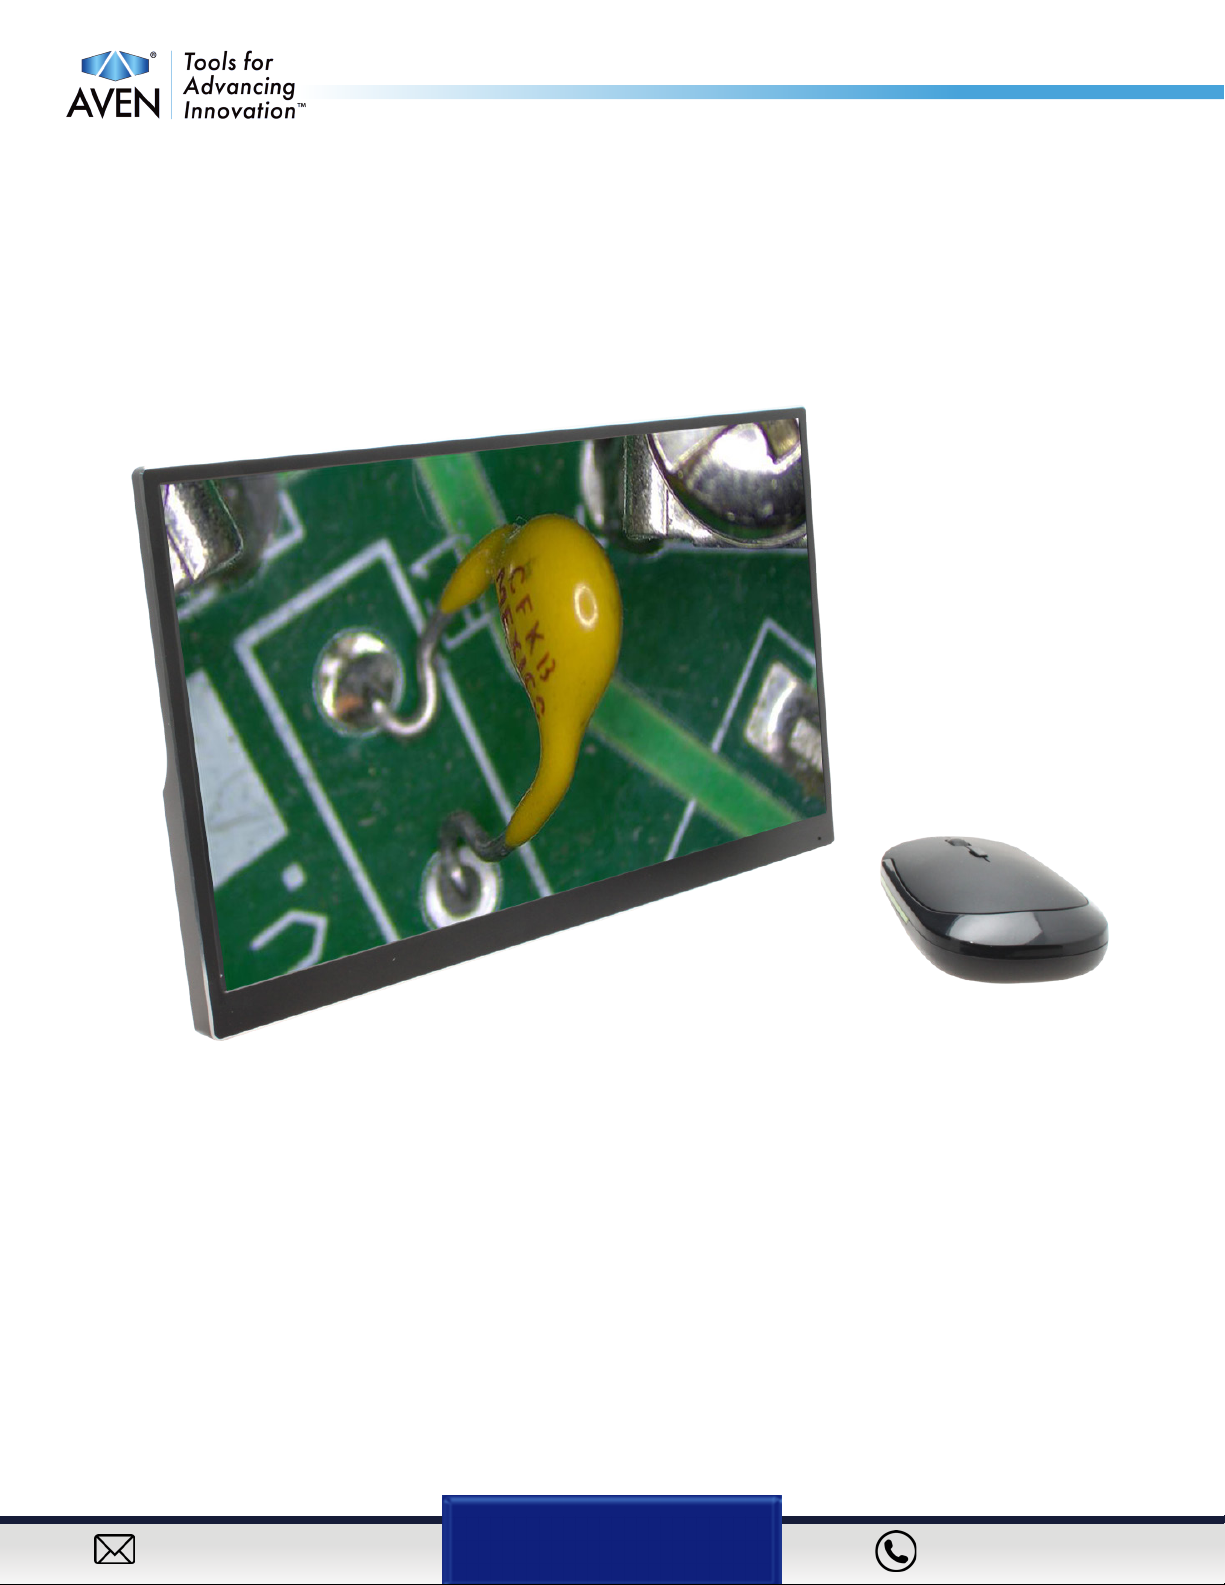
Mighty Cam Eidos 26100-260