AWA T2102B User manual

颜色:黑色双面印刷
材质:80克书纸
尺寸:130x180mm
装订方式:
料号:2.01.011.0487
骑马钉
印刷要求:
制作: 肖小燕
校对:
审核:
批准:
深圳市安科讯实业有限公司

10" (26cm) Portable TV and Photo Frame
T2102B-User Manual


Should you encounter any problems, please
contact the help line before you return this
product back to the place of purchase.
Contact our Toll Free Warranty
Support Help Line
1300 366 144
Email: [email protected]
Visit our web site for FAQ’s or request for
service
www.awa.com.au


Warning!Important Notes on Safety
Before you use this product, please read carefully the corresponding parts about the signs on the
product you have bought and keep it properly for future reference.
This sign indicates that there
is dangerous high voltage
inside, and it is dangerous to
contact any component inside
the product in any form.
This sign prompts you to pay
attention to the attached
important notes on the
operation and maintenance of
the product.
zThe notches and holes inside the cabinet, on the back and at the bottom of the cabinet are
designed to provide necessary ventilation.
zIn order to ensure the reliable operation of this television and to prevent it from getting
overheated, do not stop or cover these notches and holes.
- Do not cover the notches and holes with cloth or other materials.
- Do not put this television on bed, sofa, carpet, or on the surface of other similar object, in
order to avoid causing the blockage of the notches and holes.
- Do not put this television in a limited space, such as bookcase or embedded cupboard
unless there is proper ventilation conduction.
- Do not put this television in a limited space, such as bookcase or embedded cupboard
unless there is proper ventilation conduction.
-Please keep an interval of 10cm (4 inch) between this product and the wall.
-In the process of use, this television may get slightly hot, and this is the normal condition and
does not indicate that any failure occurs to it.
zDo not put this television near or above electric heater or heating plate, or a place with direct
sunlight.
zDo not put heat-generation articles such as candle, ashtray, incense, flammable materials or
explosive materials near this product.
zDo not place any container containing water on this television, which will lead to fire hazard or
electric shock.
zDo not expose this television in the rain or somewhere near water (such as somewhere near
bathtub, water basin, water trough in a kitchen or laundry pool, damp basement, or near
swimming pool). If this television gets wet accidentally, please immediately unplug the power
adapter, turn off the power switch of this television, and then contact the authorized distributor
of this television for help. When cleaning the television, please use dry and soft cloth that does
not contain any volatile material. Before cleaning, please make sure to unplug the power
adapter and turn off power switch of this television.
zDo not overload socket on the wall, extended electric line or convenient socket, which will lead
to fire hazard or electric shock.
zThe power adapter should be laid in a position where it will not be trodden or be extruded by
objects above or near it, and special attention should be paid to the electric lines at plug,
convenient socket and the television lead-out.
zTo better protect this television in thunder weather, unattended status or when it is unused for a
long time, please remove the plug, and disconnect the antenna or the connection of the cable
system. In this way, damage of the television in a thunder or when surge appears in power line
can be prevented.
Warning
Electric shock, do not open
Note: In order to reduce electric shock,
please do not take off the cover.
There is no component inside that users can
maintain. 。
Please ask qualified maintenance personnel
to conduct maintenance.

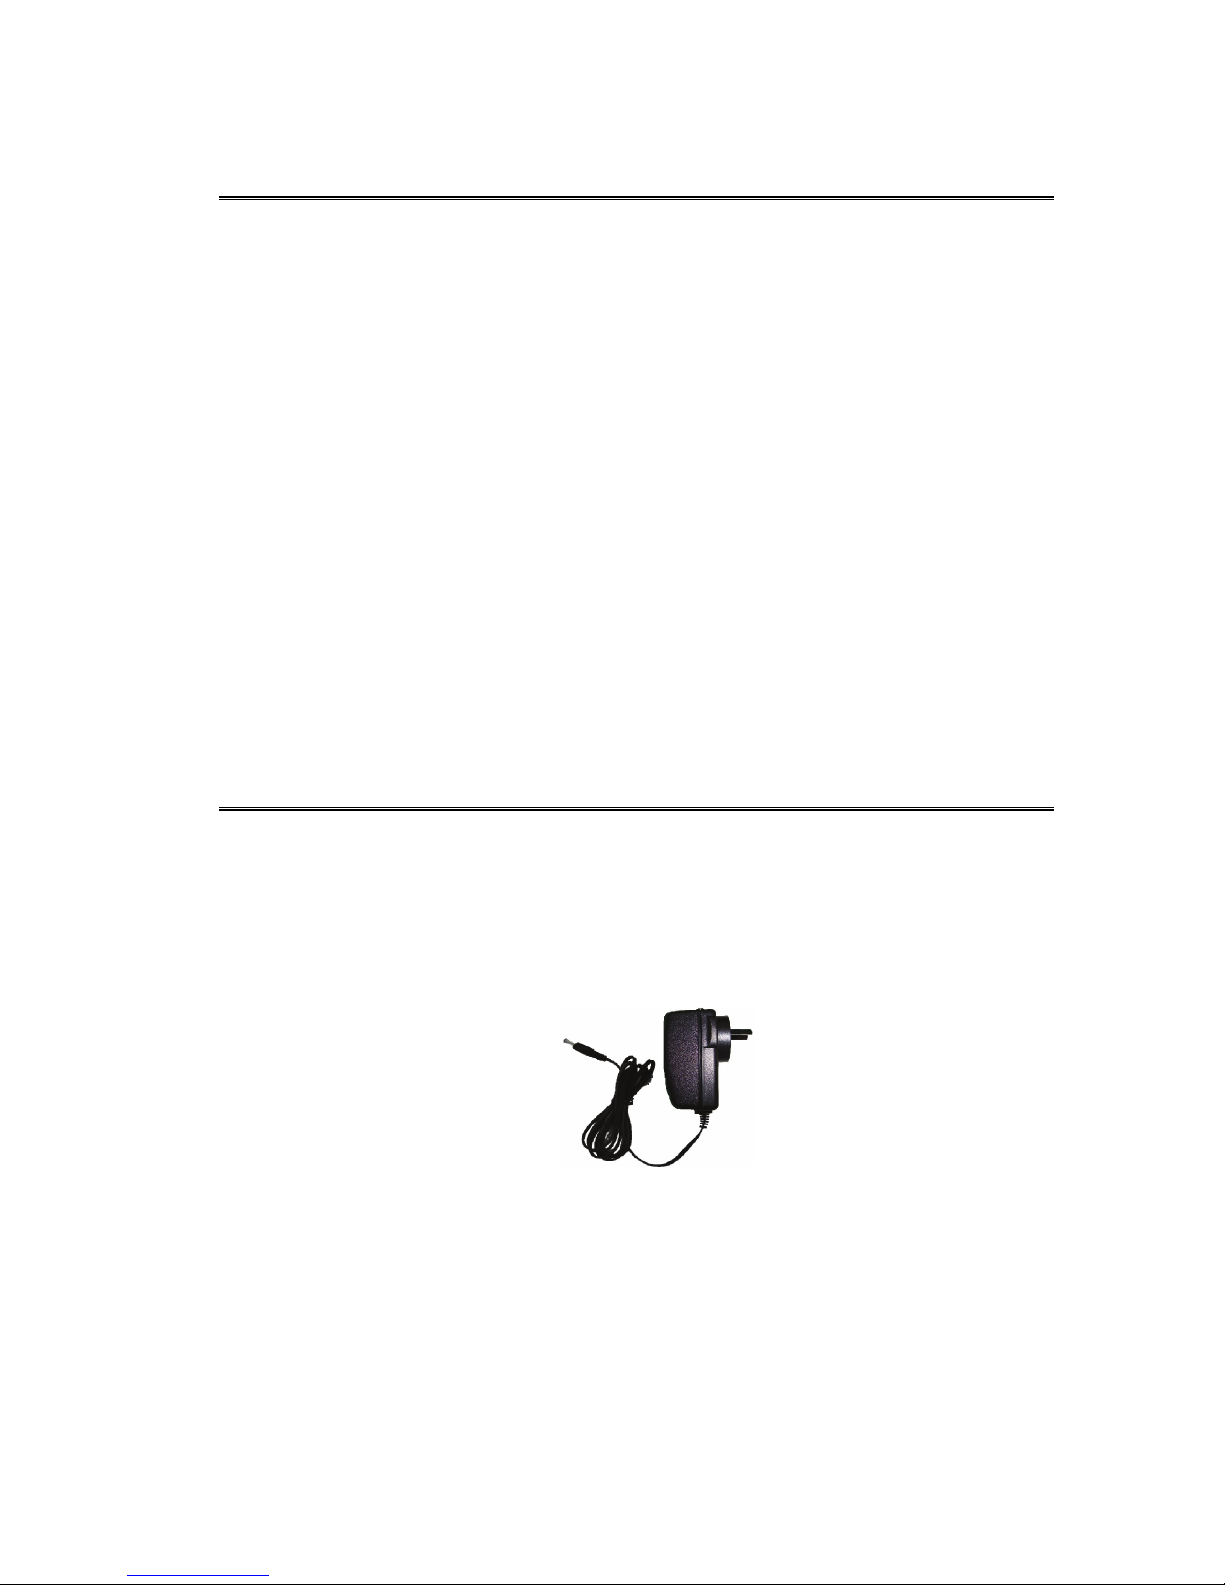
zConnect the power adapter to the front of AC socket. Please make sure that the output voltage
of the AC socket complies with the input voltage of the power adapter of this television.
zDo not insert any metal object into the holes of this television. Otherwise it may lead to the
danger of electric shock or the damage of the television.
zIn order to avoid electric shock, do not contact the inside of this television. Only qualified
technical personnel can open of the cover of this television.
zPlease make sure to insert the power adapter firmly into the socket. When disconnecting the
power adapter connection, please make sure to hold the outer cover of the power adapter, and
then unplug the power adapter from the socket.
zIf this television fails to operate normally, especially when it gives out abnormal sound or emits
unusual odor, please immediately unplug the power adapter and turn off the power switch of
this television, and then contact the authorized distributor or service center of this television.
zIf this television is to be left unused for a long time or you leave home (especially when a child,
elder or a disabled person is left at home alone), make sure to unplug the power adapter from
the socket and turn off the power switch. If the remote controller is to be left unused for a long
time, please take out the batteries and put it in a cool and dry place. The accumulated dust may
make the input end of the power adapter emit sparks and heat or age in insulation, thereby
causing electric shock, creepage or fire hazard.
zThere are rechargeable batteries within the television. If the television is to be left unused for a
long time, please make sure to conduct charge, discharge on the television once every three
months.
zAvoid dropping the remote controller.
zWhen the television is moved to a warm environment from a low-temperature environment, in
order for the dew within the television to fully volatilize and become dry, the television should be
left unused for a period of time before powering on and turning it on.
We strongly recommend you to use the original power adapter of our company.
zIf the product is to be installed in an environment with much dust, high temperature or low
temperature, high humidity and chemical materials, and in airport or railway station where the
product is to be used 24 hours a day, please contact the authorized service center. Otherwise,
the display may be seriously damaged, and the product may be seriously damaged.
zPlease do not allow any child to play with this product.
zPlease store the accessories in a place that children cannot get near or reach.
zPlease do not put the product in an unstable position, such as rolling frame, slant ground or
position influenced by external vibrations.
zDo not make the product fall or lashed. If this product is damaged, please disconnect the power
adapter, turn off the power switch, and contact the service center.
zThis television has a LCD; please do not press the screen at discretion to avoid causing screen
breakage.
zRefer to description provided by manufacturer: For color LCD screen, the defect of 0.01% of
pixels is allowed, so please understand that when finding related phenomenon..
zThe quality of the received image and sound of this product is related to the local signal and use
environment. If the receiving performance is found to be not so ideal, an outdoor antenna is
recommended.
zThis product is hot-swappable. However, it is suggested to power off this product before
plugging/unplugging your memory card, to protect the memory card or other devices.
Precautions for Displaying Still Image
Static image may cause perpetual damage to the television screen.
zAvoid displaying static image on LCD flat panel for over 2 hours as this may cause remnant
shadow to the screen.
This remnant shadow is also called Screen burn.
To avoid this type of remnant image shadow, please lower the luminance and contrast of the
screen when displaying still image.
When watching LCD TV program in 4:3 format, there may be traces left on brims of images
displayed on the right and left sides and in the middle due to different light emissions.
The damage caused by the above-mentioned factors is out of the scope of warranty.

CONTENT
GENERAL INFORMATION ABOUT THE T2102B............................................................................................. 1
QUICK GUIDE ......................................................................................................................................................... 1
PLUG IN YOUR T2102B.......................................................................................................................................... 1
PREPARING THE REMOTE CONTROL...................................................................................................................... 1
1. PANELS................................................................................................................................................................. 2
1.1 FRONT PANEL AND SIDE PANELS...................................................................................................................... 2
1.2 FRONT PANEL TOUCH KEYS DEFINITION .......................................................................................................... 3
2. INTRODUCTION ................................................................................................................................................. 3
2.1 CHECK LIST ...................................................................................................................................................... 3
2.2 ABOUT TRANSMISSION .................................................................................................................................... 4
2.3 ABOUT THE PORTABLE RECEIVING ANTENNA AND ACCESSORIAL ANTENNA.................................................. 4
2.4 CONNECTING THE T2102B TO THE TV ........................................................................................................... 5
2.5 CONNECTING THE ACCESSORIAL ANTENNA AND THE EXTERNAL ANTENNA................................................... 5
2. 6INSTALLING STAND......................................................................................................................................... 5
3. REMOTE CONTROL........................................................................................................................................... 6
3.1 DEFINITION ...................................................................................................................................................... 6
3.2 PREPARING THE REMOTE CONTROL................................................................................................................. 7
4. NAVIGATING WITH MENUS........................................................................................................................... 8
4.1 BASIC OPERATION METHODS OF TV SET ......................................................................................................... 8
4.2 DIGITAL TV AND ANALOG TV ........................................................................................................................ 8
4.2.1 Menu summarize..................................................................................................................................... 8
4.2.2 Menu definition ....................................................................................................................................... 8
4.2.3 Special Features at the DTV mode....................................................................................................... 16
4.3 AUDIO AND VIDEO INPUT............................................................................................................................... 16
4.4 CONNECT TO PC ............................................................................................................................................ 17
4.5 MULTIMEDIA ................................................................................................................................................. 17
5. MAINTENANCE................................................................................................................................................ 20
5.1 HANDLING YOUR T2102B ............................................................................................................................. 20
5.2 CONSIDERATIONS ABOUT THE SCREEN.......................................................................................................... 20
5.3 CLEANING RECOMMENDATIONS .................................................................................................................... 21
5.4 CARE THE POWER SOURCE............................................................................................................................. 21
5.5 CARE BATTERY .............................................................................................................................................. 21
5.6 ABOUT THE HEADPHONE USING..................................................................................................................... 22
6. TROUBLESHOOTING ...................................................................................................................................... 22
7. TECHNICAL SPECIFICATIONS ..................................................................................................................... 24

1
GENERAL INFORMATION ABOUT THE T2102B
T2102B is a portable digital TV set; it can be used in a car or outdoor. Throughout this
manual you will notice that everyday operation of your T2102B is based on a series of user
friendly on-screen displays and menus. These menus will help you get the most from your
T2102B, guiding you through installation, channel selection, viewing and many other
functions.
NOTICE:
Using the buttons on the remote control can perform all functions. But using the buttons on
the front panel can perform some of the functions.
This product support several types of memory cards such as SD/MMC/MS, since there are
many memory card brands, it is recommended to test whether a card is compatible with this
product. (Note; this product does not support illegal cards) If the card is inserted correctly
and the startup picture is displayed but the card fails to read, it is recommended that you shut
down and restart the unit or reformat the card before writing files onto it.
QUICK GUIDE
Plug in your T2102B
You can use either an AC adapter or a rechargeable Li-ion battery as a power source for
your T2102B.
NOTICE!: To ensure safety, please do not arbitrarily replace the power adapter, the T2102B
only with the supplied AC adapter.
To use the AC adapter:
1. Plug one end of the power cord into the AC outlet.
2. Plug the cable attached to the AC adapter into the DC in port on the T2102B.
Preparing the Remote Control
Before using the remote controller, you need to insert the supplied battery in order to
enable communication between the T2102B and remote controller.
zTo insert battery:

2
zTurn the remote controller over.
zPress in the tab and lift the battery cover up.
zInsert the supplied battery into the remote controller.
zAlign the battery cover to the remote controller.
zPress down until the cover clicks into place.
PUSH
OPEN
! If the remote controller does not operate properly, you may need to replace the
battery. When the remote controller is not being used for extended periods of time,
remove the batteries to avoid possible damage from battery leakage.
1. PANELS
1.1 Front panel and side panels
1.Screen
2. SD/MMC/MS CARD jack
3. USB jack
4. Power switch

3
5. Power supply jack
6. VGA input jack
7. Video input jack (CVBS)
8. Audio input jack (white port is left)
9. Audio input jack (red port is right)
10. Speaker
11. Portable receiving antenna (the antenna jack can plug the accessorial antenna)
12. Infrared remote receiver and Indicators (Red, Green)
The states are shown as:
Blue – Machine turn on, no charge
Red – Machine turn on and charge battery, Machine turn off and charge battery
Null – Machine turn off or charge battery full.
13. Stand
14. Headphone jack
15. Front panel touch keys (include CH+, CH-, VOL+, VOL-, OK, , and MODE)
1.2 Front panel touch keys definition
CH+: Move up in the menus and change to the next channel in viewing mode.
CH-: Move down in the menus and change to the previous channel in viewing mode.
VOL+Move left /change settings in menus. Decrease the volume level in viewing mode.
VOL-: Move right /change settings in menus. Increase the volume level in viewing mode.
OK: To confirm a selection
: Press to open the menus /exit to go back to the topper menus.
MODE: Open the mode main menu; press again to shift between DTV, ATV, AV, VGA,
and Multimedia.
! If you touch the front panel keys and the key show blue light color for a wait.
2. INTRODUCTION
2.1 Check list
The box for your T2102B should contain the following items:

4
zThe T2102B machine
zOwner’s manual
zRemote control Headphone
zPower supply adapter (AC adapter) CarPowerAdapter
zAccessorial Antenna
2.2 About transmission
Buildings, mountains and the surrounding terrain can block Radio and TV signals.
Depending on whether the receiver is located in a valley, behind a mountain or in a concrete
building, the quality of reception may vary considerably. As with most other transmissions,
bad weather affects reception quality. We recommend use the accessorial long antenna
instead of short antenna when the signal isn’t good.
2.3 About the portable receiving antenna and accessorial antenna
zUse the antenna for UHF channels 21-69 for DVB-T, such as a directional antenna.
zIf possible, place the antenna by the window and directed towards the TV transmitter.
zIf possible, please use the power antennas.
zThe strength of TV signal varies according to reflections from buildings or mountains.
The signal penetrates thick stone or concrete walls poorly. However, a wooden building
is not a big barrier to digital TV signals.

5
2.4 Connecting the T2102B to the TV
zConnect the T2102B AV input socket for video and audio.
zConnect the T2102B Headphone jack to the TV audio input socket for sound.
2.5 Connecting the accessorial antenna and the external antenna.
Align the telescopic antenna plug
with the antenna jack on the TV
set, and just plug in until its end.
If you use the external antenna,
unplug the telescopic antenna plug,
plug the attached antenna plug into
the antenna jack on TV set.
2. 6 Installing Stand
Insert the front end of the support
to the slot on the back cover, and then rotate
the base as illustrated in bottom, until the
support is locked properly.

6
In order to storage remote control more expedient, insert the remote control to the slot on the
back stand.
3. REMOTE CONTROL
3.1 Definition
This section describes how to operate the T2102B using the buttons
on the remote control.
FAV To operate the favorite channels (DVB and ATV
Function mode)
Mute Pressoncetoturnthe sound off/on (mute/ unmute).
16:9/4:3 Screen switch. (DTV ATV and AV Function mode)
Mode Press this button open the mode menu and press
again to shift between Digital TV ,Analogue TV,
AV ,VGA and Multimedia.
AUTO Start auto search (At Digital TV and Analogue TV mode)
Ok To confirm a selection.

7
Or to open the channel list Menu. (At Digital TV and Analogue TV mode)
Menu /Exit Press to open the menus and press again to go back to the topper menu.
Cursor up button, move up in the menus and change to the next channel in
viewing mode.
Cursor down button, move down in the menus and change to the previous
channel in viewing mode.
PIC Presstoopenthe picture mode menu.
Cursor left button, move left /change settings in menus. Decrease the volume
level in viewing mode.
Cursor right button, move right /change settings in menus. Increase the volume
level in viewing mode.
0~9 Press to change the channel and to select individual menu options.
LANG Press to change the menu languages.
TTX Press to enter Teletext (if available) (only Digital TV Mode)
INFO Press to display the information of the current programs. (At Digital TV Mode)
S.TIT Press to display the subtitle of the current programs. (only Digital TV Mode)
L/R Presstochangethe sound channel (At Digital TV)
Or audio mode ( At ATV, AV and VGA mode).
EPG Press this button to display Electronic Program Guide (only Digital TV Mode)
3.2 Preparing the remote control
Remove the cover from the battery compartment at the bottom of the remote control.
Insert the battery, taking care to observe the “+”and “–” markings indicated inside.
Replace the cover.
! Attention: This remote controller’s figure maybe different to the remote controller what
you obtained. But the symbols and functions on the remote controller are the same as this
figure.

8
The remote control range is 4M or less within a±45°horizontal and ±5°vertical angle from
the remote sensor. If the remote’s battery is low, the remote may not function properly, so
replacing the battery immediately is recommended.
4. NAVIGATING WITH MENUS
4.1 Basic operation methods of TV set
1. Connect with power supply and turn on the power switch. In normal status, the power light
is red. If you only use the battery power supply, the light is blue.
2. Pull out telescopic antenna.
3. Press up/down cursor buttons to choose the desired channel.
4. Press left/right cursor buttons adjust the sound volume of the TV
! Attention: The following describes the functions of your T2102B while watching Analog
TV and terrestrial digital TV. Some of the functions described here are dependent on the
Service Provider and can only be used if they are included in the transmitted program
information.
4.2 Digital TV and analog TV
4.2.1 Menu summarize
You can open the main menu by pressing Menu key at the remote control or front panel. You
can perform different settings enter menus at current mode. And you can press mode key
display mode menu, you can press up/down cursor buttons to select mode which you want
with OK button enter.
Display menu by pressing the Menu button; press the menu button again to go back to the
topper menu.
When menus are displayed, you can move the folders in horizontal directions with left/right
cursor buttons.
4.2.2 Menu definition
The Main menu includes following menu icons:

9
, , , , , .
To use the up/down cursor buttons
You can enter the submenu list by pressing right cursor.
Exit the menu list by pressing Menu.
:
You can select how the picture mode shall be sorted. There are four sort mode
(personal, standard, dynamic and soft.) are used here.
Figure 4.2.1
Brightness:Left/right cursor buttons adjust the brightness of the screen.
Contrast: adjust the contrast of the screen.
Color:adjust the color of the screen.
Sharpness:adjust the sharpness of the screen.
:
You can select how the audio mode shall be sorted. There are five sort mode (personal,
standard, music, movie and sports.) are used here.

10
Figure 4.2.2
Bass:Left/right cursor buttons adjust the bass of the screen.
Treble: adjust the treble of the screen.
Balance:adjust the balance of the screen.
Audio channel:Left/right cursor buttons adjust the audio channel: Stereo, L and R
Prefer Language:Left/right cursor buttons adjust the prefer language: English, German,
Danish and so on.
! Audio Channel and Prefer Language menus only DTV mode and the program signal
must contain.
:
You can select Country and the menu Language at the standard of local TV system..
In order to fit the person of different countries, the menu language can be set to different
languages (English, Dutch, French, German, Italian, Portuguese, and Spanish) The
default language is English.
Here, you can set zoom mode and other too.

11
Figure 4.2.3
Menu Language: Left/right cursor buttons adjust the screen: English, Dutch, French,
German, Italian, Portuguese, Spanish .
Zoom Mode: Left/right cursor buttons adjust the screen: 16:9, 4:3
Battery Information: right cursor buttons enter the battery information.
! IF the Machine charge battery, the Battery Information menu can’t select.
Select Country: Left/right cursor buttons adjust the screen: Germany,French, Poland,
Portugal, Russia and so on
Restore Default: Press the Left/right cursor buttons to enter next step, and press OK key
tocome back the factory default.
Antenna Power: Left/right cursor buttons adjust the screen: on, off
! Zoom Mode only operated in DTV, ATV and AV mode.
If the machine turn on and used the outside power supplied or charge battery, the battery
icon hide whenever on or off.
If use the power antenna, please press the Left/right cursor buttons to ON.
: (Only DTV mode)
Under the Time Setting menu, you can set the time zone here in order to correct current time
zone where you are.

12
Figure 4.2.4
! Clock setting menu only DTV mode,
: (Only DTV mode)
To open this menu you will be asked to enter your access code. From the factory the access
code is set to 0000. After set, the access code has to be entered before you can watch locked
channels and change the password.
Figure 4.2.5
:( Under the DTV mode)
Table of contents
Other AWA Portable TV manuals