AWT Monte Carlo Series User manual

Badmöbel Monte Carlo und Venice-Serie
Bathroom cabinet Monte Carlo and Venice-series
DE Montage- und Bedienungsanweisung
GB Installation and operation instructions

Inhalt / Content
Inhalt Content Seite/Page
Hinweise Notes 1
Allgemeine Hinweise Attention
Werkzeug Tools 2
Varianten Versions 3
VE-0600 / VE-0600 pro VE-0600 / VE-0600 pro
VE-0800 / VE-0800 pro VE-0800 / VE-0800 pro
VE-1000 / MC-1000 / VE-1000 pro / MC-1000 pro VE-1000 / MC-1000 / VE-1000 pro / MC-1000 pro
VE-1200 / MC-1200 / VE-1200 pro / MC-1200 pro VE-1200 / MC-1200 / VE-1200 pro / MC-1200 pro
VE-1600 / MC-1600 / VE-1600 pro / MC-1600 pro VE-1600 / MC-1600 / VE-1600 pro / MC-1600 pro
VE-1800 / MC-1800 / VE-1800 pro / MC-1800 pro VE-1800 / MC-1800 / VE-1800 pro / MC-1800 pro
VE-2000 / MC-2000 / VE-2000 pro / MC-2000 pro VE-2000 / MC-2000 / VE-2000 pro / MC-2000 pro
Wasseranschluss Water supply
Hinweise Notes
Montage Installation
Seitenschrank Side cabinet
5
6
7

Allgemeine Hinweise:
1. Bitte verwenden Sie zur Reinigung keine säurehaltigen oder alkalischen
Reinigungsmittel. Dies kann zur Änderung der Farbe führen.
2. Verwenden Sie keine scharfen oder spitzen Gegenstände.
Entfernen Sie Schmutz mit einem weichen Tuch oder Schwamm.
3. Sorgen Sie dafür, dass das Badmöbel nach der Nutzung oder Reinigung trocknet.
4. Der Raum, in dem sich das Badmöbel befindet muss gut belüftet werden.
5. Elektrische Anschlüsse müssen entsprechend abgesichert und vor Feuchtigkeit
geschützt werden. (DIN VDE0100)
6. Setzen, lehnen oder stellen Sie sich nicht auf oder gegen das Badmöbel.
7. Das Installationsschema ist bei jedem Badmöbel identisch.
8. Achten Sie darauf, dass das Badmöbel und der Spiegel in Waage montiert wird.
Attention:
1. Please do not use acidic or alkaline for cleaning. This can change the color.
2. Do not use sharp or pointed objects. Remove dirt with a soft cloth or sponge.
3. Make sure that the bathroom cabinet dries after use or cleaning.
4. The room in which the bathroom cabinet is located must be well ventilated.
5. Electrical connections must be appropriately secured and protected from moisture.
(DIN VDE0100)
6. Do not sit, lean or stand on or against the bathroom cabinet.
7. The installation parts are the same .
8. Make sure the mirror and the cabinet is leveled well.
Hinweise / Notes
1

Silikon
Silicon
Schlüssel
Wrench
8 mm
10 mm
Schraubendreher
Screwdriver
Bleistift
Pencil
Maßband
Tape measure
Wasserwaage
Spirit level
Bohrer
Drill
Werkzeuge / Tools
2

Varianten / Versions
VE-0600 VE-0600 pro
VE-0800 VE-0800 pro
VE-1000 / MC-1000 VE-1000 pro / MC-1000 pro
VE-1200 / MC-1200 VE-1200 pro / MC-1200 pro
Attentions
Varianten / Versions
3

Attentions
Varianten / Versions
VE-2000 / MC-2000 VE-2000 pro / MC-2000 pro
VE-1800 / MC-1800 VE-1800 pro / MC-1800 pro
VE-1600 / MC-1600 VE-1600 pro / MC-1600 pro
Attentions Varianten / Versions
4

Hinweise zum Wasseranschluss und zum Abfluss:
1. Die Schubladen haben alle eine Aussparung.
Diese befindet sich jeweils mittig und hat eine Breite von min. 90mm.
Dort wird der Abfluss durchgeführt.
2. Die Schubladen sind nicht bis zur Wand durchgängig.
Die flexiblen Anschlüsse können hinter den Schubladen verlaufen.
3. Montieren Sie die Eckventile mit einem Abstand von 150mm.
4. Die vorgebohrten Löcher für die Armaturen und Abflüsse
entsprechen den in Deutschland üblichen Normmaßen.
5. Die Löcher für die Armaturen und Abflüsse müssen eigenständig in die Arbeitsplatte
gebohrt werden. Dies gilt für Modelle mit der Bezeichnung „pro“.
Nutzen Sie dazu einen Feinsteinbohrer.
Notes on water connection and drainage:
1. The drawers all have a recess. This is in the middle and has a
size of min. 90mm. The drain is carried out there.
2. The drawers doesn't touch the back wall. The flexible connections
can run behind the drawers.
3. Mount the water connection valves with a distance of 150mm.
4. The pre-drilled holes for the fittings and drains
correspond to the standard dimensions usual in Germany.
5. The holes for faucet and drain installation must be drilled by the customer.
This is relevant for models that are named „pro“.
Inhalt
Attentions
Wasseranschluss / Water supply
5

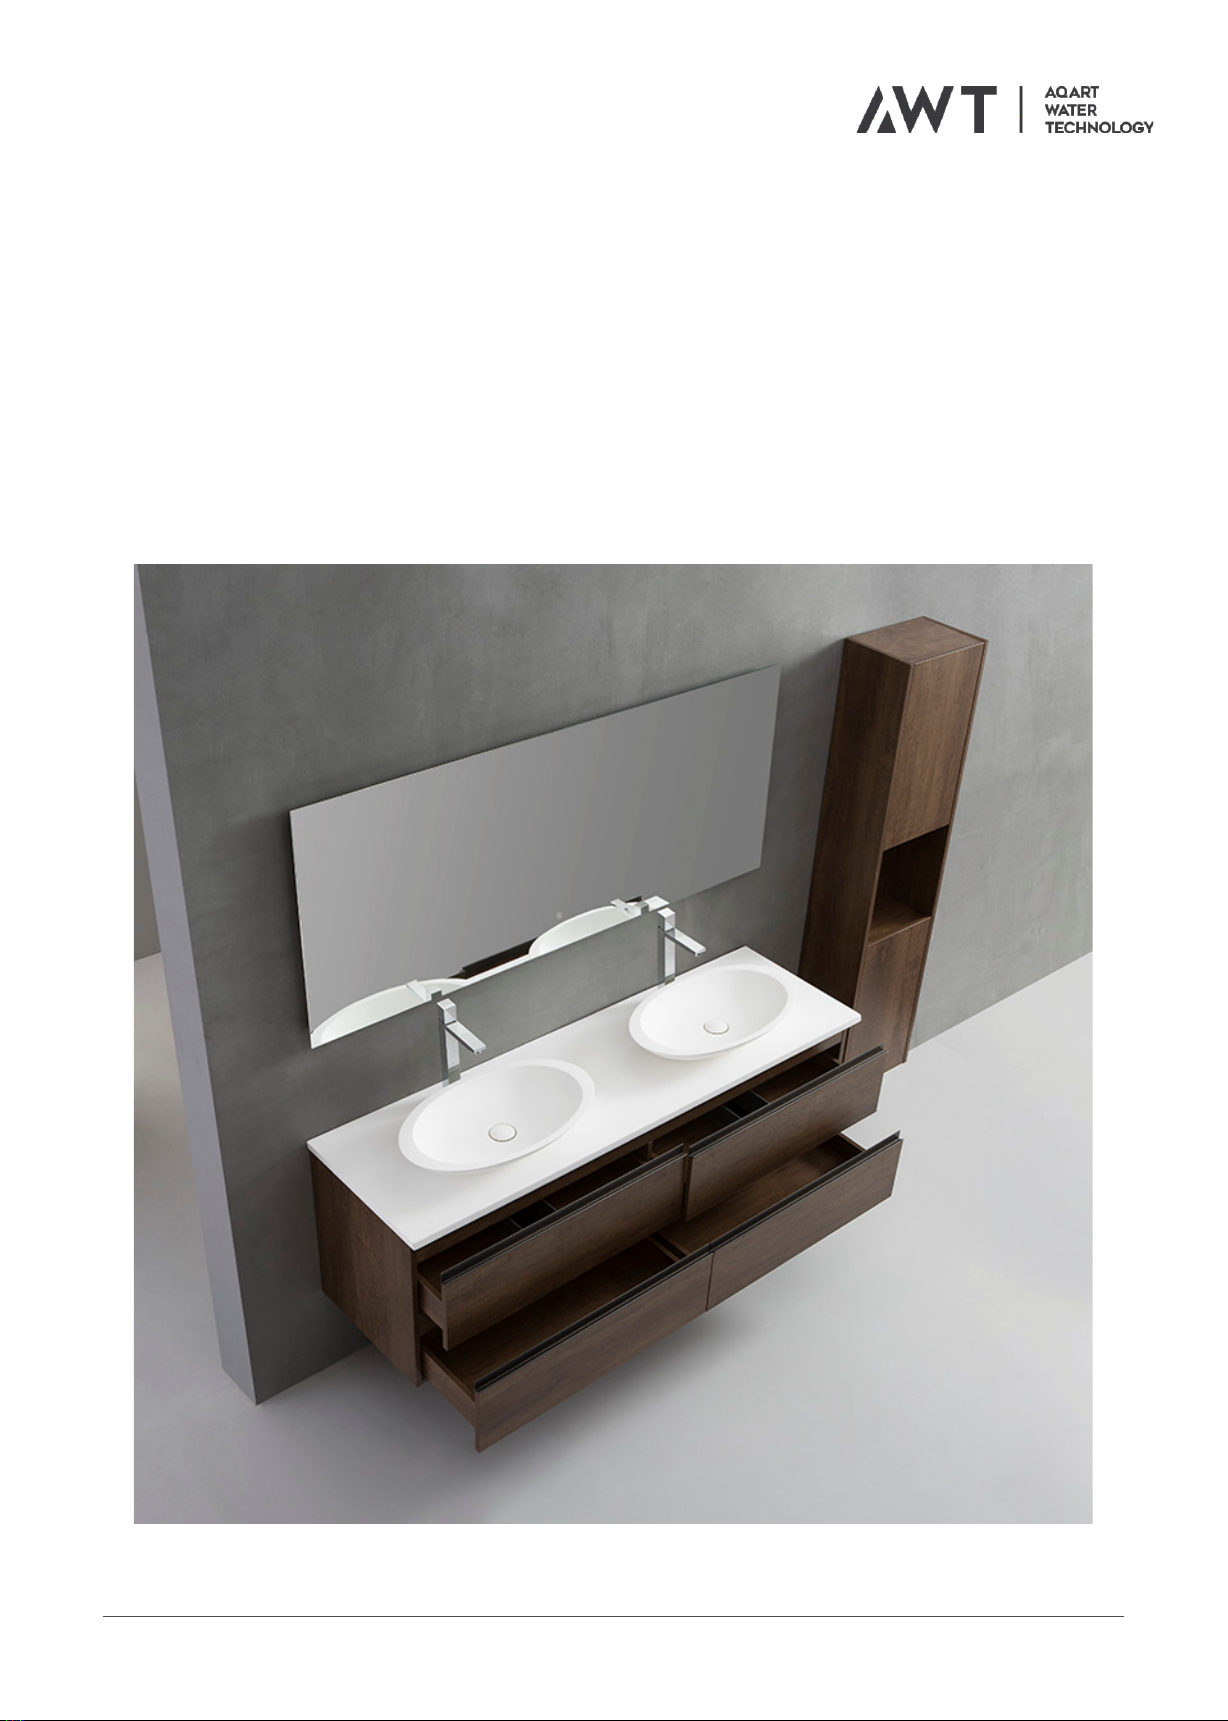
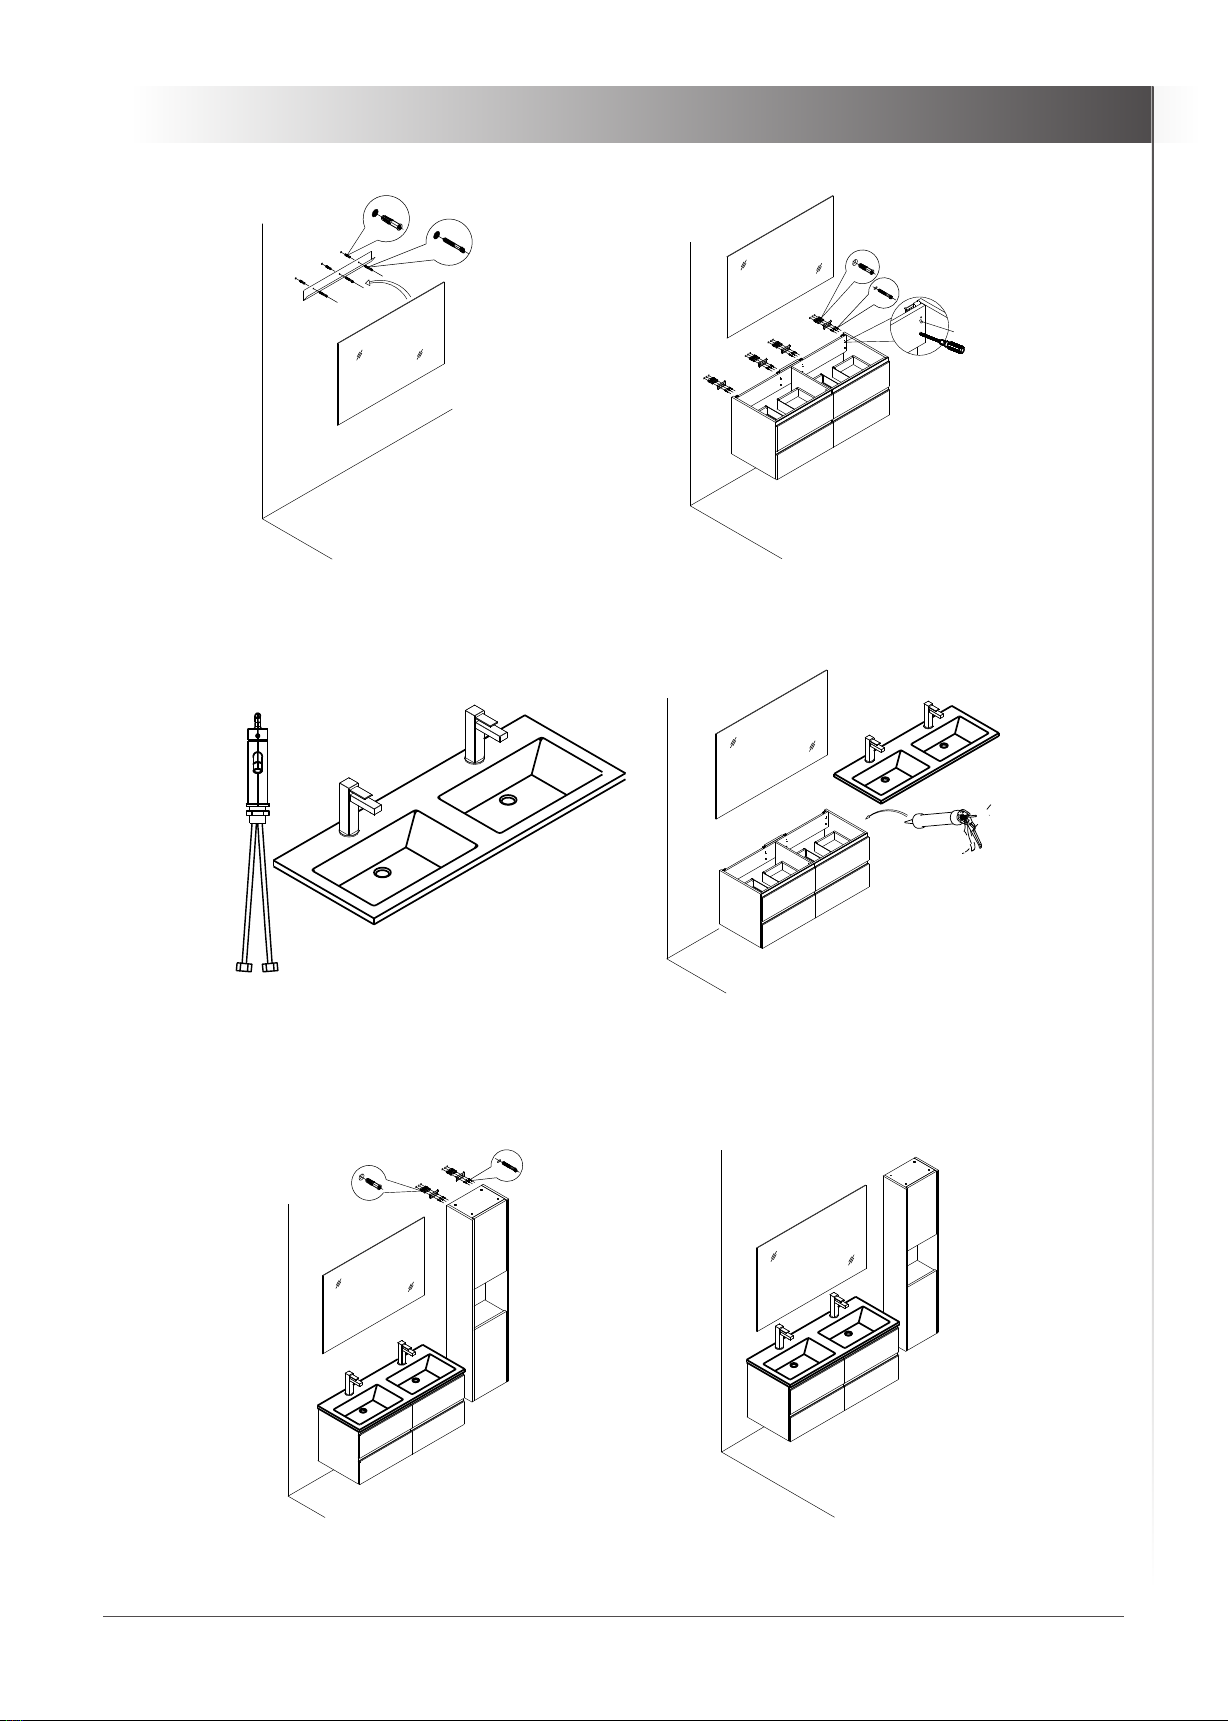
1. Bohren Sie die Löcher für den Spiegel.
Hängen Sie den Spiegel mit Hilfe des Montagematerials auf.
1. Drill the holes for the mirror installation.
Install the mirror by using the enclosed mounting material.
2. Bohren Sie die Löcher für den Unterschrank.
Hängen Sie den Unterschrank mit Hilfe des Montagematerials auf
und justieren Sie die Aufhängung.
2. Drill the holes for the main cabinet.
Install the main cabinet by using the enclosed mounting material and
adjust the mounting bracket.
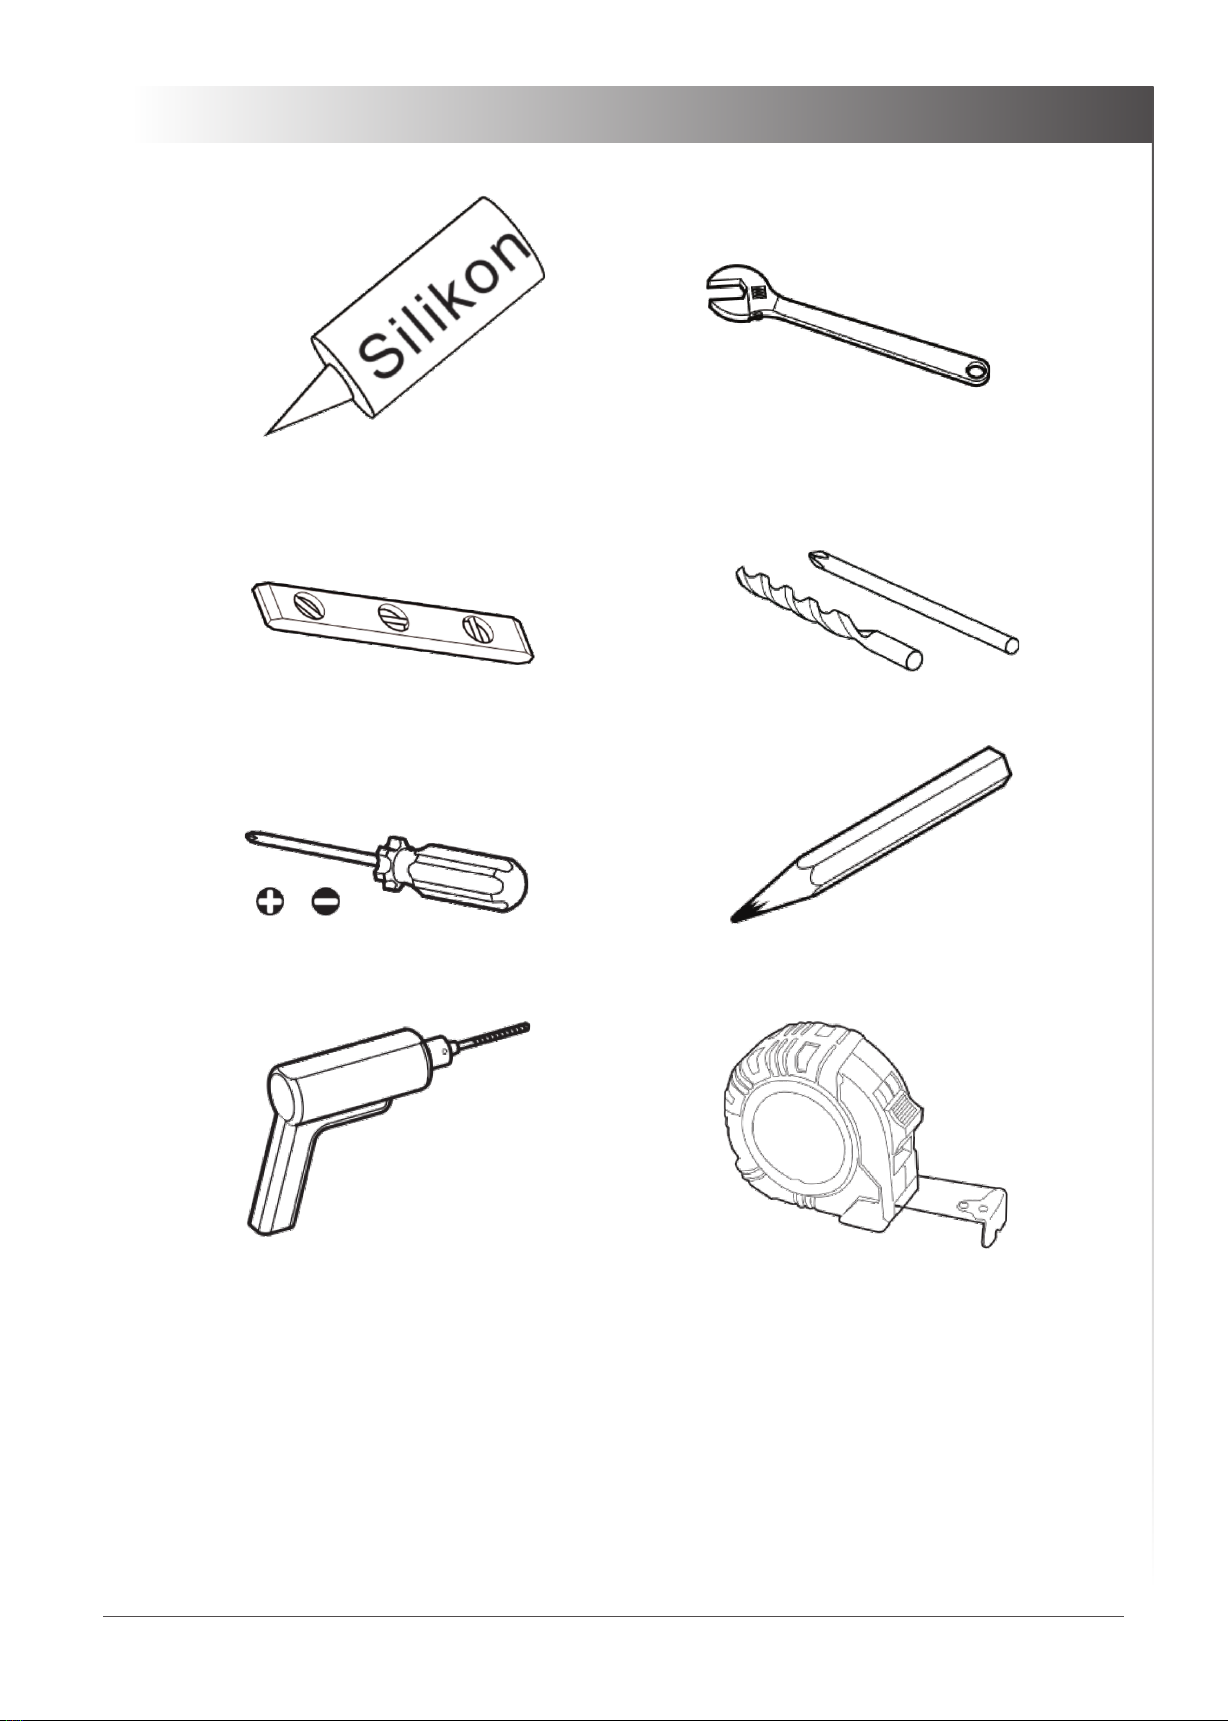
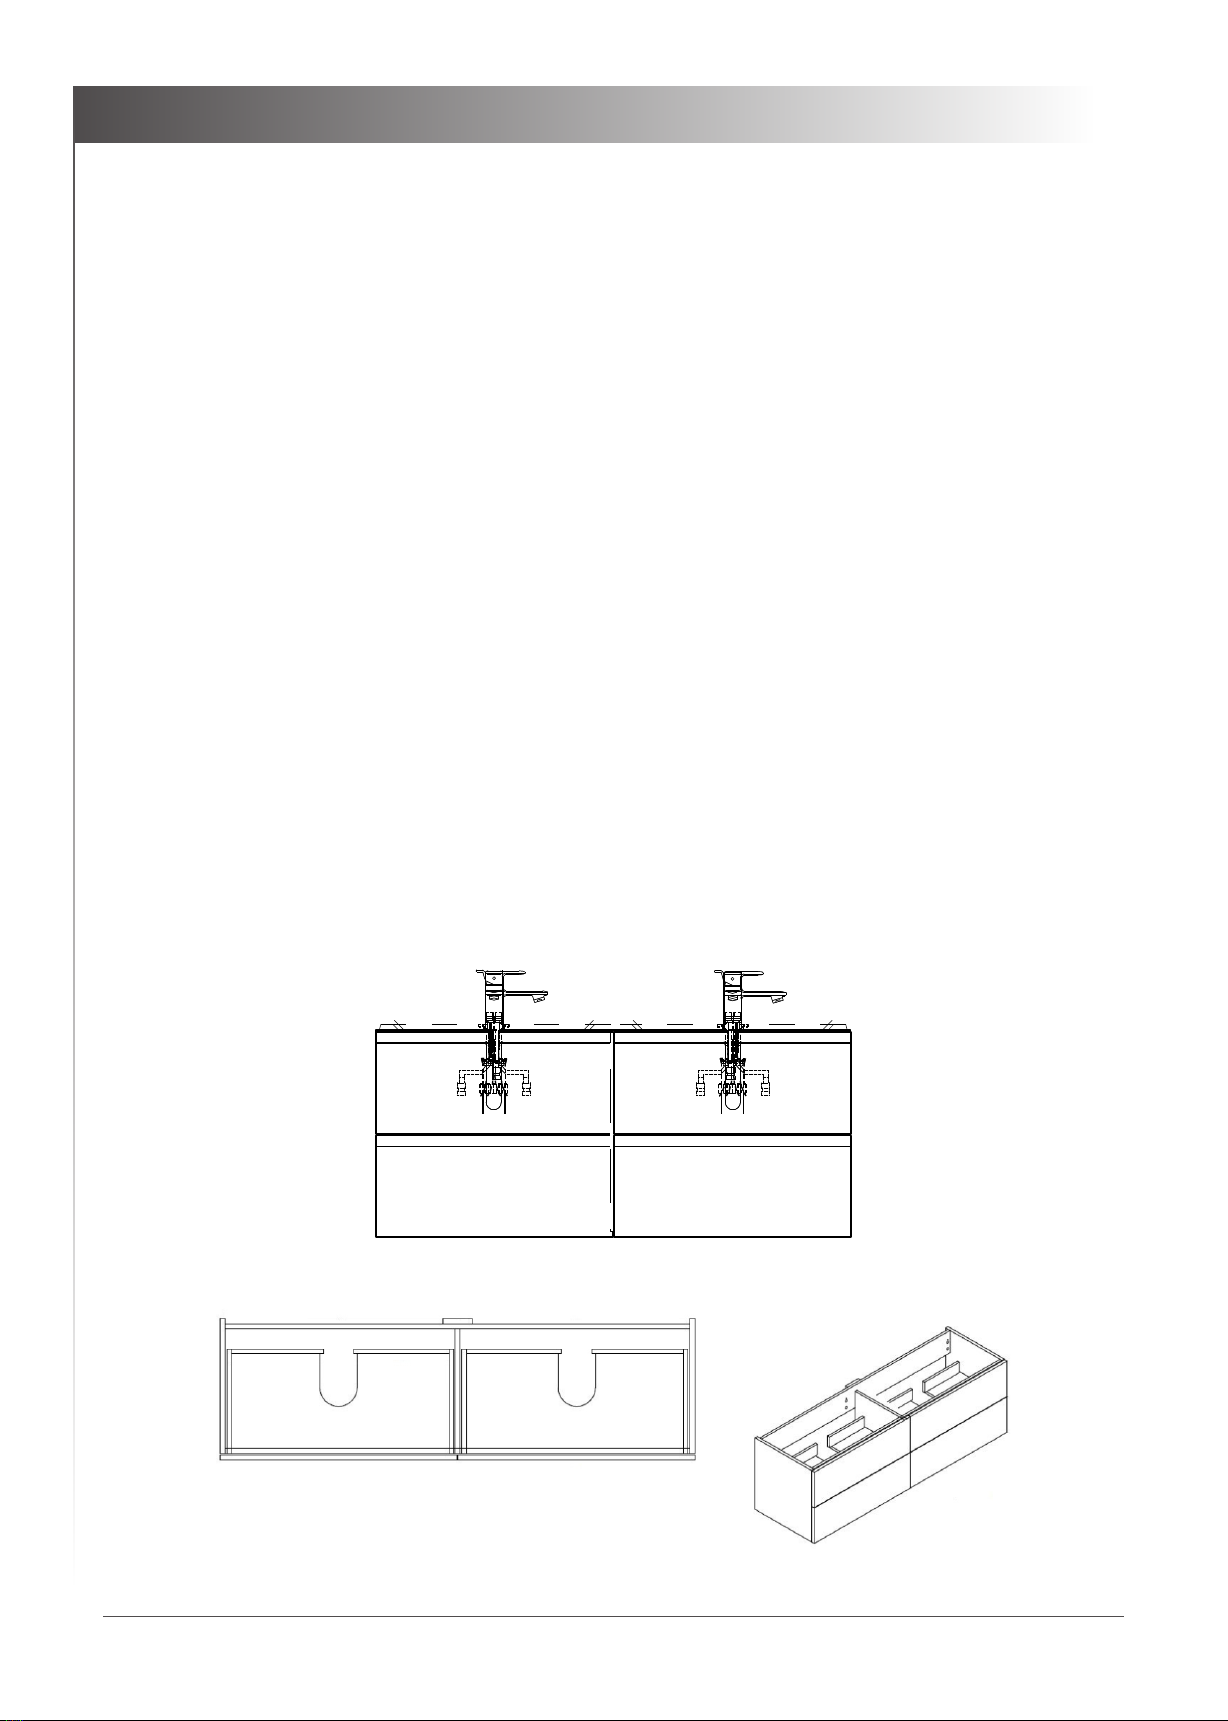
3. Führen Sie die Anschlussschläuche der Armatur durch
das Loch und Schrauben Sie die Armatur fest.
3. Lead the water connection pipe through the hole and
fix the faucet on the basin or workdesk.
4. Setzen Sie das Waschbecken (ggf. Arbeitsplatte) auf den
Unterschrank und silikonieren Sie dieses.
4. Place the basin (opt. workdesk) on the main cabinet and
fix it with silicon.
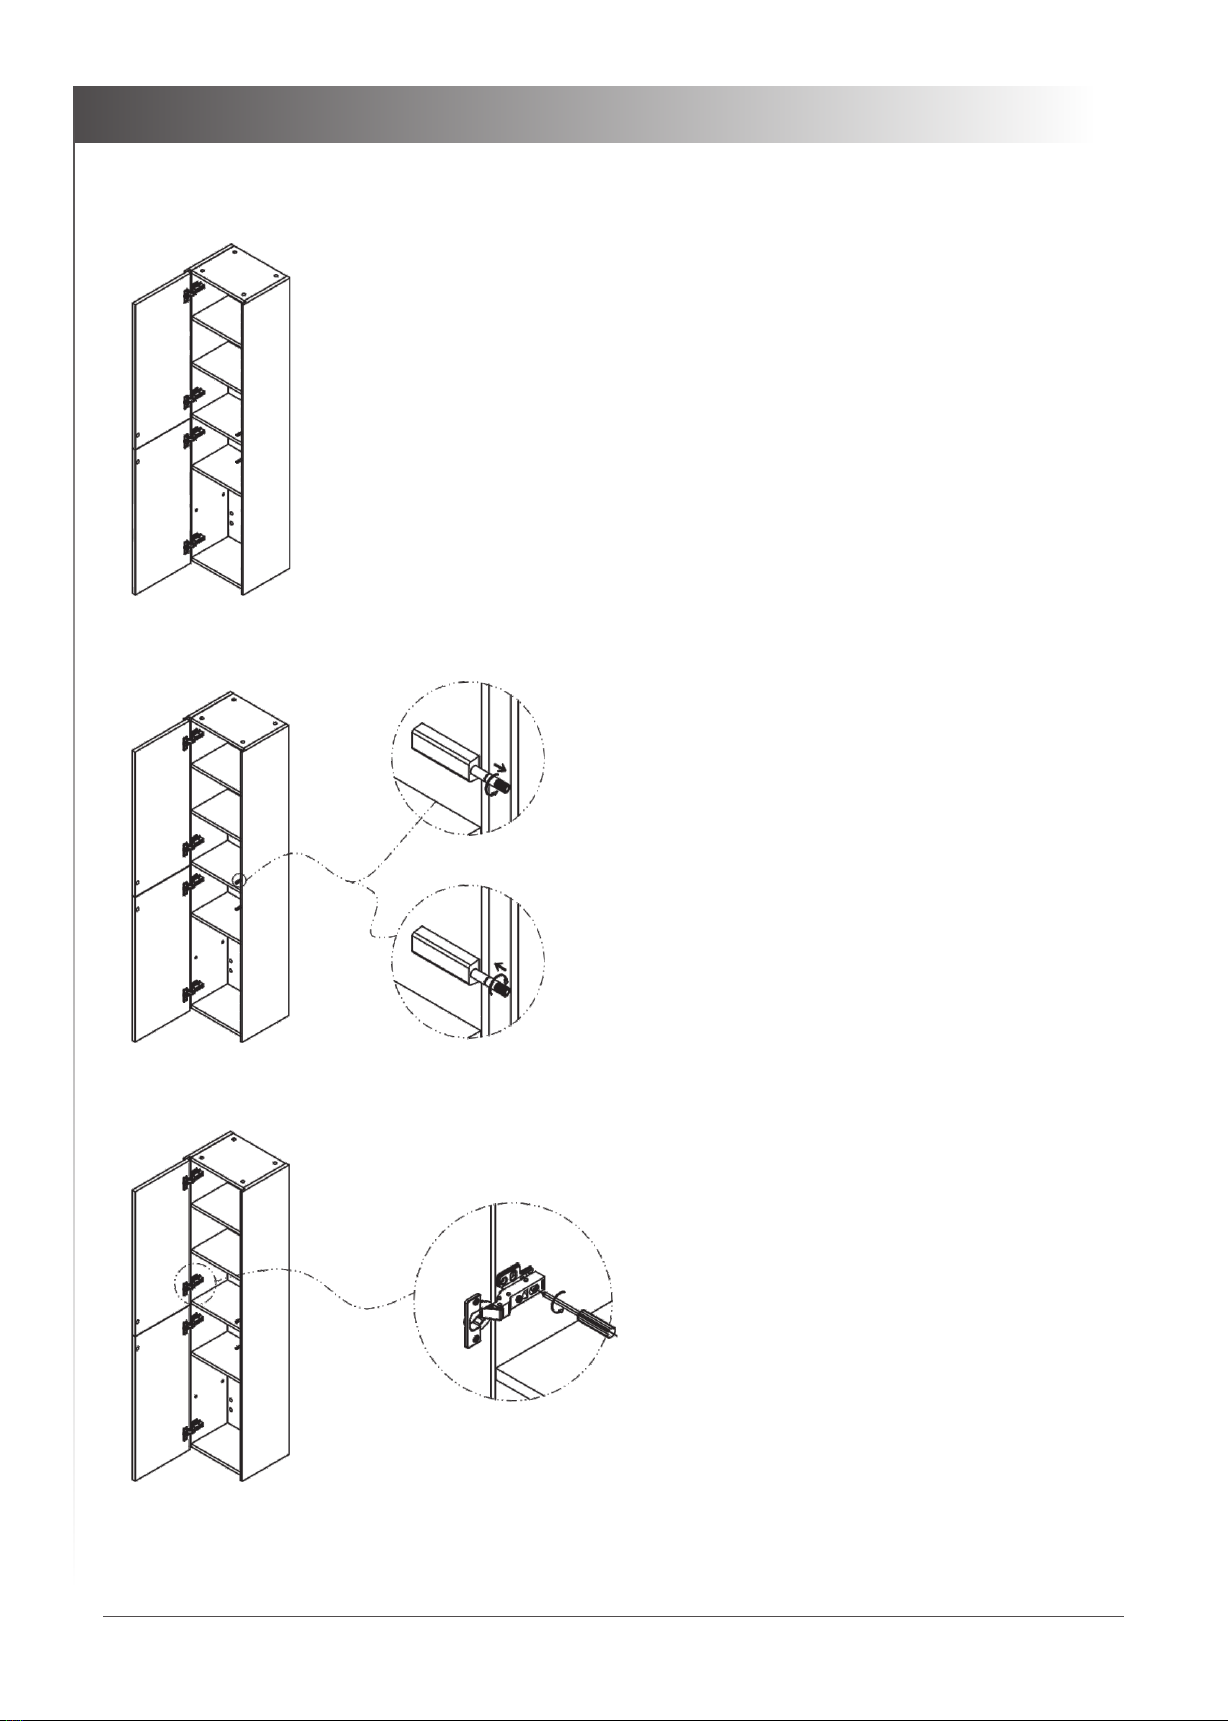
5. Bohren Sie die Löcher für de Seitenschrank (optional)
und hängen Sie diesen auf.
5. Drill the holes for the side cabinet (optionally) and install it.
6. Schließen Sie alle Armaturen und Abflüsse an. Prüfen Sie
anschließend alle Verbindungen auf Dichtigkeit.
6. Make sure all drains and water connection pipes are connected
well and doesn´t leaking.
Inhalt
Attentions
Montage / Installation
Attentions Montage / Installation
6

Inhalt
Attentions
Seitenschrank / Side cabinet
7
1. Öffnen Sie die Tür des Seitenschranks.
1. Open the door of the side cabinet.
Einstellen der Tür / Door adjustment
2. Drehen Sie die Stifte gegen den
Uhrzeigersinn kommen diese heraus.
Wenn Sie die Stifte im Uhrzeigersinn
drehen bewegen sie sich zurück.
2. If you adjust the bar anticlockwise it
will move out. If you adjust the bar
clockwise it will move back.
3. Lösen Sie die Schraube an dem
Scharnier, um die Tür zu justieren.
3. Loose the screw of the hinge to get
the door in the correct position.

EAGO Deutschland GmbH
Auf dem Großen Damm 13-17
47546 Kalkar
Telefon +49(0)2824-96 23-0
Telefax +49(0)2824-96 23-29
E-Mail [email protected]
www.eago-deutschland.de
This manual suits for next models
25
Table of contents
Popular Indoor Furnishing manuals by other brands

LDI
LDI SAFCO Value Mate 7172 Assembly instructions

JWA
JWA FRY 75225 Assembly instruction

Home Decorators Collection
Home Decorators Collection V183104XXB-NP Use and care guide

Mocka
Mocka Aspen Assembly instructions

Furniture of America
Furniture of America Adina CM4152C Assembly instructions

Classic Brands
Classic Brands Adjustable Comfort AFFORDAMATIC 2.0 Assembly instructions

Days
Days COMFORT CHAIR ANI-DAYCOMCA1 user guide

alerta
alerta sensoflo-hybrid ALT-HYB2/05 instruction manual

DREAMS
DREAMS Ullswater Assembly instructions

SIT&MORE
SIT&MORE CINTURO V 9002 owner's manual

Atlantic
Atlantic Dardashti Z1-21 quick start guide

Lightolier
Lightolier Lightolier LED DMR01 Specifications