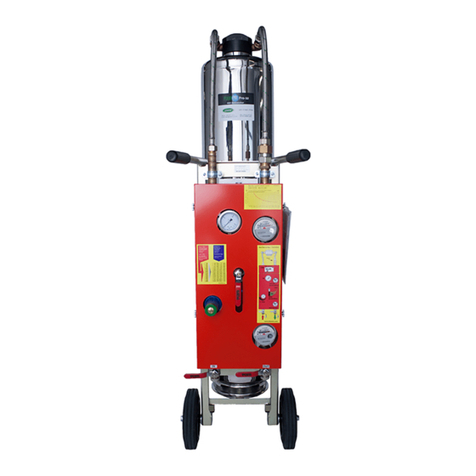
Adjusting the Digital Pressure Controller on the DMF Series Solution Feeders
There is a backup high limit pressure switch integral to the
pump that will open if the pressure reaches approx. 45 psig.
The pressure controller is factory set to start the pump at 16psi
and shut off the pump at 18 psig. It can be field adjusted to a
maximum of 45 psig. To quickly adjust the pressure set point,
press the down or up arrows on the front of the pressure
controller.
The five functions of the digital pressure controller may be
toggled through one after the other by tapping the button.
Press and hold the button for 3 seconds to enter the functions
menu.
Symbol Description Operation
Pressure Settings
Set F1-Hi –P (high pressure cut out
set point)
Set F1-Lo-P (low pressure cut in
set point)
F1 (Hi –P) sets the high pressure and F1-Lo-P
sets the low pressure. The difference between
Hi-P and Low-P should be >1.0 psi.
Factory settings:
Hi-P = 18.0 psi.
Low-P = 16.0 psi
If you haven’t already, press and hold to enter into the
function menu. Then press to adjust the high pressure
set point, F1-H(Hi-P). Press to set the high pressure set
point and move on to the low pressure set point adjustment.
Press to adjust the low pressure set point, F1-L(Lo-P).
Press to set the low pressure set point and move on to F2
Pressure Settings for
the Alarm
Set F2-H”(HIAL) (high pressure
alarm),
Set F2-L(LoAL) (low pressure
alarm), and
setting NO (normally open) or NC
(normally closed) contacts
The F2-H”(HIAL) function is used to set the high
pressure alarm. When the pressure reaches the
high pressure alarm set point the alarm relay will
energize. Factory default = 26.0 psi
The F2-L(LoAL) function is used to set the low
pressure alarm. When the pressure drops down
to the low pressure alarm set point the alarm
relay will energize. Factory default = 10.0 psi
F2-R(NO/NC) is used to select NO or NC
contacts for the alarm relay. Factory default =
N.O.
If you haven’t already, press and hold to enter into the
function menu. Tap again until you reach F2 then
press to adjust the high pressure alarm set point, F2-
H(Hi-AL). Press to set the high pressure alarm set point and
move on to the low pressure alarm set point adjustment.
Press to adjust the low pressure alarm set point, F2-
L(Lo-AL). Press to set the low pressure alarm set point and
move on to F2-R(NO/NC). Press to select NO or NC
contacts for the alarm relay. Press again to set the
contacts and move on to F3.
Max Pressure
This sets the maximum adjustable pressure.
Default setting is Hi-P max = 45 psi If you haven’t already, press and hold to enter into the
function menu. Tap again until you reach F3 then
press to adjust the MAX pressure. Press to confirm
and move to F4
Pump Relay Test
(PTST)
This can be used to manually test the load relay
(pump). If you haven’t already, press and hold to enter into the
function menu. Tap again until you reach F4 then press
to start and stop the load relay (pump) and press to
move on to F5
Alarm Relay Test
(ATST)
This can be used to test the alarm relay If you haven’t already, press and hold to enter into the
function menu. Tap again until you reach F5 then press
to turn the alarm relay on or off. Press to go back to
auto mode


