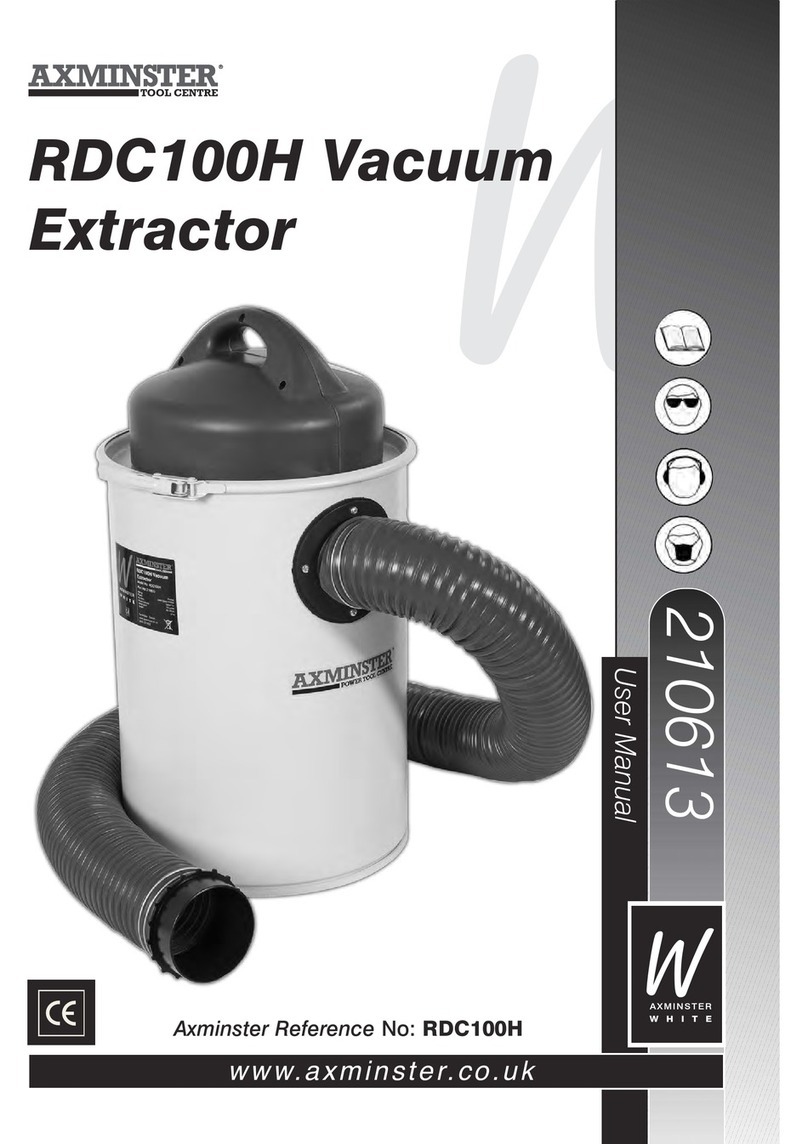
Axminster RDC100H User manual

RDC100H
Vacuum Extractor
Axminster Tool Centre,
Unit 10 Weycroft Avenue, Axminster, Devon EX13 5PH
axminster.co.uk
Code 501269

Index of Contents
Page No
Declaration of Conformity
02
Index of Contents 02
Declaration of Conformity 02
What’s in the Box 03
General Instructions for 230V Machines 04
Specific Safety for Dust Extractors 05
Specification 06
Assembly 06-07
Workshop Setup 08-09
Illustration and Parts Description 10-11
Changing the Micron Filter Bag 12-13
Maintenance 13
Parts Breakdown 14
Parts List 15
Copied from CE Certificate
The undersigned, Galen Chun authorised by
Qingdao DandD Electromechanical Technnologies
Co., Ltd. Jiaozhou Branch No.1 DandD Road, Jiaobei
Town, Jiaozhou City,Qingdao, Shandong, China
declares that this product
Model number RDC100H
manufactured by Qingdao D&D Electromechanical
Technnologies Co. is in compliance with the following
standards or standardisation documents in accordance
with Council Directives
EN 60335-2-69:2003+A1:2004
EN 60335-
1:2002+A1:2004+A11:2004+A2:2006+A12:2006
EN 50366:2003+A1:2006
Warning
The symbols below advise that you follow the correct
safety procedures when using this machine.
Dust mask
should be worn
Ear protection
should be worn
Eye protection
should be worn
Fully read manual
and safety instructions
before use
HAZARD
Motor gets hot

03
What’s in the Box
Model Number RDC100H
1 No. Vacuum Extractor with filter and micron bag fitted.
1 No. Flexible Hose
1 No. Flexible Hose Clamps
1 No. 100mm Adaptor Moulding
4 No. Micron Filter Bags
1 No. Instruction Manual
Having unpacked your vacuum extractor and its accessories please dispose of any
unwanted packaging properly. The packaging is biodegradable.
A
B
C
D
E
A
D
E
C
B
Remove items from
inside the drum
Code 210091

General Instructions for 230V Machines
The following suggestions will enable you to observe good working practices, keep yourself and
fellow workers safe and maintain your tools and equipment in good working order.
Good Working Practices/Safety
Primary Precautions Mains Powered Tools and Machines
WARNING!!
!
KEEP TOOLS AND EQUIPMENT OUT
OF THE REACH OF YOUNG CHILDREN
These machines are supplied with a moulded 13 Amp. Plug and 3 core power cable. Before using the
machine inspect the cable and the plug to make sure that neither are damaged. If any damage is visible
have the damaged item inspected/repaired by a suitably qualified person. If it is necessary to replace the
plug, it is preferable to use an ‘unbreakable’ type that will most resist damage. Only use a 13 Amp plug, and
make sure the cable clamp is tightened securely. Fuse as required. If extension leads are to be used, carry
out the same safety checks on them, and ensure that they are correctly rated to safely supply the current
that is required for your machine. Remember, most machines or tools have handles or holding positions, the
power cable is not one of them.
The machine is not designed for use outside. Keep the machine clean; it will enable you to more easily see
any damage that may have occurred. Clean the machine with a damp soapy cloth if needs be, do not use
any solvents or cleaners, as these may cause damage to any plastic parts or to the electrical components.
Keep the work area as uncluttered as is practical, this includes personnel as well
as material. Under no circumstances should CHILDREN be allowed in work areas.
It is good practice to leave the machine unplugged until work is about to commence, also make sure to
unplug the machine when it is not in use, or unattended. To avoid inadvertent ‘start up’; if your machine is
not fitted with a NVR system, ensure the switch is always returned to the OFF position. Once you are ready
to commence work, remove any tools, objects or items that could inadvertently get ‘sucked up’ by the
machine (if any) and place safely out of the way.
Re-connect the machine, ensuring the power cable is not ‘snagged’ or routed where it could be tripped over
as you move about the workshop; it is not too close to an unguarded heat source, or is laid over or around
a sharp edge.
If the work you are carrying out is liable to generate flying grit, dust or chips, wear the appropriate safety
clothing, goggles, gloves, masks etc. If the work operation appears to be excessively noisy, wear
ear-defenders. If you wear your hair in a long style, wearing a cap, safety helmet, hairnet, even a sweatband,
will minimise the possibility of your hair being caught up in the rotating parts of the machine, likewise,
consideration should be given to the removal of rings and wristwatches if these are liable to be a ‘snag’
hazard. Consideration should also be given to non-slip footwear, etc.
DO NOT work with cutting or boring tools of any description if you are tired, your attention is
wandering or you are being subjected to distraction. A deep cut, a lost fingertip or worse; is not
worth it!
DO NOT use this machine within the designated safety areas of flammable liquid stores or in areas
where there may be volatile gases. There are very expensive, very specialised machines for working in
these areas, THIS IS NOT ONE OF THEM.Above all, OBSERVE…. make sure you know what is
happening around you, and USE YOUR COMMON SENSE.
Work Place/Environment.
04
05
Specific Safety for Dust Extractors
DO NOT
use this machine as a vacuum cleaner, try to keep the waste
medium to wood by-products. Do not uplift workshop floor debris (stones,
nails, screws, paper etc., etc). Be aware that wood dust is an explosive medium.
DO NOT
allow any ‘naked light’ source to occur anywhere near the machine.
This includes cigarettes, matches, etc, and do not place the machine near any
unprotected light bulbs, that could possibly get broken.
If you are not using ‘clear’ extraction hose, periodically remove the hose to check that the inlet to
the machine is not getting restricted.
If possible, try to connect everything together electrically, to eliminate static shocks.
Try to route the power cable and the hosing away from busy walkways.
DO NOT
allow the inlet to become ‘dead ended’, or block or restrict the
outlet, this puts undue work on the motor and can lead to overheating.
NOTE!!
!
DO NOT FIT PLASTIC WASTE BAGS TO
THIS MACHINE

06
Specification
Assembly
Your Vacuum Extractor is fully assembled, except for the Flexible Hose and 100mm Adaptor
Moulding, you will find all parts inside the vacuum extractor, by removing the vacuum motor
head. You will also require a flat ended screwdriver. Please follow the instructions below:
Remove the motor head by
unlatching the motor clamping ring (A).
Remove the motor head clamping
ring (A) and place safely aside.
A
1
2
Model RDC100H
Product Code 501269
Rating Hobby
Power 1,100W
Air Flow 180m³/hr
Noise Level 85dB(A)
Particle Size 1 micron
Hose Diameter 100mm
Overall L x W x H 400 x 400 x 700mm
Weight 10kg

07
Assembly
Lift the motor head assembly and remove
all the parts from inside the drum, if you
haven’t already done so. Replace the
motor head and clamping ring (A).
Locate one of the two hose clamps (C),
place over one of the ends of the
hose (B) and push the hose over the
dust extraction outlet.
Locate the 100mm Adaptor Moulding (D)
and the remaining hose clamp (C). Place
the clamp over the hose as before, insert
the adaptor (D) into the end of the hose
and tighten the hose clamp (C).
Secure the hose in position by
tightening the hose clamp (C)using
a flat edge screwdriver.
Secure the hose in position by
tightening the hose clamp (C)
using a flat edge screwdriver.
D
C
C
C
B
B
A
34
56
7
Dust extraction out

08
Workshop Setup
This machine will cope with waste shavings from most bench-top machines and the smaller floor standing
machines, especially bandsaws, circular saws, bench top surface planers and hand-held power tools (with
the accessory power tool hose kit), (code 718085). Below are two examples showing the vacuum extractor
connected to a hand-held sander and floor standing bandsaw.
The picture above shows the
vacuum extractor with a 100mm to 51mm
reducer adaptor, (code 210616) enabling it to
be connected to a hand-held sander.
The picture above
shows the vacuum
extractor connected
to a floor standing
bandsaw, using the
100mm adaptor moulding that comes as
standard.
NUMATIC Extraction Hose Kit
(Code 718085)

09
Workshop Setup
63mm Dust Extraction Kit (Code 410063)
Another option is a ducting system package complete with elbows, blast gates and adaptors for
connecting up your machines to a workshop extractor. Simply fix a horizontal pipe to the wall or
ceiling with the clips supplied and then take branch pipes to exactly where the extraction points
are needed in the workshop, using the T junctions and 63mm flexible hose.
The picture above shows the vacuum extractor
connected to the 63mm dust extraction kit.

10
Illustration and Parts Description
Drum
Hose
Filter and micron bag
Carryng handle
Motor assembly
100mm Adaptor moulding
Motor head clamp

11
Illustration and Parts Description
ON/OFF Switch
ON
OFF

12
Changing the Micron Filter Bag
Remove the motor head by
unlatching the motor clamping ring (A).
Remove the motor head clamping
ring (A) and place safely aside.
Lift the motor head assembly
away from the drum.
Remove the micron bag and filter from the
motor assembly and clean the motor
assembly and filter using an air line or
vacuum cleaner.
Insert the filter into a new micron bag and tuck in the bag end down into the filter, see fig B.
DISCONNECT THE VACUUM EXTRACTOR
FROM THE MAINS SUPPLY
!
A
B
A
Micron bag and
filter assembly
1
3
5
2
4
6

13
Changing the Micron Filter Bag
Maintenance
Replace the micron bag and filter assembly, push firmly so the assembly is flush up against the
motor casing. Lower the motor head assembly back onto the drum, replace the motor clamping
ring and lock it, securing it in position.
Connect the Vacuum Extractor to the mains and continue with operation.
Weekly
•CHECK the inlet duct, remove any accumulated debris.
•CHECK the inlet hose for splits and cracks, repair as necessary.
•CHECK the micron bag for wear and tear. If wear or fraying is occurring, replace the micron
bag, see pages 11 and 12 “Changing the Micron Bag”.
•CHECK the motor for dust, sawdust, shavings etc, build up. If this has occurred, blow out with
L.P. air or clean with a vacuum cleaner. (If ‘blowing out’ remember to wear eye protection and
dependent on the type of dust, consideration should be given to face masking).
•CHECK the drum container and empty if full.
Monthly
•Carry out the weekly checks.
•Dependent on usage clean the vacuum extractor over using a damp cloth.
DISCONNECT THE VACUUM EXTRACTOR
FROM THE MAINS SUPPLY
!
78

14
Parts Breakdown

15
Parts List
ITEM
1
2
3
4
5
6
7
8
9
10
11
12
13
14
15
16
17
18
19
20
21
22
23
24
25
26
27
NAME
Shaving Drum Container
Motor Head Clamping Ring
Cartridge Filter
Motor
Screw ST5.5X15
Container Lid
Screw M5xl0
Long Sponge
Round Sponge
Right Motor Casing
Screw M5x45
Screw M5x25
M5 Screw (black)
Left Motor Casing
Cable
On/Off Switch
Cable Gland
Ø5 Spring Washer
Ø5 Washer
Rubber Cushion
Micron Filter Bag
Hose Coupling 1
Hose Clamps
Hose Coupling 2
Flexible Hose
Screw M5x12
M5 nut (white)
QTY
1
1
1
1
3
1
4
1
1
1
1
3
3
1
1
1
1
1 2
1
2
1
1
2
1
1
4
4

Please dispose of packaging for the product in a responsible manner. It is suitable for recycling.
Help to protect the environment, take the packaging to the local recycling centre and place into the
appropriate recycling bin.
Do not dispose of electric tools together with household waste material. In observance of
European Directive 2002/96/EC on waste electrical and electronic equipment and its
implementation in accordance with national law, electric tools that have reached the end of
their life must be collected separately and returned to an environmentally compatible recycling
facility.
Only for EU countries
Other manuals for RDC100H
1
Table of contents
Other Axminster Vacuum Cleaner manuals

Axminster
Axminster Trade AT340E User manual

Axminster
Axminster FM300BC User manual

Axminster
Axminster WORKSHOP AW153E User manual

Axminster
Axminster FT-1000 User manual

Axminster
Axminster Trade Series Harvey User manual

Axminster
Axminster PROFESSIONAL AP340E User manual

Axminster
Axminster Trade Series User manual

Axminster
Axminster AWDE5002 User manual

Axminster
Axminster RDC100H User manual