B. JORGSEN & CO MALIBU BBC42WH User manual
MALIBU WHITE
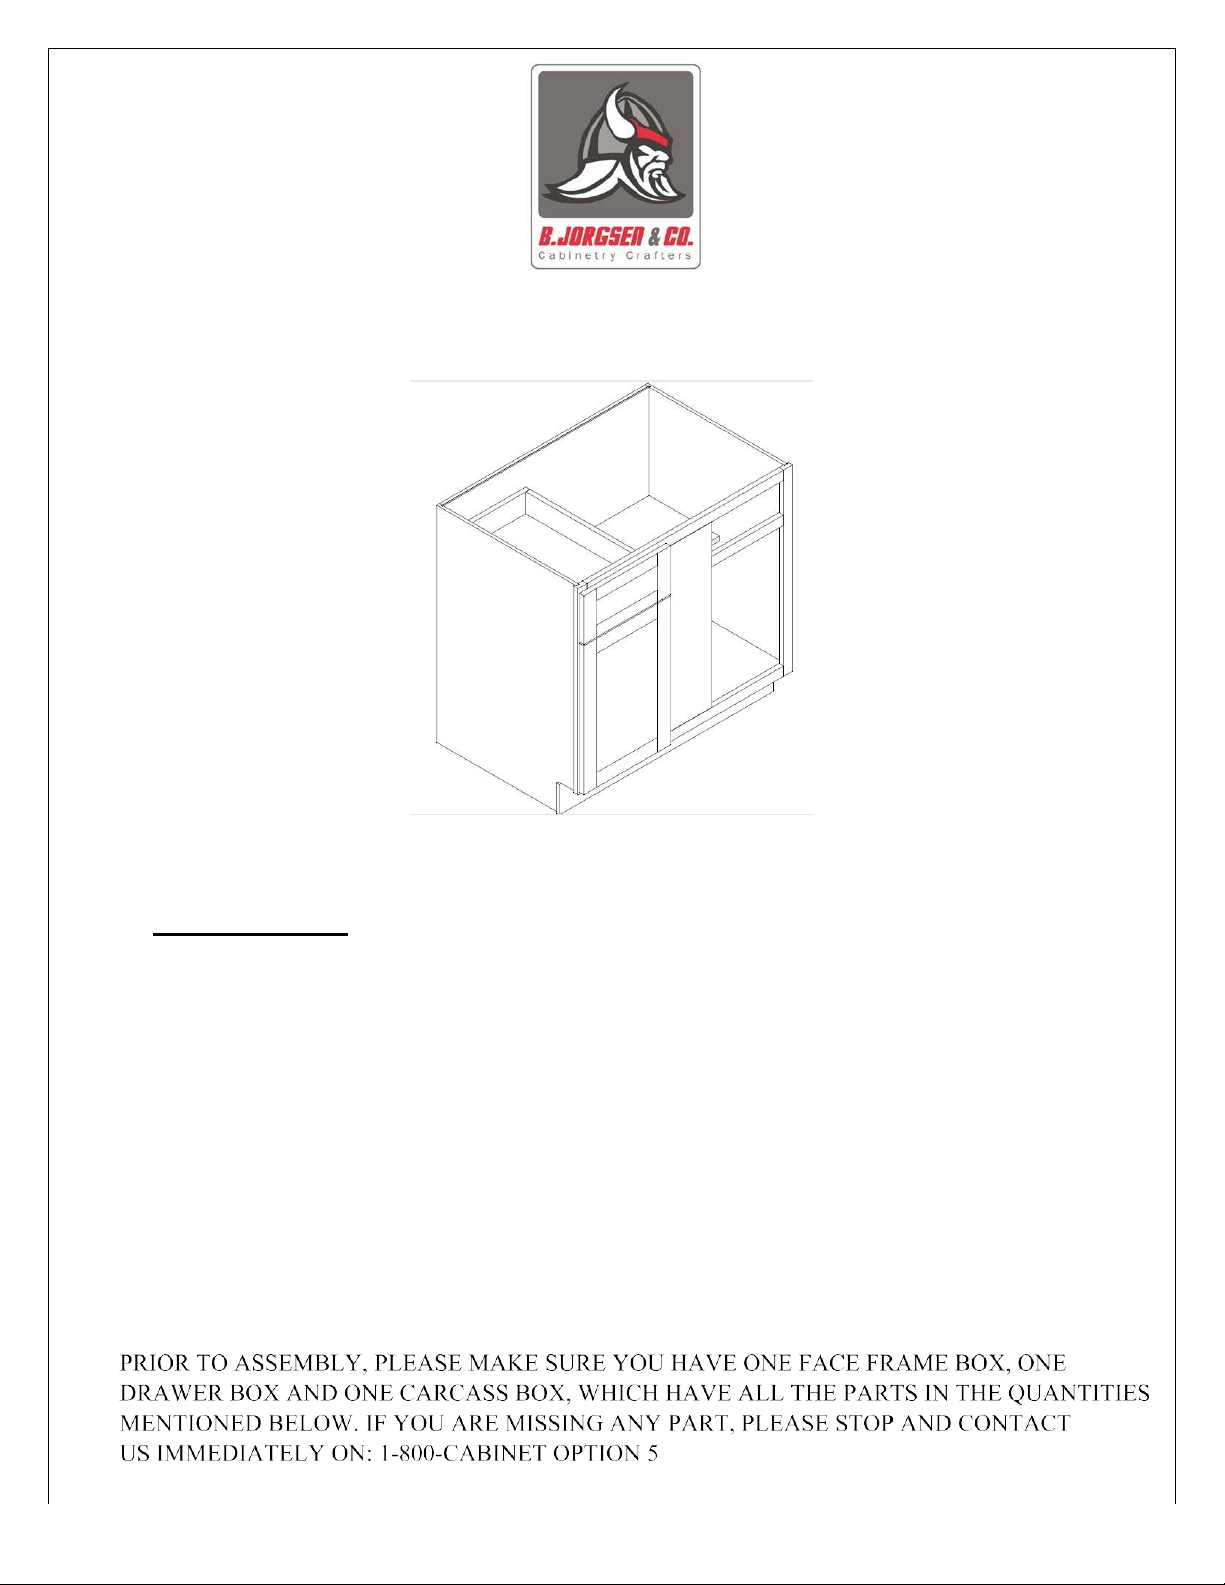
ASSEMBLY INSTRUCTIONS
These assembly instructions are applicable for our blind base corner cabinets Only
ITEM NO.:BBC3639WH, BBC42WH,BBC45WH
►General Instructions:
Thank you for choosing a B. JORGSEN & CO.product. You are now the proud owner of a high quality product
designed to face the test of daily use and guaranteeing your enjoyment for many years to come.
Carefully read the instructions before starting the installation.
During assembly, please follow all generally accepted safety procedures.
Failure to adhere to the following instructions will invalidate the warranty and B. JORGSEN & CO.will decline any
responsibility for any damages caused. Any installation which does not correspond to the instructions may result in
defects, malfunctioning parts, significant damage and/or injury.
Before the assembly begins, check that all appropriate and required plumbing and electrical connections exist.
Before drilling, make absolutely sure that there are no pipes (gas, water, electricity, heating, etc.) at the drilling location.
B.
JORGSEN & CO.will not be held responsible for failure to follow these instructions.
The following is the list of all the items contained in this box:
Page 1

►Items Quantity
Item
Description
Qty
A
Face Frame with Door
1
B
Side Panels
2
C
Bottom Panel
1
E
Back Panel
1
F
Shelf
1
G
ToeKick
1
H
Drawer Front
1
I
DrawerBox
1
J
HardwareBox:
1
Bumper 4pcs, Plastic corner bracket(K) 4pcs, 1/2"round head screws 8pcs, Shelf clips 4 pcs, 1/2" flat head screws for slide 6pcs
1"screw 7pcs,
L
Drawer rail holder
2
M
Drawer Slide Rails(right &left)
2
►Required tools:
•
Screwdriver
•
Adjustable wrench
•
Measuring Tape
•
Pencil
•
Level
•
Silicone
Page 2

►Instructions:
1.
Placethe face frame
(A)
face down on a flat soft working surface to ensure that the face is
notscratchedordamaged
(Figure1)
.
2.
Installing the Side Panels (Figure 2):
Insert right and left side panels
(B)
into the grooves
of the face frame
(A)
and align the cam lock connectors
(Figure 2).
Lock the cam with a
screwdriverbyturningthescrew180°degreesclockwise
(Figure4)
.
3.
Installing the Bottom (Figure 3):
Gently spread the side panels and insert the bottom
(C)
into the grooves ofside panel
(B)
until ittouches the face frame
(A).
Align it and lock eachcam.
4.
Installing the Back Panel and Toe Kick (Figure 5):
Before you start this step, put the
back panel
(E)
on a flat surface facing upward. Install the drawer rail holders
(L)
in the pre-
spotted area on the back panel
(Figure 6).
The opening of the holders should be facing towards
each other. Secure them with 2 round head screws
Figure 6).
Then put the back panel
(E)
at rear of side panel
(B) (Figure 5)
. Align and lock each cam lock. Install the Toe Kick
(G)
by
lockingthe camlockat both ends
(Figure 5).
5.
Installing the Shelves:
Insert the shelf clips into the holes on the side panels at the desired
heightandslide inthe shelves
(F)
.
6.
Installing the Drawer Slide Rails (Figure 7):
Insert the drawer side rails backend into the
holder
(L)
previously installed
(Step 4)
on the back panel. Then secure the drawer rail front end
with 1/2” screws using the pre-drilled holes in the face frame. (Repeat this step for more
drawers.).
7. Drawer Assembly (Figure 8): Place the drawer front(H), face down on a flat surface, install
the assembled drawer box(I) to the drawer front(H) using 1" flat head screws.(Repeat this step for
more drawers).
Figure 1
H
I
E
Figure 7
8.
Installing the Corner Braces (Figure 9) and inserting the Drawers:
Place the corner
braces (K) on each top corner of the cabinet and secure them with the ½” Corner Brace Screws.
G
Slide the drawers into the rail and check the drawer position and adjust slide rail location for
best operation if necessary. The 2” screws are used for connecting corner braces and the
countertop.
L
E L
Page 3

►
Maintenance
For dailycleaning, usea dry cloth and a soft liquid cleaner.
Never use abrasive cleaners containing acetone, chlorine or strong bleach. Also, do not use tools as scrapers, metallic brushes, and other products
which can scratch or tarnish surfaces.
Under no circumstances should you usechrome cleaner on chrome-plated or brass trim,hinges, handles, sockets etc.
Good ventilation is essential for maintainingthequalityand look ofthis furniture.
►Limited30yearwarranty
This warranty applies to B. JORGSEN & CO.kitchen cabinets installed for residential use. B. JORGSEN & CO.warrants that, when installed in
accordance with the installation instructions provided, the kitchen cabinets are free of manufacturing defects for a period of (30) thirty years from the
date ofpurchase.
We guarantee your satisfaction with each kitchen cabinet. Should any kitchen cabinet not meet your satisfaction because of a visual defect, simply
return it to your retailer, PRIOR to installation for a replacement. We are unable to correct any visual defects after installation is complete or after 5
days from thedate of originaldelivery.
Informationaboutyourwarrantycoverage
This warrantydoes not cover damages or failureattributableto:
•
Kitchencabinets installed with obvious visualdefects
•
Defects or damage to kitchen cabinets caused by installation that does not comply strictly with the instructions provided with the kitchen
cabinets.
•
Issues related to thenaturalcharacteristics of wood products orthe normal effects of aging
•
Defects caused byproduct modificationscompleted bytheowner/installer.
•
Defects caused byexposure to the elements includingmoisturewhich maycausewarping or splitting.
•
Defects or damageto kitchen cabinets caused bysevere accidents (e.g. fire, burns).
•
Damage caused by flooding or standing water from leaking pipes, faucets, household appliances, etc: up to and including flooding and any
damagescausedbynaturalcatastrophes.
Notes onWarranty:
•
B. JORGSEN & CO.kitchen cabinets shall not be liable for either its failure to perform or its delays in performance hereunder arising out of or
resulting from causes beyond its control, including but not limited to, acts of God, acts of Representatives, acts of Government, wars, fires,
floods, epidemics, quarantine, strike, freight embargoes, weather or default bysuppliers duetoany such causes.
•
This warrantyapplies onlyto the original purchaserand installation siteand isnot transferable.
•
Wood characteristicsnaturallyoccurring such as variationsin color, grain and knotsarenot considered defects.
•
Color variations in cabinets are a natural occurrence due to wood species, age and exposure to UV light and sunlight and therefore such
variationsand changes arenot considered defects.
•
This warrantyis valid onlyfor residentialinstallation
FORWARRANTYSERVICE
To make a claim, contact CABINETS TO GO, acting as an agent for B. JORGSEN & CO., no later than 5 days following the date of receipt of
product, at 1-800-CABINET option: 5. Proof of purchase, such as thebill of sale is mandatorywhen requestingwarrantyservice.
Approved Returns are subject toa 25% restockingfee &must be approved prior to return, contact your local store for authorization.
•
Product must be in original condition & properly stored. Installed product is considered accepted by the buyer & may not be returned or
exchanged foranyreason.
•
CABINETS TO GO reserves the right to designatea representative to inspect thekitchen cabinet foranalysis.
•
No unauthorized person, installer, dealer, agent or employee of CABINETS TO GO or any other representative is entitled to assume any liability
on behalf of CABINETS TO GO relating to the sale of this product or has the authority to increase or alter the obligations or limitations of this
warranty.
THE SOLE REMEDY PROVIDED BY THIS WARRANTY IS THE REPAIR OR REPLACEMENT OF ANY PART OR PARTS THAT MAY
PROVE DEFFECTIVE UNDER NORMAL RESIDENTIAL USAGE. THIS WARRANTY DOES NOT COVER THE COST OF REMOVAL,
INSTALLATION, DELAY OR TRANSPORTATIONOFNEWPRODUCT.
Page 4
This manual suits for next models
2
Table of contents
Other B. JORGSEN & CO Indoor Furnishing manuals


Popular Indoor Furnishing manuals by other brands

Regency
Regency LWMS3015 Assembly instructions

Furniture of America
Furniture of America CM7751C Assembly instructions

Safavieh Furniture
Safavieh Furniture Estella CNS5731 manual

PLACES OF STYLE
PLACES OF STYLE Ovalfuss Assembly instruction

Trasman
Trasman 1138 Bo1 Assembly manual

Costway
Costway JV10856 manual


