B52 marine BMP 4004 User manual

INSTRUCTIONS MANUAL
BMP 4004
HIGH POWER BRIDGEABLE MARINE
MOSFET AMPLIFIER
www.b52audio.com
INSTRUCTIONS MANUAL 02 - 12
MANUAL DE INSTRUCCIONES 14 - 24
MANUAL DE INSTRUÇÕES 26 - 36
ENGLISH

INDEX
2
1.PARTS LIST ....................................................................................................1
2.FEATURES AND SPECIFICATIONS.....................................................................1
Features
Specifications
3.INSTALLATION................................................................................................2
Installation warnings and tips
Choosing a location and mounting the amplifier
Power connections
4.CONTROL FUNCTIONS ....................................................................................4
5.SYSTEM EXAMPLES........................................................................................7
6.AMPLIFIER TROUBLESHOOTING GUIDE ............................................................9

THANK YOU for purchasing a B52 POWER AMPLIFIER. In order that we may better serve you if
you require warranty service for your new amplifier, please retain your original purchase receipt
and return the enclosed warranty registration page.
PARTS LIST
Included Hardware:
• Owner'smanual 1piece
• Mountingscrew 4pieces
• 35Afuse 3pieces
FEATURES AND SPECIFICATIONS
Features
• TheBMP-4004usehighlyquality1LayerPCB.
• Uniquelydesignedhighefficientpowertransformer.
• Rated500amppowersupplyswitchingFET.
• 12dBstereocrossoverfilter.
• High/low/fullrangeselectswitch.
• 50Hz+12dBbassboostcontrol.
• UsehighlyqualitydeluxeguageinputRCA&deluxeguagepowerterminalconnector.
• Useclass-A/Bcircuitry
• Stableto4Ohmbridgedmono.Protector:OutputShort,overloads&overtemperature.
• Power&protectindicators.
Specifications
4OhmBridgeMaxPower 2000Wx2 InputSensitivity 200mV–6V
2OhmMaxPower 1000Wx4 InputImpedance 20kOhm
4OhmRMSPower 500Wx4 LowPassFrequency 32Hz-320Hz
2OhmRMSPower 750Wx4 HighPassFrequency 32Hz-320Hz
S/NRatio >95dB BassBoostLevel(50Hz) 0dB-+12dB
THD(@1Khz) <0.05% FuseRating 35Ax3
ChannelSeparation(@1Khz) >50dB Dimensions(wxHxL) 91/2X22/7X188/9Inch
FrequencyResponse 10Hz-100KHz 241X58X480mm
3

INSTALLATION
4
WARNING
Playing loud music in a ship can hinder your ability to hear traffic and permanently damage your
hearing. We recommend listening at low or moderate levels while driving your boat. B52 accepts
no liability for hearing loss, bodily injury or property damage resulting from the use or misuse of
this product.
IMPORTANT
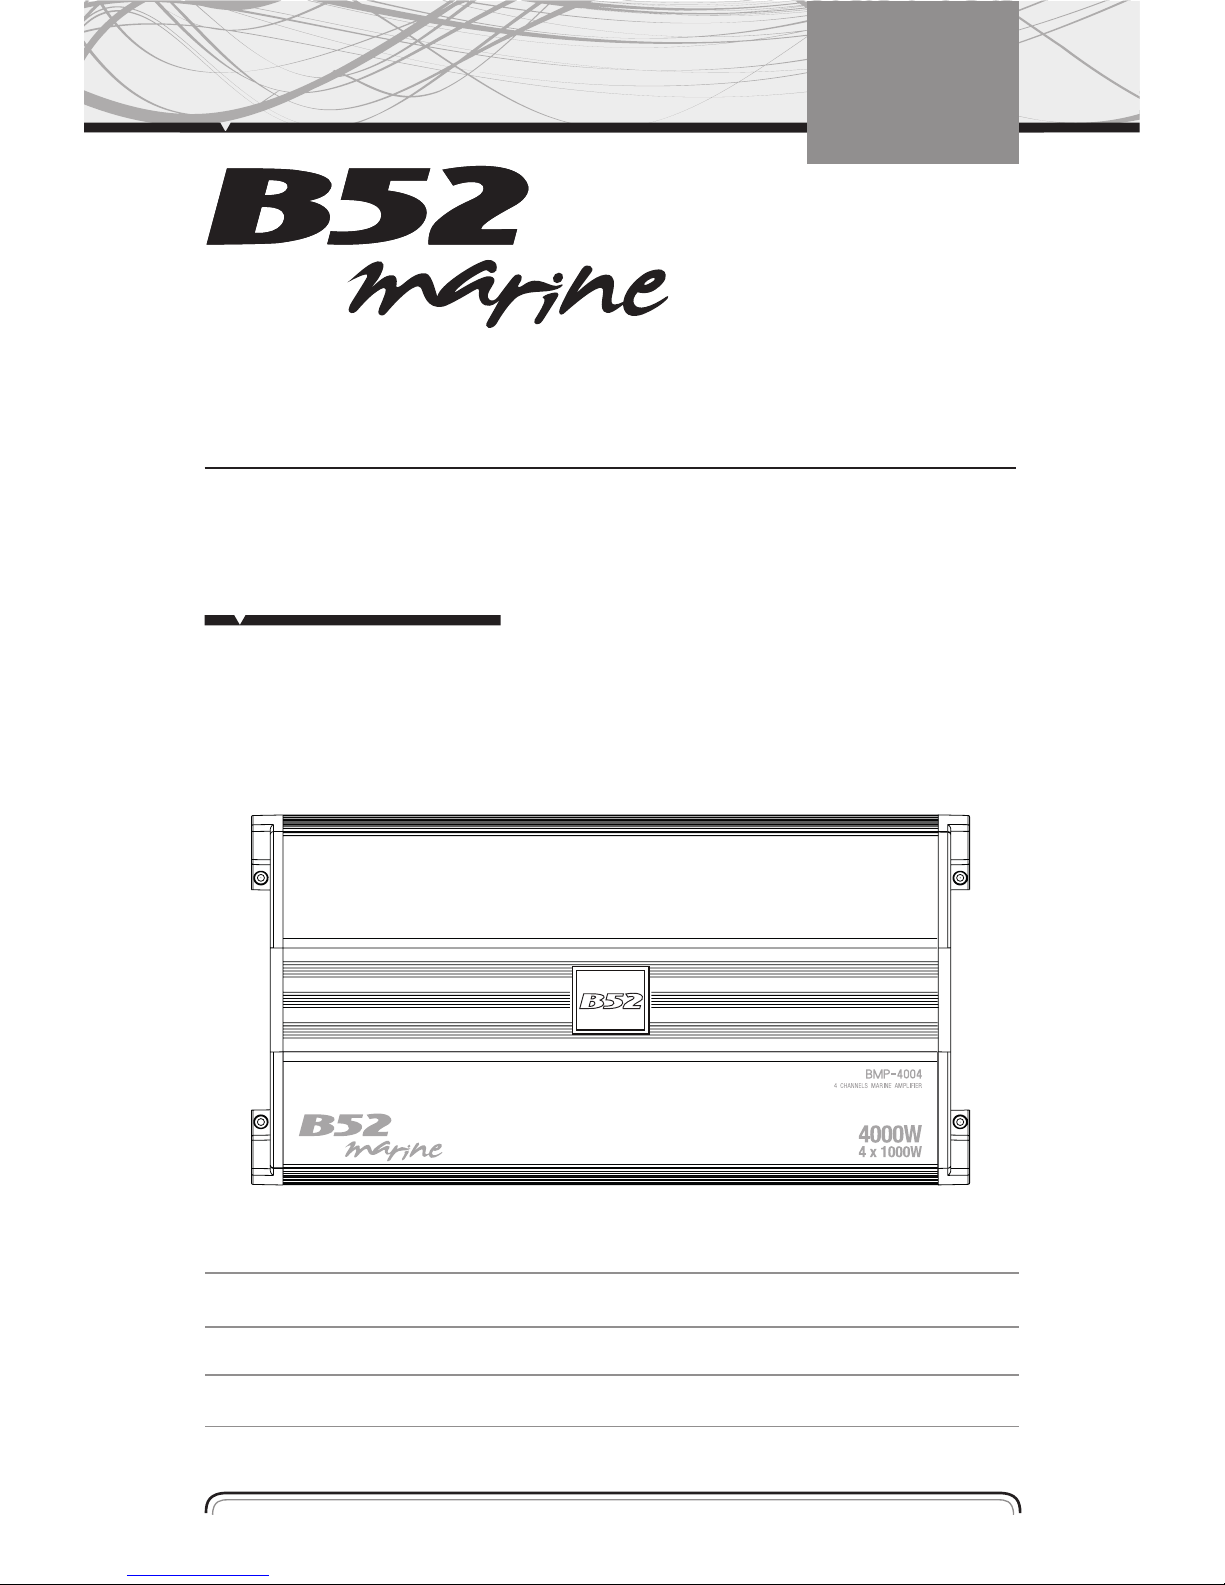
To get the best performance from your B52 BMP-4004 Series amplifiers, we strongly
recommend that installation be entrusted to a qualified professional. Although these instructions
explainhowtoinstallB52BMP-4004Seriesamplifiersinageneralsense,theydonotshow
specific/installationmethodsthatmayberequiredforyourparticularvehicle.Ifyoudonothave
thenecessarytoolsorexperience,donotattempttheinstallationyourself.Instead,pleaseask
yourauthorizedB52caraudiodealeraboutprofessionalinstallation.
INSTALLATION WARNINGS AND TIPS
• Alwayswearprotectiveeyewearwhenusingtools.
• Turnoffallaudiosystemsandotherelectricaldevicesbeforeyoustart.Disconnectthe(-)
negativeleadfromyourvehicle'sbattery.
• Checkclearancesonbothsidesofaplannedmountingsurfacebeforedrillinganyholesor
installinganyscrews.Rememberthatthescrewscanextendbehindthesurface.
• Attheinstallationsites,locateandmakeanoteofallfuellines,hydraulicbrakelines,
vacuumlines,andelectricalwiring.Useextremecautionwhencuttingordrillingin
and around these areas.
• Beforedrillingofcuttingholes,useautilityknifetoremoveunwantedfabricorvinylto
keepmaterialfromsnagginginadrillbit.
• Whenroutingcables,keepinput-signalcablesawayfrompowercablesandspeakerwires.
• Whenmakingconnections,makecertaintheyaresecureandproperlyinsulated.Ifthe
amplifier'sfusemustbereplaced,useonlythesametypeandratingasthatoftheoriginal.
Donotsubstituteanotherkind.

INSTALLATION
5
CHOOSING A LOCATION AND MOUNTING THE AMPLIFIER
Amplifiersneedairtostaycool.Suitablelocationsinthecreworcontrolcabin(providedthe
amplifierdoesn'tinterferewithdrivingmechanism)orinanyotherlocationwhichprovides
enoughairfortheamptocoolitself.Fortheheatsinkoftheamplifieronthebothside,Note
convectioncoolingofthebothheatsink,andkeepthebottomortopoftheamplifierno-touching
any fabric or vinyl material.
Mounting Dimensions
Mount the amplifier so that it is not damaged by the feet of passengers or shifting cargo in the
crew cabin. Mount the amplifier so that it remains dry never mount an
amplifieroutsidetheboatorintheenginecompartment.Usingtheamplifierasatemplate,mark
the location of the mounting holes on the mounting surface, drill pilot holes,
andattachtheamplifiertothemountingsurfacewithscrews.Makesuretheamplifieris
mounted securely.
MOUNTING DIMENSIONS(Unit:mm)
59
160
242
460
448

INSTALLATION
6
POWER CONNECTIONS
TheB52marineamplifiersarecapableofdeliveringextremelyhighpowerlevels,andrequire
aheavy-dutyandreliableconnectiontothevehicle'selectricalsysteminordertoperform
optimally.Pleaseadheretothefollowinginstructionscarefully:
Ground Connection
Connecttheamplifier'sGround(GND)terminaltoasolidpointonthevesselmetalchassis,as
close to the amplifier as possible. Refer to the chart below to determine minimum wire-gauge
size.Scrapeawayanypaintfromthislocation;useastar-typelockwashertosecurethe
connection.
Power Connection
Connectawire(seechartatrightforappropriategauge)directlytothevehicle'spositivebattery
terminal,andinstallanappropriatefuseholderwithin18"ofthebatteryterminal.Donotinstall
thefuseatthistime.Routethewiretotheamplifier'slocation,andconnectittotheamplifier's
Positive(BATT+)terminal.Besuretouseappropriategrommetswheneverroutingwiresthrough
the firewall or other sheet metal. Failure to adequately protect the positive wire from potential
damage may result in a vehicle fire. When you are done routing and connecting this wire, you
may install the fuse at the battery.
Remote connection
Connecttheamplifier'sRemote(REM)terminaltothesourceunit'sRemoteTurnOnleadusinga
minimumof18-gaugewire.
Speaker Connections
Refertotheapplicationguidesonthepagesthatfollow.Speakerconnectionsshouldbemade
using a wire as per the following chart instructions.
Wire Gauge Chart
PowerCable 6-guage (4mm2)
SpeakerWire 12-gauge(2mm2)
RemoteWire 18-gauge(1mm2)
SignalCable 8-gauge (3mm2)

CONTROL FUNCTIONS
7
1. RCA inputs
RCAcablesmarkedFRONTorREARfromheadunitorotherlineleveldeviceshouldbe
connectedhere.Usebothinputs(L&R)forfrontandrearstereo.
2. Input Level Controls
This is for adjusting input sensitivities. To adjust the sensitivity, turn the controls fully
counterclockwisetominimum.Adjusttheradio/headunitvolumeknobtomaximumvolume,
andthenturnthelevelcontrolsontheamplifierclockwiseuntilaudibledistortionoccurs.
3. Crossover Selector (HPF/FLAT/LPF)
This switch allows these two amplifier channels to play full range, low pass, or high pass. In
theLPF(LowPassFilter)position,allthehighfrequenciesarefilteredoutandtheamplifier
produces only low bass frequencies.
On the contrary, in the HPF position, the low frequencies are filtered out and allowing the
amplifier to play mid and high frequency. If the amplifier is used to power subwoofers, set the
crossoverswitchtoLPF.Iftheamplifierisusedtopowermidrangeandtweetersorcoaxialtype
speakers,setthecrossovertoHPF.
Switch the crossover to FLAT when amplifier is used in Tri mode configuration or when full
rangespeakerareused.
4. Status LED indicators
BLUEindicatesthenormaloperatingcondition:theamplifierisON.
RED indicates the Amplifier is protection

8
CONTROL FUNCTIONS
5. CORSSOVER
ThisisforadjustingLPF&HPFfrequencies;IntheLPFposition,toadjustthefrequenciesfrom
32Hz-320Hz,allthehighfrequenciesarefilteredoutandtheamplifierproducesonlylowbass
frequencies.IntheHPFpositiontoadjustthefrequenciesfrom32Hz-320Hz,thelowfrequencies
are filtered out and allowing the amplifier to play mid and high frequency.
6. Bass Boost
Thisisforadjustinginputsignalbassboostlevelal50Hz,turnthecontrolsbassboostlevel,at
0dBto+6dB.
7. Speaker Terminals
Itallowstheconnectionofspeakerstotheamplifier.Notethepolarofthespeakers.
8. Ground Connector
It connects GND wire from a connection point on the vehicle chassis.
9. REMOTE control
This connects the control wire switch allows the amplifier to be turned on and off by the head unit.
10. Power Connection
Itconnects+12VDCpowerwirefromthebattery.

SYSTEM EXAMPLES
9
SYSTEM A PAIR OF FULL RANGE SPEAKERS
SYSTEM B A FULL RANGE FILL

10
SYSTEM EXAMPLES
SYSTEM C SINGLE SUBWOOFER (4 OHM)
SYSTEM D PARALLEL 4 OHM SUBWOOFERS (2 OHM LOAD)

AMPLIFIER TROUBLESHOOTING GUIDE
11
1. Status LED on Amplifier not LitHead Unit (Source) Turned ON Verify:
A. Remote turn-on wire from source to amplifier has proper voltage
B.Power(B+)connectionsatamplifier,terminalblocks,andbatteryaresecure
C.Ground(GND)connectionsatamplifierandvehiclechassisaresecure
D.BatteryB+fuseisOK
E. Amplifier fuse is OK
F.B+atbatteryandB+atamplifierhavepropervoltage
2. Status LEDs Lit, no Output from Speakers in Normal Operating Condition Verify:
A.High-levelcablesfromspeaker(s)toamplifieraresecurelyconnected
B. RCA cables from amplifier to source are securely connected
C.Volumeadjustmentonamplifieriscorrectlyadjusted
3. Engine Noise From Speaker(s)
TurnsourceOFF,DisconnectRCAcablesatamplifierIfnoisestops,checkequipment&cables
leading to amplifier
Verify:
A.RCAcablesareofgoodqualitywithnobreakagetointernalshields
B. RCA cables from source to amplifier are not run alongside power
4. Amplifier Output Distorted Music not Recorded with Intentional Distortion Verify:
A. Source output to amplifier is not distorted
B. Source output sensitivity is correctly adjusted
5. Amplifier Shuts Down, Green LEDs are Lit Amplifier is in Thermal Protection Mode
Verify:
A. Amplifier is mounted with adequate air circulation around vents
B. Amplifier is not mounted under carpet
C.Speakersmeetcorrectimpedanceforapplication(monoorstereohookup)
6. Amplifier Does Not Turn ON, and Red LED is Lit Amplifier not Connected to a
Shorted Speaker
Verify:
A.Speakercrossoverisnotdefective
B.High-levelcablesfromspeakertoamplifierarenotshorted
A. Source output to amplifier is not distorted
B. Source output sensitivity is correctly adjusted

5. Amplifier Shuts Down, Green LEDs are Lit Amplifier is in Thermal Protection Mode
Verify:
A. Amplifier is mounted with adequate air circulation around vents
B. Amplifier is not mounted under carpet
C.Speakersmeetcorrectimpedanceforapplication(monoorstereohookup)
6. Amplifier Does Not Turn ON, and Red LED is Lit Amplifier not Connected to a
Shorted Speaker
Verify:
A.Speakercrossoverisnotdefective
B.High-levelcablesfromspeakertoamplifierarenotshorted
AMPLIFIER TROUBLESHOOTING GUIDE
12

MANUAL DE INSTRUCCIONES
BMP 4004
AMPLIFICADOR MARINO DE ALTA
POTENCIA PUENTEABLE MOSFET
www.b52audio.com
INSTRUCTIONS MANUAL 02 - 12
MANUAL DE INSTRUCCIONES 14 - 24
MANUAL DE INSTRUÇÕES 26 - 36
ESPAÑOL

INDICE
14
1. LISTADO DE PARTES......................................................................................1
2. CARACTERISTICAS Y ESPECIFICACIONES........................................................1
Características
Especificaciones
3. INSTALACION ................................................................................................2
4. CONTROL DE FUNCIONES ..............................................................................4
5. EJEMPLOS DE SISTEMA.................................................................................7
6. GUÍA DE RESOLUCIÓN DE PROBLEMAS...........................................................8

GRACIAS por adquirir el amplificador B52 BMP-4004. Para poder servirlo mejor si usted
requiere servicio de garantía para su nuevo amplificador por favor conserve su boleta original de
compra y devuelva la tarjeta de registro adjunta
LISTA DE PARTES INCLUIDAS
Hardware incluido:
• ManualdelUsuario 1pieza
• Tornillosdemontaje 4piezas
• Fusible35Afuse 3piezas
CARACTERISTICAS Y ESPECIFICACIONES
Características
• ELBMP-4004usaplacasde1capadealtacalidad
• Transformadordediseñoúnicoaltamenteeficiente
• Fuentedealimentaciónconmutada500AcontransistoresMOSFET
• Filtrocrossoverstereo12dB/Oct
• LlaveselectoraHigh/Low/FullRange
• ControlBassBoost50Hz+12dB
• UtilizaconectoresdeentradaRCAdelujodealtacalidad
• UsacircuitosdeamplificaciónenclaseA/B
• Estableenmodopuentemonode4Ohm.
• Protecciones:Cortocircuito,sobrecargasysobrecalentamientos
• Indicadoresdeenergíayprotección
Especificaciones
PotenciaenPuente,4Ohm 2000wx2 SensibilidaddeEntrada 200mV–6V
PotenciaMax,2Ohm 1000wx4 Impedanciadeentrada 20kOhm
PotenciaRMS,4Ohm 500wx4 FrecuenciapasaBajos 32Hz-320Hz
PotenciaRMS,2Ohm 750wx4 FrecuenciapasaAltos 32Hz-320Hz
RelaciónSeñal/Ruido >90dB RefuerzodeBajos(50Hz) 0dB-+12dB
DistorsiónarmónicaTotal(a1Khz)<0.05% Fusible 35Ax3
Separaciónentrecanales(a1Khz)>50dB Dimensiones(AnchoxAltoxLargo)91/2X22/7X188/9''
RespuestadeFrecuencia 10Hz-100KHz 241X58X480
15

INSTALACION
16
ATENCION
Reproducirmúsicaavolumenmuyaltoenunaembarcaciónpuededificultarsuhabilidad
paraescuchareltráficoyprovocardañopermanenteasuaudición.Recomendamos
reproducirlamúsicaanivelesbajosomoderadosmientrasconducesubote.B52noaceptara
responsabilidadalgunoporlapérdidadeaudición,dañosapersonasopropiedadesporelmal
uso de este producto.
IMPORTANTE
Para obtener la mejor performance de su amplificador B52 BMP-4004, recomendamos que
lainstalaciónseconfiadaaunprofesional.Sibienestasinstruccionesexplicancomoinstalar
el amplificador B52 BMP-4004 en un sentido general, en ellas no se especifica los métodos
deinstalaciónespecíficosquepuedenserrequeridosparasuvehículo.Siustednotienelas
herramientasolaexperiencianecesarianointentellevaracabolainstalaciónustedmismo.En
sulugarporfavorconsulteconeldistribuidorautorizadodeB52poruninstaladorprofesional
ADVERTENCIAS Y SUGERENCIAS DE INSTALACION
• Siempreuseprotecciónenlosojoscuandoutiliceherramientas
• Apaguetodoslossistemasdeaudioyaparatoseléctricosantesdecomenzar.Desconecte
elconductornegativodelabateriadesuembarcación
• Compruebequehayaespacioaambosladosdelasuperficiedondeplaneamontarel
amplificador antes de efectuar agujeros o poner los tornillos. Recuerde que los tornillos
puedenextendersepordetrásdelasuperficie
• Enellugardelainstalaciónnotesiexistenlíneasdecombustible,líneasdefrenos
hidráulicos,líneasdeaireaciónocableadoseléctricos.Tengaextremaprecaucióncuando
corte o agujeree cerca de esas áreas.
• Antesdeagujerearocortarutiliceuncuchillopararemovertelasoplásticosquepuedan
enredarse en el taladro
• Alcolocarloscables,mantengaloscablesdeseñaldeentradaseparadosdeloscablesde
alimentaciónydeloscablesdelosparlantes
• Cuandohagaconexiones,compruebequeesténaseguradasycorrectamenteaisladas.Si
elfusibledelamplificadordebeserreemplazado,solouseunodelmismotipoqueel
original. No lo sustituya por otro de otra clase.

INSTALACION
17
COMO ELEGIR EL LUGAR DE INSTALACION Y MONTAJE DEL AMPLIFICADOR
Elamplificadornecesitaaireparamantenerseatemperaturanormal.Unabuenaubicaciónesen
lacabina(siemprequenointerfieraconningúnmecanismodeconducción),enelcamaroteo
en cualquier otro lugar que permita el paso del aire para que el amplificador se enfríe. Note las
ranuras de enfriamiento a ambos lados de la carcasa y mantenga la base y la parte superior del
amplificador lejos del contacto de materiales plásticos, vinilos o telas.
Dimensiones de montaje
Colóquelodemaneraquesiempreesteseco,nuncalocoloqueenelexteriordelboteoenel
compartimiento del motor. Use el amplificador como mole para marcar donde debe hacer los
agujeros de montaje en la superficie. Compruebe que el amplificador este montado de manera
segura.
DIMENSIONES DE MONTAJE (Unidad: mm)
59
160
242
460
448

INSTALACION
18
CONECCIONES DE ALIMENTACION
Esteamplificadorescapazdeproporcionarmuyaltosnivelesdepotenciayrequiereuna
conexiónconfiableydurablealsistemaeléctricodelvehículoparaunóptimaperformance.Por
favorsigalassiguientesinstruccionescuidadosamente:
Conexión a Tierra
Conecte la terminal a tierra del amplificador a un punto solido de metal en el casco del barco
tan cerca del amplificador como sea posible. Refiérase al diagrama de abajo para determinar la
medidamininadecableautilizar.Raspelapinturadeestaparteyuseunaarandelatipoestrella
paraasegurarlaconexión
Conexión de alimentación
Conecteuncable(veaeldiagramadeladerechaparaunaindicaciónapropiada)directamente
alaterminalpositivadelabateríaeinstaleunportafusibleapropiadoa18”delaterminal
delabatería.Noinstaleelfusibletodavía.Dirijaelcablehacialaubicacióndelamplificadory
conécteloalaterminalpositivadelamplificador(BATT+).Asegúresedeusarojalesapropiados
al pasar el cable a través del metal. Si no se protege bien el cable positivo puede ocasionar
dañopotencialinclusoelincendiodesuembarcación.Cuandohayaterminadoelcableadoyla
conexiónpuedeinstalarelfusible
Conexión remota
Conectelaterminalremotadelamplificador(REM)alafuentedelaunidadremoto.,Enciendael
indicadorusandouncablede18-gauge(1mm2)mínimo
Conexión de los parlantes
Refiérasealaguíaenalaspaginassiguientes.Laconexióndelosparlantesdebehacerse
usandocablessegúnlasiguientetabla
Tabla de Dimensiones de cables
CableAlimentación 6-guage (4mm2)
Cabledeparlante 12-gauge(2mm2)
Cableremoto 18-gauge(1mm2)
Cablesdeseñal 8-gauge (3mm2)

CONTROLES Y FUNCIONES
19
1. Entrada RCA
Los cables RCA marcados FRONT o REAR del estéreo u otro reproductor deben conectarse aquí
Useambasentradas(L&R)parasonidoestéreoenfrenteytrasero.
2. Control de nivel de entrada
Sirve para ajustar la sensibilidad de entrada. Para ajustar gire los controles al mínimo en
sentidocontrarioalasagujasdelreloj.Ajusteelvolumendelaradio/unidadreproductoraal
máximoyluegogireelcontroldeniveldelamplificadorensentidohorariohastaescuchar
distorsión.
3. Selector de Crossover (HPF/FLAT/LPF)
Esta llave permite reproducir los canales del amplificador a full range, low pass o high pass. En
laposiciónLPF(LowPassFilter)(filtropasabajos)todaslasfrecuenciasaltassonfiltradasyel
amplificador reproduce solo frecuencias bajas.
PorelcontrarioenlaposiciónHPF(HighPassFilter)(filtropasaaltos),lasfrecuenciasbajasson
filtradas permitiendo al amplificador reproducir frecuencias medias y altas. Si el amplificador
es usado para potenciar subwoofers, selectar LPF. Si el amplificador es usado para potenciar
parlantesmidrangeytweetersoparlantesdetipocoaxial,selectarHPF.PongalallaveenFLAT
cuandoelamplificadorseuseenconfiguraciónTrimodeoconparlantesfullrange
4. Indicadores LED
AZULindicacondicióndeoperaciónnormal:Encendido
ROJOindicaqueelamplificadorestaenprotección

20
CONTROLES Y FUNCIONES
5. Crossover
AjustalasfrecuenciasLPF&HPF.EnlaposiciónLPFparaajustarlasfrecuenciasde32Hz-
320Hz,todaslasfrecuenciasaltassonfiltradasyelamplificadorreproducesolofrecuencias
bajas.EnlaposiciónHPF,lasfrecuenciasbajassonfiltradaspermitiendoalamplificador
reproducir frecuencias medias y altas.
6. Bass Boost
Ajustalaseñaldeentradadelnivelbassboosta50HZ.Gireelcontroldenivelbassboostde
0dBa+6dB.
7. Terminales de parlantes
Permitelaconexióndelosparlantesalamplificador.Porfavornotelapolaridaddelosparlantes
8. Conector a tierra
Conectaelcableatierra(GND)aunpuntometálicoenelcascodelaembarcación.
9. Control remoto
Conecta el cable al switch de control que permite que el amplificador se encienda y se apague
desde la unidad reproductora
10. Conexión de alimentación
Conectaelcabledealimentaciónde+12VDCalabatería.
Table of contents
Languages: