Bak USA Bak Board User manual

User Guide
BAK USA Technologies Corp.
425 Michigan Ave.
Buffalo, New York 14203
Bak Board
For Android

Thanks for embracing the evolution of mobile technology with Bak USA.
We hope you enjoy your Bak Board experience. To best use your device,
please refer to this guide.
Hello there.
Bak USA
Bak Board User Guide
Version: v3 // 2018

Attention
Be sure to keep the power cord away from young children
• As with all electrical products, precautions should be observed during handling and use to prevent electric
shock. The power supply (adapter) should not be handled by children.
• Do not drop, crush, step on, or otherwise abuse the power supply, battery pack, or power cord.
• Periodically inspect the device, power supply, and power cord for damage. Replace if necessary.
• Report any damage or loose parts to the seller immediately.
• Do not leave the device plugged in or powered on when enclosed in a non-ventilated container (such as a
backpack) as overheating may occur.
• You are encouraged to take a 5-minute break every 30 minutes of use.
Safety Precautions
Please read and understand the following precautionary measures before using your device.
Please follow these guidelines for the safe and proper handling of
the device
,
power supply, battery pack, and
power cord.
CAUTION
RISK OF EXPLOSION IF BATTERY IS REPLACED BY AN INCORRECT TYPE. DISPOSE OF USED BATTERIES ACCORDING
TO THE INSTRUCTIONS.
IT IS RECOMMENDED TO USE THIS DEVICE IN AN ENVIRONMENT WHERE THE AMBIENT TEMPERATURE IS NO MORE THAN 120°F.
TO PREVENT POSSIBLE HEARING DAMAGE, DO NOT LISTEN AT HIGH VOLUME LEVELS FOR LONG PERIODS.
1. Do not place near re or other sources of heat.
2. Do not expose to magnetic elds.
3. Do not place heavy objects to add heavy pressure on the device.

Package contents..........................................................................................................
1
2
2
2
3
3
3
4
6
9
Content
Section 1 Getting to Know Your Device page 1
Section 2 Using your Device page 2
Connecting to a Wi-Fi network.....................................................................................
Adding a Wi-Fi network.................................................................................................
Disabling an automatic Wi-Fi connection...................................................................
Enabling and disabling the Bluetooth..........................................................................
Opening Bluetooth screen.............................................................................................
Changing your Bluetooth name....................................................................................
Pairing with a Bluetooth device....................................................................................
Unpairing a Bluetooth device........................................................................................
Section 4 Wireless Networks and Devices page 14
10
12
12
14
15
15
16
16
16
17
17
Power ON/OFF................................................................................................................
Powering your device................................................................................................
Powering on for the rst time...................................................................................
Powering off your device..........................................................................................
Putting your device into sleep mode.......................................................................
Waking up your device..............................................................................................
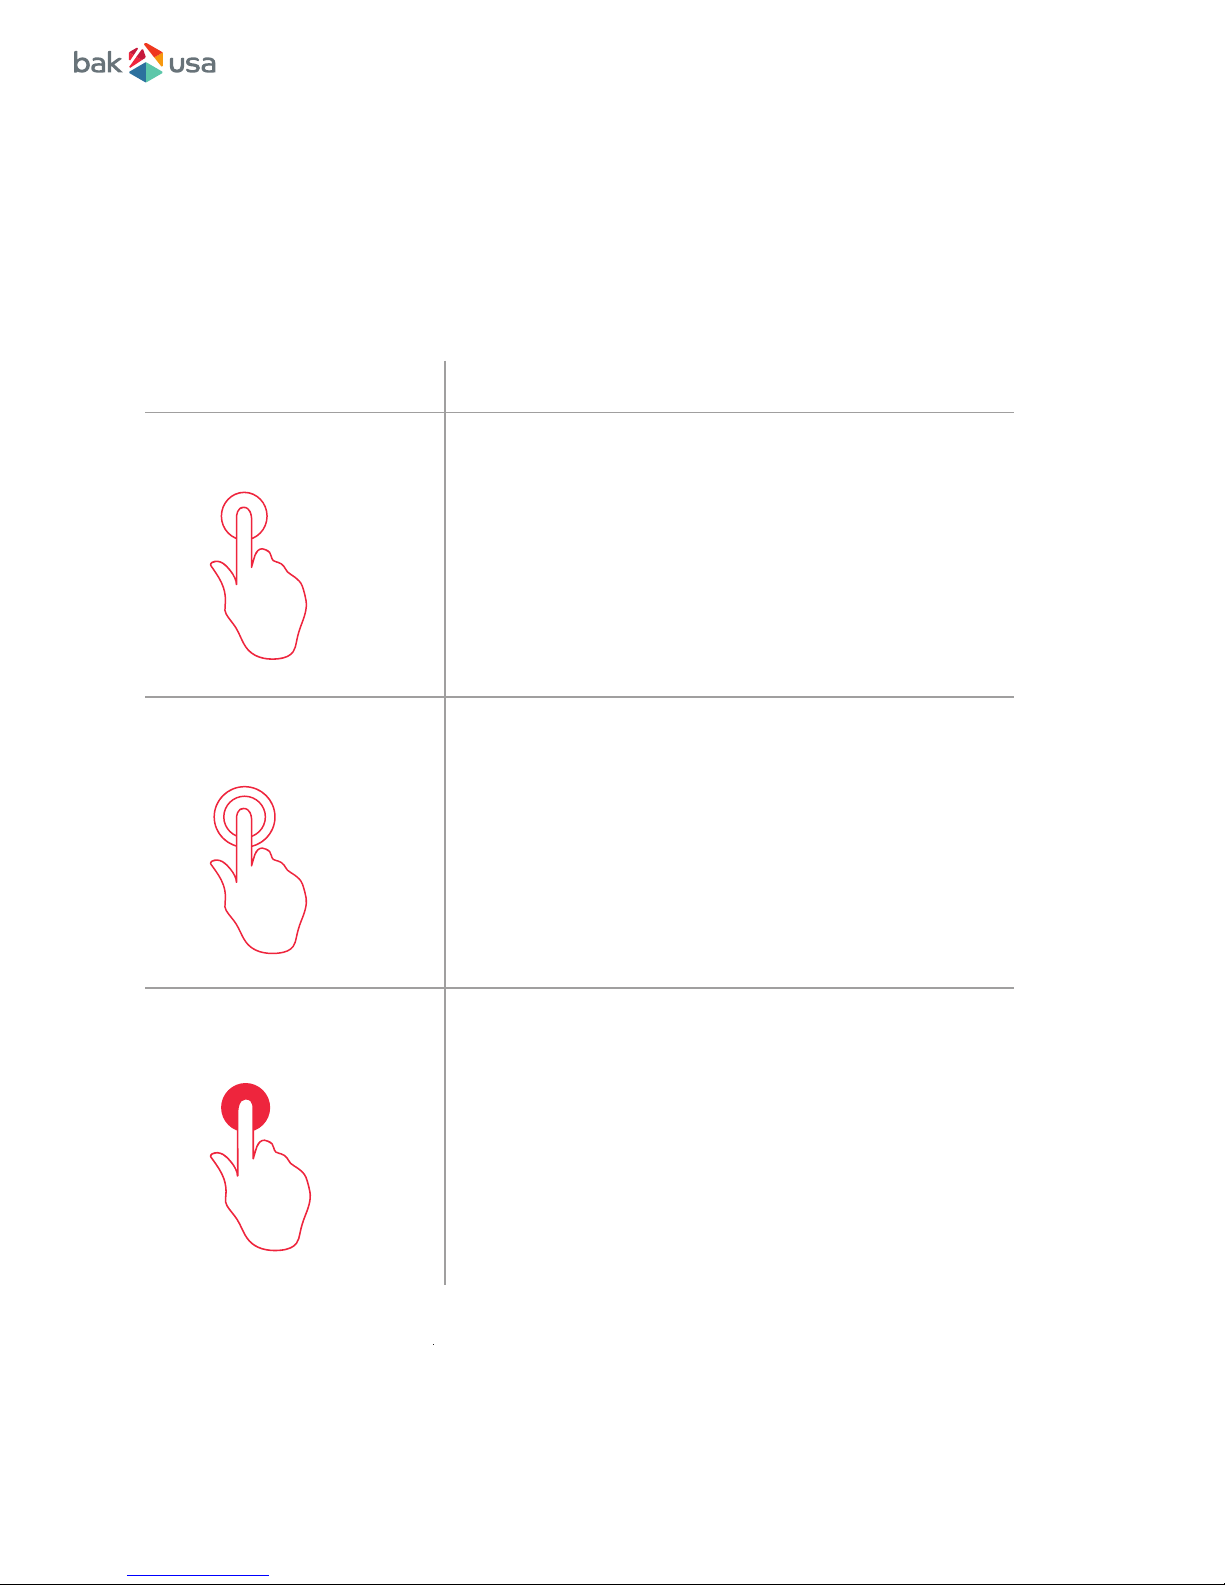
Basic touchscreen options...........................................................................................
Onscreen keyboard........................................................................................................
Dictionary........................................................................................................................
Section 3 Home and Settings page 10
Home screens................................................................................................................
Status bar.......................................................................................................................
Expending the status bar.........................................................................................

Charging your Battery.................................................................................................
Extending the Battery Life between Charges..........................................................
Inspecting your Battery Status..................................................................................
Working with the USB Connector..............................................................................
Share les with your Computer..................................................................
Section 5 Battery page 18
Section 6 USB Connector page 21
Section 7 Locking and Security page 22
Screen Lock Mode......................................................................................................
Restoring your Tablet.................................................................................................
Section 8 Troubleshooting page 23
Section 9 Specication page 27
22
23
19
19
20
21
21

1. Bak Board Tablet
2. Power cord
Package Contents:
Carefully unpack your box and take out the items listed as below.
If any items are missing or damaged, contact the seller immediately.
*Depending on your order, the optional add-ons might be included in a separate package.
1
1. Getting to Know Your Bak Board

1. If this is the rst time you power on the device, connect the
AC adapter and fully charge the battery.
2. Press the power button (normally 1 to 2 seconds).
Powering ON Your Device
Powering ON for the First Time
The tablet will require an initial setup:
1. Set the system language and time.
2. Sign in to or create your Google account.
3. Setup a wireless connection and more.
Follow the on-screen instructions to complete the initial setup.
2
Powering ON/OFF
2. Using Your Atlas
Powering OFF Your Device
Save all your data before powering OFF your device.
To power OFF your system, follow the steps below.
1. Press and hold the Power/Lock button.
2. The Power OFF conrmation menu appears. Touch the menu to turn
OFF the power (or touch elsewhere on the screen to continue using
the tablet).
3. Your tablet will start powering OFF itself.

3
Locking your Tablet to Sleep
Waking your Tablet
If you decide to leave your tablet for a while and intend to return soon,
rather than powering it OFF, you can lock it to sleep by a brief press on
the power button. This will block out any operation on your tablet until
you press the power button again. This is also considered the best way
to save power.
Your tablet may also lock itself automatically if it is not being used for a specic waiting
time. The waiting time can be specied in the Setting page. For details, see Chapter 9.
To wake your tablet, press the power button.

• Do not use sharp objects to touch the screen; doing so may cause harm.
• Do not touch the touchscreen with a conductive material, doing so may cause harm.
• The following functions are application dependent.
• Some applications may not support these functions.
Basic Touchscreen Operations
4
Touch an item to start an app, open a link, or perform an
optional function. This is similar to a left-click with a mouse.
Touch an item twice in quick succession.
Press and leave your nger on an item. This brings up detailed
information or opens a menu with more options for the item.
This is similar to a right-click with a mouse.
Tap
Gesture Name Explanation
Double-Tap
Press and Hold

5
Touch two ngers to the screen and then bring
them together or pull them apart to zoom in and
out on visual apps (such as pictures and maps).
Touch your thumb and forenger to an item and
then twist in a circular motion to rotate an object.
Not all items are rotatable.
Drag your nger across the screen to scroll
through lists and pages, to move an object, to
draw, or to write.
Pinch
Rotate
Scroll
Gesture Name Explanation

Onscreen Keyboard
Typing text, numbers, symbols, and other characters
When you need to type text, touch the text eld to bring up the
onscreen keyboard, then touch keys on the keyboard to type.
Using the onscreen keyboard in other languages
To congure the input language, do the following:
1. Open Settings screen and touch Language & input. All the input
methods are listed.
2. Locate the input method you are using and touch the settings icon.
3. Congure the language settings.
4. Touch the back icon when you are done.
The onscreen keyboard is a software keyboard displayed automatically anytime
you are required to type in some information. The software keyboard preinstalled
in your tablet is the Android keyboard.
To close the onscreen keyboard, touch the down arrow icon
from the black bar under the keyboard.
To type numbers and symbols, touch the ?123 key to switch to
the numbers and symbols keyboard.
Touch the shift key to capitalize a letter. Double-tap the shift
key to capitalize all letters. By default, the auto-capitalization
function is enabled when you are
typing English.
6
?123

If you have congured multiple languages for the Android keyboard
input method, and want to switch to another language when you are
typing text, do the following:
1. Touch the keyboard icon from the black bar under the
keyboard to bring up the input method selection dialog
box.
2. Touch the desired language from the box similar to the
one shown below.
Editing text
To edit the text on the screen, you need to bring up an edit menu bar. To
bring up the menu bar, you only need to press and hold the text you want to
edit. Then the menu bar shows up at the top side of the screen.
To cut/copy text:
1. Press and hold the word you want to use until the edit menu is displayed at the top of the
screen. The selected word is highlighted and two selection tabs are displayed under the text.
2. Drag either selection tab to expand or reduce the range of the selected text.
(If you want to select all of the text, touch Select All from the edit menu.)
3. Touch Cut or Copy from the edit menu. The text is saved to the clipboard.
7

To paste text, do the following:
1. Here are two ways to bring up the paste option.
a. A quick touch at the position that you want to insert the text you have copied.
This brings up a tab pointing at the position.
You can rearrange the position by dragging the tab.
Touch the tab again to bring out the paste menu, and touch the menu to paste
your copied text.
b. Press and hold the text you want to replace entirely or partially. This brings up both
the pop-up menu and the menu bar. Arrange the tabs to highlight the section that
you want to replace.
2. Touch Paste from the pop-up menu or menu bar to paste the text.
8

Dictionary
Your tablet has dictionaries in many languages which are helpful when composing
messages and documents. The appropriate dictionary is activated automatically
when you touch a supported keyboard. The active dictionary suggests corrections or
completes the word while you type. You do not need to interrupt your typing to accept
the suggested word.
Accepting or rejecting dictionary suggestions
To accept a dictionary suggestion, touch the correct word when the dictionary
suggestion is displayed. To reject a dictionary suggestion, nish typing the word that
you want, and then touch the space key.
Correcting a word using the dictionary suggested corrections
• If you misspell a word, the word is underlined with a red line. Touch
the misspelled word and a list of suggested corrections is displayed.
• Touch the one that best matches your word. The misspelled word is replaced.
• You also can create your own dictionary by using the Personal dictionary function.
To add a word to your dictionary, Open Android Settings and touch Language &
input: Personal dictionary.
9

10
1
Status bar
Displays your tablet’s status and
notifications. (See Page
2
GoogleTM search Search for information on the Internet.
13)
Whenever you turn on and unlock your tablet, it displays the main Home
screen which looks like the one shown below.
Name & Icon FunctionNo.
Home Screens
3. Home and Settings

11
3
All Apps A navigation button. Tap on it when you
want to open the All Apps screen, in which
you can find all the apps installed in your
tablet.
4
Back
A navigation button. Tap on it when you
want to go back to the previous screen.
5
Home
A navigation button. Tap on it when you
want to go back to the Home screen.
6
Recent
Open a list of thumbnail images of
applications you have launched recently.
To switch to an application, touch the
thumbnail. To close an application,
long-touch the thumbnail to bring up the
pop-up menu, and then touch Remove
from list.
The main Home screen is actually the central one of the ve Home screens.
Touch a blank area on the screen and slide your nger left or right horizontally
to scroll to the other Home screens.
You can customize the ve Home screens to meet your personal preferences.
For more information, see the next section.

12
Status Bar
Expending the Status Bar
The status bar has two areas. The one on the right side is called Status
area, and on the left side is Notication area. Both areas give a quick view
and a heads up of your tablet status.
• The status area gives you a quick view of the tablet status (including the
wireless connection and battery status) and system time.
•The notication area gives you a heads up of any notications that
are present by showing the icons of the applications that generate such
notications.
When you touch and drag the status bar downward the rst time, a
summary of the existing notications is expanded, as shown below:
Touch a notication to view the detailed information. To clear
the list, just click on the icon on the bottom right edge.

13
A second drag downward from the status bar opens up the Quick Settings panel,
which displays several icons on it as shown below.
Here you can view and perform basic settings. If you want to perform more detailed settings,
just touch the settings icon on the right side of the battery icon on the upper right corner.
To close the Quick Settings panel, touch anywhere else on the screen.
In Android systems, the system setup is done using an application named
Settings.
This is the app to open the Settings screen. This is the icon of the Settings
app, and you can nd it in the All Apps screen. To open the All Apps screen,
touch the All Apps icon which you can nd in the Home screen.

14
Your tablet can connect to a variety of networks and devices,
including Wi-Fi data networks and Bluetooth devices.
A Wi-Fi connection requires access to a functioning Wireless Access Point (WAP),
also called a hotspot. Some hotspots are open to the public, but some others
implement security features to limit access to specic groups or individuals.
To establish a Wi-Fi network connection, do the following:
1. Open the Settings screen and set the Wi-Fi button to ON.
A list of available networks will be displayed.
2. Touch a Wi-Fi network to connect to it. If the network is secured, type
the required password or other credentials.
3. If you are required to congure proxy settings when you are connecting to
a Wi-Fi network, do the following:
a. Touch a network in the list of Wi-Fi networks you’ve added.
You will be prompted by a dialog.
b. Touch to add a check mark on the option: Advanced options.
If you don’t see this option, the network does not request proxy settings.
c. Enter the proxy settings required for your network.
(You may need to refer to your network administrator for details about these settings.)
4. Touch Connect (located on the low right corner).
Wi-Fi Networks
Connecting to a Wi-Fi network:
Connecting and Adding Wi-Fi Networks
4. Wireless Networks and Devices

15
Adding a Wi-Fi Network
Disabling an Automatic Wi-Fi Connection
If you want to access a Wi-Fi network that does not broadcast its network name (also called a service
set identier or SSID), you must add that Wi-Fi network before you can connect to it. To add a Wi-Fi
network, touch this icon which you can nd in the upper right corner of the screen. This will open an
options menu, and select Add Network to open the dialog box as shown below.
Type the required information for the network and touch Save. By doing so, the information
about the network is saved. The Wi-Fi connection will be established automatically the next
time you come within the range of this network.
If you do not want the tablet to automatically connect to a specic Wi-Fi network that you have
previously congured, do the following with the Wi-Fi screen:
1. Switch the Wi-Fi button to ON if it is set to OFF.
2. Touch the name of the Wi-Fi network.
The Wi-Fi status panel appears.
3. Touch Forget on the lower left corner.
The details of the Wi-Fi network are erased.
Table of contents
Other Bak USA Tablet manuals