8. AC Power Connection
The product must be connected to the power outlet only with
the power cable that meets safety standards. Do not damage or
modify the products’ AC inlet connector or power cable in any
way. Do not overload wall outlets, receptacles or extension cords.
Please refer to the marking label for its AC input specification.
Failure to do so will result in serious damage to the product or the
user and will void the warranty.
9. Damage Requiring Service
The product should be serviced by qualified service personnel if:
●
The power supply cable or plug has been damaged.
●
Objects have fallen or liquid has been spilled into the product.
●
The product has been exposed to rain or water.
●
The product does not operate normally or exhibits a clear
change in performance.
●
The product has been dropped or damaged in any way
.
10. Service
You should not attempt to service the product by yourself nor
may it be serviced by any unauthorized service personnel. Always
contact your dealer to arrange servicing. Failure to do so will void
the warranty.
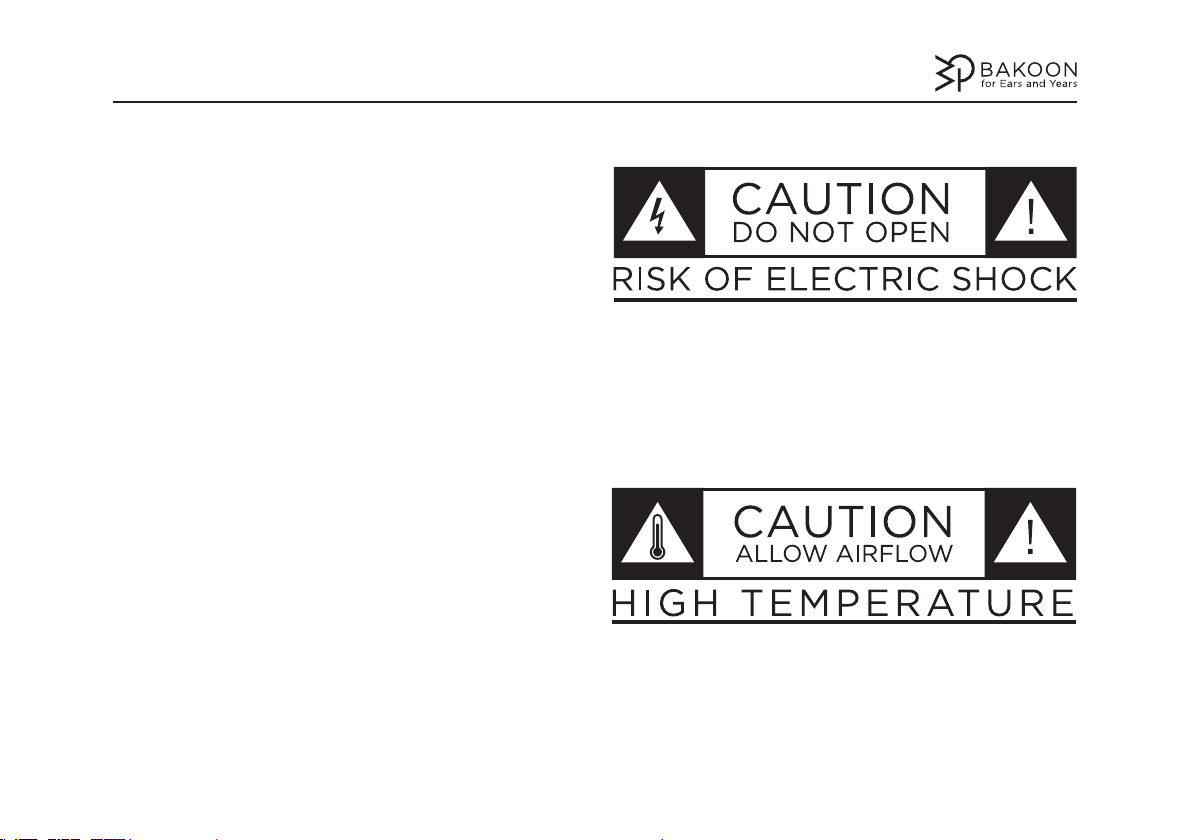
Caution: You should never open the product in order to prevent
electric shock.
Warning: Do not place the product near any water such as flower
vases, air conditionings or any installations of running water. Also,
you may not pour into nor use any kind of liquids on the product.
There is a risk of electric shock.
Caution: The product requires to be installed in a well ventilated
area. The product is designed to dissipate heat through all of its
surface areas, thus requiring at least 20 cm space on all sides. Do
not stack the amplifier directly on top of or below other products.
8. AC Power Connection
The product must be connected to the power outlet only with
the power cable that meets safety standards. Do not damage or
modify the products’ AC inlet connector or power cable in any
way. Do not overload wall outlets, receptacles or extension cords.
Please refer to the marking label for its AC input specification.
Failure to do so will result in serious damage to the product or the
user and will void the warranty.
9. Damage Requiring Service
The product should be serviced by qualified service personnel if:
●
The power supply cable or plug has been damaged.
●
Objects have fallen or liquid has been spilled into the product.
●
The product has been exposed to rain or water.
●
The product does not operate normally or exhibits a clear
change in performance.
●
The product has been dropped or damaged in any way
.
10. Service
You should not attempt to service the product by yourself nor
may it be serviced by any unauthorized service personnel. Always
contact your dealer to arrange servicing. Failure to do so will void
the warranty.
Caution: You should never open the product in order to prevent
electric shock.
Warning: Do not place the product near any water such as flower
vases, air conditionings or any installations of running water. Also,
you may not pour into nor use any kind of liquids on the product.
There is a risk of electric shock.
Caution: The product requires to be installed in a well ventilated
area. The product is designed to dissipate heat through all of its
surface areas, thus requiring at least 20 cm space on all sides. Do
not stack the amplifier directly on top of or below other products.
5
1. Instructions
Thoroughly read through and follow all the safety instructions
stated below before operating or installing any items. It is also
important that you retain the instructions for future reference.
2. Placement
Place the product on a rigid rack or shelf specified to support the
weight of the product. Failure to do so may result in the shelf
breaking, tipping or the product to fall with the risk of causing
serious material and personal injury.
3. Ventilation
The product needs proper ventilation to ensure reliable opera-
tion. Do not place the product in an enclosed, non-ventilated area
such as in a bookcase or closed rack, and on a soft surface such
as sofa or bed.
4. Heat
Do not use the product near flames, any heating appliances such
as radiators, stoves or any other audio amplifiers.
5. Water and Moisture
Do not place the product near any water such as flower vases, air
conditionings or any installations of running water. Also, you may
not pour into nor use any kind of liquids on the product.
6. Cleaning
Disconnect the main plug before cleaning. Clean the product only
with a dry, soft, lint-free cloth or a vacuum cleaner. Do not use any
liquid or chemical cleaners.
7. Power Sources
The product must be connected to the type of power source
specified in the marking labels found on the packaging box or on
the back of the product. Do not modify the supplied power cable
in any way. Do not overload wall outlets, receptacles or extension
cords. Do not place the power cable where there is a risk that it
will be walked on, pinched, bent, exposed to heat or in any way
damaged.