manuals.online logo
Brands
  1. Home
  2. •
  3. Brands
  4. •
  5. BALANCE TIME
  6. •
  7. Clock
  8. •
  9. BALANCE TIME 862438 User manual

BALANCE TIME 862438 User manual

Item 862438
Feature
Radio controlled time with manual setting option
Temperature measuring : range 0°C ~ +50°C.
Perpetual Calendar Up to Year 2069.
12/24Hour time display selectable.
Day of week in 5 Languages Selectable.
Solar power supply
Size : 156X80X50 mm
Main Unit Appearance
Part A- LCD
A1 : Radio Controlled Time A2 : Radio Controlled Icon
A3 : Month and Day display A4 : Alarm Icon
A5 : Temperature display A6 : Day of week display
Part B Buttons
B1 : “MODE” button B2 : “AL ON/OFF” button
B3 : “SNOOZE”button B4 : “ ” button
B5 : “ ”button B6 : POWER ON/OFF slide switch
Part C- Structure
C1 : Solar Powered panel
Start-up
Push the “POWER ON/OFF” slide switch to on the unit.
Radio Controlled Clock:
After start-up the clock will scan the DCF time signal ( “ ” flashes on the LCD ).
Buttons will not function while scanning for DCF unless they are well received or
stopped manually.
The clock automatically scans the time signal at 3.00 a.m. everyday to maintain
accurate timing. For failed reception, scanning stops ( “ ” on the LCD
disappear ) and repeats again at 4.00 a.m. 5.00a.m. and 6.00a.m.
The clock manually scans the DCF time signal by holding “ ” button (B4)
for 3 seconds. For failed reception, scanning stops. ( “ ” on the LCD disappear ).
Press “ ” button (B4) to stop scanning when receiving DCF time signal.
flashes indicate now is receiving DCF time signal.
turns on indicate signal received successfully
“DST” is shown on the LCD if it is in Daylight Saving Time mode
Manual Time Setting:
Hold “MODE” button (B1) for 3 seconds to enter Clock/Calendar setting Mode .
Press “ ” (B5) or “ ” (B4) buttons to adjust the setting
and press “MODE” button (B1) to confirm each setting.
The setting sequence is shown as follow: Hour, Minutes, Second, Year, Month/Day
sequence, Month, Day, Time Zone, Day-of-week language.
5 languages can be selected in Day-of-week, they are: German, English, Spanish ,
Italian and French,. The languages and their selected abbreviations for each day of
the week are shown in the following table.
Language
Sunday
Monday
Tuesday
Wednesda
y
Thursda
y
Friday
Saturday
German, GE
SO
MO
DI
MI
DO
FR
SA
Great Britain, GB
SU
MO
TU
WE
TH
FR
SA
Spanish, ES
DO
LU
MA
MI
JU
VI
SA
Italian, IT
DO
LU
MA
ME
GI
VE
SA
French, FR
DI
LU
MA
ME
JE
VE
SA
The zone is used for the countries where can receive the DCF signal but the time
zone is different from the German time.
When the country time is faster than the German time for 1 hr, the zone should be
set to 1. Then the clock will automatically set 1 hour faster from the signal time
received.
12/24 Hour Display mode:
Press “ ” button (B5) to select 12 or 24 hours mode.
Thermometer:
Press “ ” button (B4) to select Temperature to be displayed in Celsius
mode or Fahrenheit mode.
Snooze Alarm Clock Function:
Press “MODE” button (B1) to select to view :
Time Alarm Time (“AL “Shown on theCD)
When viewing the Alarm Time, hold “MODE/SET” button (B1) for 3 seconds to enter
Alarm Time setting. Press “ ” button (B5) or “ ” (B4)
buttons to adjust the alarm time.
Press “AL ON/OFF” button (B2) to switch alarm on or off. If it is on, “ ” shown
on the LCD.
When Alarming, press “SNOOZE ” button (B3) to activate the snooze alarm. The
alarm will snooze for 5 minutes, then it alarms again. This snooze function can be
enabled for maximum 7 times. If the snooze function is activity , the “ ” icon will
flash.
Press any button to stop the snooze alarm.
Note:
Push the slide switch(B6) off and then push on,to reset the unit if the Unit does not
work properly.
It is suggested to put the clock under the light around 12hours for first time to use
Avoid placing the clock near interference sources/metal frames such as computer or
TV sets.
Buttons will not function while scanning for DCF time signal unless they are well
received or stopped manually.
All Setting Mode will automatically exit in 15 seconds without any adjustment.
DISPOSAL AT END OF WORKING LIFE:
Discarded appliances and electronic devices often still contain valuable materials,
therefore do not throw them away, instead hand them in to the store where you buy a
new appliance or to your local council recycling depot.
In accordance with the waste guidelines for electrical and electronic equipment, this
product must be disposed of separately. If you wish to dispose of this product in the
future, do NOT discard it with the household waste, but hand it in at your local refuse
collection depot.
In compliance with the directives on Waste Electrical and Electronic Equipment, this
product must not be discarded with domestic waste but should be disposed of
separately for recycling. If you wish to dispose of this product in the future, do NOT
throw it away with the household rubbish but hand it in at a specially designated place,
such as your municipal domestic chemical waste depot.
Never throw empty batteries away, but deposit them in special battery boxes or hand
them in as domestic chemical waste at your municipal depot.
Other BALANCE TIME Clock manuals

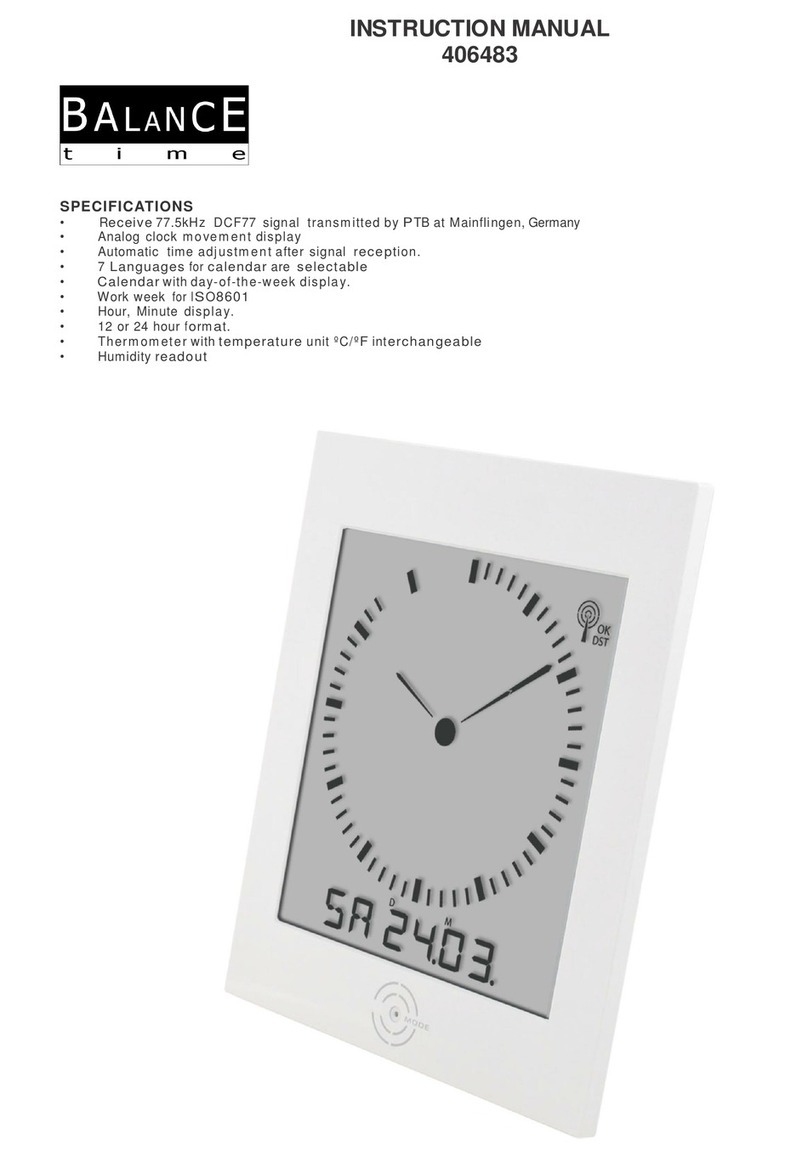
BALANCE TIME 406483 User manual

BALANCE TIME

BALANCE TIME 406483 User manual

BALANCE TIME 396255 User manual

BALANCE TIME

BALANCE TIME 396255 User manual

BALANCE TIME 372494 Installation instructions

BALANCE TIME

BALANCE TIME 372494 Installation instructions

BALANCE TIME 866416 User manual

BALANCE TIME

BALANCE TIME 866416 User manual

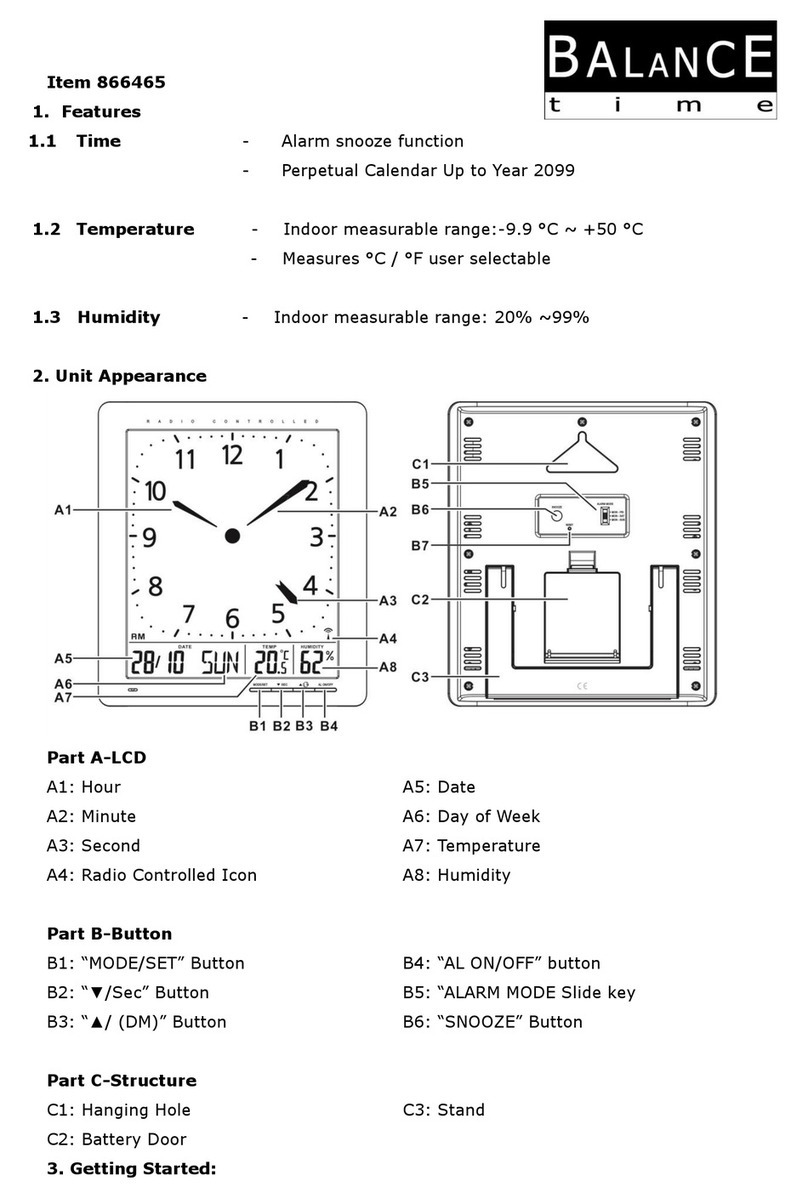
BALANCE TIME 866465 User manual

BALANCE TIME

BALANCE TIME 866465 User manual

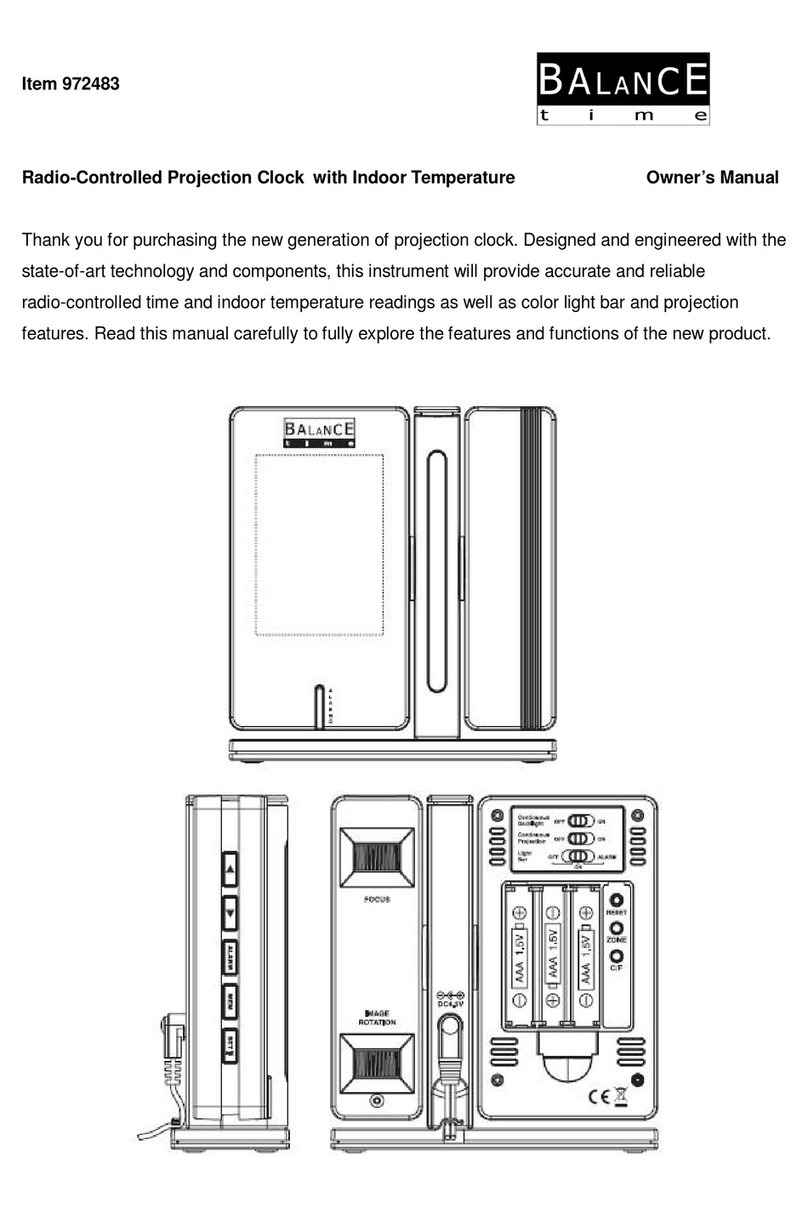
BALANCE TIME 972483 User manual

BALANCE TIME

BALANCE TIME 972483 User manual

BALANCE TIME 112664 User manual

BALANCE TIME

BALANCE TIME 112664 User manual

Popular Clock manuals by other brands

Sapling NTP 7000 Series installation manual

Sapling

Sapling NTP 7000 Series installation manual

Amano MTX-30F Installation & operation guide

Amano

Amano MTX-30F Installation & operation guide

La Crosse Technology BBB86118v3 Setup guide

La Crosse Technology

La Crosse Technology BBB86118v3 Setup guide

BEARWARE 304474 manual

BEARWARE

BEARWARE 304474 manual

LS & S RTC103U instruction manual

LS & S

LS & S RTC103U instruction manual

BitGen Technologies LED Walk/Don't Walk Clock user manual

BitGen Technologies

BitGen Technologies LED Walk/Don't Walk Clock user manual

Heathkit GC-1005 Assembly manual

Heathkit

Heathkit GC-1005 Assembly manual

Oregon Scientific PRYSMA RMR221P manual

Oregon Scientific

Oregon Scientific PRYSMA RMR221P manual

Andrew O'Malley DOTKLOK Assembly instructions

Andrew O'Malley

Andrew O'Malley DOTKLOK Assembly instructions

Nixie Clock Divergence Meter user manual

Nixie Clock

Nixie Clock Divergence Meter user manual

La Crosse Technology WS-8256-AL user manual

La Crosse Technology

La Crosse Technology WS-8256-AL user manual

Mini Gadgets MCPro user manual

Mini Gadgets

Mini Gadgets MCPro user manual

Casio TMR-200 user guide

Casio

Casio TMR-200 user guide

Progetti KALIMERO Directions

Progetti

Progetti KALIMERO Directions

Progetti ILTEMPOSTRINGE Directions

Progetti

Progetti ILTEMPOSTRINGE Directions

La Crosse Technology WT-3141b Quick setup instructions

La Crosse Technology

La Crosse Technology WT-3141b Quick setup instructions

IKEA ROTBLÖTA manual

IKEA

IKEA ROTBLÖTA manual

U-Line Н-2811 instructions

U-Line

U-Line Н-2811 instructions

manuals.online logo
manuals.online logoBrands
  • About & Mission
  • Contact us
  • Privacy Policy
  • Terms and Conditions

Copyright 2025 Manuals.Online. All Rights Reserved.