manuals.online logo
Brands
  1. Home
  2. •
  3. Brands
  4. •
  5. Progetti
  6. •
  7. Clock
  8. •
  9. Progetti ILTEMPOSTRINGE Manual

Progetti ILTEMPOSTRINGE Manual

Other Progetti Clock manuals

Progetti FREETIME Manual

Progetti

Progetti FREETIME Manual

Progetti LINE Manual

Progetti

Progetti LINE Manual

Progetti H:M:S: Manual

Progetti

Progetti H:M:S: Manual

Progetti Cugino ITT Manual

Progetti

Progetti Cugino ITT Manual

Progetti HOME SWEET HOME Manual

Progetti

Progetti HOME SWEET HOME Manual

Progetti TIPTOP Manual

Progetti

Progetti TIPTOP Manual

Progetti KALIMERO Manual

Progetti

Progetti KALIMERO Manual

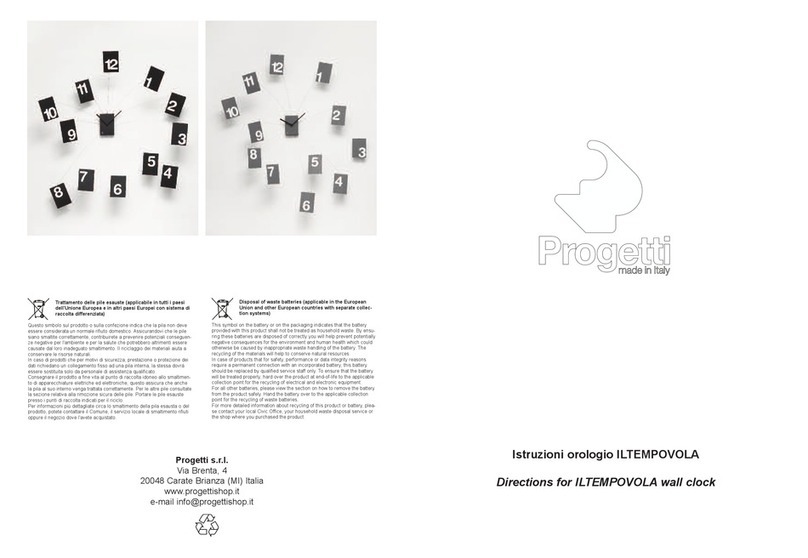
Progetti ILTEMPOVOLA Manual

Progetti

Progetti ILTEMPOVOLA Manual

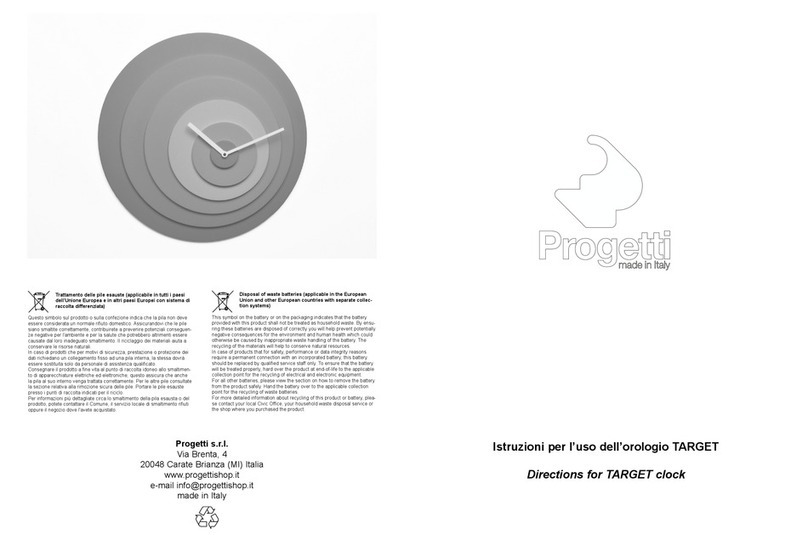
Progetti TARGET Manual

Progetti

Progetti TARGET Manual

Progetti CUCRUCIVERBA Manual

Progetti

Progetti CUCRUCIVERBA Manual

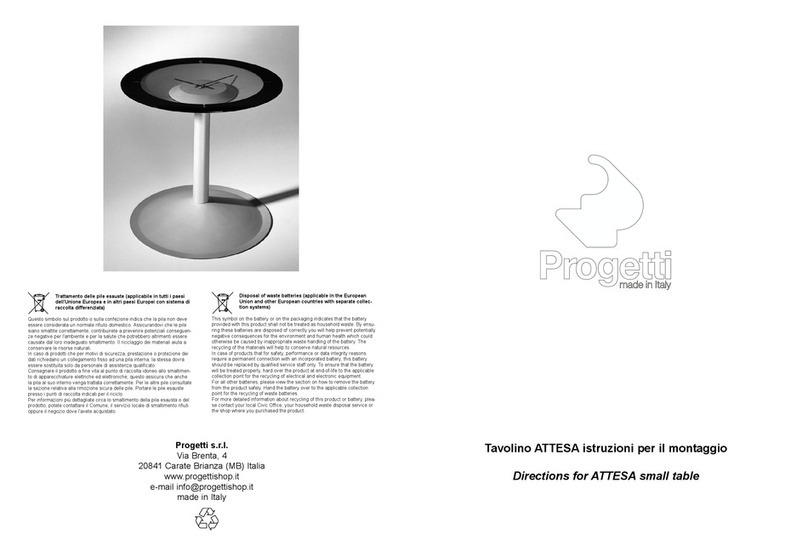
Progetti ATTESA Manual

Progetti

Progetti ATTESA Manual

Progetti o'Coque Manual

Progetti

Progetti o'Coque Manual

Progetti LIBERTY Manual

Progetti

Progetti LIBERTY Manual

Progetti q02 Manual

Progetti

Progetti q02 Manual

Progetti WHAT TIME Manual

Progetti

Progetti WHAT TIME Manual

Progetti FATTI + IN LA' Manual

Progetti

Progetti FATTI + IN LA' Manual

Progetti Alice User manual

Progetti

Progetti Alice User manual

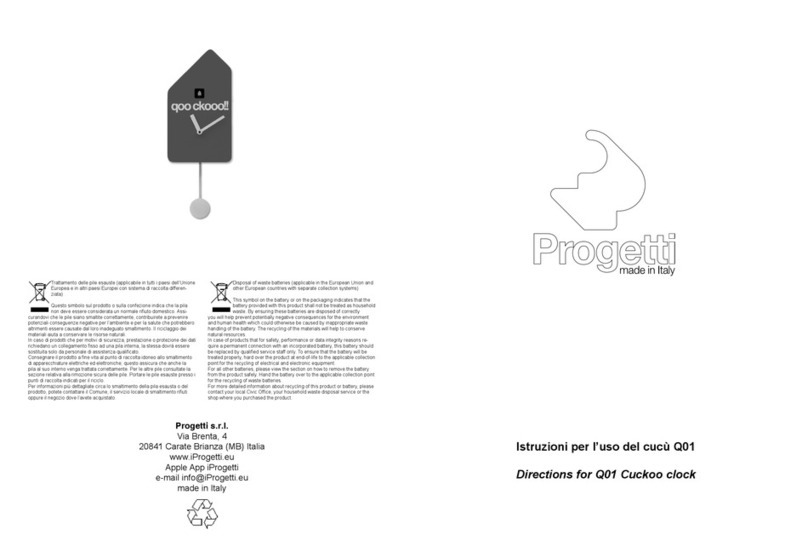
Progetti Q01 User manual

Progetti

Progetti Q01 User manual

Popular Clock manuals by other brands

Sapling NTP 7000 Series installation manual

Sapling

Sapling NTP 7000 Series installation manual

Amano MTX-30F Installation & operation guide

Amano

Amano MTX-30F Installation & operation guide

La Crosse Technology BBB86118v3 Setup guide

La Crosse Technology

La Crosse Technology BBB86118v3 Setup guide

BEARWARE 304474 manual

BEARWARE

BEARWARE 304474 manual

LS & S RTC103U instruction manual

LS & S

LS & S RTC103U instruction manual

BitGen Technologies LED Walk/Don't Walk Clock user manual

BitGen Technologies

BitGen Technologies LED Walk/Don't Walk Clock user manual

Heathkit GC-1005 Assembly manual

Heathkit

Heathkit GC-1005 Assembly manual

Oregon Scientific PRYSMA RMR221P manual

Oregon Scientific

Oregon Scientific PRYSMA RMR221P manual

Andrew O'Malley DOTKLOK Assembly instructions

Andrew O'Malley

Andrew O'Malley DOTKLOK Assembly instructions

Nixie Clock Divergence Meter user manual

Nixie Clock

Nixie Clock Divergence Meter user manual

La Crosse Technology WS-8256-AL user manual

La Crosse Technology

La Crosse Technology WS-8256-AL user manual

Mini Gadgets MCPro user manual

Mini Gadgets

Mini Gadgets MCPro user manual

Casio TMR-200 user guide

Casio

Casio TMR-200 user guide

La Crosse Technology WT-3141b Quick setup instructions

La Crosse Technology

La Crosse Technology WT-3141b Quick setup instructions

IKEA ROTBLÖTA manual

IKEA

IKEA ROTBLÖTA manual

U-Line Н-2811 instructions

U-Line

U-Line Н-2811 instructions

Silicon Laboratories SI5324 manual

Silicon Laboratories

Silicon Laboratories SI5324 manual

Bresser MyTime 8020313CM3000 instruction manual

Bresser

Bresser MyTime 8020313CM3000 instruction manual

manuals.online logo
manuals.online logoBrands
  • About & Mission
  • Contact us
  • Privacy Policy
  • Terms and Conditions

Copyright 2025 Manuals.Online. All Rights Reserved.

Istruzi ni r l gi ILTEMPOSTRINGE
Directions for ILTEMPOSTRINGE wall clock
Pr getti s.r.l.
Vi Brent , 4
20048 C r te Bri nz (MB) It li
www.progettishop.it
e-m il [email protected]
Disp sal f waste batteries (applicable in the Eur pean
Uni n and ther Eur pean c untries with separate c llec-
ti n systems)
This symbol on the b ttery or on the p ck ging indic tes th t the b ttery
provided with this product sh ll not be tre ted s household w ste. By ensu-
ring these b tteries re disposed of correctly you will help prevent potenti lly
neg tive consequences for the environment nd hum n he lth which could
otherwise be c used by in ppropri te w ste h ndling of the b ttery. The
recycling of the m teri ls will help to conserve n tur l resources.
In c se of products th t for s fety, perform nce or d t integrity re sons
require perm nent connection with n incorpor ted b ttery, this b ttery
should be repl ced by qu lified service st ff only. To ensure th t the b ttery
will be tre ted properly, h rd over the product t end-of-life to the pplic ble
collection point for the recycling of electric l nd electronic equipment.
For ll other b tteries, ple se view the section on how to remove the b ttery
from the product s fely. H nd the b ttery over to the pplic ble collection
point for the recycling of w ste b tteries.
For more det iled inform tion bout recycling of this product or b ttery, ple -
se cont ct your loc l Civic Office, your household w ste dispos l service or
the shop where you purch sed the product.
Trattament delle pile esauste (applicabile in tutti i paesi
dell'Uni ne Eur pea e in altri paesi Eur pei c n sistema di
racc lta differenziata)
Questo simbolo sul prodotto o sull confezione indic che l pil non deve
essere consider t un norm le rifiuto domestico. Assicur ndovi che le pile
si no sm ltite corrett mente, contribuirete prevenire potenzi li conseguen-
ze neg tive per l' mbiente e per l s lute che potrebbero ltrimenti essere
c us te d l loro in degu to sm ltimento. Il ricicl ggio dei m teri li iut
conserv re le risorse n tur li.
In c so di prodotti che per motivi di sicurezz , prest zione o protezione dei
d ti richied no un colleg mento fisso d un pil intern , l stess dovrà
essere sostituit solo d person le di ssistenz qu lific to.
Consegn re il prodotto fine vit l punto di r ccolt idoneo llo sm ltimen-
to di pp recchi ture elettriche ed elettroniche; questo ssicur che nche
l pil l suo interno veng tr tt t corrett mente. Per le ltre pile consult te
l sezione rel tiv ll rimozione sicur delle pile. Port re le pile es uste
presso i punti di r ccolt indic ti per il riciclo.
Per inform zioni più dett gli te circ lo sm ltimento dell pil es ust o del
prodotto, potete cont tt re il Comune, il servizio loc le di sm ltimento rifiuti
oppure il negozio dove l' vete cquist to.
Leggere le istruzi ni attentamente prima di fissare al mur l’ r l gi
Appoggi re i due elementi che compongono l'orologio su di un pi no vendo
cur di non d nneggi re le l ncette.
Unire le p rti e vvit re l vite M6x50 mm con il d do .
Avvit re ll p rete il blocchetto in legno con l vite 50x4 mm e l' p-
posito t ssello. Nel c so si vogli ppendere l'orologio orizzont lmente vvit re
due blocchetti 100 cm di dist nz uno d ll' ltro.
Please read the instructi ns carefully bef re hanging the cl ck
L y the two clock elements on fl t surf ce, be c refully do not d m ge the
clock h nds.
Join the elements nd lock with the M6x50 mm screw nd
the nut .
Fix to the w ll the sm ll wooden block with the 50x4 mm screw nd
the nog. If you like to f sten the clock horizont lly use two sm ll blocks screwed
100 cm one from the other one.