42296-D, bba2 Manual
© 2017 Balboa Water Group. Single Source Solution. All rights reserved.
1382 Bell Avenue | Tustin, CA 92780 | p 714.384.0384 | www.balboawater.com
We reserve the right to change technical data without further notice. 8
Page
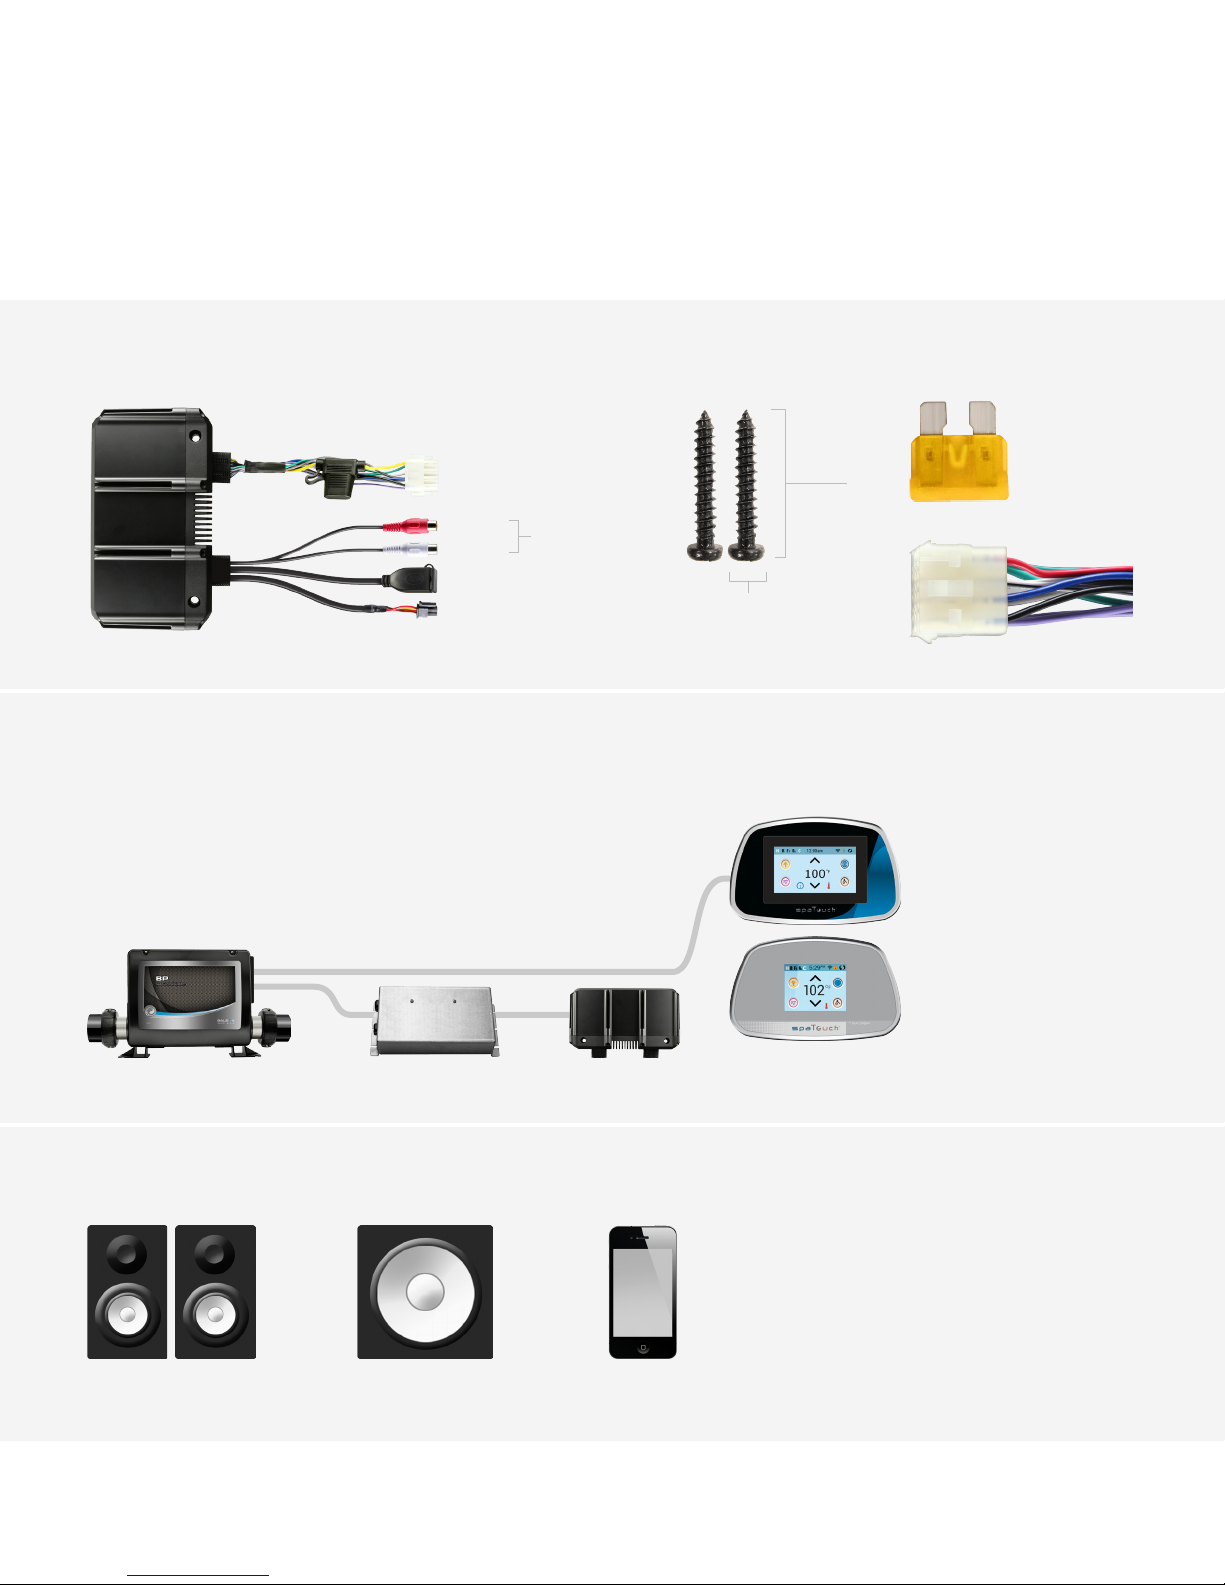
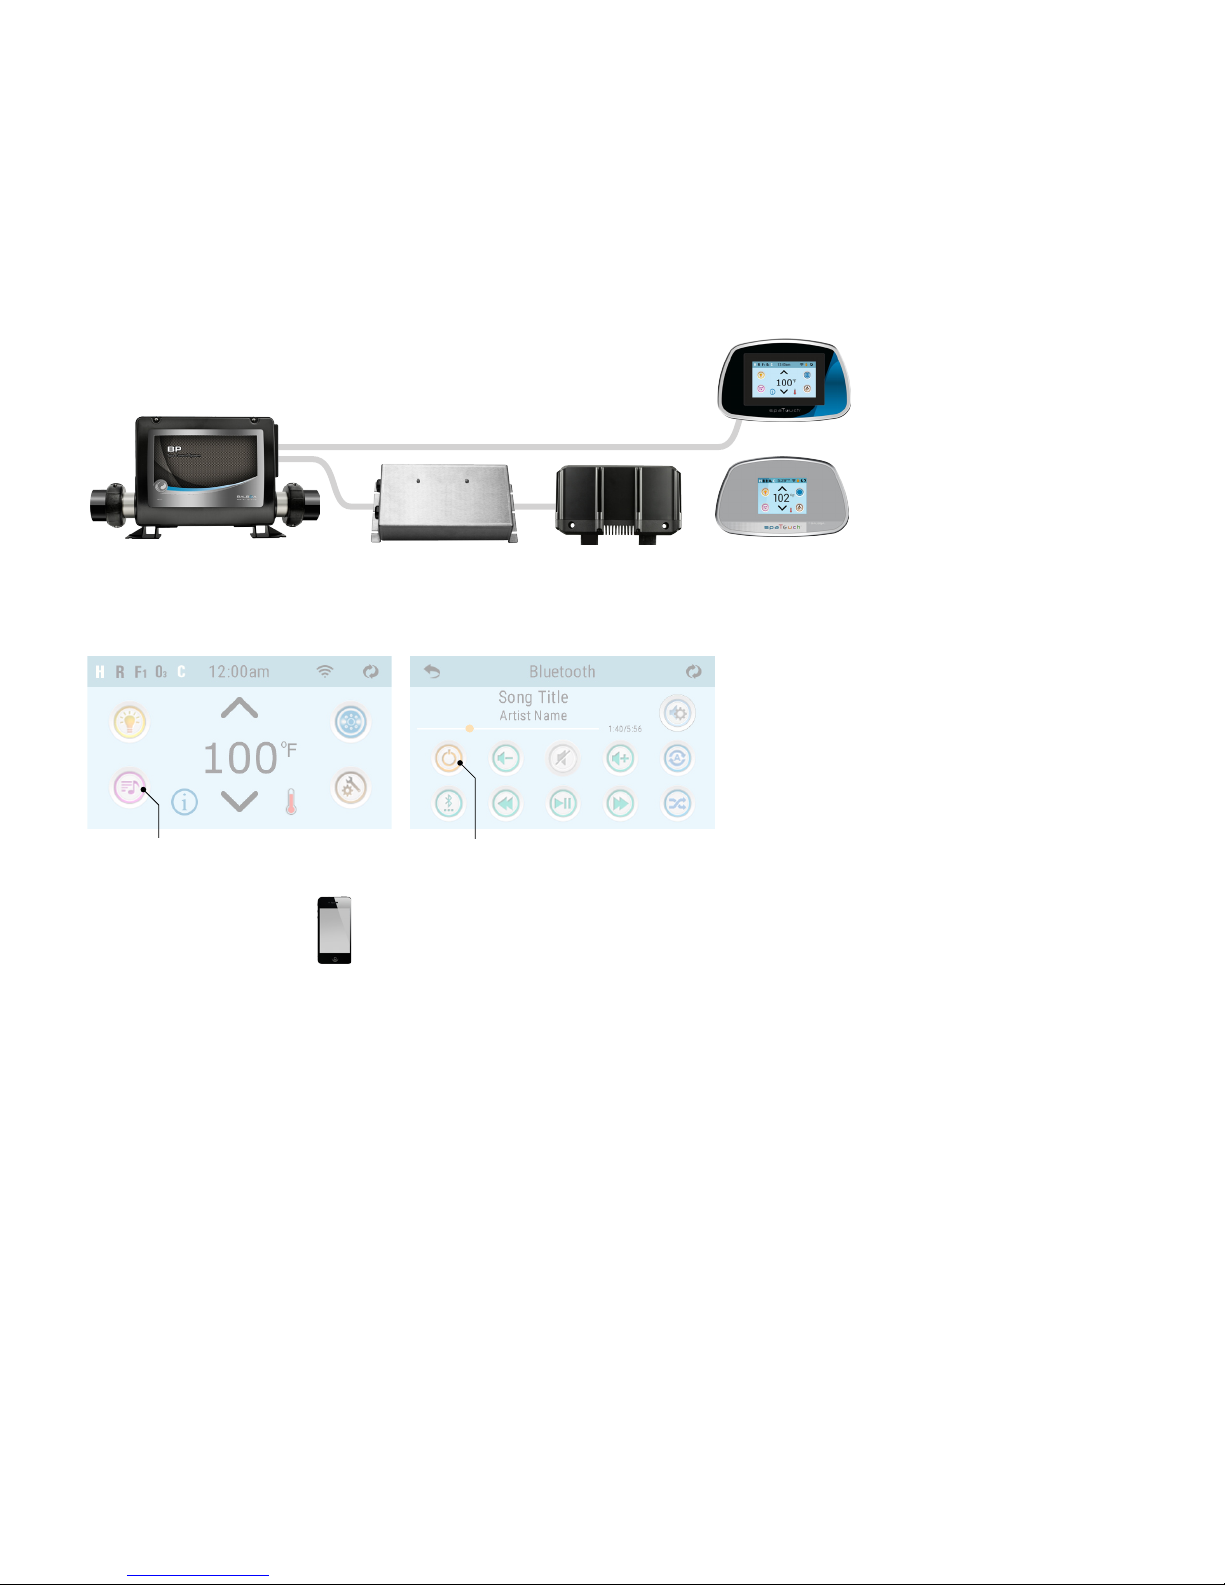
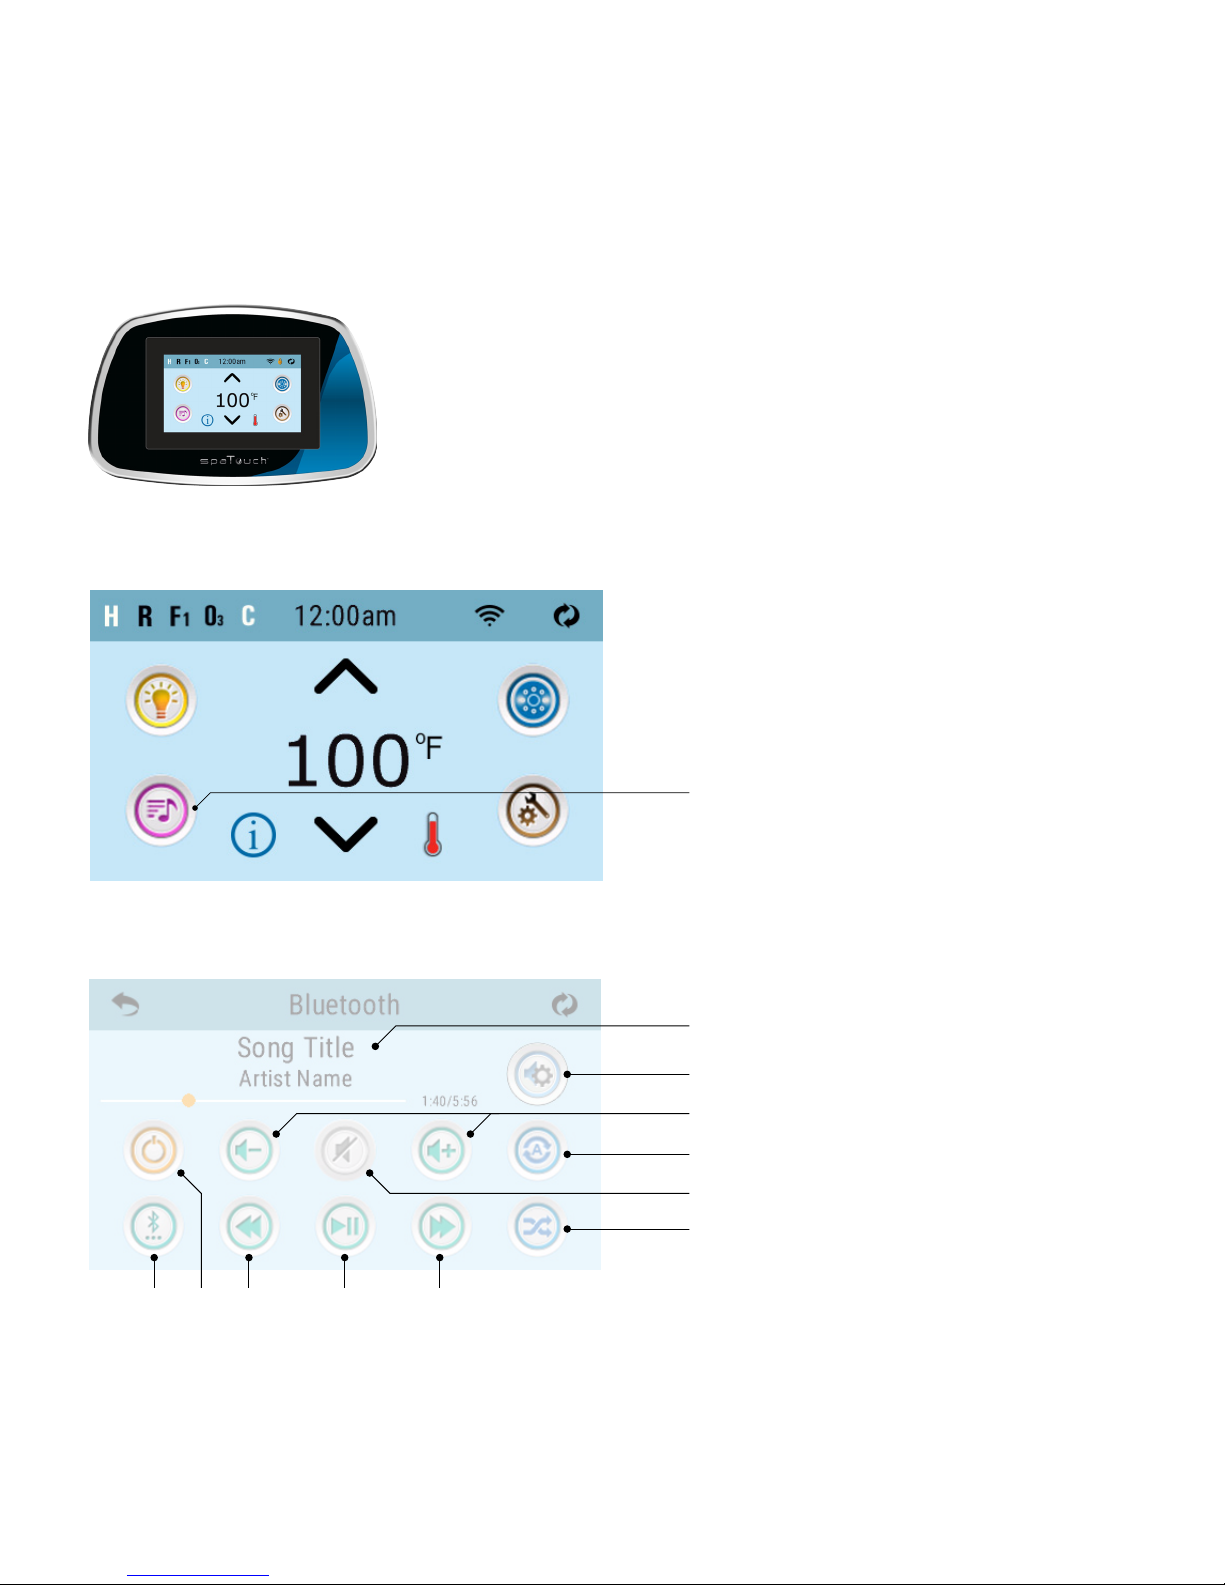
bba™2 Amp Connections
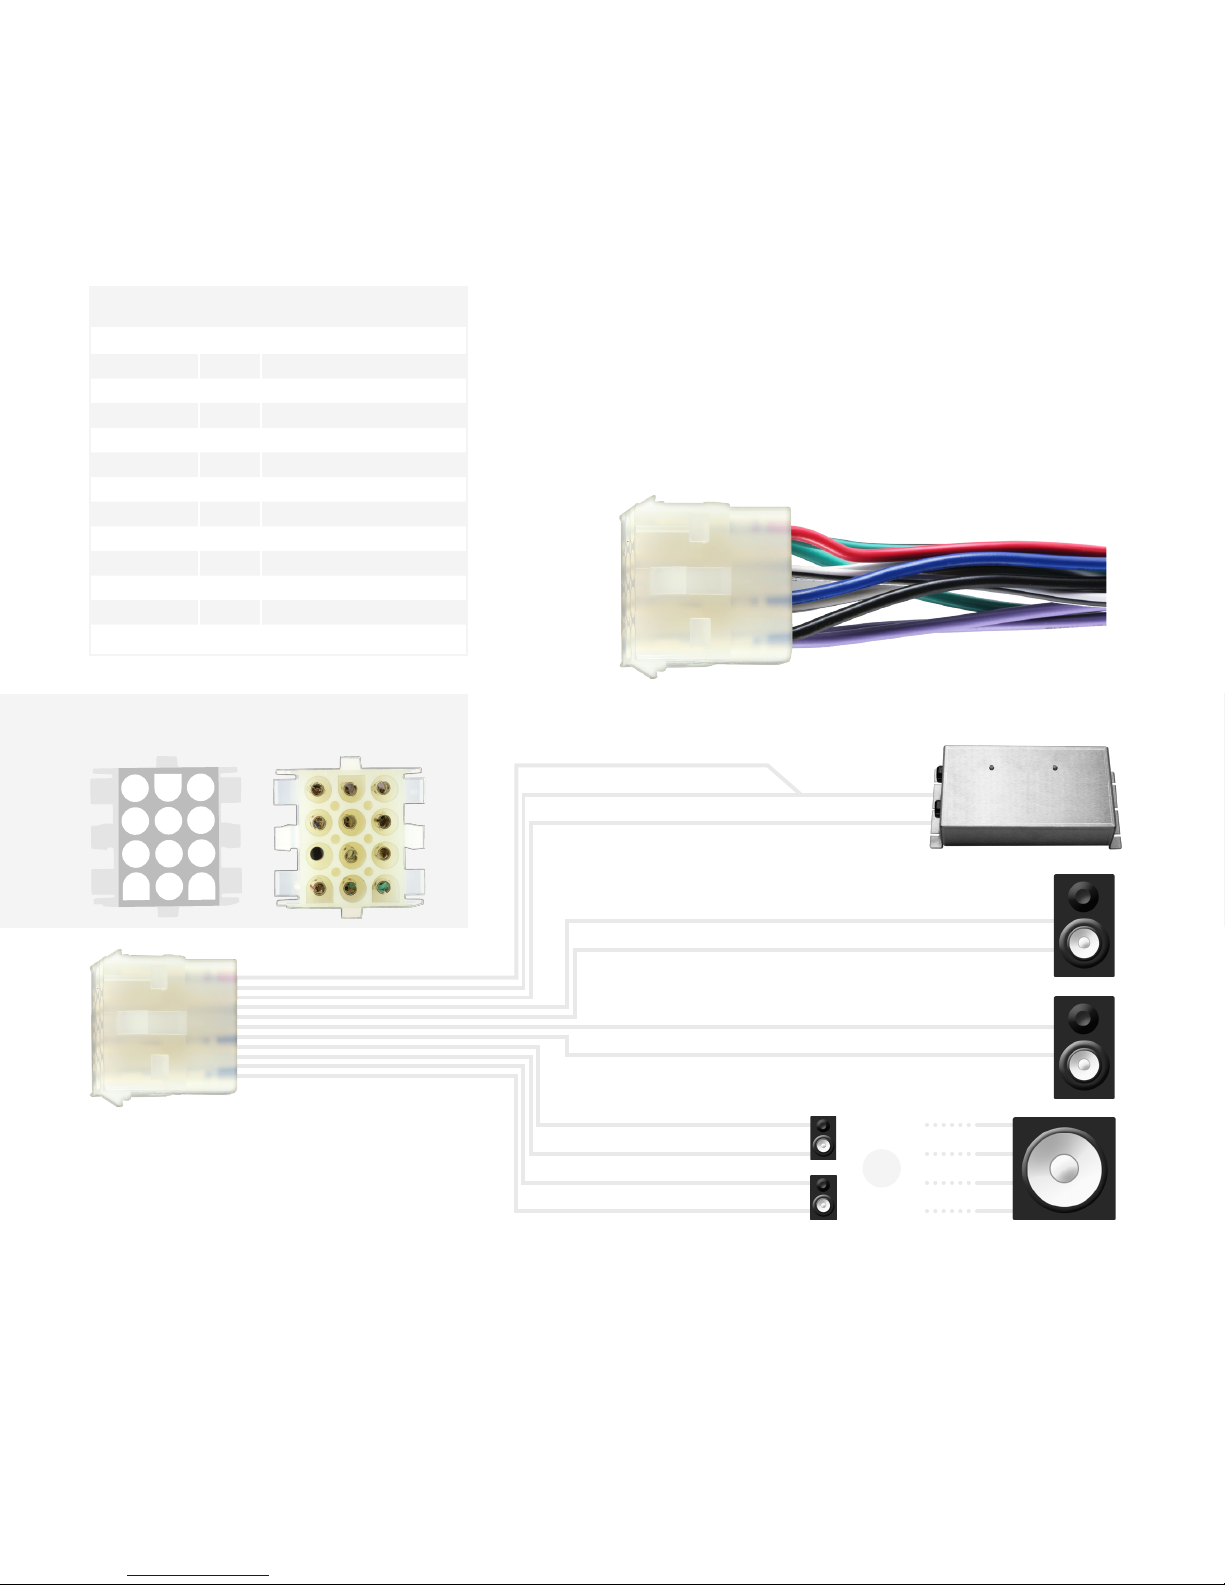
Power Wire Specications
Red wire and blue wire - connect these two wires to a
+12V power supply.
Black wire - Connect it to the negative or other good
power ground.
Notes
Use the included plug/wire bundle to connect to the
power source and speakers.
The red, blue and black power wires should be 16AWG
or larger depending on the length to the power supply.
Never operate the unit without the proper power and
ground wire. Never ground the speaker leads and never
allow the speaker leads to come in contact with each
other. The speaker wire should be at least 20 gauge or
larger. Be sure to observe the correct polarity on the
speaker connections.
Use quality crimp connectors to connect wires together.
Seal the connection well with electrical tape.
Never operate the unit without proper fusing. The fuse
holder must be located within 2 feet of the power supply.
This fuse is to protect the vessel, not the electronics.
In case of a short, the fuse will blow instead of the wire
burning up. Using other than the recommended fuse rating
at the power supply and at the unit may cause damage to
the unit and will void your warranty.
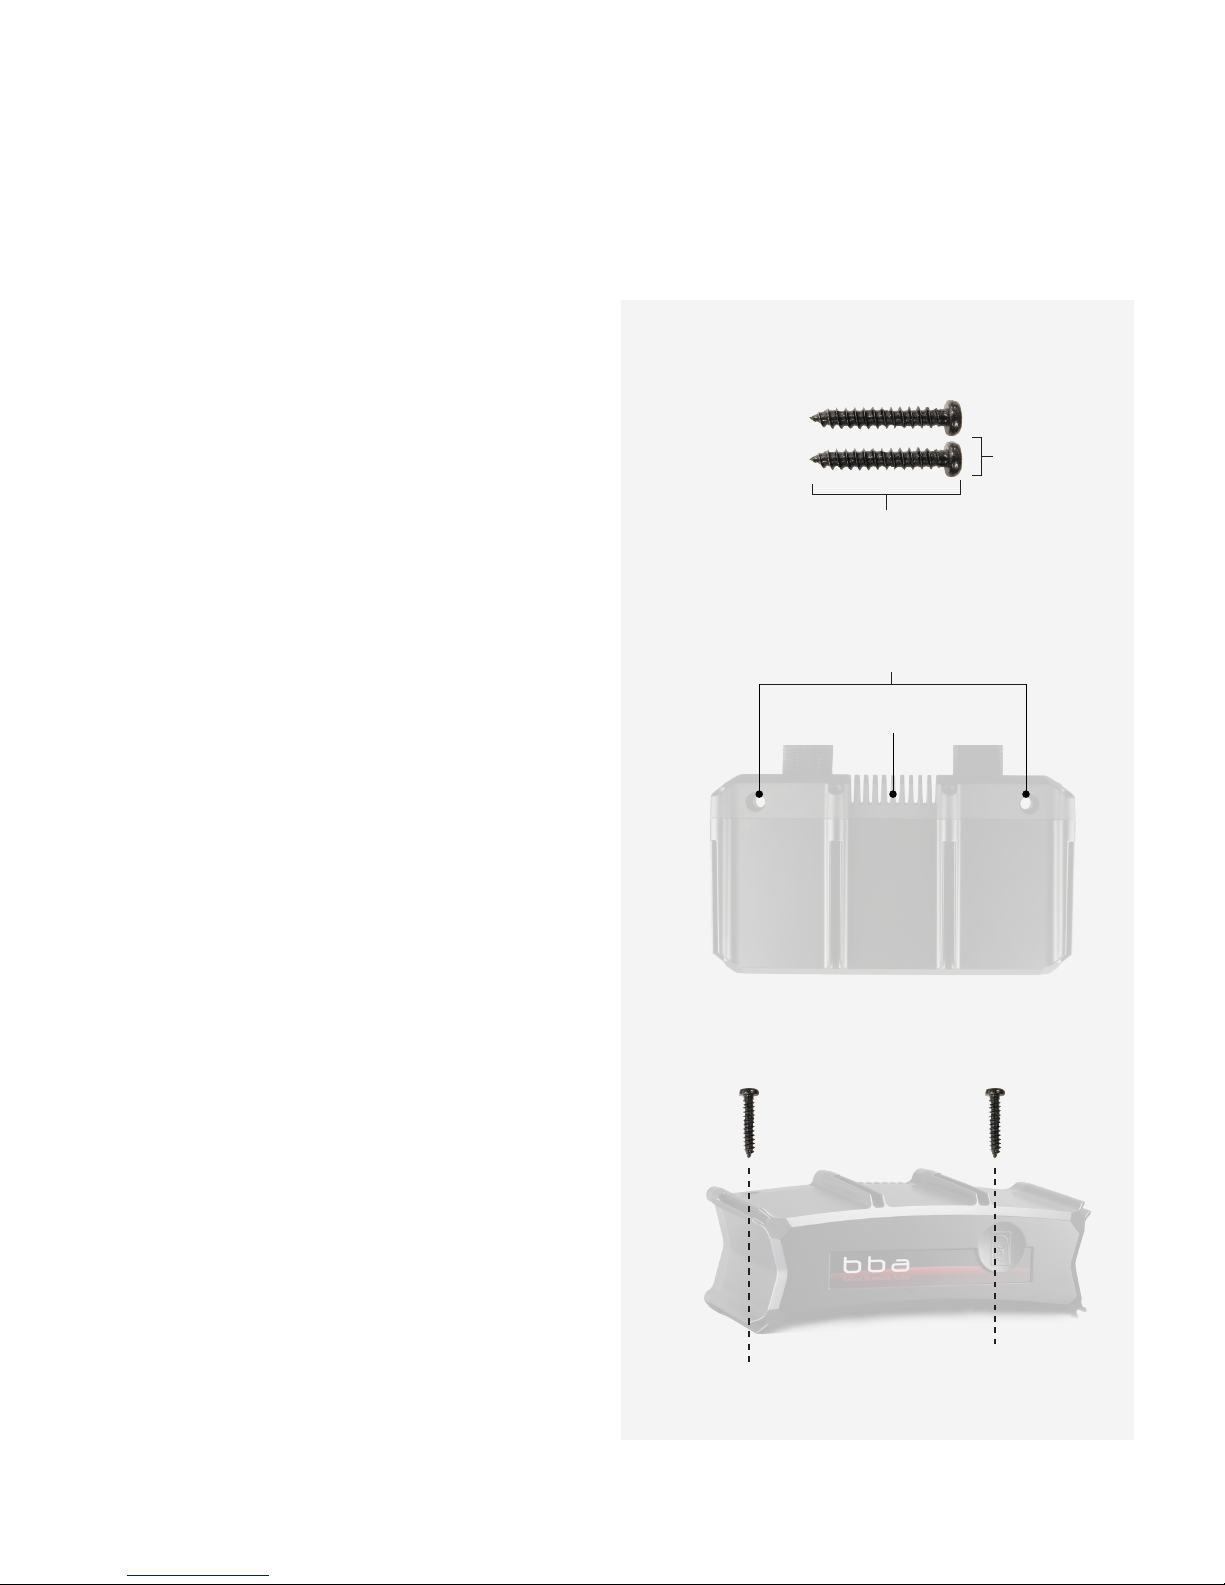
Whenever possible, use cable ties, mounting clamps and
similar wiring aids. Adding stress relief loop to wiring is
also advisable to prevent straining or breakage.
If after reading the directions you feel uncomfortable about
installing the unit, or not equipped or competent to do so,
you should have this installed by a professional installer.
Connect the white and grey loudspeaker wires to 1 or 2
pairs of loudspeakers. Pay close attention to polarity
(black stripe = negative)
Connect the green and purple loudspeaker wires to 1 or 2
pairs of loudspeakers or to a sub woofer.