| 5
Zeus3| QuickStart Guide - EN
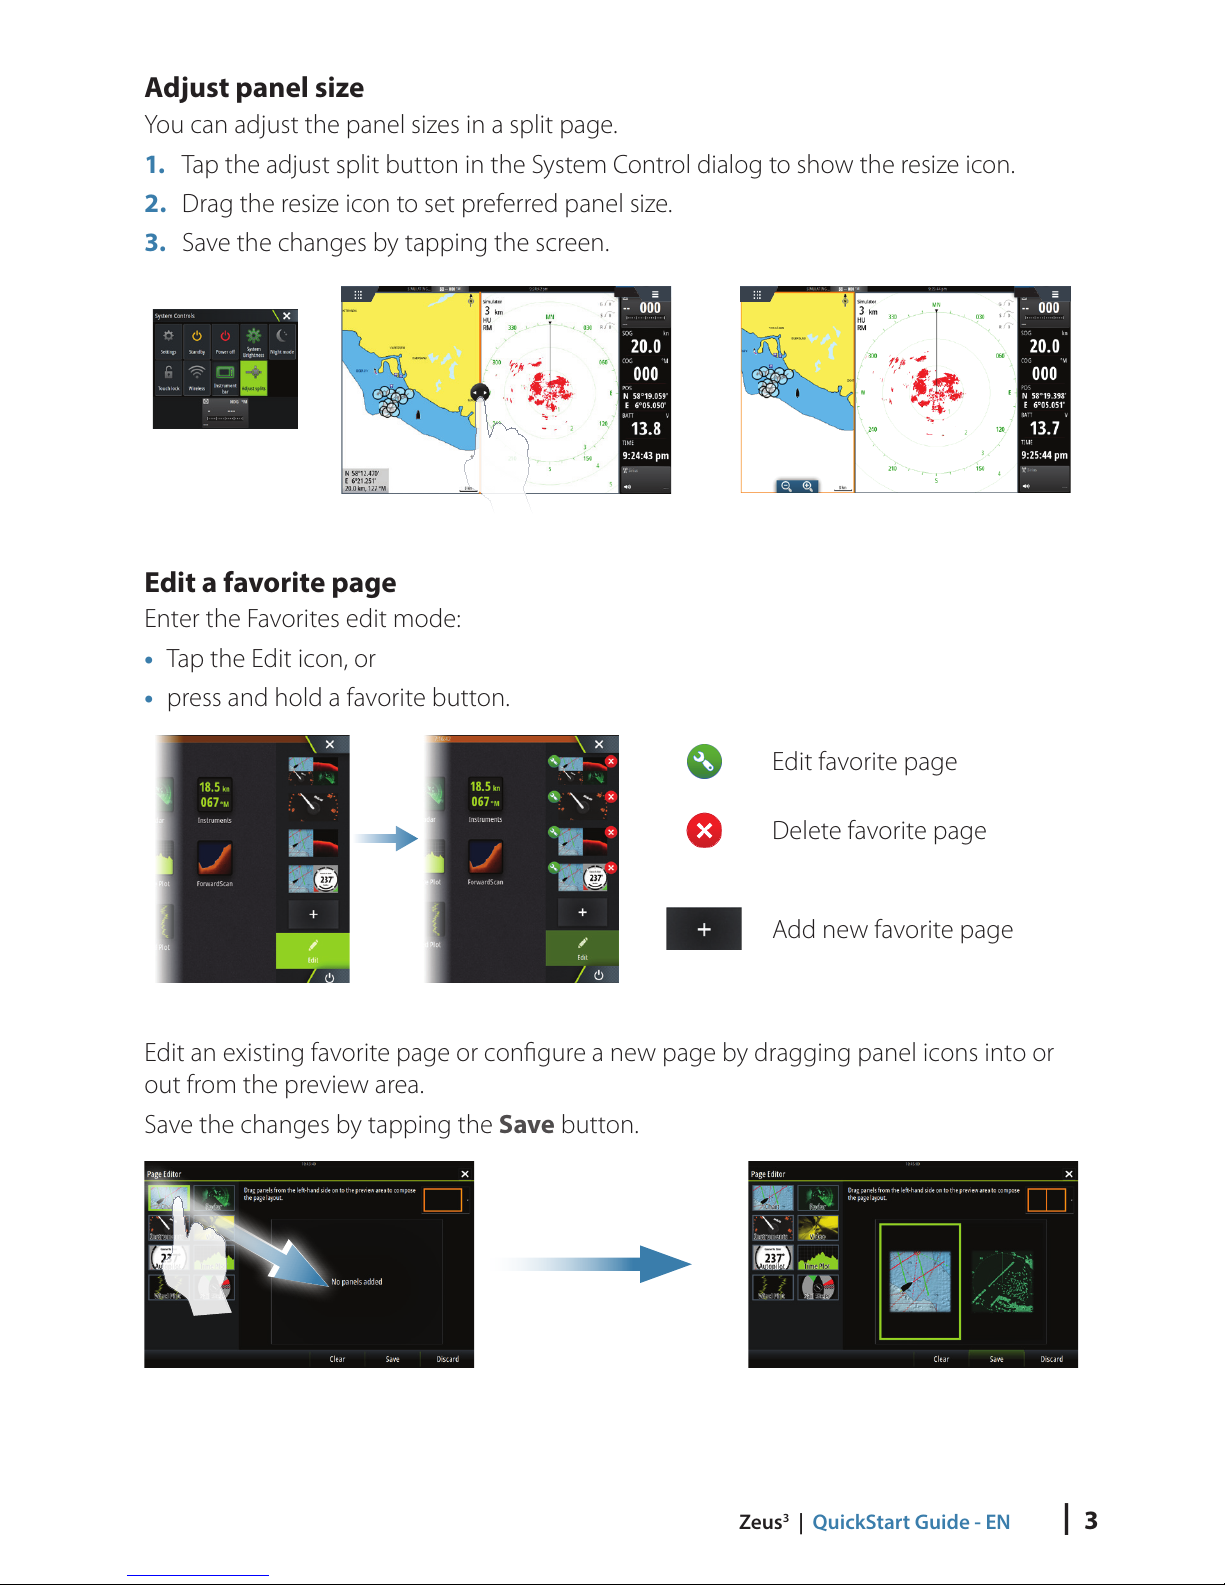
Routes
To create a route:
1. Tap the screen or use the arrow keys to activate cursor
mode.
2. Select the new route option in the menu.
3. Tap the chart to position the first routepoint. Alternatively, use the arrow keys to posi-
tion the routepoint, then press the Rotary knob to confirm the position.
4. Repeat point 3 to position additional routepoints.
5. Save the route by selecting the save option from the menu.
Navigating
To navigate to cursor position:
1. Tap the screen or use the arrow keys to position the cursor.
2. Select the goto cursor option in the menu.
To navigate a predefined route:
• Tap the route to make it active, then select the goto
route option in the menu, or
• select the route from the Routes dialog, then
select the goto option in the dialog
Overlay
Add a radar, weather or StructureScan overlay on the chart by selecting the option in
the menu.
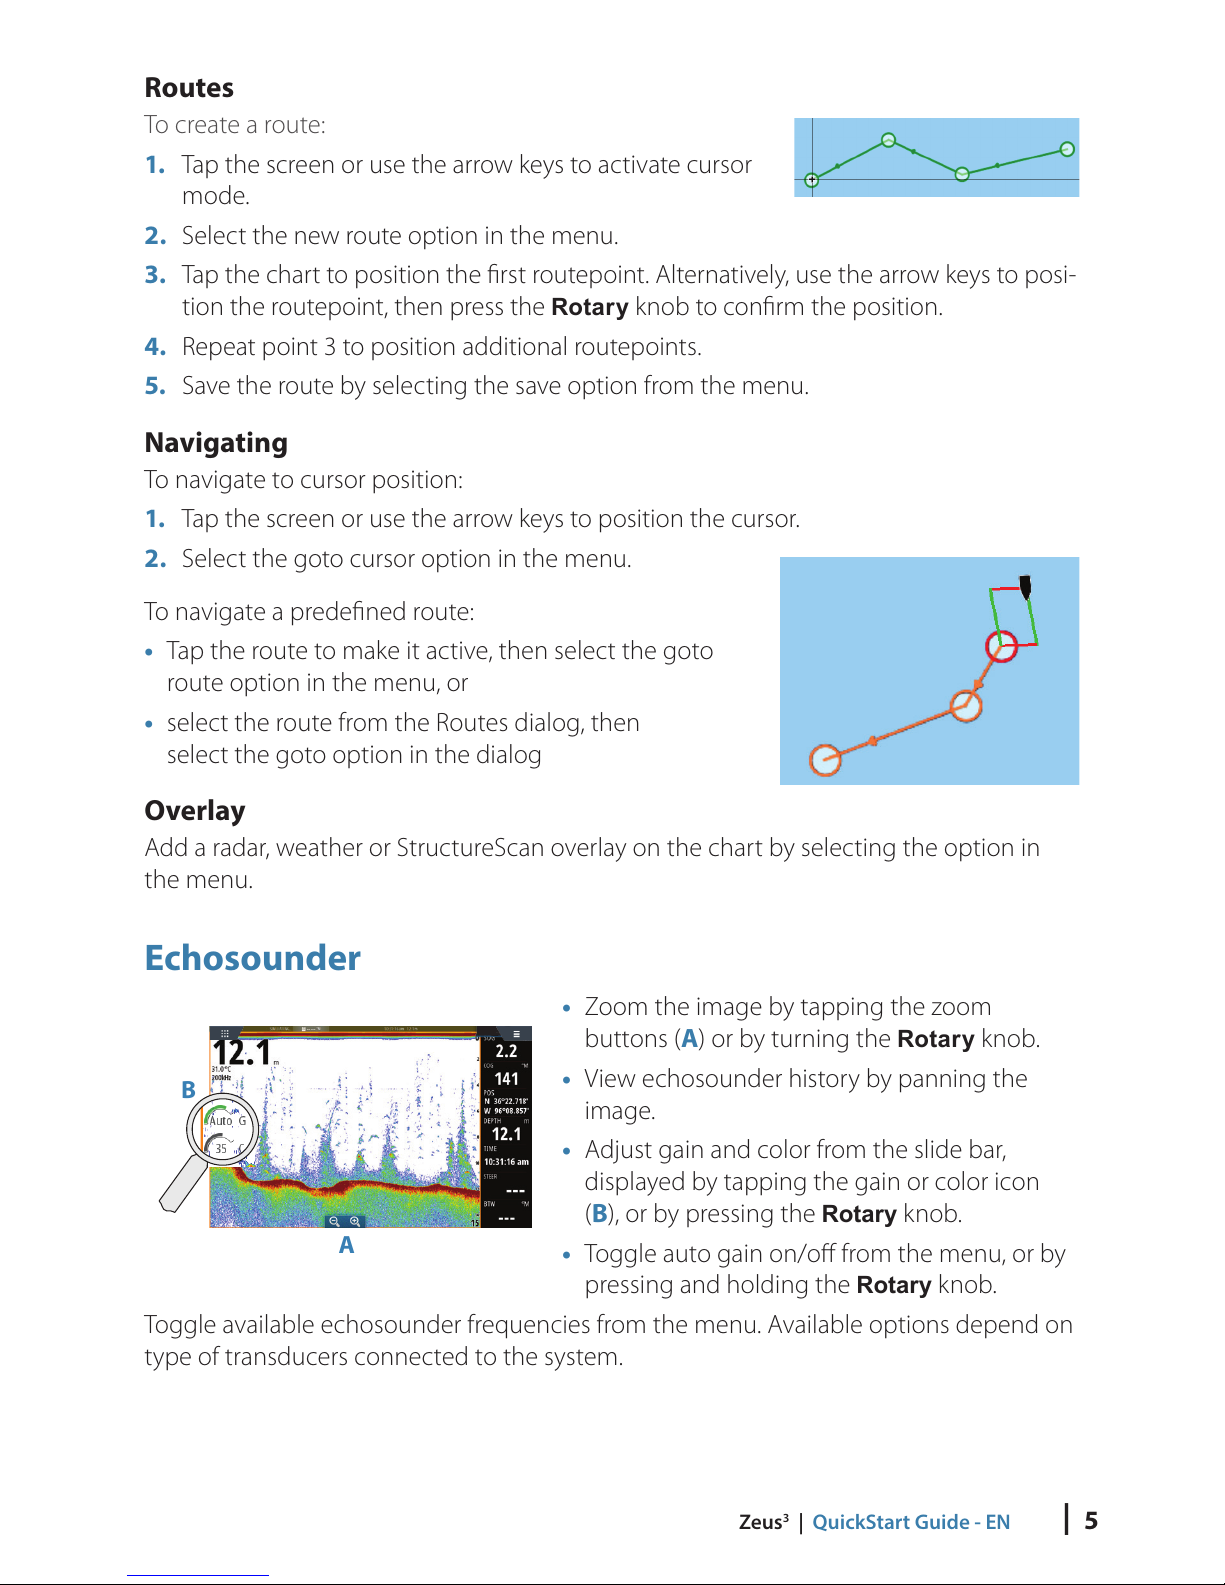
Echosounder
A
B
• Zoom the image by tapping the zoom
buttons (A) or by turning the Rotary knob.
• View echosounder history by panning the
image.
• Adjust gain and color from the slide bar,
displayed by tapping the gain or color icon
(B), or by pressing the Rotary knob.
• Toggle auto gain on/offfrom the menu, or by
pressing and holding the Rotary knob.
Toggle available echosounder frequencies from the menu. Available options depend on
type of transducers connected to the system.