21618-A-01-09 5
DE
GB
F
NL
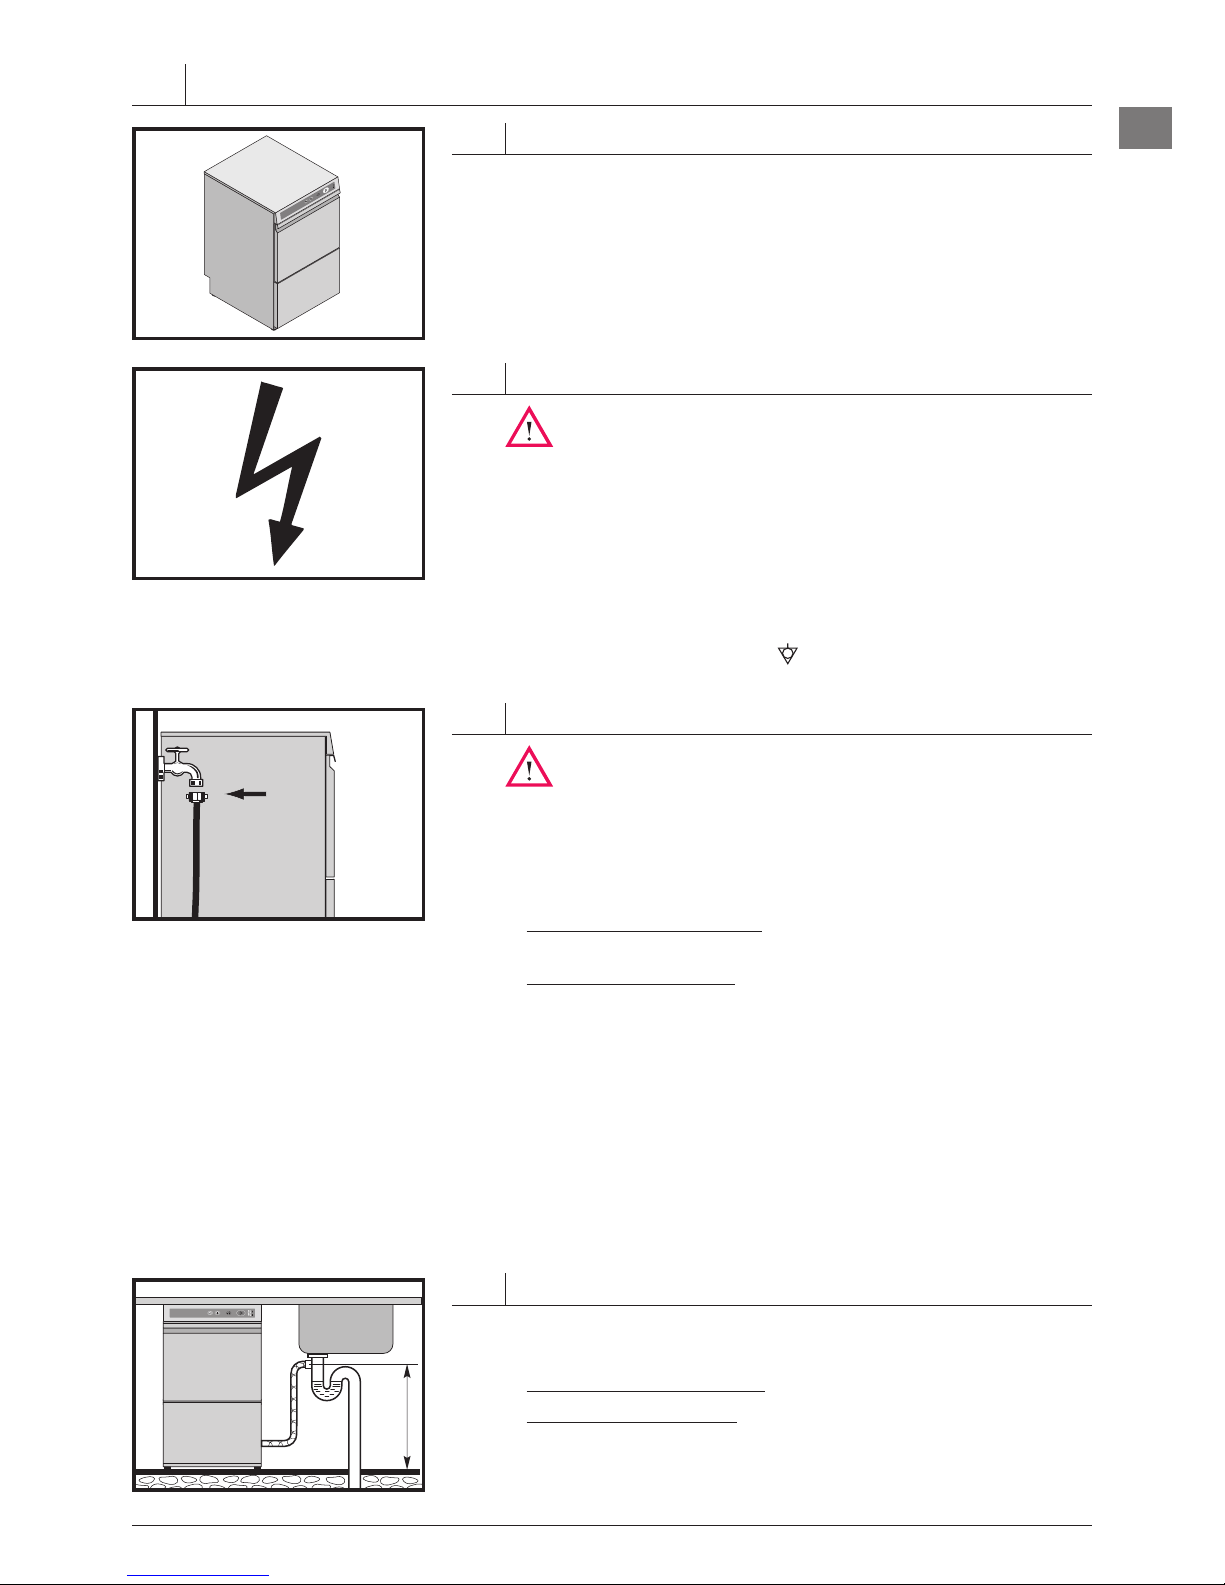
2.1 LOCATION
Wall clearence is not required.
Level machine by turning the feet.
Distribute machine weight equally onto all feet.
Vapour may escape from the glasswasher door. Therefore adjacent
furniture has to be protected to prevent swelling.
2.2 ELECTRICAL CONNECTION
Must be carried out by an authorized technician according
to the local and national codes.
The electrical supply shall comply with the name-plate data.
Adaptation to an alternative electrical supply is achievable as per
wiring diagram.
Line fuses and cable cross section shall comply with the requirements.
A cut-off device shall be provided to connect the supply cord (isolating
switch or accessible plug device).
According to EN 60 335 the appliance must be connected to an equipotential
conductor. The connecting screw ( ) is located beside the cable inlet.
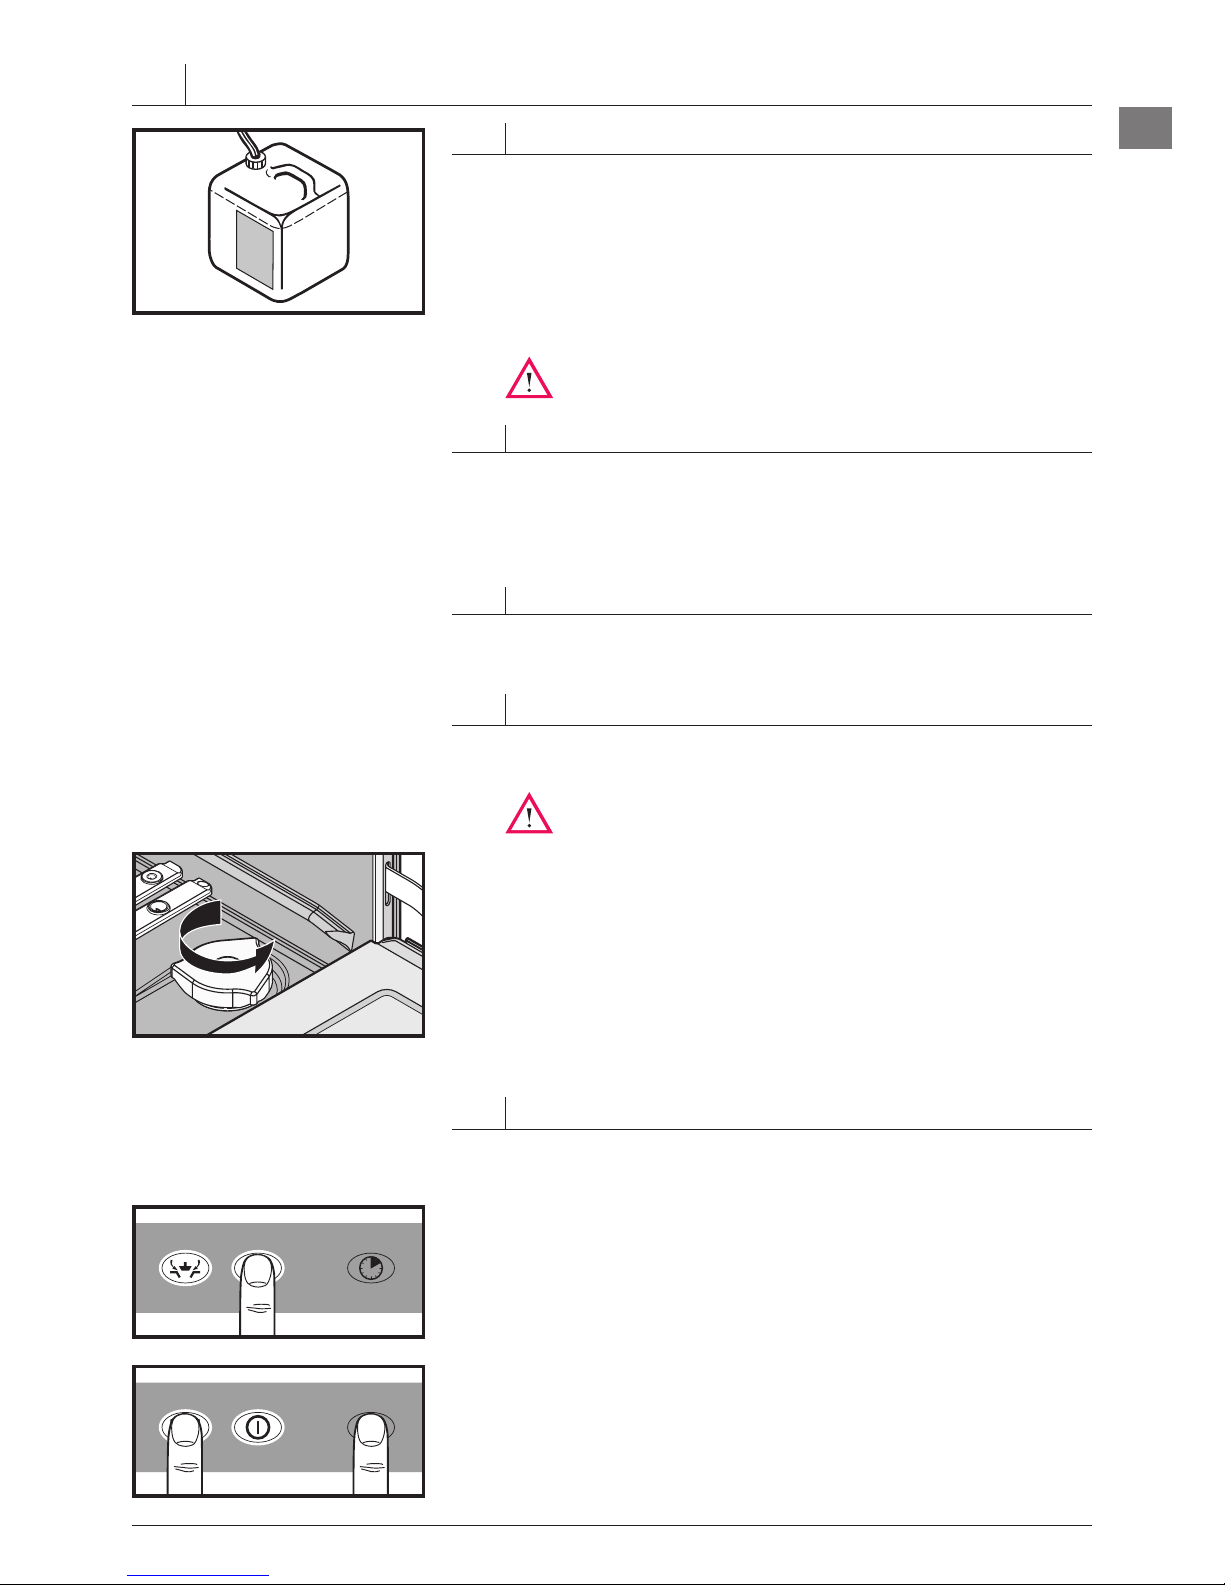
2.3 WATER CONNECTION
Must be carried out by an authorized technician according
to the national and local codes.
The machine must be operated with potable water.
The conductivity value should not exceed 100 µS/cm.
For water with an extremely high mineral content an external
demineralisation is strongly recommended.
Machines without softener: Connect to soft and if possible warm
water (up to 4° Clark = 0.5 mmol/l, max. 60°C).
Machines with softener: Connect to warm water if possible
(max. 37.5° Clark = 5.3 mmol/l, max. 60°C) if possible.
Line flow pressure 0.5 – 10 bar.
Important: the line flow pressure must not be less than 0.5 bar.
If the line flow pressure is above 10 bar provide pressure reducer
at source.
Connect the union nut "A" (3/4") of the water supply hose to the site
shut off valve.
Do not kink or cut the supply hose. If an extended supply hose is
required, use one of the same specifications as the original.
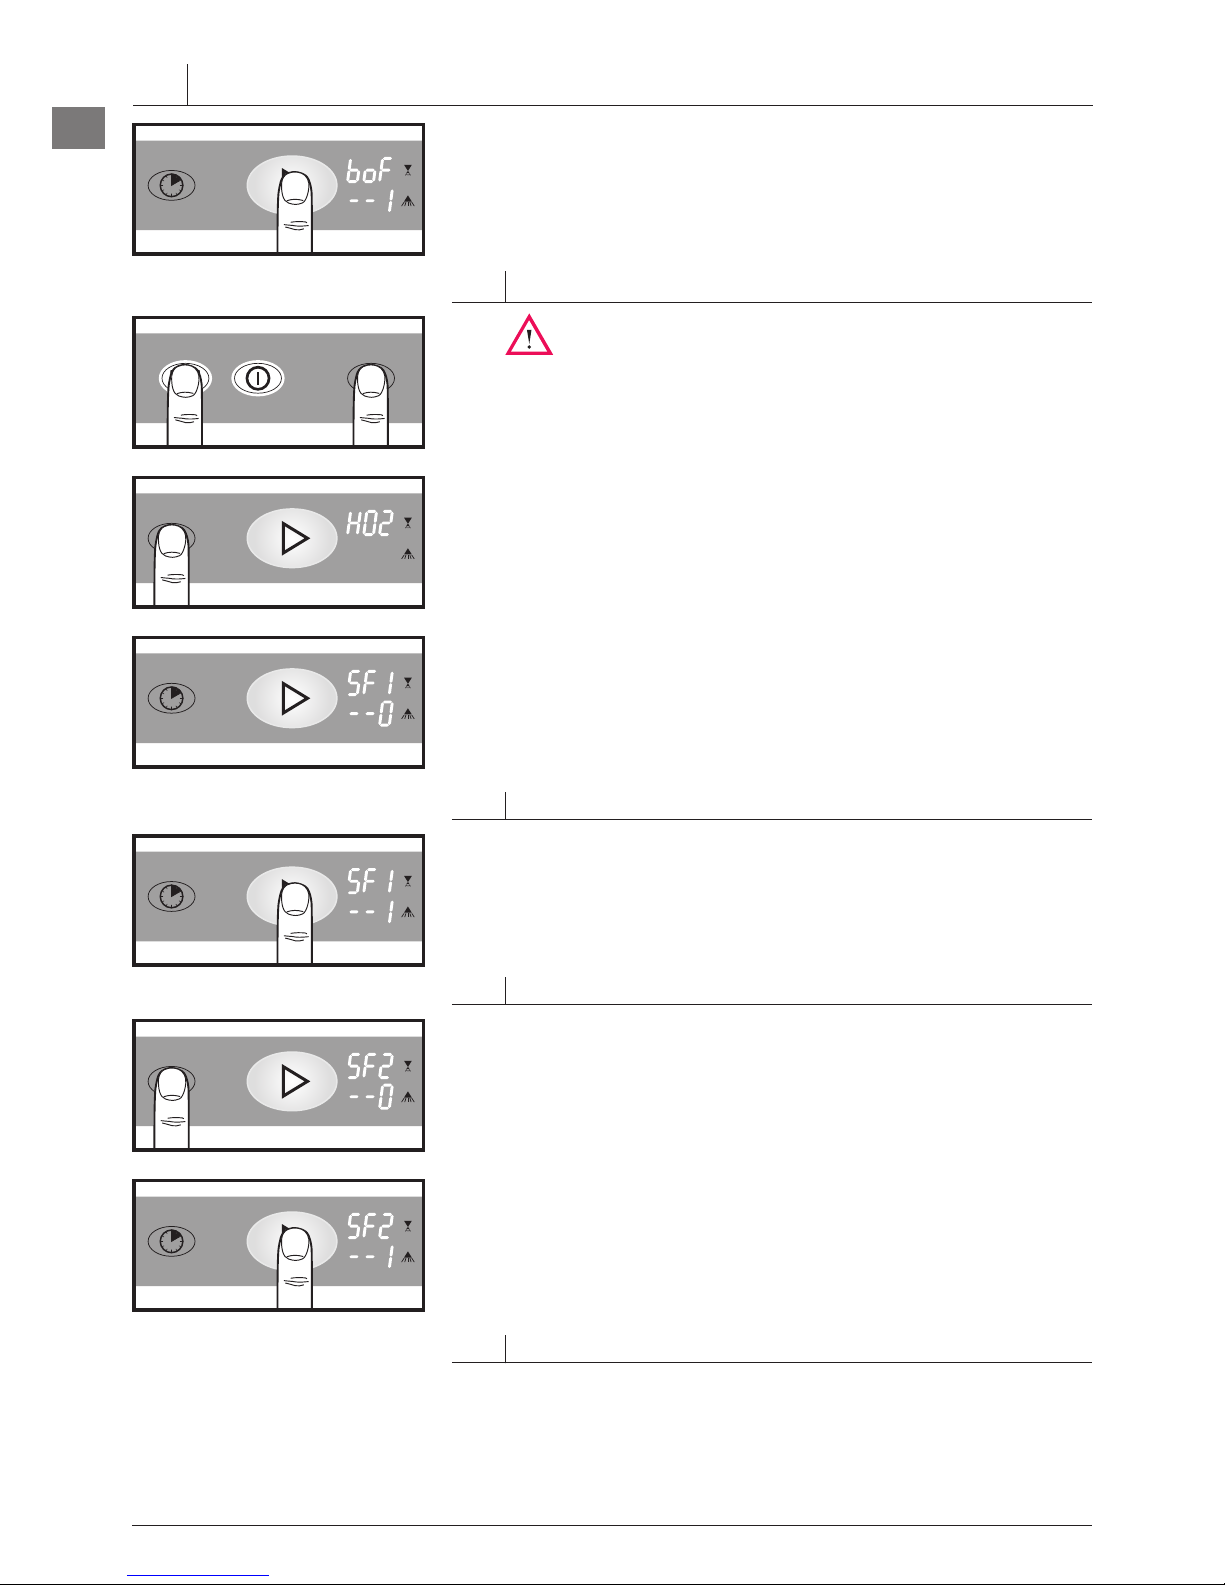
2.4 DRAIN CONNECTION
Connection between machine and site drain must not exceed the
specified height.
Machines without Softener: max. 1.0 m
Machines with Softener: max. 0.6 m
Do not kink the drain hose.
–
–
–
–
–
–
–
–
–
–
–
–
–
–
2 INSTALLATION