6 | UNPACK AND PREPARE
Unless you are wall-mounting the TV, you will need to
attach its stand/legs.
1. Lay the TV face-down on a soft, flat surface (like the
sofa, or a towel on a table) larger than the TV itself.
2. Match the stands to the installation points on the
underside of the TV.
3. Attach the stands to the TV at the installation points
using the screws provided. (Grab a screwdriver for
this bit). Make sure the legs are facing away from
each other (not leaning inwards).
Attaching the stand
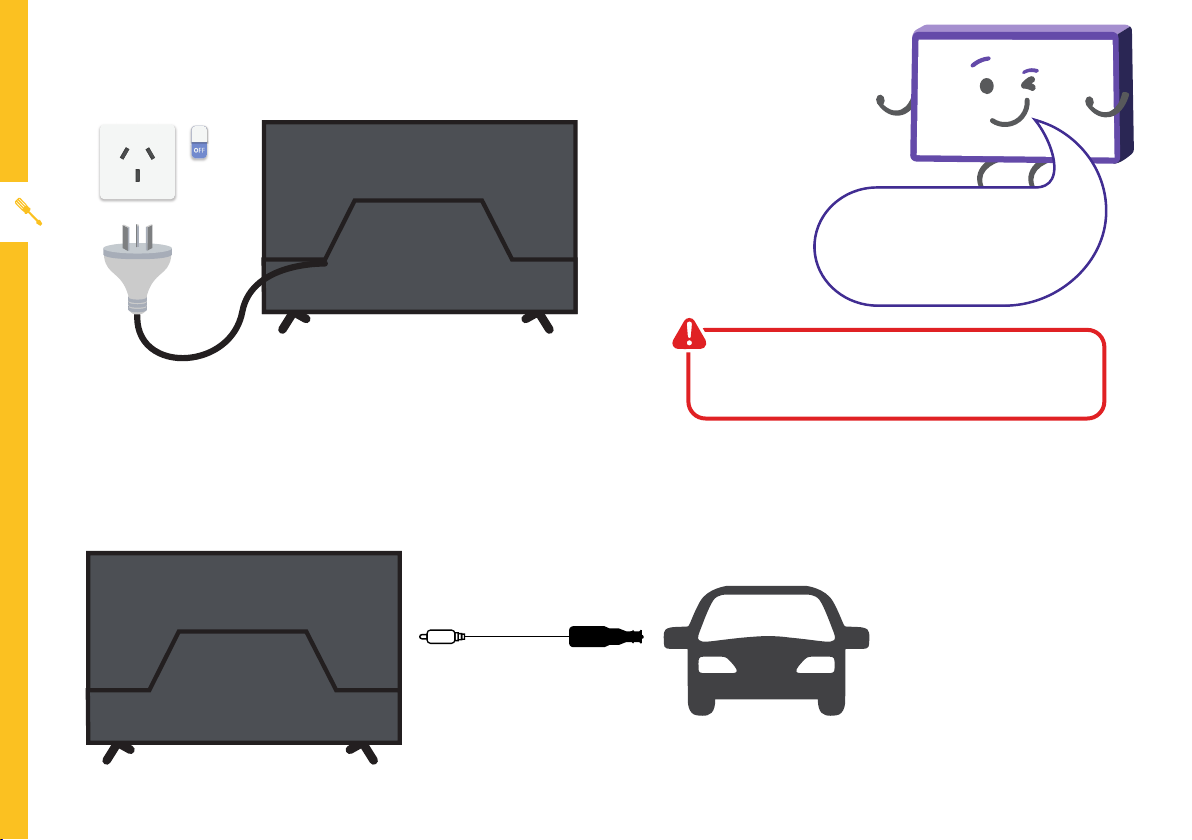
• Unplug the TV from the power outlet before
installing or removing the stand.
• Only touch the frame, not the screen.
• It is highly recommended to use safety straps for
securing the TV.
CAUTION!
Do not apply
excessive force as
you might damage
the screw holes.
1
2
3