Datum/Date
2004-10-22
Utgåva/Issue
1
Service Manual
Be-Ge 8652
Recommended Maintenance
Sida/Page
5(14)
Be-Ge Industri AB
Box 912 S-572 29 Oskarshamn. Tel. +46(0)491-761800. Fax +46(0)491-81900.
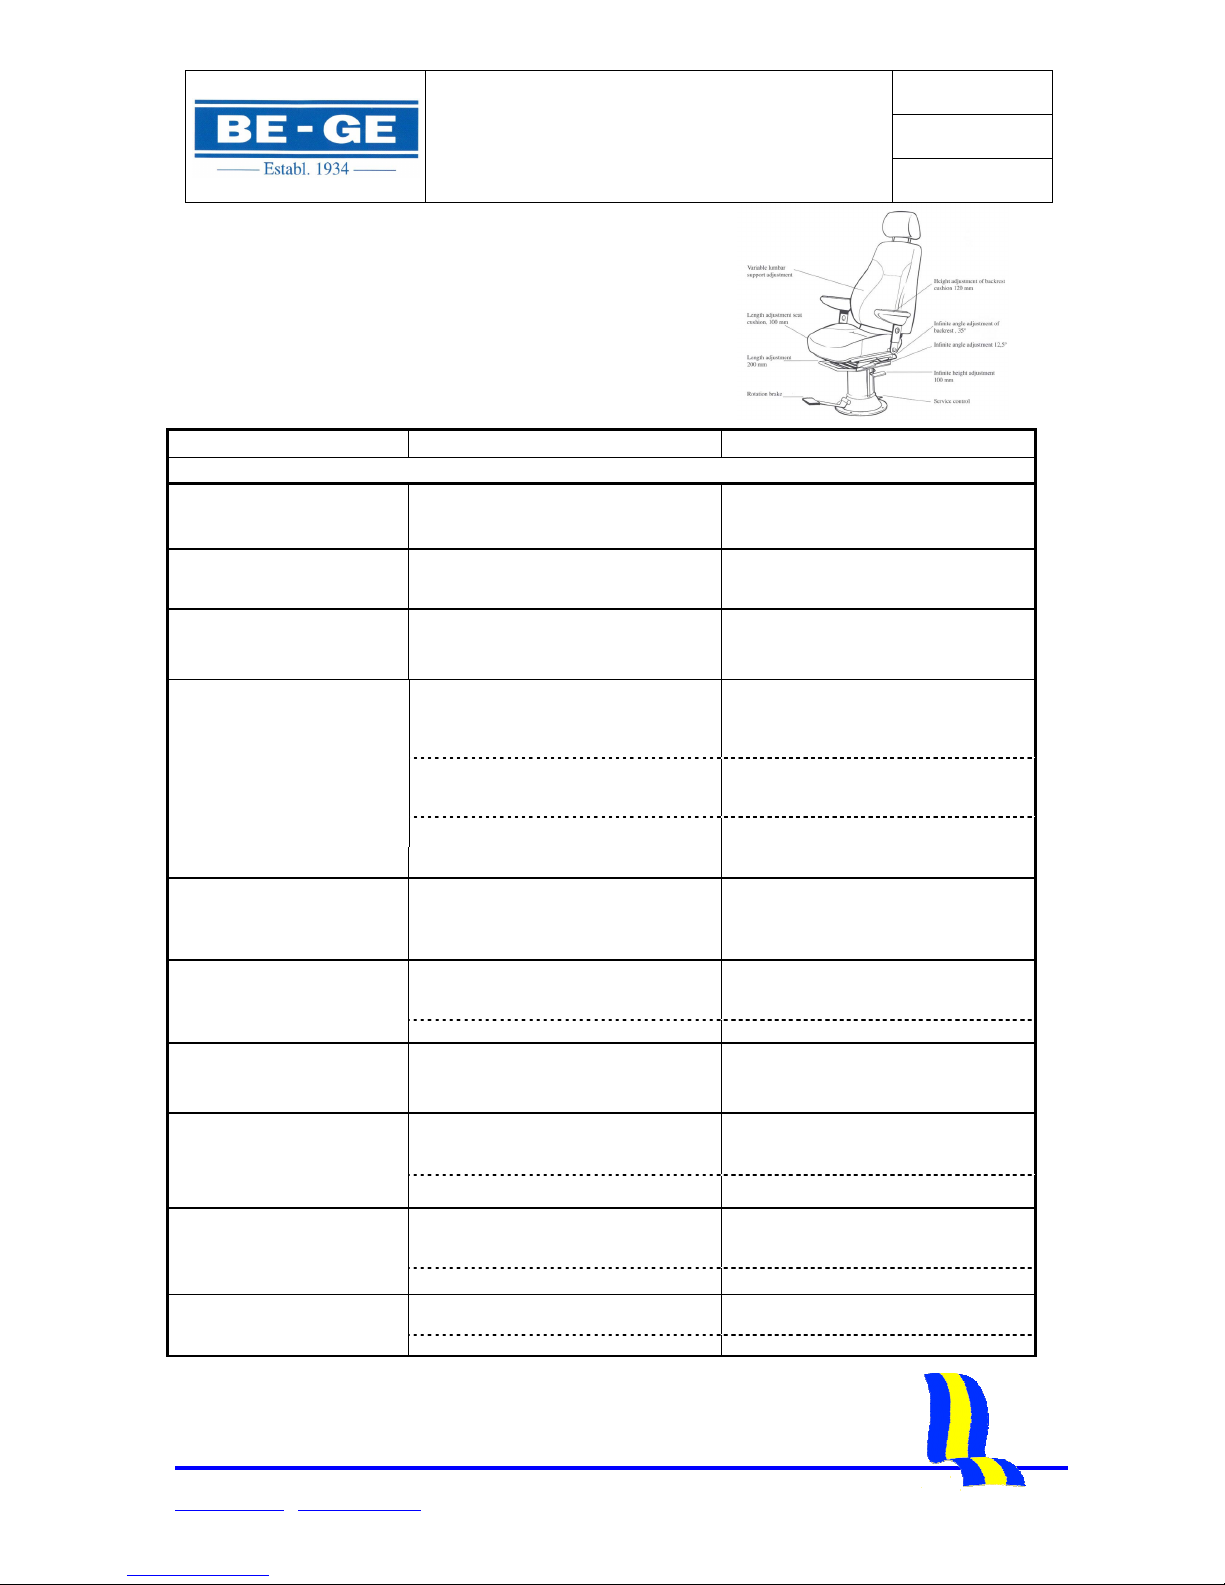
Inspection Service Instruction Illustration
5.
Check the seatback adjuster
and the seatback high
adjustment function.
Appliances:
Slotted chisel
Box wrench 17 mm
Riveting Punch 7 mm
Striking tool
Grease solvent cleaner
(
CRC™ Bräkleen, or equivalent)
Grease
(Recommended grease is of type
Kernite, Skidoo, or equivalent)
If the seatback does not keep position
and does not keep the positioned
angle, then the seatbacks angle
adjustment gasspring needs to be
changed.
Remove the seat cushion (1).
See service appendix 3
Loosen the gassprings front locking
(2).
Strike out the tension peg at the rear
attachment (3) on the frame back
section alternatively unscrew the
gascylinders body from the rear
attachments of the fork attachement
Change the gasspring.
If the seatback does not keep position
and does not keep the positioned
height then dirt/grease or similar
might have got in the locking surface
for the height adjustment locking
eccentric.
This calls for cleaning of the frames
tube profile, back frames inner tube
profile and eccentric locking parts.
Recommended cleaning is CRC™
Bräkleen or equivalent.
An annual maintenance and re-
lubricating of the seatback and seat
cushion slide surfaces is to be done.
NB. Make sure of that no grease is
added onto the back adjustment
locking. Recommended grease is
Kernite, Skidoo, or equivalent.
2
22
2
3
33
3
1
11
1
NB.
No grease