Beezone CJD-1003-3 User manual

GASOLINE TILLER
OPERATING INSTRUCTIONS

Safety instructions
When operating the tiller, follow these safety instructions carefully. Read all of the operating
instructions before starting the machine. Make sure you are capable of stopping the machine
immediately and switching off the engine in the event of an emergency. All instructions for the
handling and maintenance of your tiller are also for your own safety!
The tiller must not be used in any other way than described in the manual.
Use only genuine equipment and spare parts. If you use non-approved spare parts,
there is increased risk and this is, therefore, not permissible. All liability is
renounced in the event of an accident or other damage caused by the use of
non-approved parts.
Before using the machine for the first time, the dealer or other knowledgeable
person must instruct in its use.
When using the tiller you are responsible for any third party in the area where the
machine is in operation. Never use the tiller in the presence of others, especially
children or animals.
Do not allow minors to operate the tiller.
The tiller may only be lent to persons who are familiar with operating the machine.
Always pass on the safety and operational instructions.
Only allow persons who are rested, healthy and fit to operate the machine. If the
work is tiring, take a break in plenty of time. Do not operate the machine after
drinking alcohol.
Do not remove or cover the controls which are mounted on the tiller at the factory,
e.g. removing the clutch lever from the handlebar.
Remember to tighten all bolts and nuts before starting.
When the engine is running, do not pull the handle for forward speed and the
handle for rear speed at the same time! This will damage the transmission. Always
release one handle before the other is used.
"Beware of the rotating knives"
Working with the machine on a steep slope is dangerous!
Only use the machine on areas where it can be handled safely.
Mounting
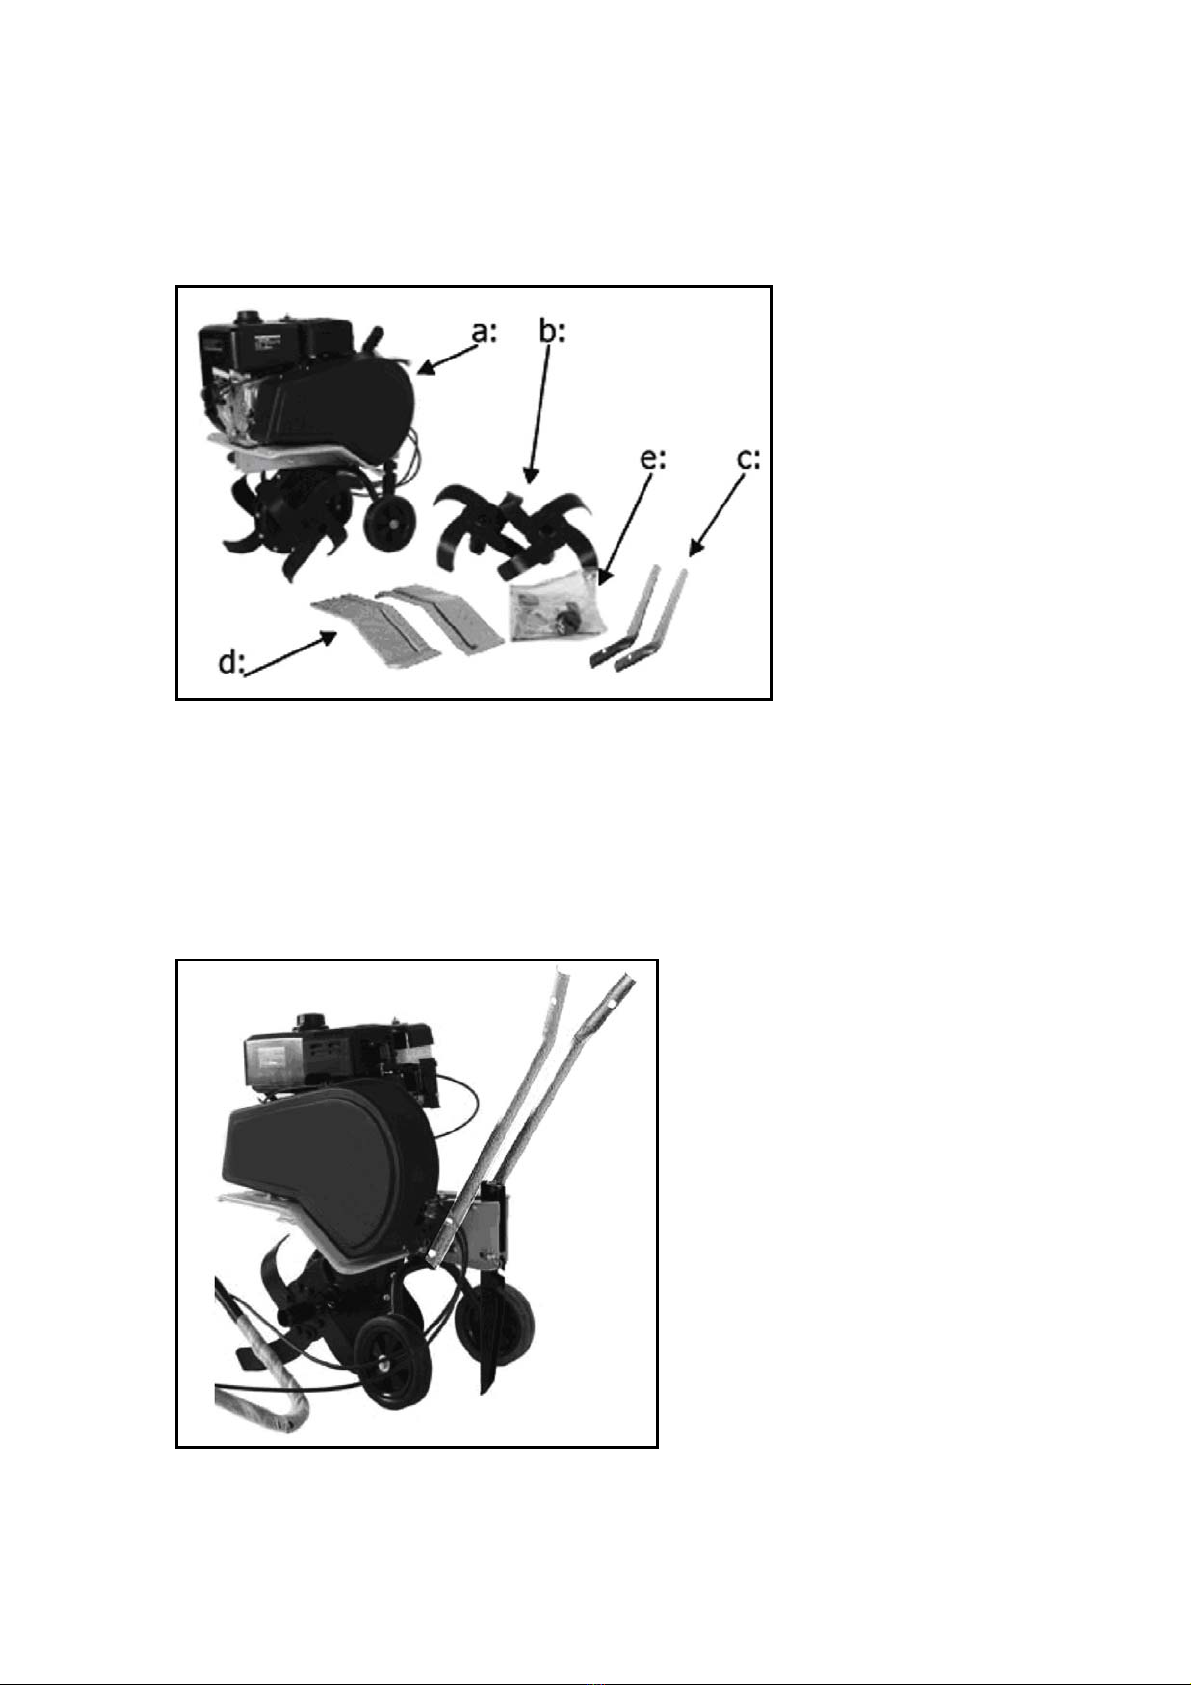
1. Contents of the package:
a. Tiller with upper steer and cables.
b. Blades
c. Lower steer
d. Side guards
e. User manual and bolts
2. Mount lower steer using the accompanying bolts and nuts.
3. Mount upper steer using the accompanying bolts and handwheels.
4. Mount the side guards using the accompanying bolts and nuts.
5. Mount the blades using the cotter bolts and pins.
It is important that the edge of the blade turns forward.
6. Follow the user manual guide to fill the engine with oil and fuel .

Clothing
When working with the tiller, wear close-fitting work clothes, sturdy work gloves, hearing
protection and boots with non-skid soles, and steel nose is compulsory.
Use
Clean the area of all foreign items before use. Stone, glass, branches, etc. can damage the
tiller. Check that all bolts on the tiller are tightened.
Start:
Place the throttle handle on full throttle.
Follow the guide in the user manual to start.
Stop:
Place the throttle handle on minimum throttle.
Follow the guide in the user manual to stop.
The handle which labeled with “↑”, is used to move the tiller forwards. The handle which
labeled with “↓”, is used to move the tiller backwards. If your back is against an obstacle, pay
extra attention when reversing, for example a tree or a wall. Note: For different market
demand, this machine may not have reverse function.
The rotors drive the tiller forward. The rotary speed is regulated by the throttle control. If the
tiller is held back, the rotors dig downwards into the ground.
If the tiller has a tendency to dig down, there are several things you can do. The right and left
blade set can be changed. This means that the tiller will use the reverse of the blade to till,
and thus it will not be so easy to dig down. In addition, side guards can be fitted. This also
helps prevent the tiller from digging down.
The depth skid must always be placed in the top notch if this is the case. See also the section
on adjusting the depth skid.
In addition to the speed of the engine, the speed is controlled by the depth skid, which is
placed behind the machine.
Do not cultivate in very wet soil as clods of soil will be formed, and these are difficult to break.
Dry and hard soil may need to be cultivated twice.
The outer blades can be dismounted if the tiller is used between narrow rows of plants and
crops. This reduces the tilling width.
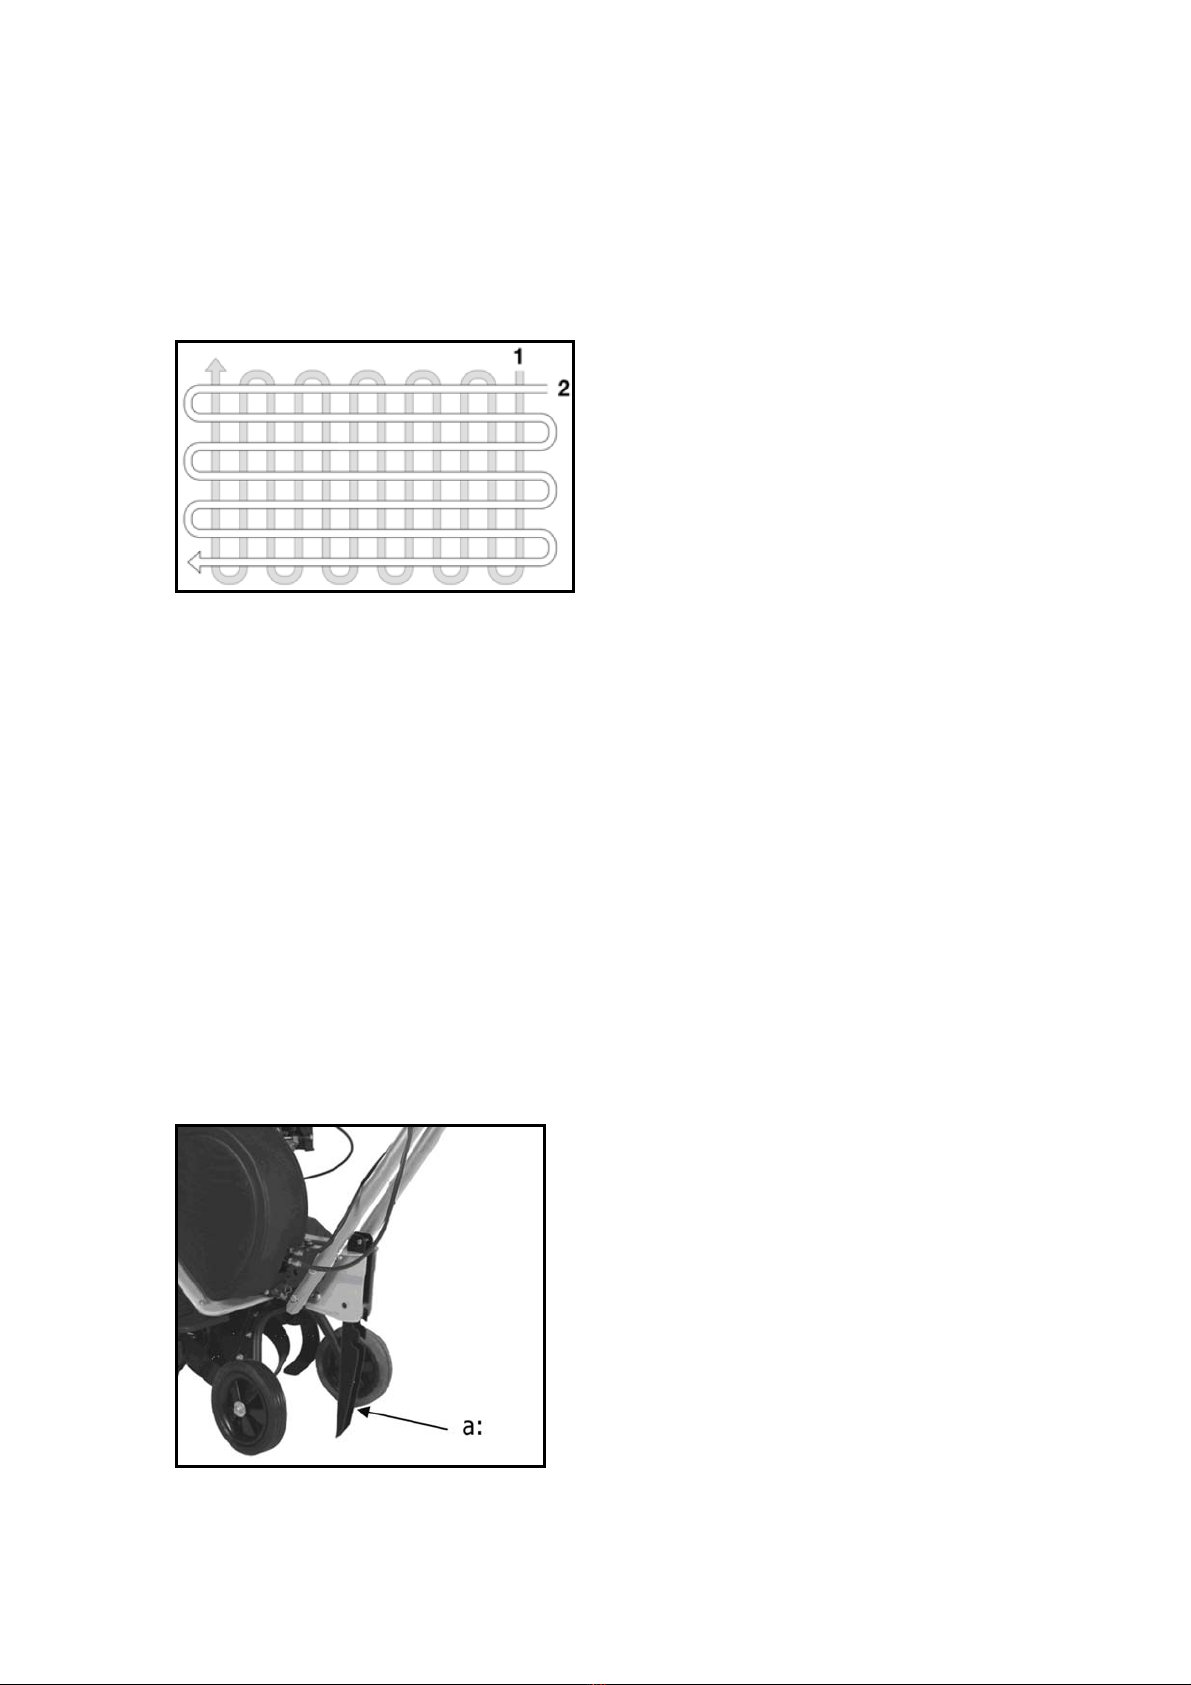
The ground can be tilled in two directions, thus achieving optimum tilling.
When the engine is running, do not pull the handle for forward speed and the handle for rear
speed at the same time! This will damage the transmission. Always release one handle
before the other is used. Always wait until the blades have stopped rotating before another
handle is activated.
It is important, that you do not try to hold back the tiller. It must be relaxing to use the
machine.
Do not overload your tiller. Always drive carefully.
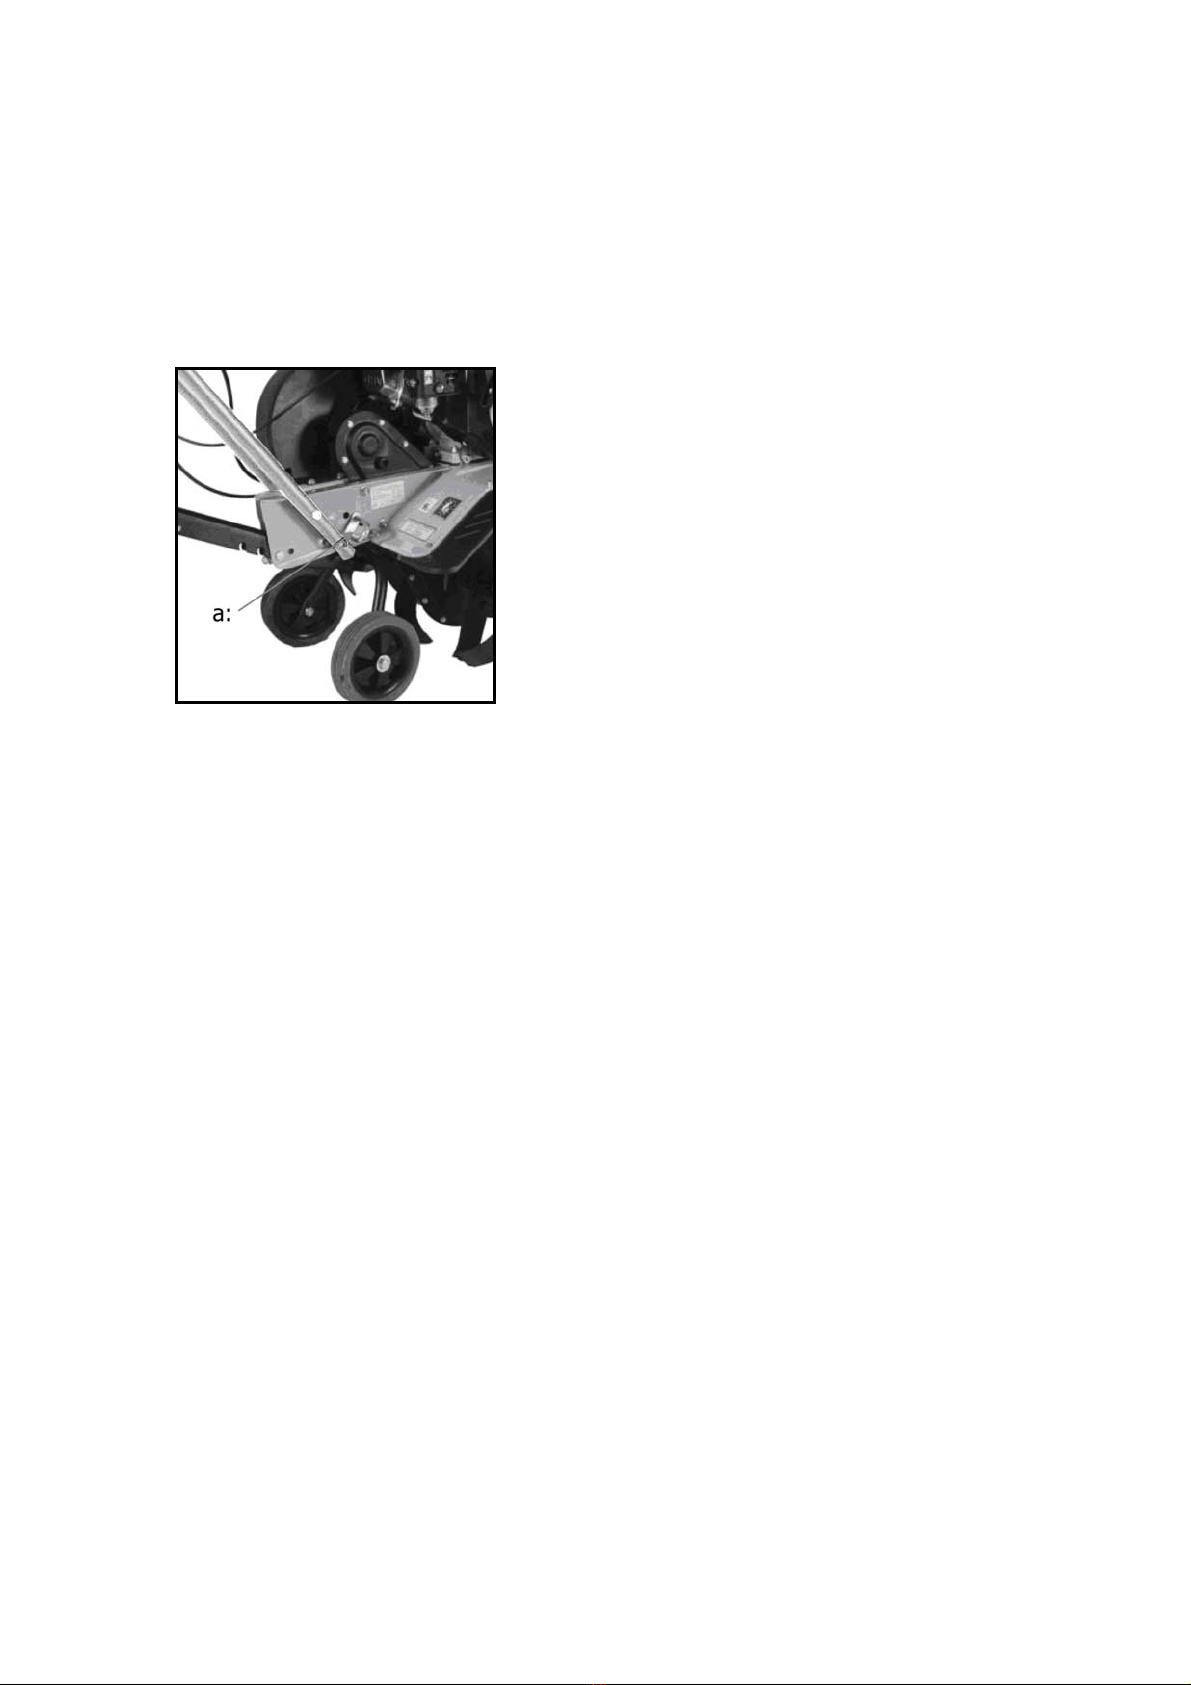
Adjusting the depth skid
The depth skid can be adjusting for tilling in three different depths. The deeper the depth skid
sits in the soil, the deeper the tilling blades will work and the slower the machine will advance.
The right cultivating depth will lighten your workload. The correct tilling depth depends on the
soil, and we recommend you make several attempts to see how deep the depth skid should
be so that you can work optimally in your soil.
To adjust the depth skid, pull it backwards and up till the preferred height is found. Place the
depth skid vertically, and it will fall into a notch. The depth skid can be adjusted to various
tilling depths. The deeper into the ground the depth skid goes, the deeper the tiller will work.
The right setting depends on the soil.
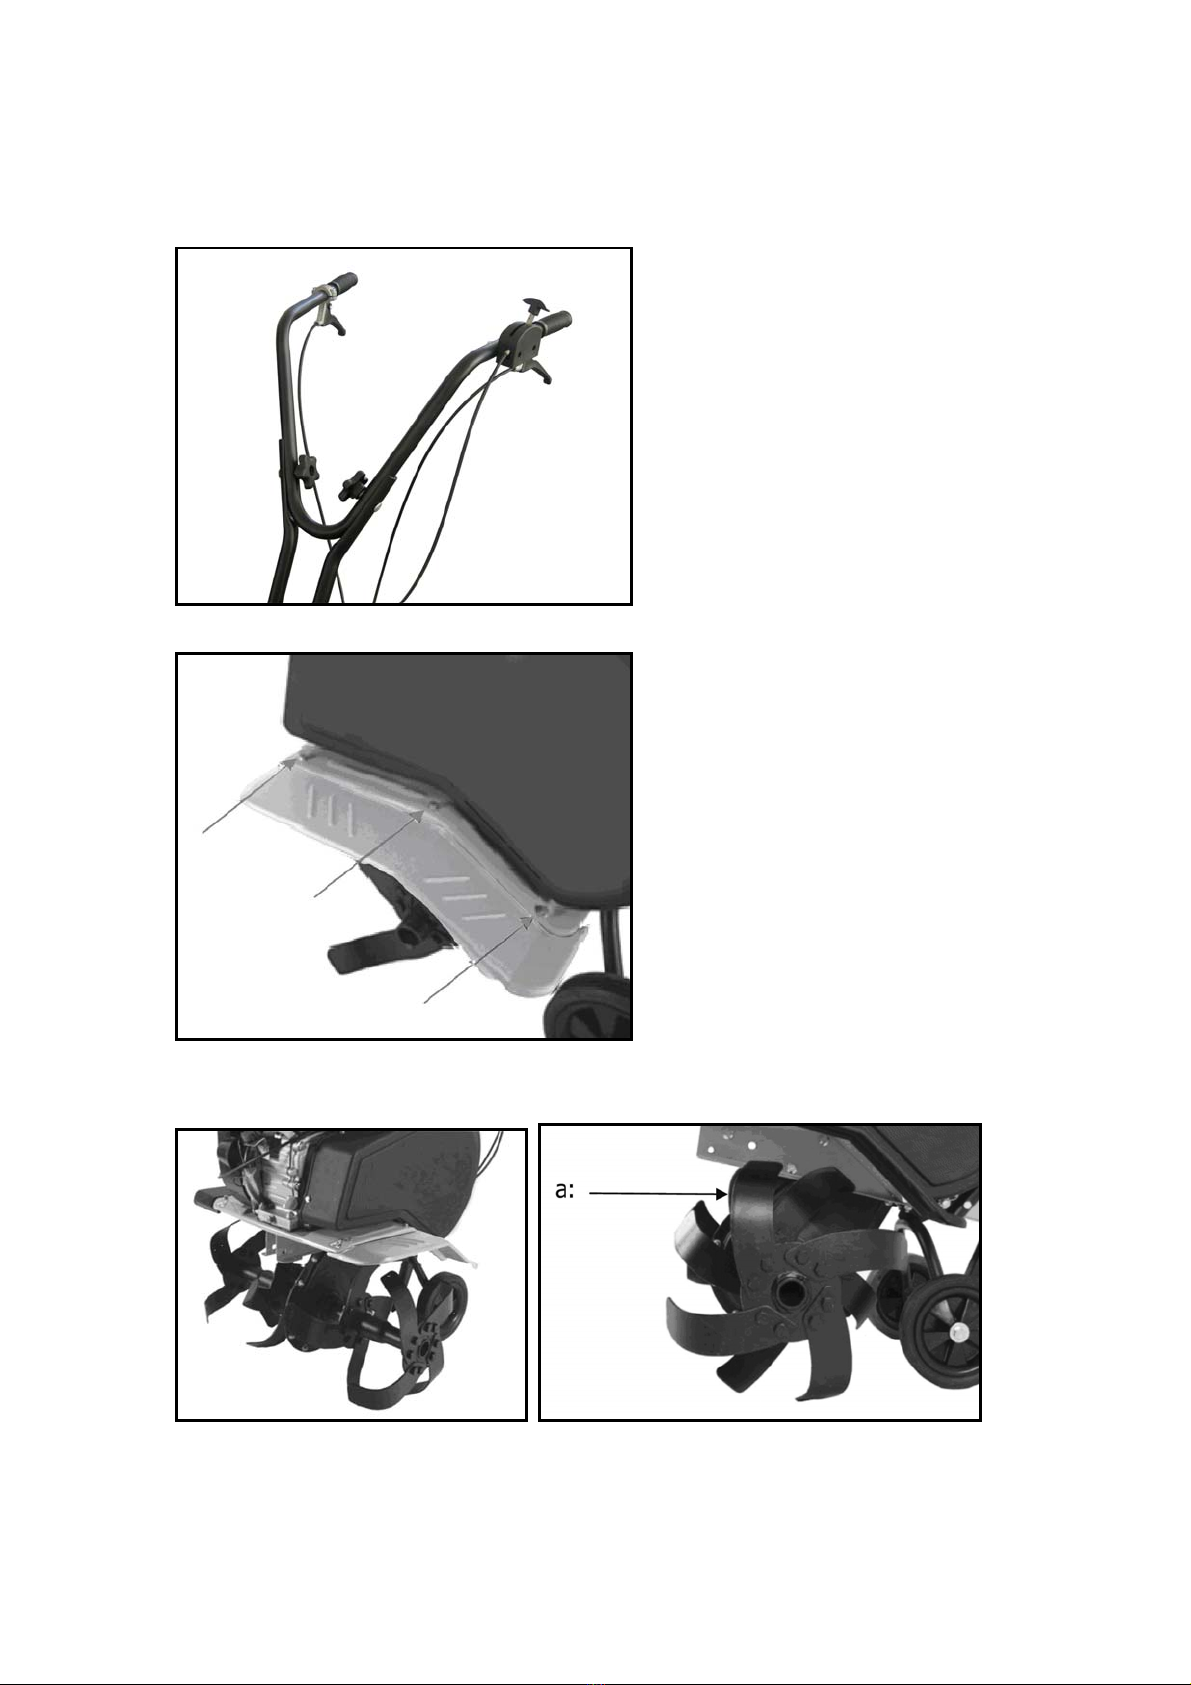
Adjusting the support wheels
The support wheels are mounted on the tiller. They can be adjusted to the required height by
pulling the lock handle and moving the ring up or down.
The wheel ring can be used to stabilise the machine when tilling and also help to
prevent the machine falling into soft soil.
Cleaning the tiller
The tiller should be cleaned after use. Use your garden hose and wash off soil and dirt. Clean
the rotor shaft of any grass, etc. The chassis number should only be cleaned with a moist
cloth otherwise it may be damaged. Avoid using a high pressure cleaner for cleaning.
Maintaining the gear box
The gear box on the tiller is lubricated at the factory. It is not necessary to renew the oil.
Engine
The engine is delivered without oil and fuel. Remember to fill the engine with engine oil
before starting.
Follow the guidelines in the user manual for correct use and maintenance of the engine.
Storage
Follow the procedure below when the machine is to be unused for a long period. This will
ensure the machine has a long service life.
Use your garden hose to wash off any soil and dirt. Clean the rotor shaft of any grass, etc.
The chassis number should only be cleaned with a moist cloth otherwise it may be damaged.
Avoid using a high pressure cleaner for cleaning. Clean the body with a damp cloth so all the
surfaces are clean. The surface must be wiped with an oily cloth to prevent rust.
You should always store your machine in a dry, clean place.

Troubleshooting
The engine does not start: 1. Ensure that the start/stop switch is in the correct position.
2. Ensure that the spark plug is not defective.
3. Ensure that the spark plug cap is fitted correctly.
4. Ensure the fuel valve is open.
5. Ensure the choker is open.
6. Check the user manual for further guidance.
The engine runs irregularly: 1. Ensure that the choke is deactivated.
2. Ensure that there are no impurities in the petrol.
The blades do not rotate: 1. Ensure that there are no stones impeding the rotation of
the blades.
2. Ensure that the gas cable has not come loose.
3. Ensure that the gas cable can fully activate the engine.
4. Ensure that the belts are not damaged.
5. Ensure that the connection of belts is correctly adjusted.
The rotors keep rotating
after friction clutching: 1. Stop the engine. Contact your dealer.
Table of contents


 Operator's manual")


