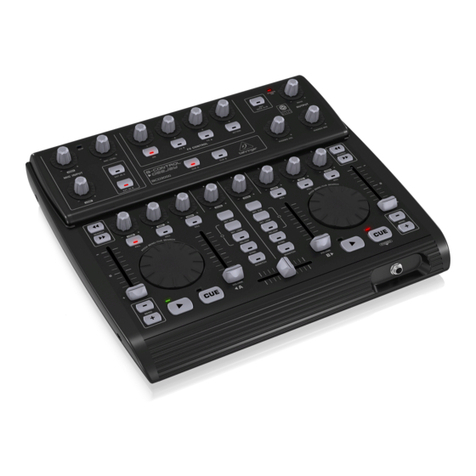
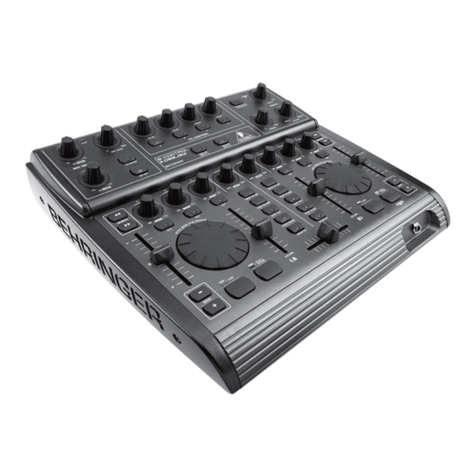
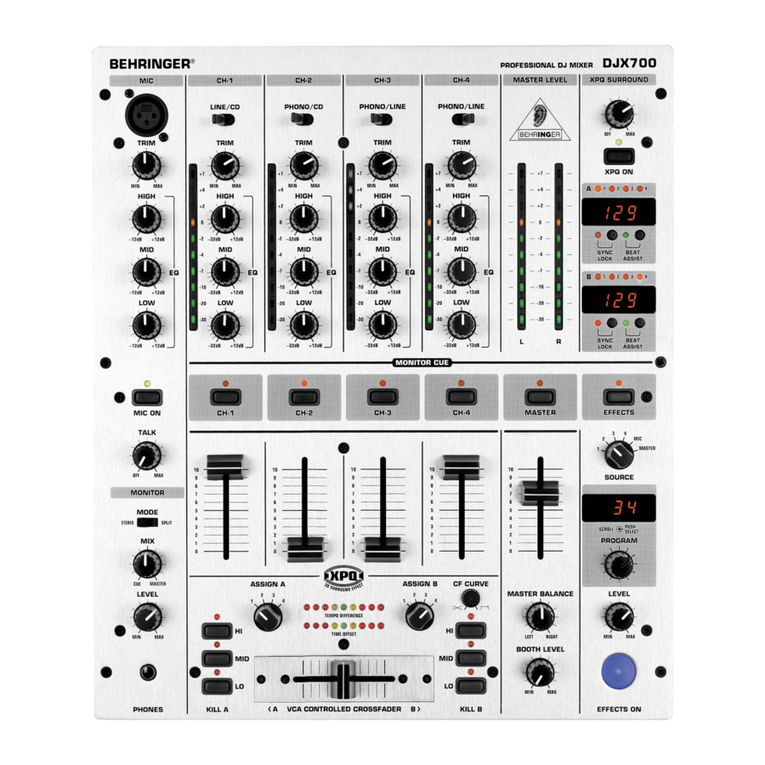
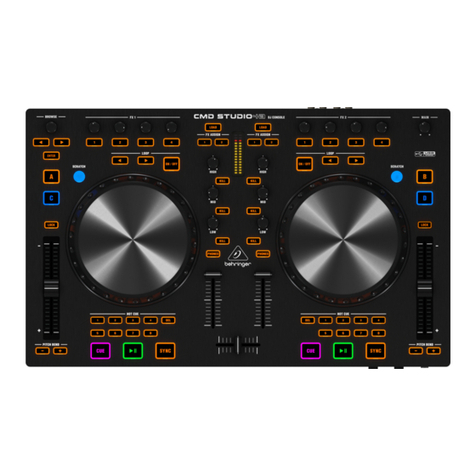
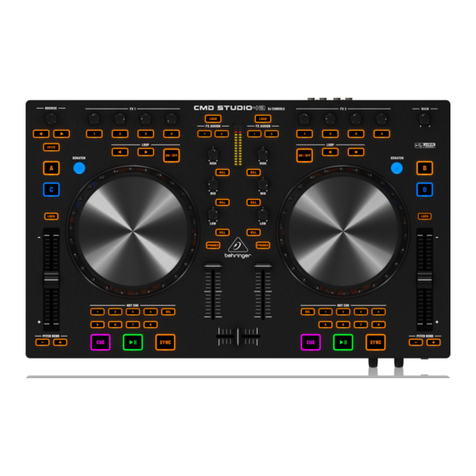
The effects are controlled with the top row of knobs and buttons. Since the effects are separate for
each deck, knob A and B and button A and button B control deck A’s effect, knob C and D and button C
and D control deck B’s effect.
The first thing to do is select the effect you want to use. You can do this by holding the To Top button
and then pressing effect button A, B, C, or D. You can select a different effect for each deck by using
that deck’s to top button.
Effect A: Flanger. Enable the flanger by using the first button. The strength of the effect can be set with
the first knob. The second knob can be used to fix the flanger at it’s current position.
Effect B: Echo. Since this effect is always enabled, make sure you first set the first knob to the far left
before selecting this effect. Then use the first knob to select the amount of echo, and the second knob
to select the length. The length will be fixed to a multiple number of beats (1/8, 1/4, 1/2, 3/4, 1, 2, 4, 8 )
You can use the second button to hold the echo buffer, which means that when you later use the first
knob to stop the effect, you can later on use the same sample by using the first knob again.
With the first button you can disable the source sound, leaving only the echo audible.
Effect C: Gapper. Press the first button to enable/disable. The moment you press to enable defines
where the gap will start. Use the first knob to define the strength. The second button switches between
1/4th and 1/2th beat gapper length. Use the second knob to select the shape.
Effect D: Filter. Before enabling this, set the first and second knob to the center. Then enable the effect
with the first button. Use the first knob to filter the sound. When using it from center to left, it will first cut
the high frequency sounds, then the low frequency sounds. When using it from center to right, it will
first cut the low frequencies.
With the second knob you can specify the feedback. Moving this knob more to the left will make the
effect sound stronger.
Effect A+B: Third Deck. See the last section of this documentation.
Effect A+C: Bitcrusher. Set the first knob to the left and the second to the right before enabling to have
no effect. Enable this effect using the first effect button. The first knob will set the downsample
parameter, the second knob will set the bit-depth parameter.
Effect A+D: Custom Effect. The custom effect can be configured by selecting ‘custom’ on the DEX/RED
Mobile BCD-2000 config panel.


