8
Preparing clothes for washing
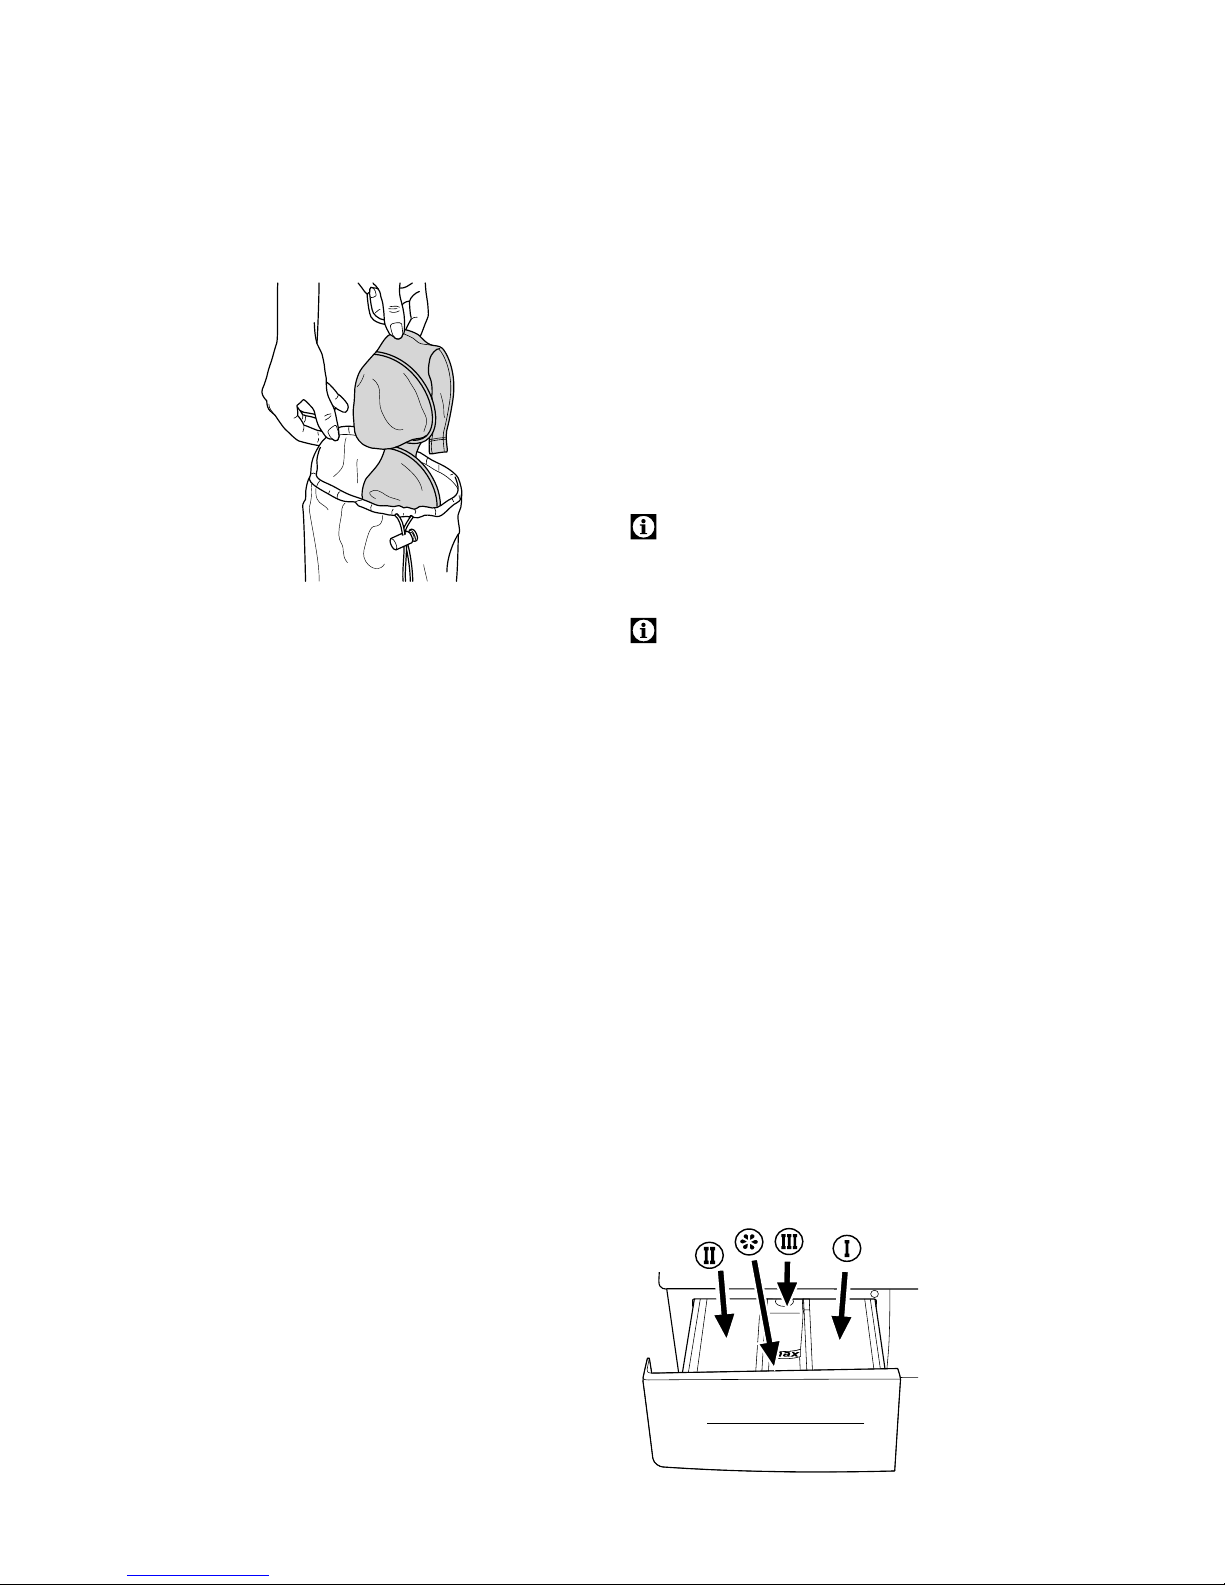
Laundry items with metal parts (e.g.
bras, belt buckles, metal buttons) will
damage the machine.
Remove metal parts or place the
items in a clothing bag, pillow case, or
something similar.
• Empty pockets, remove all foreign
objects (e.g. coins, pens, paper clips).
If possible: Turn pockets out and
brush.
• Place small items (e.g. infants’ socks,
nylon socks) in a clothing bag, pillow
case, or something similar. This will
also save you from searching for your
missing socks.
• Place curtains with care. Remove
unstained curtain rails and pullers.
Place rails that cannot be removed in
a cloth bag, pillow case or something
similar.
• Close zippers, sew on loose buttons,
mend unstiched seams and tears.
• Only wash the “machine washable” or
“hand washable” labeled products –
and only with the suitable programme.
• Do not wash coloureds and whites
together. New, dark coloured cottons
may release a lot of dye.
• Wash new coloured laundry items
separately as they may release "dye".
• Tough stains must be treated in a
suitable way before washing. If you are
worried, check with a chemist or dry
cleaner.
• Use only dyes/colour changers and
calc solvent items suitable for machine
wash. Always follow the instructions on
the packaging.
• Wash pants and Delicates turned
inside out.
• Keep laundry items made of
Angorawool in the freezer for a few
hours before washing – this reduces
the number of fluff balls that form.
The correct load capacity
• The maximum load capacity depends
on the type of laundry, the degree of
soling and the washing programme
you wish to use.
A Please follow the information in the
"Programme selection table".
Washing results are adversely affected
by an overloaded drum.
Always try to utilize the max. loading
level.
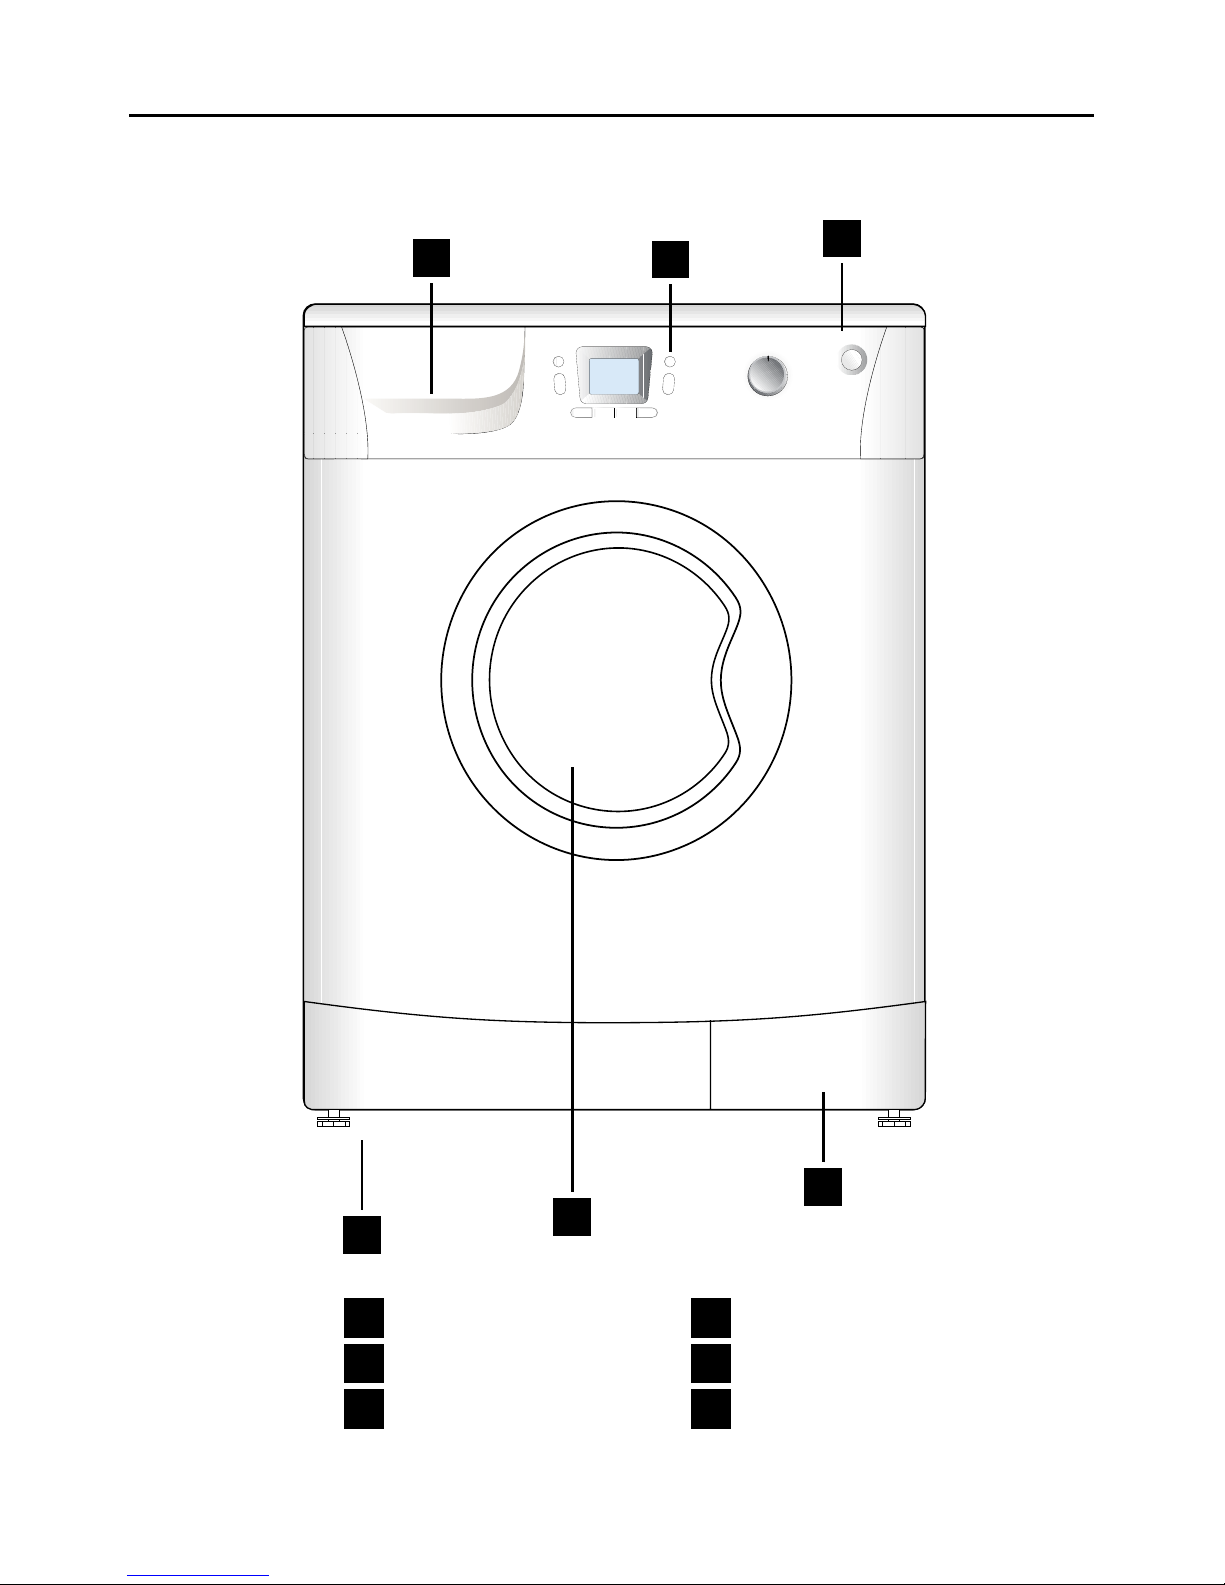
Loading door
The loading door will lock when a
programme is running and the Door
Locked Symbol (14i) will light up, the
loading door may be opened when the
Door Locked Symbol (14i) turns off.
• Pull on the handle to open the loading
door.
• Place laundry items loosely in the
drum; add detergent if necessary
• Push the loading door until it clicks
into its place tightly. Take care that no
textiles are caught by the door.
Detergents and softeners
The detergent drawer
The detergent drawer comprises three
compartments:
– left compartment (II) for main wash
– middle compartment for softener
– right compartment (I) for pre-wash