manuals.online logo
Brands
  1. Home
  2. •
  3. Brands
  4. •
  5. berlinger
  6. •
  7. Other
  8. •
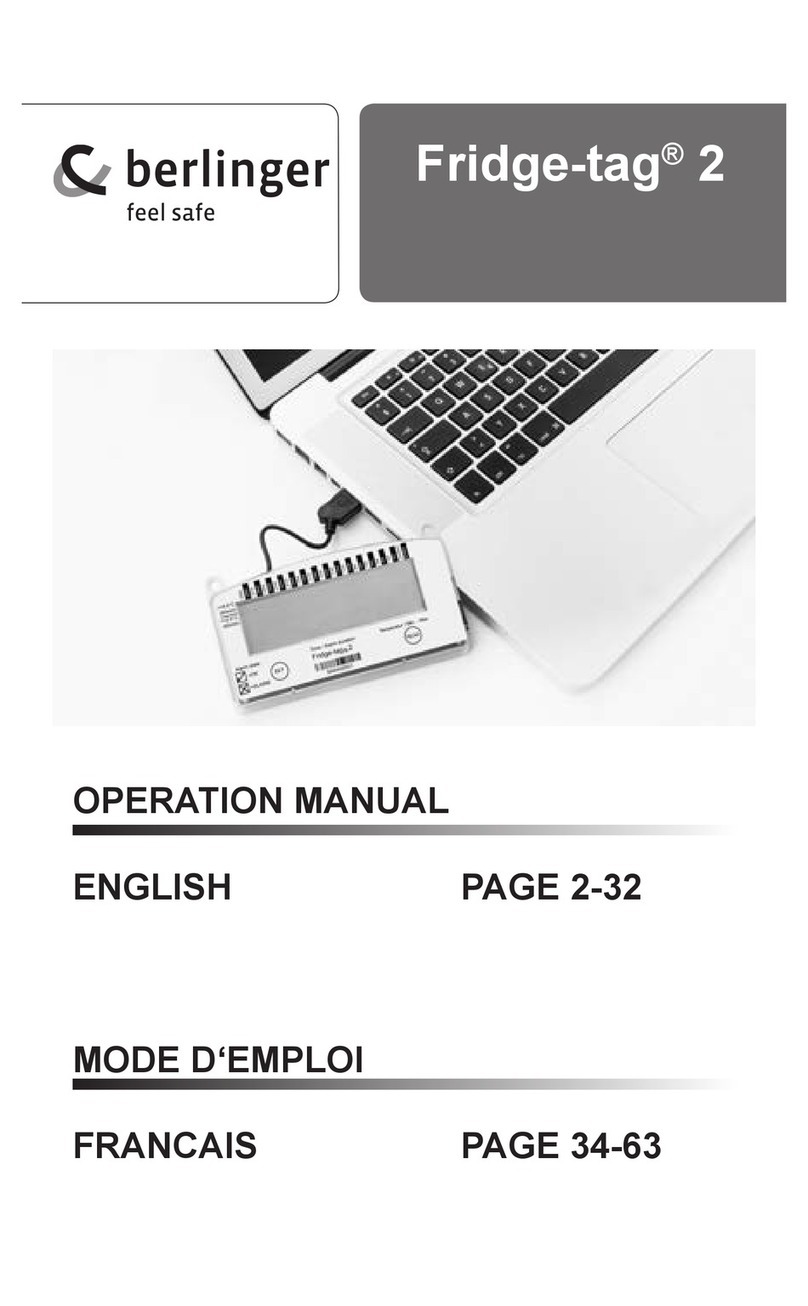
  9. berlinger Fridge-tag 2 E User manual

berlinger Fridge-tag 2 E User manual

In measurement mode, when no ALARM has been triggered, the
following information is indicated on the screen:
• The OK symbol
• The current date and time:16.09.2016 /13:47
• The current temperature: +5.6 °C
Indication of an OK display
2
6101 2096
056
1 473
°C
Int.Sensor
!
• the ALARM symbol
• an additional warning symbol
• the corresponding arrow: upper/lower alarm
• the current date and time:16.09.2016 /15:42
• the current temperature: +8.8 °C
In measurement mode, when an ALARM has been triggered, the
following information is indicated on the screen:
Indication of an ALARM display
2
6101 2096
088
1 425
°C
Int.Sensor
!
!
!
!
!
2
55
0 000
max.
°C
Int.Sensor
• the OK symbol
• the corresponding arrow
(example: high limit records of the current day today)
• the highest recorded temperature of that day:
+5 .5 ° C
• the time duration out of the preset temperature
high limit: 00:00 (hrs: min)
The following information is indicated on the display:
Reading the history
Option 1:
Read out day-per-day directly on the
device (30 day history)
Example of an OK display
!
Press
READ
once
!
2
6101 2099
1 218
!
1st displayed screen
Press
READ
The following information is indicated on the display:
• the ALARM symbol
• the corresponding arrow
(example: Low limit records and the day of ALARM)
• the date of alarm:1 9.09.2016
• the time of alarm:18:21
Example of an ALARM display
!
!
Reading the display during measurement
2
-011
0 351
min.
Int.Sensor
!
Press READ
a second time
The following additional information is indicated on the display:
Note: Continue repetitively pressing the READ button to read
out the details of the past 30 days.
• Lowest recorded temperature of that day: -1. 1 ° C
• The time duration out of the preset temperature
low limit: 01:35 (hrs:min)
2nd displayed screen
!
In addition to the ALARM symbol
each newly triggered alarm is
indicated by the warning symbol.
!
Option 2: The warning and ALARM symbol (X)
will remain visible until the user reads the details of
the triggered alarm/s from the display. After that both
symbols will disappear and the display will go back to
the OK Symbol ( ).
The warning symbol Option 1: The warning and ALARM symbol
(X) will remain visible until the user reads the
details of the triggered alarm/s from the display.
After that the warning symbol will disappear.
The ALARM symbol (X) cannot be changed.
Option 2:
Read out only the alarms directly on the
device - use Alarm-Super- Jump function
(30 day history)
2
yyyd y__d
Press and hold
READ for
3 seconds
Option 3:
Read out data from the les generated by
connecting the device with a computer
Connect the device via
USB with your PC / MAC
The device will now generate a PDF and ASCII report of the last 60
days. Depending on the programming, this process may take up to 30
seconds.
Note: Press and hold the READ button again for at least 3
seconds and the next alarm event will appear on the screen
QUICK INFO
User guide of
Fridge-tag®2 E
with internal /
external sensor
2
L
5
You can see that the
device is working from
the coninuously appea-
ring arrows in the upper
display area. For more information visit our website:
www.berlinger.com
or watch our traning videos
(www.youtube.com - Chanel: Berlinger & Co. AG):
Note: This process must not be interrupted, until the tick
appears on the display.
!
Note: For a proper USB-port disconnection of the device, please
always use the “safely remove hardware” function on your PC/Mac.
with internal sensor
with external sensor
back to normal operation
The device resumes the measuring operation right away.
Connect it immediately to the external sensor to avoid a
possible connection error.
The display indicates the word LOC for a period of 10 minutes,
during this time the device does not measure the temperature to avoid
false readings. Place the device immediately to the supervised goods.
6101 2096
2
loC
1 473
Berlinger & Co. AG
Mitteldorfstrasse 2
9608 Ganterschwil
Switzerland
20161110_V1.0
Tel.: +41 71 982 88 11
Fax: +41 71 982 88 39
[email protected]
www.berlinger.com

Other berlinger Other manuals

berlinger Fridge-tag 2 User manual

berlinger

berlinger Fridge-tag 2 User manual

berlinger Fridge-tag 2 User manual

berlinger

berlinger Fridge-tag 2 User manual

berlinger Fridge-tag 2 Instruction manual

berlinger

berlinger Fridge-tag 2 Instruction manual

Popular Other manuals by other brands

LGMAquari LGs450 user manual

LGMAquari

LGMAquari LGs450 user manual

Bartec MC9000ex Series Integration manual

Bartec

Bartec MC9000ex Series Integration manual

Cissell AOLAUKMAN592 manual

Cissell

Cissell AOLAUKMAN592 manual

Decagon Devices EM50G quick start guide

Decagon Devices

Decagon Devices EM50G quick start guide

Drester Boxer D44C QUATTRO Combi Operator's manual

Drester

Drester Boxer D44C QUATTRO Combi Operator's manual

PCP Mendip Shower Tray installation instructions

PCP

PCP Mendip Shower Tray installation instructions

Hobart 140G17K Operation and maintenance

Hobart

Hobart 140G17K Operation and maintenance

Parkside 291643 Translation of the original instructions

Parkside

Parkside 291643 Translation of the original instructions

Globisens Labdisc Gensci quick start guide

Globisens

Globisens Labdisc Gensci quick start guide

Insignia NS-DH70WH9 user guide

Insignia

Insignia NS-DH70WH9 user guide

Chauvet Q-Mix supplementary guide

Chauvet

Chauvet Q-Mix supplementary guide

Crestron TPS-FPAR2000L datasheet

Crestron

Crestron TPS-FPAR2000L datasheet

EMG 81-TW-X Installation information

EMG

EMG 81-TW-X Installation information

Delta Electronics CG5B Specifications

Delta Electronics

Delta Electronics CG5B Specifications

Task Force Tips BLITZFIRE Series INSTRUCTIONS FOR SAFE OPERATION AND MAINTENANCE

Task Force Tips

Task Force Tips BLITZFIRE Series INSTRUCTIONS FOR SAFE OPERATION AND MAINTENANCE

3M 803 owner's manual

3M

3M 803 owner's manual

Ghibli & Wirbel AX60 Z22 Installation - use - maintenance

Ghibli & Wirbel

Ghibli & Wirbel AX60 Z22 Installation - use - maintenance

Duncan STK-S4 Classic Stack Plus Wiring diagram

Duncan

Duncan STK-S4 Classic Stack Plus Wiring diagram

manuals.online logo
manuals.online logoBrands
  • About & Mission
  • Contact us
  • Privacy Policy
  • Terms and Conditions

Copyright 2025 Manuals.Online. All Rights Reserved.