Betta VERI User manual

INSTALLATION GUIDE
VERI SHADE
Please Note: These instructions should be read thoroughly before installing.
This is a guide to assist in the installation and care of your blinds. Betta Blinds and Awnings does not guarantee the accuracy of
the information contained in this guide. We recommend an experienced expert installer to rely upon their own skills. This is
based on general knowledge concerning the assembly, materials and working process of the blinds, which is known to us at the
time of printing this guide, consequently, is subject to change and Betta Blinds & Awnings specifically reserves the right to
change this guide without notification.
We recommend the use of the following Tools:
Steel measuring tape, Carpenter’s level, Power or battery drill & bits, Flat blade, Phillips head screwdrivers,
Needed if blade creasing has occurred - Iron and Small Ironing Board
The following should be included for each Veri Shade blind ordered.
Mounting clips (number depends on size)
Mounting brackets (if face fixed)
Wand (standard)
We recommend clean, soft cotton gloves (or the rubber gloves supplied) be worn to avoid marking the fabrics when
installing and handling fabric blinds.
Since different screws are required to suit different fixing applications, we do not supply screws. Please ensure you use the correct screws
for mounting to the desired application, for example Gyprock, timber, concrete, brick, steel, or aluminium.
The most important procedure in installing these blinds is to be sure that the correct anchorage method has been used so that
the mounting area (i.e., wall or architrave) is able to support the weight of the blind and its operation.
Brick or Rendered Surfaces Warning: Make sure drilling is no closer than 25mm from edge of surfaces as the brick or
render may chip or break out.
TRACK INSTALLATION
Face & Reveal
1. After receiving the order check the marked width and drop sizes as indicated on the blind against your original order. To
assist you in establishing the correct location for fitting multiple blinds the room location is marked on each blind, as per your
order.
2. If all is correct layout the blinds at their location and remove protective packaging.
3. Remove the supplied installation brackets from packaging.
4. Ensure the blind has brackets to suit the application, either face fix or reveal.
5. Remove the supplied installation brackets and wand off the top of the track.
FOR REVEAL FIT - Install blind into recess as far as possible. Allow sufficient clearance for blades to rotate.
BLADE WIDTH SCREW POSITION
200mm blades will be 85mm
FOR FACE FIT - Mark where you are attaching the brackets on the architrave/wall of the window
6. Evenly space and screw the brackets along the front of the architrave or wall/window (depending on face or reveal fit) for
even load bearing distribution. The end brackets should be mounted no further than 200mm from the end of the blind
7. Level mounting of brackets is critical for the correct operation of the blind (use a spirit level).
8. Betta Blinds supplies mounting brackets only and where appropriate the child safety devices.
9. Once the brackets have been installed and levels checked the track is ready to be installed into the brackets
10. CUBE TRACK: Install the track by placing the front section of the track into the allocated and matching clip end, lift the rear
section of the track into the bracket until it locks in. If correctly installed it will click when locked firmly in place. Working from
one side to the other. Check that each clip is secure in place before moving to the next.
11. DECORATIVE TRACK: Install the track by lining the track keyway with the bracket spin clip. Once in line turn spin clip until
the track locks in place with the brackets. Working from one side to the other. Check that each clip is secure in place before
moving to the next.

BLADE INSTALLATION
NOTE: VIDEO LINK: PLEASE WATCH VIDEO ON HOW TO INSTALL BLADES:
https://www.loom.com/share/fe75ca32839f4f548e48aab78b668783
1. When installing and handling fabric blinds, use clean, soft cotton gloves (or the gloves supplied) must be worn to avoid
marking the fabrics.
2. Check all blades for creasing, if any creasing has occurred, please use an iron on medium heat and iron out the creasing.
Iron the back of the blade. If unsure use baking paper to protect the fabric from overheating and melting. See video below
3. Remove the fabric from its packaging on a flat surface (a clean floor is often best) Unroll fabric without altering the order of
folds.
4. Check all hangers are aligned and secured.
5. You will have two single blades marked Left and Right or four single blades if split or centre bunching has been ordered.
6. Install the blade that says ‘Hang First’ by hanging on the first carrier.
7. Make sure the first single blade you hang has a secure fabric loop as per the photo below and faces away from the track.
8. Take the first piece of fabric. Fold to form a pleat. Secure the fabric folds together by slightly bending and rocking the
hangers to ensure the teeth lock into position.
9. Take the second piece of fabric, fold to form a pleat. Secure the fabric folds together by slightly bending and rocking the
hangers to ensure the teeth lock into position.

10. Repeat this step until all folds are secure and in place.
11. Finish off by installing the last single blade.
NOTE: If Split or Centre bunch has been ordered you install the blades as above but treat it as two individual blinds
12. Check folds for any misalignment and unclip and adjust fabric on hangers if necessary.
13. After installing use the wand to draw the blades in the required direction to check the mechanism’s operation and to make
sure that the fabric is not rubbing against any obstacles. Also, open, and close blades looking for any obstacles. This can
damage the blind if left untreated.
14. It is important when using this blind that it is operated carefully to prolong the life of the product and maintain the warranty
period.
15. Providing that the handling, installation and care and maintenance are carried out correctly, the quality of this product can
supply many years of trouble-free operation.
NOTE: Video Link: How to get creasing out of a Veri Shade: https://www.loom.com/share/cc3a45c17fdc4fefb676e7c0333f9afd
Maintenance and cleaning
The surface of the Veri Shades fabric and tracks will collect a layer of dust over time. Veri Shades fabric can be lightly hand
washed and dried. It can also with be ironed with a cool iron or steamed to remove the creases. Veri Shade track can be
cleaned with a feather duster, or slightly damp microfiber cloth to ensure the components are also dust free.
At least twice a year (or more in high-risk environments), silicone spray should be used to lubricate all the track gears. Before
spraying the tracks, remember to slide your Veri Shades fabric to one side or cover to avoid overspray. If spraying
insecticides or any harmful chemicals the Veri Shade fabric must be moved aside. These chemicals must not meet the
blinds.
Caution
Never use harsh cloths, harsh abrasives, chlorine or ammonia-based chemicals or cleaners on any Veri Shades surfaces as
they may affect the appearance, longevity, and warranty of the product
Warranty
Betta Blinds guarantee the quality on Veri Shade fabrics free from defects for two (2) years from date of purchase. We
guarantee our fabrics against fault of manufacture. Betta Blinds guarantee the quality on all our blind components free from
defects and/or failure for five (5) years from the date of purchase. The guarantee on Betta Blinds products does not cover
defects or damage caused by accidents, alterations, misuse, abuse, wear and tear or failure to comply with cleaning and
maintenance instructions. Betta Blinds does not warranty the fading of fabrics and timbers caused by direct and/or indirect
sunlight. Under the guarantee Betta Blinds shall not be liable or responsible for incidental or consequential damages or any
other direct or indirect damage, loss, cost, expense, or fee.
CHILDREN’S SAFETY REGULATIONS:
To avoid creating a possible strangulation hazard for children, the corded internal window covering must be installed in such a way that
a loose cord cannot form a loop 220mm or longer at a height of less than 1,600mm above floor level.
No part of a cord guide may be installed lower then 1,600mm above floor level unless, the cord guide will remain firmly attached to a
wall or structure specified in the installation instructions when subjected to tension force of 70 N applied in any direction for 10 seconds
and the cord is sufficiently secured or tensioned to prevent the formation of a loop 200mm or longer.
If a cord guide is installed lower than 1,600 above floor level it must be designed to prevent a child from being able to remove the cord.
If a cleat is used to secure the cord it must be at least 1,600mm above floor level because a child is capable of unwinding a cord from
a cleat.
The person installing a corded internal window covering must attach a label to the corded window covering containing the
name and contact details of the person or company responsible for the installation.
They also must ensure that any warning label or swing tag supplied with the corded window covering remains attached to
the cord.
WARNING:
CURTAIN AND BLIND CORDS HAVE
CAUSED THE DEATH OF YOUNG
CHILDREN AND MUST BE INSTALLED
SO THAT THEY ARE NOT A
STRANGULATION HAZARD. FOLLOW
THE INSTALLATION INSTRUCTIONS
Keep children away from all
cords/chains.
Move anything a young child can sit in,
stand in or climb on (like cots,
highchairs, beds, sofas, tables, chairs
and bookshelves) away from
cords/chains—even those tied around a
cleat, as your child may be able to untie
them.
Do not let your child play near
cords/chains they can easily reach.
Never leave your child alone in a room
Table of contents
Popular Indoor Furnishing manuals by other brands

Seconique Furniture
Seconique Furniture Corona 500-501-006 Assembly instructions

eliving FURNITURE
eliving FURNITURE NOBU Series Assembly instruction
modway
modway EEI-3749-CAP manual
Dunimed
Dunimed HY1037-8 manual

Furniture of America
Furniture of America CM3487PT Assembly instructions

Relax The Back
Relax The Back LAEVO ZG Use & care manual

Furniture of America
Furniture of America CM3604SC-2PK Assembly instructions
Bolia
Bolia New Mood Dining Table 235 manual
Forte
Forte PQRS92312 Assembling Instruction
Stow
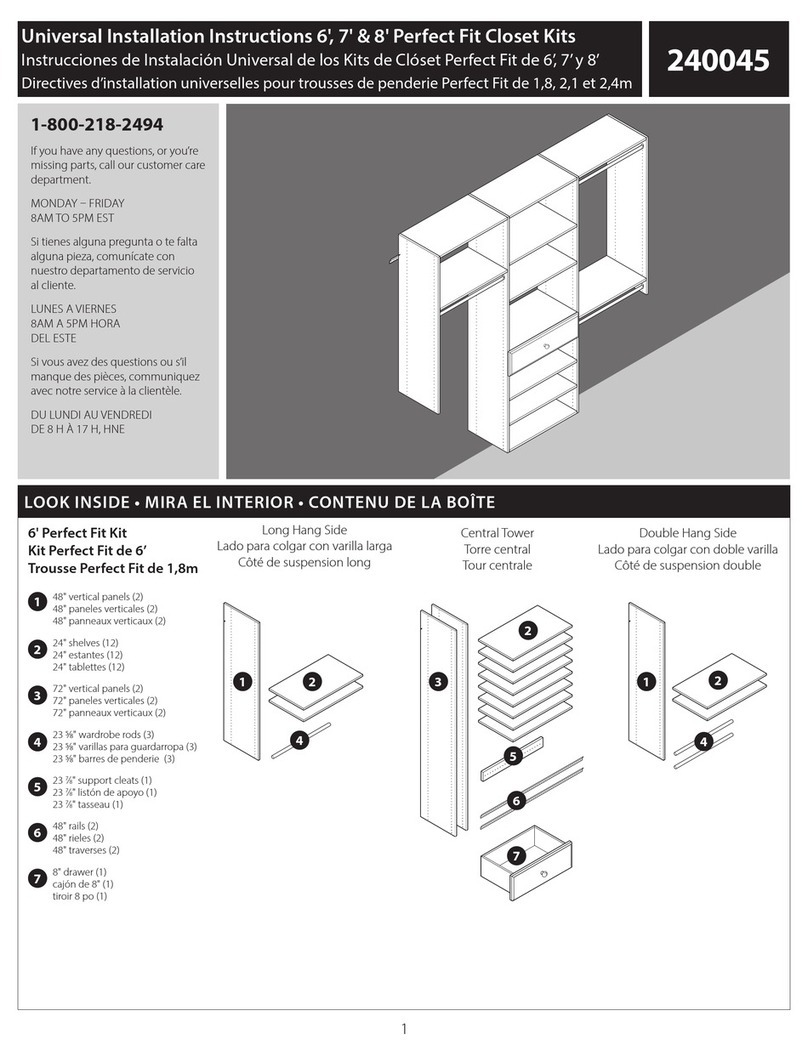
Stow 240045 installation instructions

The Land of Nod
The Land of Nod Uptown Desk Assembly instructions

GTPLAYER
GTPLAYER GT099 Assembly instructions

