Betterlife KD-551 User manual

KD-551 V2 - 150817
User manual
Blood
Pressure
Monitor
Well-being

XXXXXContents
Introduction
Parts
Setting up your Blood Pressure Monitor
Using your Blood Pressure Monitor
Interpretation of Blood Pressure (BP) Results
Additional Information on Blood Pressure
Specifications
Troubleshooting
Storage
Battery Information
Maintenance and Cautions
Disposal
Customer Feedback
Warranty
Explanation of Symbols on the Blood Pressure Monitor
Blood Pressure Record Table
2
3
4-7
8-11
12
13
14
15-16
16
17
17
18
18
19
20
21

Thank you for purchasing and using the Betterlife Blood Pressure Monitor.
This monitor is an easy to use and accurate way to measure your blood pressure.
Before you start, it is important that you read this user manual.
Blood pressure testing is easy. To get the most out of this product, please follow our
recommendations in this user manual.
If you have any questions, please contact your healthcare professional and if necessary,
consult your pharmacist or doctor before using this monitor if:
�You have had a mastectomy/mastectomies
�You have an arteriovenous (A-V) shunt or have intravascular access in your arm
� You suffer from atrial or ventricular premature beats or atrial fibrillation
• It is inappropriate for people with serious arrhythmia to use this Electronic
Sphygmomanometer.
XXXXXIntroduction XXXXXParts
2 3
Memory Button
LCD Display
Start Button
Connector
Cuff (included)
Low Battery Indicator
Ready to inflate Indicator
Irregular Heartbeat Symbol
Memory Indicator
Systolic Pressure Display
Diastolic Pressure Display
Pulse Rate Display (Alternating)
Date/Time Display (Alternating)
Blood Pressure Level Classification Indicator

Loading batteries
a. Open the battery cover on the base of
the monitor
b. Insert four “AAA” batteries, observing
correct polarity
c. Close the battery door
Replacing batteries
• When the LCD screen displays “ ”
new batteries must be inserted
immediately to ensure accurate results
Connecting the cuff
Insert the plug end of the rubber tubule firmly
into the cuff socket located on the front of the
monitor to ensure there is no air leakage
The cuff should be ready to use. Ensure the
end is passed through the metal loop making sure
the hook and loop fastening is facing outwards.
• There are 4 pre-programmed pressurisation values
which are set at 190mmHg,228mmHg,
266mmHg and295mmHg.
• When automatic inflation begins, the unit will
inflate to 190mmHg,228mmHg,266mmHgand
295mmHg. If a systolic pressure is not detected,
the unit will continue to inflate automatically to
the next pressurisation level. This will continue to a
maximum level of 295mmHg
•If you feel any discomfort or pain during this time,
turn the unit off and remove the cuff immediately.
consult your local pharmacist or healthcare
professional for advice
XXXXXSetting up your Blood Pressure Monitor
4 5
Setting up your Blood Pressure Monitor
It is recommended that you rest for at least 5 minutes before taking your blood pressure
measurement. Allow at least 3 minutes rest between measurements to allow the blood
circulation in your arm to recover. The Blood Pressure Monitor is designed for use by adults
and should not be used on infants or young children.
We recommend that you carry out your test whilst sitting at a table with both of your feet flat
on the floor, do not cross your legs. Ensure that the cuff is at the same height as your heart as
this will place the monitor and your arm in an ideal position for the best results.
Place the cuff on your selected arm (please refer to ‘Your first test’ on how to select an arm).
Ensure the cuff is secure. Do not inflate the cuff when it is not wrapped around the upper arm.
Avoid compression or restriction of the rubber tubule during measurement as this may cause
an inflation error due to continuos cuff pressure. If this occurs, switch the unit off immediately
by pressing the START button.
Do not move your arm, body or the monitor and do not move the rubber tubule during
measurement and do not talk.
Setting the time and date
Press the START and MEM buttons simultaneously, the monitor will beep and the month will
flash. Press MEM repeatedly to select the month, press START to confirm. Follow the same
process to select the date and time (hours and minutes).
START
MEMORY
DIA
mmHg
SYS
mmHg
/min
PUL

Putting on the cuff:
1. Place the cuff 1~2cm above the elbow joint. Measuring can be
done on light clothing such as a shirt or blouse. However, if you
have a weak pulse, it is recommended you test on a bare arm.
Remove any tight or restrictive clothing from your arm.
For example, restriction caused by rolling up a shirt sleeve.
2. Place hand on a flat surface with the palm facing up and with the
rubber tubule running down the centre of the arm.
3. Turn the cuff end outwards and tighten it by pulling it through the
metal loop and pressing the hook surface of the cuff on to the
loop surface of the cuff. To get the correct tightness, you should be
able to fit two fingers under the cuff.
4. Use your free hand to adjust the tightness of the cuff until it
is firm.
The cuff can be cleaned by hand with warm, soapy water. Rinse thoroughly with cold
water and towel dry. PLEASE DO NOT IRON.
ONLY USE THE CUFF SUPPLIED WITH THIS MONITOR. If a larger size is required you can
purchase an extra large cuff from www.betterlife.co.uk
Setting up your Blood Pressure Monitor Setting up your Blood Pressure Monitor
Your first test
We recommend that for your first test you test both your arms. This will determine which arm
should be used for future measurements. Take note of your systolic (higher number) reading
on both arms. The arm which gives the higher systolic reading should be used in the future for
testing.
Note: Ensure you do not suffer from any medical conditions which
will prevent you from having your blood pressure measured in both arms.
Example:
Left arm: 132 (systolic)
86 (diastolic)
Right arm: 128 (systolic)
84 (diastolic)
Reading your results
The example above shows that you should use your left arm in future testing as it has the
highest systolic reading.
6 7
1
2
3

Once you are in a comfortable position press START
Measuring Process
a. Once the cuff has automatically inflated, the LCD screen will display a flashing heart whilst
the pressure is gradually reduced and the monitor takes an automatic measurement
b. The monitor will faintly beep when the automatic measurement has finished. It is advised
to use the monitor in a quiet room in order to hear the beep. The reading will be
displayed on the screen along with the pulse rate.
• If the reading displays this shows that the monitor has detected an irregular
heartbeat which will be caused by common arrhythmias. This will result in an
inaccurate reading. It is advisable to restart again after a short time delay.
If it occurs again it is advisable to check with your doctor to obtain an accurate assessment.
• If there is an error or abnormal reading, please refer to the Abnormality & Troubleshooting
section.
c. During measurement, you can press the “START” button to turn off the monitor manually.
Memory
Press MEM button in time mode to select the memory function, the LCD will display the
average value of the last three results.
By pressing the MEM button again the most recent result will be displayed. The memory can
store 2 x 60 sets of measurements, which also include the date and time of the reading. The
results will be automatically stored. In memory mode, press START to switch the U1 or U2,
then press MEM to confirm. U1 or U2 will be displayed depending on which memory store
you are using.
Press MEM continuously to display the previously stored measurements one by one. Once the
memory has been filled with 60 sets of data, the 61st measurement when taken will be stored
as the most recent reading whilst the first reading you took will be automatically deleted.
You can delete stored memory readings by pressing MEM for 3 seconds, and all results in the
memory will be deleted and you will hear 3 consecutive beeps.
XXXXXUsing your Blood Pressure Monitor Using your Blood Pressure Monitor
89

Using your Blood Pressure Monitor Using your Blood Pressure Monitor
What the results mean
a. The LCD screen will automatically display the systolic and
diastolic pressure reading in mmHg and the pulse rate in
pulse/min after each measurement.
b. Record date, time, systolic reading, diastolic reading and pulse
rate on your record table which you will find in the back of the user manual (including
anything which may have influenced your blood pressure reading e.g. stress, anxiety). This
will help you monitor trends. Please take this record card with you on your visits to your
doctor, pharmacist or healthcare professional.
NOTE: Measurements should ideally be taken at the same time, under the same
conditions and in the same position each time
Please be aware that blood pressure can fluctuate since it responds to minute changes in the
body. It is unusual to continuously remain at the same value, hence it is recommended that
the blood pressure be determined based on an average of multiple measurements. If you
experience a higher than normal reading, do not panic as this can happen. Relax and take a
break for at least 10 minutes before measuring your blood pressure again. Low blood
pressure (Hypotension) and high blood pressure (Hypertension) can only be diagnosed by
a qualified healthcare professional, such as a doctor or pharmacist. If you have any
concerns or questions, please contact your local pharmacist or healthcare professional.
To get an accurate value:
• Measure at least one hour after eating and
avoid measuring immediately after bathing
• Measure one hour after smoking or drinking
alcohol/coffee
• Relax for 5 minutes before taking a measurement
and remain relaxed whilst measuring
• Do not move or talk during measurement, as this will affect the accuracy
• If you suffer from atrial or ventricular premature beats or atrial fibrillation you may get an
inaccurate reading.
Re-measuring
If you want to measure again, press “start” button to switch off and press “start” button again.
• Leave at least three minutes between measurements to allow blood circulation to the arm
to return to normal
• Do not measure your blood pressure too many times in one session as it may cause
discomfort in the arm
• If you feel any discomfort or pain, turn the monitor off and remove the cuff immediately
• The unit will return to standby mode, displaying the day and month, after 1 minute if
not being used
10 11

Your heart is just like a pump which works all the time to make the blood flow through all
blood vessels.
Blood pressure measures the force on the wall of the blood vessels caused by the pressure of
the blood.
The output of blood from the heart when it pushes blood around the body is called systolic
blood pressure. Diastolic blood pressure is the measurement of the blood returning to the
heart.
Blood pressure is normally written as, for example:
120 (systolic)
80 (diastolic)
Fluctuation of Blood Pressure
Blood pressure fluctuates constantly during the day. Its value in
the day time is higher than in the evening with the lowest level
being at midnight. The pressure begins to rise again at 03:00am
and reaches its highest level any time during the day – so it is
impossible to get a consistent reading. For this reason, please take
your measurements at the same time of day.
XXXXX
Additional Information on Blood Pressure
13
Systolic Diastolic
XXXXX
Interpretation of Blood Pressure (BP) Results
12
* If systolic and diastolic BP fall into different categories, the higher value should be taken for classification e.g. if your BP is
141/83 you should read the advice in the Hypertension category (not the normal category). Your BP should be re-assessed
professionally at least once every 5 years unless you have high BP in which case it should be re-assessed at least once a
year - speak to your pharmacist or healthcare professional.
WHO (World Health Organisation) Definitions and Classification of Blood Pressure Levels.
Optimal
Normal
High-normal
Mild Hypertension
Moderate Hypertension
Savere Hypertension
180
160
140
130
120
80 85 90 100 110
BLOOD PRESSURE
CLASSIFICATION
SYSTOLIC
mmHg
DIASTOLIC
mmHg
W.H.O
INDICATOR Advice on Results
Optimal ≤120 ≤80 GREEN
Practice a healthy lifestyle. Consult
of low BP (e.g. fainting).
Normal 120-129 80-84 GREEN Practice a healthy lifestyle.
High
Normal 130-139 85-90 GREEN Practice a healthy lifestyle
Mild
Hypertension 140-159 91-99 YELLOW
Practice a healthy lifestyle.
Re-measure BP over the next
4 weeks. If high levels ( ≥140/90)
persist (e.g. 2 high readings on 2
separate occasions) consult your
pharmacist or doctor.
Moderate
Hypertension 160-179 100-109 ORANGE
Practice a healthy lifestyle.
Re-measure BP over the next
2 weeks. If high levels ( ≥140/90)
persist (e.g. 2 high readings on 2
separate occasions) consult your
pharmacist or doctor.
Severe
Hypertension ≥180 ≥110 RED We would recommend that you see
your doctor urgently.

Model: KD-551
Digital display system
Measuring method: Oscillometric method
Measuring Accuracy: Within ±3mmHg
Cuff pressure range:
0mmHg~300mmHg
Pulse rate range: 40~180/min
Pulse rate accuracy: Within±5%
Power source: 4 x 1.5V AAA batteries
Classification: Internal powered
Equipment Type BF
Pressurisation: Automatic air inflation by
an air pump
Deflation: Automatic exhaust
The expected lifetime of this product is 3 years, under normal usage. This is a class IIA medical device and
fulfils the provisions of the Medical Devices Directive 93/42/EEC.
Blood pressure measurements determined with this device are equivalent to those obtained by a trained
observer using the cuff/stethoscope auscultation method, within the limits prescribed by EU standard
EN1060 non invasive sphygmomanometers.
All components belonging to the pressure measuring system, including accessories: Pump, Valve, LCD,
Cuff, Sensor.
XXXXXSpecifications XXXXXTroubleshooting
14 15
Automatic standby: To go into standby
mode after 1 minute of non use to save
energy
Battery life: Approx. 500 times
Environmental temperature for operation:
10~40 ºC (50ºF-104ºF)
Environmental temperature for storage:
-20ºC~50 ºC (-4ºF - 122ºF)
Environmental humidity for operation:
≤85% RH
Environmental humidity for storage:
≤85% RH
Transport condition:
Humidity range: Less than ≤85%
Ambient temperature range:
-20ºC -50ºC (-4ºF-122ºF)
(1)
(2)
(3)
(4)
(5)
(6)
(7)
(8)
(9)
(10)
(11)
(12)
(13)
(14)
(15)
(16)
(17)
(18)
LCD screen shows battery symbol
LCD shows “Er 0” Pressure system is unstable
before measurement
LCD shows “Er 1” Systolic pressure detect fail
LCD shows “Er 2” Diastolic pressure detect fail
Do not move and try again
Abnormality Reason Action
The cuff does not inflate or the display
shows low pressure during inflation
LCD screen shows abnormal results
No response when buttons pressed
Pressure loss due to air leakage in
socket or cuff
Cuff is not connected properly
Batteries are low
Cuff is not tight or is positioned
incorrectly
Patient was excited/nervous
or spoke/moved during
measurement
Wrong position
Some interference during inflation
or incorrect operation during
measurement
Incorrect operation
Check the connection between the
socket and monitor
Reconnect the cuff
Change the batteries - refer to the
‘Loading the Batteries’ section
Tighten the cuff and refer to the section
‘setting up your Blood Pressure Monitor’
Re-test. Do not speak and take 2-3 deep
breaths before to relax. Stay calm and
remain steady
Adjust your position - refer to page 5
Refer to the section ‘Using your
Blood Pressure Monitor’
Take out the batteries for a few minutes,
then re-insert them, following directions
in section ‘Loading the Batteries’

Battery Information
16 17
1. Please use 4 x AAA batteries supplied
2. Remove the batteries if the device is not in use for long periods of time
3. Do not mix old and new batteries or different types of batteries
4. Warning: If batteries leak and come into contact with skin or eyes, wash immediately with
copious amounts of water
5. Batteries must be handled by an adult. Keep batteries out of reach of children
6. Only batteries of the same or equivalent type are recommended
7. Do not use rechargeable batteries
8. Remove exhausted batteries from the unit
9. Supply terminals are not to be short circuited
10. Dispose of batteries safely according to battery manufacturer’s instructions
Troubleshooting
1. Do not drop this blood pressure monitor or subject it to strong impact
2. Avoid exposure to high temperatures, direct sunlight and contact with water
3. If the monitor is stored at temperatures below freezing, do not use immediately. Leave at room
temperature for at least one hour before use
4. Do not attempt to disassemble the monitor
5. Do not leave the batteries in the monitor if it is not in use for a long period of time
No component can be maintained by user in the monitor. The circuit diagrams, component part lists,
descriptions, calibration instructions, or other information which will assist the user’s appropriately
qualified technical personnel to repair those parts of equipment which are designated repairably can be
supplied.”and “It is recommended the cuff should be disinfected 2 times every week if needed . Wipe the
inner side (the side contacts skin) of the cuff by a soft cloth squeezed after moistened with Ethyl alcohol
(75-90%), then dry the cuff by airing.
Maintenance and Cautions
LCD shows “Er 3”
LCD shows “Er 4”
Measure again after 5 minutes.
If the monitor is still abnormal,
please contact Betterlife.
Position the cuff correctly
and try again
Over 3 minutes while pressure
above 15 mmHg
LCD shows “Er 6”
LCD shows “Er 5” Inflation above 300mmHg
LCD shows “Er 7” EEPROM accessing error
LCD shows “Er 8” Device parameter check error
LCD shows “Er A”
Span error
Pneumatic system blocked or cuff is
too tight during inflation
Pneumatic system leakage or cuff is
too loose during inflation
Storage
• Remove the batteries from the unit if you are not going to use it for a long period of time.
Leaking batteries can damage the unit
• Do not make any sharp kinks in the cuff
• After use, turn off and store safely out of the reach of children
• Do not expose the device to direct sunlight and protect it against dirt and moisture
• Store the device in a cool, well-ventilated place
• Never place any heavy objects on the device

18 19
XXXXX
Disposal
Customer Feedback
Used, fully discharged batteries must be disposed of in a specially labelled collection
container, at toxic waste collection points or through an electrical retailer. You are under legal
obligation to dispose of batteries correctly.
NOTE: You will find these markings on batteries containing harmful substances:
Pb = battery containing lead, Cd = battery containing cadmium,
Hg = battery containing mercury.
Please dispose of the device in accordance with the directive
2012/19/EU-WEEE (Waste Electrical and Electronic Equipment). If you have any queries,
please refer to the local authorities for waste disposal.
We are constantly striving to delight our customers with our products and customer service.
We value your opinion and feedback on our devices as this helps to develop and continually
improve. We would be grateful if you share your thoughts in reviewing this product. Please
visit www.betterlife.co.uk.
6. Information regarding potential electromagnetic or other interference between the blood
pressure monitor and other devices together with advice regarding avoidance of such
interference please see part at the back of this booklet.
7. No component can be maintained by user in the monitor. Please contact the service center.
8. It is recommended the performance should be checked every 2 years or after repair. Please
contact the service center.
9. Please do not share the cuff with other infective persons to avoid cross-infection.
10. Clean the monitor with a dry, soft cloth or a damp, soft cloth moistened with water or a mild,
diluted detergent.
11. Please keep the cuff clean. If the cuff becomes dirty, remove it from the monitor and clean it
by hand in a mild detergent, then rinse it thoroughly in cold water. Never dry the cuff in
clothes dryer or iron it. We recommend cleaning the cuff after approximately 200 uses.
12. The cuff integrity is maintained after 1,000 open–close cycles of the closure.

This product is guaranteed for a period of three years from the date of purchase against
mechanical and electrical manufacturing defects. There are no user serviceable parts inside
the instrument. Any attempted repair by unauthorised persons invalidates the warranty. This
does not affect your statutory rights.
An electronic version of the User Manual is available for download from:
www.betterlife.co.uk
Andon Health Co. Ltd., No. 3 Jingping Street, YaAn Road,
Nankai District, Tianjin 300190, China
Lotus Global Co. Ltd.,
1 Four Seasons Terrace, West Drayton,
Middlesex, London, UB7 9GG, United Kingdom
XXXXXWarranty
20 21
(The sign background colour: blue.The sign graphical symbol: white)
Symbol for "WARNING"
The cuff is type BF applied part

22 23
Please log the date, time and your SYS (Systolic), DIA (Diastolic) and Pulse Rate blood
pressure levels. We recommend you share this information with your Doctor.
XXXXXBlood Pressure Record Table
Name:
Date Time SYS (Systolic)DIA(Diastolic)Pulse Rate Comments
Table 1
For all ME EQUIPMENT and MESYSTEMS
Guidance and manufacture’s declaration - electromagnetic emissions
The [KD-551] is intended for use in the electromagnetic environment specified below.
The customer or the user of the [KD-551] should assure that it is used in such an
environment.
Emissions test Compliance Electromagnetic environment - guidance
RF emissions
CISPR 11 Group 1
The [KD-551] uses RF energy only for its
internal function. Therefore, its RF emissions
are very low and are not likely to cause any
interference in nearby electronic equipment.
RF emissions
CISPR 11 Class B The [KD-551] is suitable for use in all
establishments other than domestic and
those directly connected to the public
low-voltage power supply network that
supplies buildings used for domestic
purposes.
Harmonic emissions
IEC 61000-3-2 Not applicable
Voltage fluctuations/
flicker emissions
IEC 61000-3-3
Not applicable
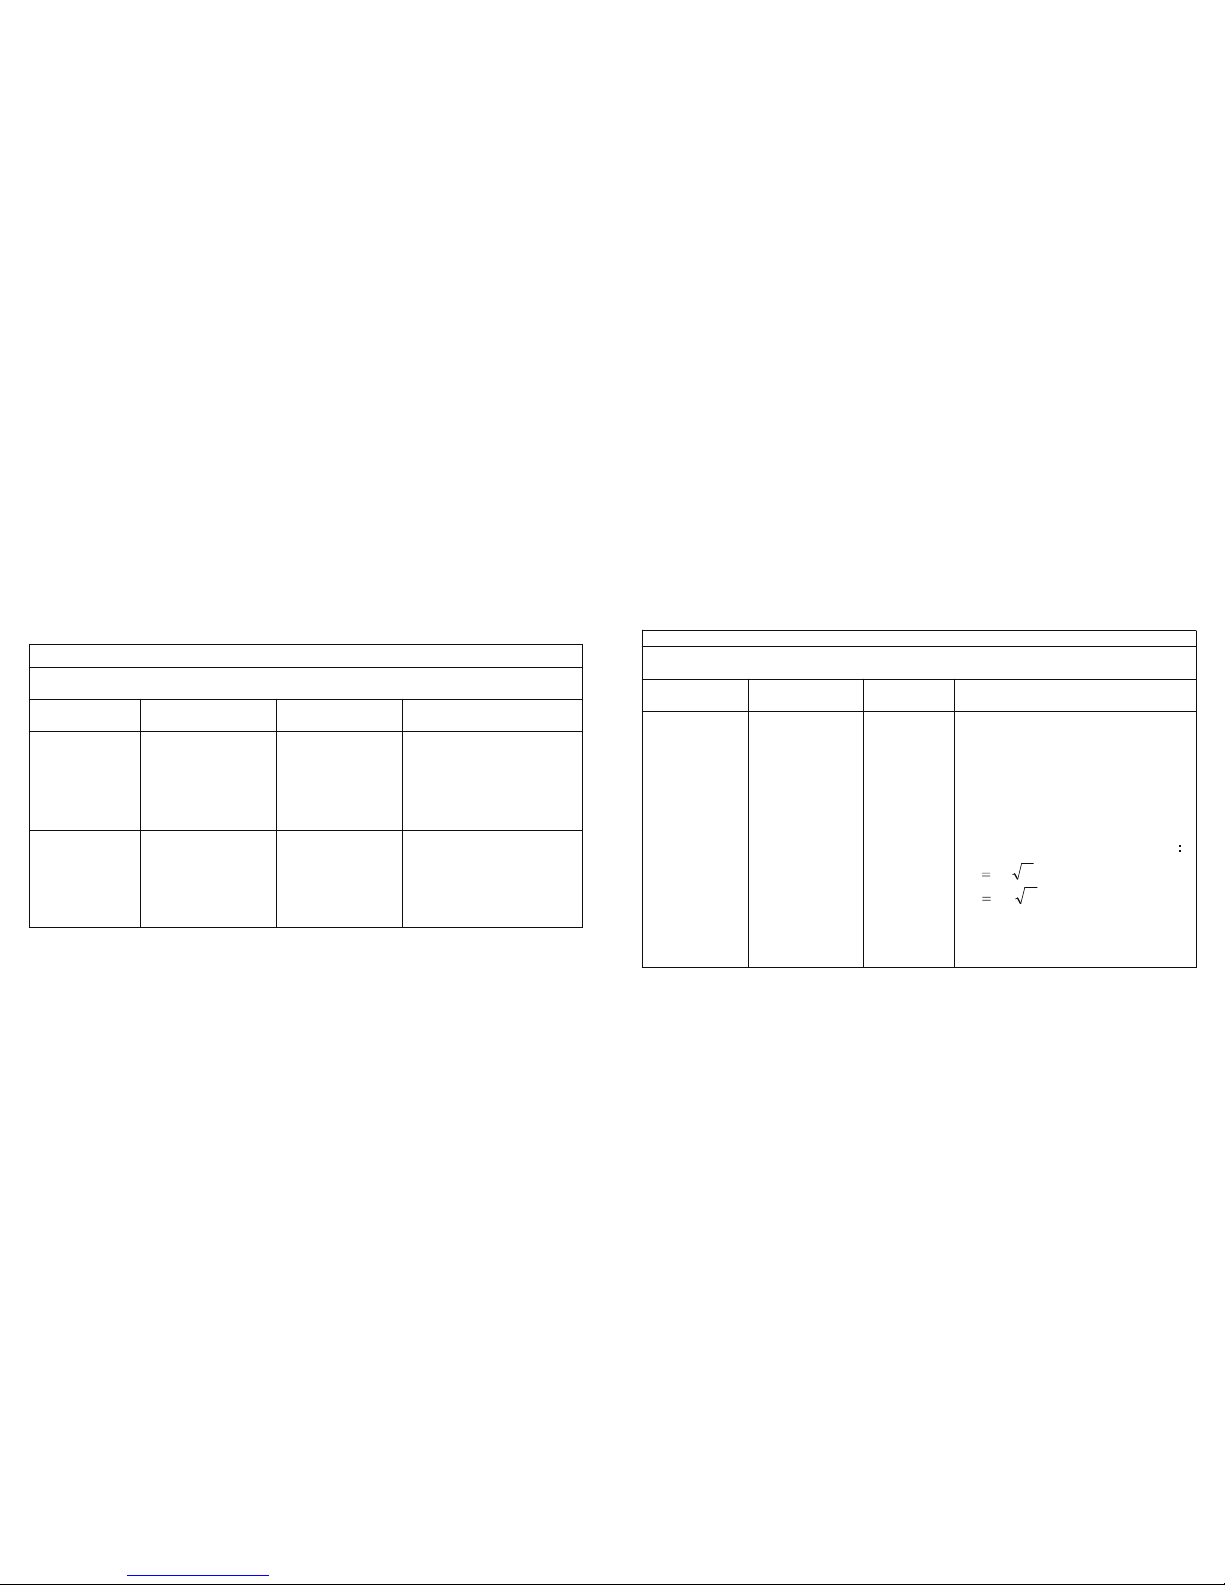
Table 2
For all ME EQUIPMENT and MESYSTEMS
Guidance and manufacturer’s declaration - electromagnetic immunity
The [KD-551] is intended for use in the electromagnetic environment specified below. The
customer or the user of the [KD-551] should assure that it is used in such an environment.
IMMUNITY
test IEC60601test level Compliance level Electromagnetic
environment - guidance
Electrostatic
discharge (ESD)
IEC 61000-4-2
± 6 kV contact
± 8 kV air
± 6 kV contact
± 8 kV air
Floors should be wood,
concrete or ceramic tile. If
floors are covered with
synthetic material, the
relative humidity should be
at least 30 %.
Power
frequency
(50/60 Hz)
magnetic field
IEC 61000-4-8
3 A/m 3 A/m Power frequency magnetic
fields should be at levels
characteristic of a typical
location in a typical
commercial or hospital
environment.
24
Table 3
For ME EQUIPMENT and MESYSTEMS that are not LIFE-SUPPORTING
Guidance and manufacturer’s declaration - electromagnetic immunity
The [KD-551] is intended for use in the electromagnetic environment specified below. The
customer or the user of the [KD-551] should assure that it is used in such an environment.
IMMUNITY
test
IEC60601test
level
Compliance
level
Electromagnetic environment -
guidance
Radiated RF
IEC 61000-4-3
3 V/m 80 MHz
to 2.5 GHz 3 V/m
Portable and mobile RF
communications equipment should be
used no closer to any part of the
[KD-551], including cables, than the
recommended separation distance
calculated from the equation
applicable to the frequency of the
transmitter.
Recommended separation distance:
80 MHz to 800 MHz
800 MHz to 2,5 GHz
Where P is the maximum output
power rating of the transmitter in
watts(W) according to the transmitter
Pd 2.1
Pd 3.2
manufacturer and d is the
25

recommended separation distance in
meters (m).
Field strengths from fixed RF
transmitters, as determined by an
electromagnetic site survey,ashould
be less than the compliance level in
each frequency range.b
Interference may occur in the vicinity
of equipment
marked with the following symbol:
NOTE 1 At 80 MHz and 800 MHz, the higher frequency range applies.
NOTE 2 These guidelines may not apply in all situations. Electromagnetic propagation is
affected by absorption and reflection from structures, objects and people.
a Field strengths from fixed transmitters, such as base stations for radio (cellular/cordless)
telephones and land mobile radios, amateur radio, AM and FM radio broadcast and TV
broadcast cannot be predicted theoretically with accuracy. To assess the electromagnetic
environment due to fixed RF transmitters, an electromagnetic site survey should be
considered. If the measured field strength in the location in which the [KD-551] is used
exceeds the applicable RF compliance level above, the [KD-551] should be observed to verify
normal operation. If abnormal performance is observed, additional measures may be
necessary, such as re-orienting or relocating the [KD-551].
b Over the frequency range 150 kHz to 80 MHz, field strengths should be less than 3V/m.
Table 4
For ME EQUIPMENT and MESYSTEMS that are not LIFE-SUPPORTING
Separation distance according to frequency oftransmitter
m
150kHz to 80 MHz
Pd 2.1 Pd 2.1 Pd 2.3
80 MHz to 800 MHz 800 MHz to 2,5 GHz
0,01 0.12 0.12 0.23
0,1 0.38 0.38 0.73
1 1.2 1.2 2.3
10 3.8 3.8 7.3
100 12 12 23
The [KD-551] is intended for use in an electromagnetic environment in which radiated RF
disturbances are controlled. The customer or the user of the [KD-551] can help prevent electro-
magnetic interference by maintaining a minimum distance between portable and mobile RF
communications equipment (transmitters) and the [KD-551] as recommended below, according
to the maximum output power of the communications equipment.
For transmitters rated at a maximum output power not listed above, the recommended separation
distance d in meters (m) can be determined using the equation applicable to the frequency of the
transmitter, where P is the maximum output power rating of the transmitter in watts (W) according
to the transmitter manufacturer.
NOTE 1 At 80 MHz and 800 MHz, the separation distance for the higher frequency range applies.
NOTE 2 These guidelines may not apply in all situations. Electromagnetic propagation is affected
by absorption and reflection from structures, objects and people.
Rated maximum
output
power of transmit-
ter
W
Recommended separation distances between
portable and mobile RF communications equipment and the [KD-551]
2726
Table of contents
Popular Blood Pressure Monitor manuals by other brands

Beurer medical
Beurer medical BM 16 Instructions for use

FarmaMed
FarmaMed UPPER ARM BLOOD PRESSURE MONITOR Instructions for use

IEM
IEM Tel-O-Graph GSM operating manual

Panasonic
Panasonic EW3002 - WRIST BP MONITOR-LOW operating instructions

PYLE HEALTH
PYLE HEALTH PHBPB16TL instruction manual

Omron
Omron HEM-7154-E instruction manual


