BetterLiving CLEVER User manual

BetterLivingProductsInternational,Inc.
201ChrisleaRoad
Vaughan,Ontario
L4L8N6
Canada
Phone: (905)264-7100
Fax: (905)264-3690
TollFree: 1(800)487-3300
Téléphone:(905)264-7100
Télécopieur:(905)264-3690
Sansfrais:1(800)487-3300
VisitUsOnline!
www.betterlivingproducts.ca
betterlivingproducts
BetterLivingTM
BetterLivingVideos
Teléfono: (905)264-7100
Fax: (905)264-3690
Sincargo: 1(800)487-3300
Donʼtforgettoregisteryourproductwithus!
Nʼoubliezpasdʼenregistrervotreproduitavecnous!
¡Noolvideregistrarsuproductoconnosotros!
www.betterlivingproducts.ca/product-registration
IfoutsideNorthAmerica,yourlocaldistributorcontactinformationisavailableat:
PourtoutachathorsdelʼAmériqueduNord,recherchezlescoordonnéesdudistributeurlocalenconsultant:
FueradeNorteamérica,lainformaciónsobreelcontactoconsudistribuidorlocalseencuentradisponibleen:
www.betterlivingproducts.ca/distributors
PLEASEDONOTRETURNTHISPRODUCTTOTHESTORE
ILNEFAUTPASRAPPORTERCEPRODUITAUMAGASIN
PORFAVOR,NODEVUELVAESTEPRODUCTOALATIENDA
Instructions
Instructions
Instrucciones
STOP
ARRÊT
ALTO
ThankyouforpurchasingaproductfromBetterLiving.Ourproductsaremanufacturedtothe
higheststandardofqualityandwestandbehindthem100%.Manytimes,anissuecanberesolved
overthephone.Ifyouareexperiencingatechnicalissue,havequestionsregardingtheoperationof
yourproduct,orareinneedofwarrantyassistance,pleasecontactourCustomerSupportlineat
1.800.487.3300
MondaythroughFriday8:30amto5:00pm(EST)
IfoutsideNorthAmerica,yourlocaldistributorcontactinformationisavailableat:
www.betterlivingproducts.ca/distributors
Ifnecessary,wemayrepairorreplacethisproduct.
ATTENTION!
MercidʼavoirachetéunproduitBetterLiving.Nosproduitssontfabriquésselondesnormessupérieuresde
qualitéetnouslesgarantissonsà100%.Biensouvent,unproblèmepeutserésoudrepartéléphone.Sivous
avezunproblèmetechniqueouunequestionsurlefonctionnementduproduit,ouavezbesoindʼaide
concernantlagarantie,veuillezcontacterleServiceàlaclientèleau
1.800.487.3300
Dulundiauvendredi,de8h30à17h00(HE)
PourtoutachathorsdelʼAmériqueduNord,recherchezlescoordonnéesdudistributeurlocalenconsultant:
www.betterlivingproducts.ca/distributors
Selonlecas,nouspouvonsréparerouremplacerleproduit.
GraciasporcomprarunproductodeBetterLiving.Nuestrosproductossonfabricadossegúnlasnormasmás
altasdecalidadynosotroslosrespaldamosenun100%.Muchasveces,losproblemaspuedenserresueltos
porteléfono.Siustedexperimentaunproblematécnico,tienepreguntassobreelfuncionamientodesu
productoonecesitaayudarespectoalagarantía,porfavorcontacteanuestroserviciodeayudaalcliente,en
elnúmero
1.800.487.3300
Lunesaviernes,entre8:30y17:00(horariodeleste)
FueradeNorteamérica,lainformaciónsobreelcontactoconsudistribuidorlocalseencuentradisponibleen:
www.betterlivingproducts.ca/distributors
Encasodesernecesario,nosotrosrepararemosoreemplazaremosesteproducto.
ATTENTION!
¡ATENCIÓN!
1.800.487.3300
www.betterlivingproducts.ca

MountingInstructions/Modedemontage/
Instruccionesparaelmontaje
Important
Mountingsurfacemustbe
cleanedwithrubbingalcoholand
allowedtodrybeforeinstallation.
Ifmountingontomolded
fiberglass,surfaceshouldbe
cleanedwithnailpolishremover
withoutoil.
Important
Avanttouteinstallation,ilfaut
nettoyerlasurfacedemontageà
lʼalcoolàfrictionetlalaissersécher.
Encasdemontagesurunesurface
enfibredeverre,ilfautlanettoyer
àlʼaidededissolvantdevernisà
onglessanshuile.
Importante
Lasuperficiedemontajedebeser
limpiadaconalcoholparafriccionesy
debedejarsesecarantesdela
instalación.
Encasodemontajesobrefibrade
vidriomoldeada,lasuperficiedebeser
limpiadaconquitaesmaltesinaceite.
x 1
x 1
x 2
x 1
x 2
x 2
SILICONEGLUE
CLEVER
FlipShowerShelf
1
2RemoveShelffromBracket;applyTape&
SiliconetobackofBracket(bothrequired).
Retirezlatablettedusupportetappliquezau
dosdusupportlerubanadhésifetlacolle
silicone(utilisezlesdeuxproduits).
Retireelestantedelsoporte;apliquelacintayel
adhesivodesiliconas(ambossonrequeridos)
sobrelaparteposteriordelsoporte.
OR/OU/O
3PressBracketfirmlyagainstthewallfor10seconds.Wait24hoursforSiliconeGluetocurebeforeproceedingtonextstep.
Appuyezfermementlesupportcontrelemurpendant10secondes.Attendez24heuresquelacollesècheavantdeprocéderàla
prochaineétape.
Presioneelsoportefirmementecontralapareddurante10segundos.Antesdeprocederalsiguientepaso,espere24horasparaqueel
pegamentodesiliconasseseque.
24hrs
h
horas
FRONT
PRESSHEREFOR10SECONDS
APPUYEZICIPENDANT10SECONDES
PRESIONEAQUÍDURANTE10SEGUNDOS
BACK
BACK
SILICONEGLUE
DetermineShelflocation&cleanarea.ProvidesufficientclearanceabovetoremoveShelf.
Déterminezlʼemplacementdelatabletteetnettoyezlʼendroit.Prévoyezundégagementsuffisantverslehautpourretirerlatablette.
Determinelaubicacióndelestanteylimpiebienelárea.Dejesuficienteespaciolibrearribadelestantecomoparapoderquitarelmismo.
OptionalScrewMounting
(screwsandplugsnotincluded)
Montageoptionnelavecvis
(Visetchevillesnonincluses)
Montajeopcionalcontornillos
(Tornillosyclavijasnoincluidos)

6
TochangefromShelftoBasket,pushShelfup(A)andthenawayfromwall(B).RemovebottomHooksbypressingeachagainstthe
BracketuntiltheHookpopsoutasillustratedin(C)and(D).
Pourutiliserlepanierplutôtquelatablette,dégagezlatabletteverslehaut(voirA)etéloignez-ladumur(B).Retirezlescrochetsinférieurs
enlesappuyantcontrelesupportjusquʼàcequʼilssedétachent(voirlesfig.CetD).
Paracambiardeestanteacanastilla,empujeelestantehaciaarriba(A)yluegoaléjelodelapared(B).Quitelosganchosinferiores
presionandocadaunocontraelsoportehastaqueelganchosaltehaciaafueracomosemuestraenlailustración(C)y(D).
7
ToinstalltheBasketConfiguration,fliptheShelfupsidedown(180
o
)andinstallBasketasillustratedinsteps(A)(B)and(C).
Pourobtenirlaconfigurationenpanier,retournezlatabletteverslehaut(à180
o
)etinstallezlepanierensuivantlesétapesA,BetC.
Parainstalarlaconfiguracióndecanastilla,dévueltaelestantehaciaabajo(180
o
)einstalelacanastillacomoseilustraenlospasos(A),(B)y(C).
BasketConfiguration/Configurationenpanier/Configuracióndecanastilla
B
ADC
ABC
OR
OU
O
4ChooseShelforBasketConfigurationandinstallHooksaccordingly.
Choisissezlaconfigurationentabletteouenpanieretinstallezlescrochetsselonvotrechoix.
Elijalaconfiguracióndeseadadeestanteodecanastilla,einstalelosganchosdeacuerdocondichaconfiguración.
ABC
5TomountShelfontheBracket,aligntheShelfasillustratedin(A).Oncelocatedinposition(B),pushdowntosnapinposition(C).
Pourmonterlatablettesurlesupport,alignez-laselonlafigureA.UnefoisplacéesurlapositionB,appuyez-laverslebaspourlabloquer
surlapositionC.
Paramontarelestantesobreelsoporte,alineeelestantetalcomosemuestraenlailustración(A).Unavezsituadoenlaposición(B),
presionehaciaabajohastacolocarloapresiónenlaposición(C).
SIDEVIEW/VUEDECÔTÉ/VISTALATERAL
ShelfConfiguration
Configurationentablette
Configuracióndeestante
BasketConfiguration
Configurationenpanier
Configuracióndecanastilla
ShelfConfiguration/Configurationentablette/Configuracióndeestante
NOTE:BottomHookscanonlybeusedwithShelfConfiguration.
REMARQUE:Lescrochetsinférieursnepeuventêtreutilisésque
pourlaconfigurationentablette.
NOTA:Losganchosinferiorespuedenserusadossolamentecon
laconfiguracióndeestante.
Popular Bathroom Fixture manuals by other brands
Mora
Mora Rexx K5 Installation and maintenance instruction

Kohler
Kohler K-98804K installation instructions
burgbad
burgbad Pli M1004 Fitting instructions
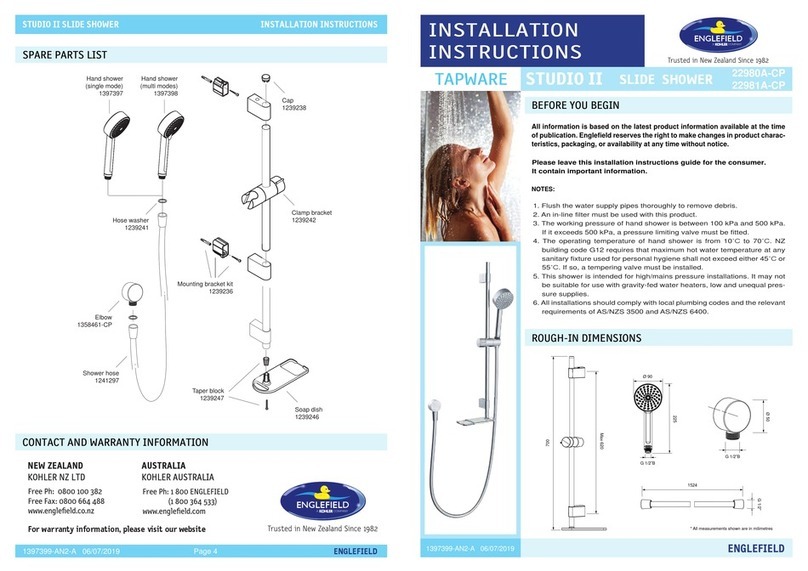
Englefield
Englefield Tapware Studio II Slide Shower 22980A-CP installation instructions
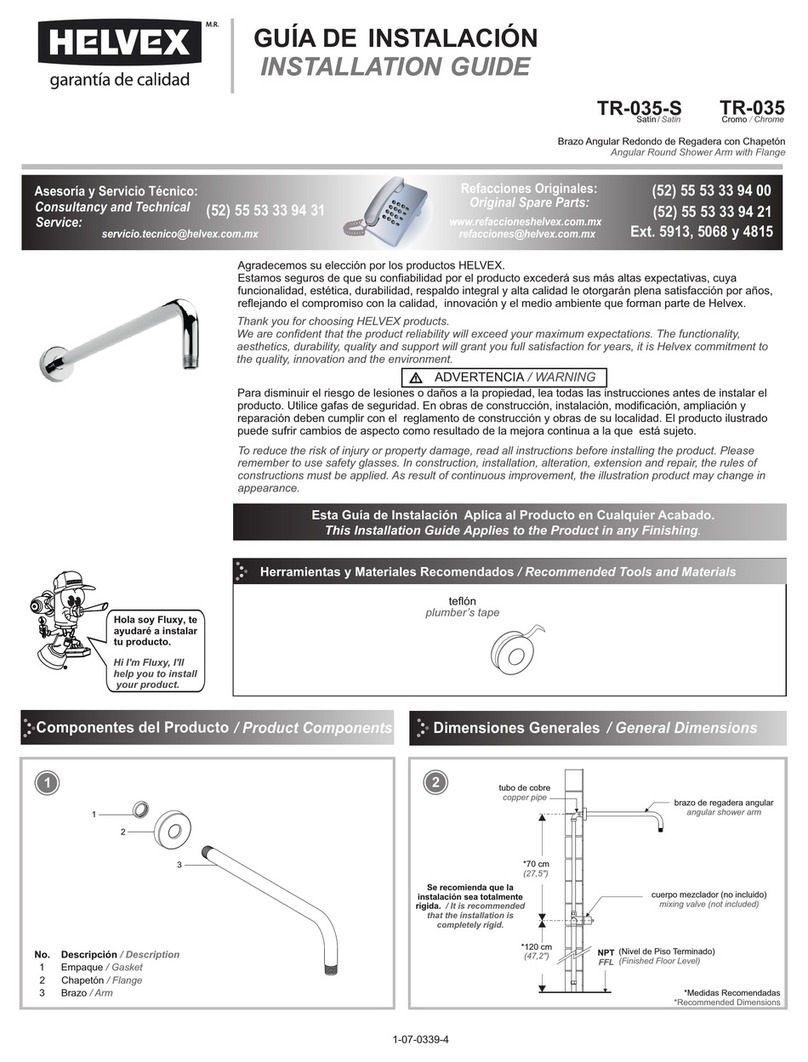
Helvex
Helvex TR-035 installation guide
Hans Grohe
Hans Grohe Axor Starck 10444 Series Mounting instructions
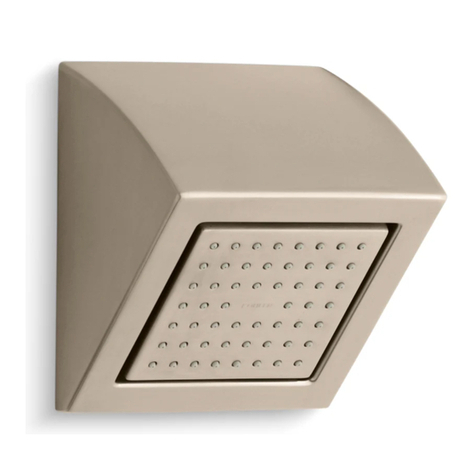
Kohler
Kohler K-8022 Installation and care guide
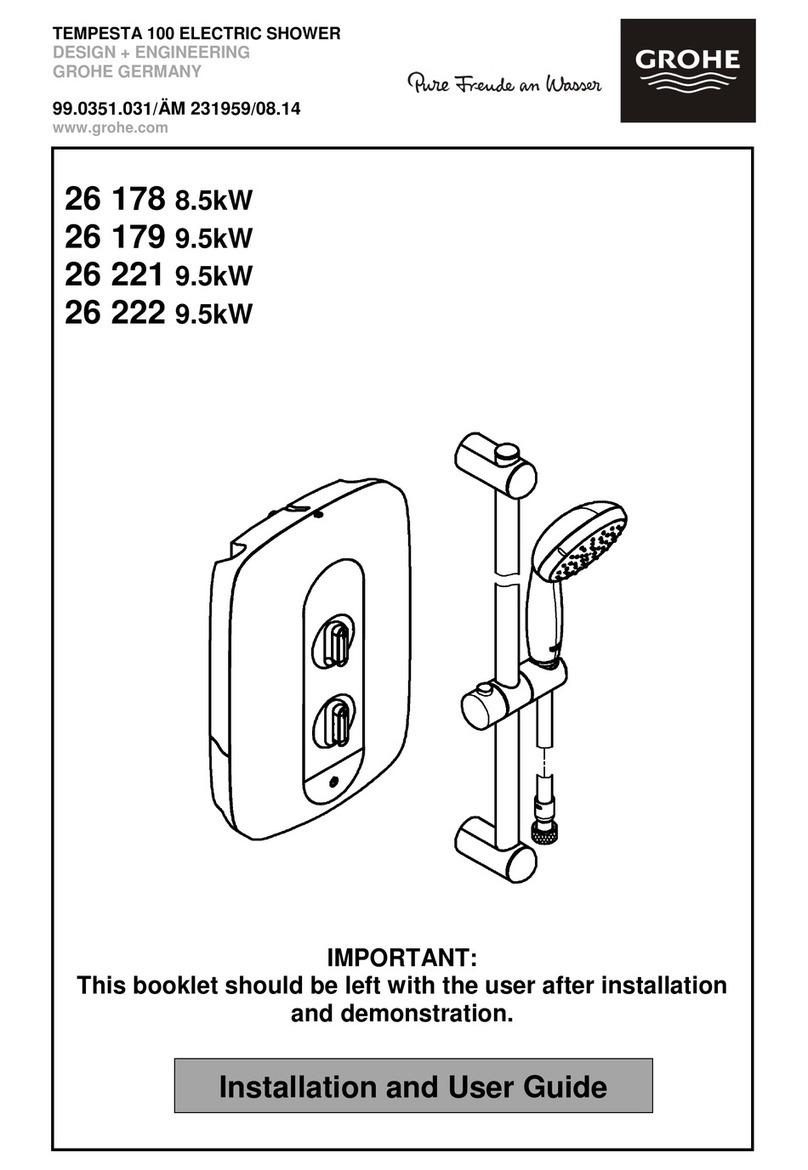
Grohe
Grohe TEMPESTA 100 26 178 Installation and user guide

Sanela
Sanela SLU 10 Mounting instructions
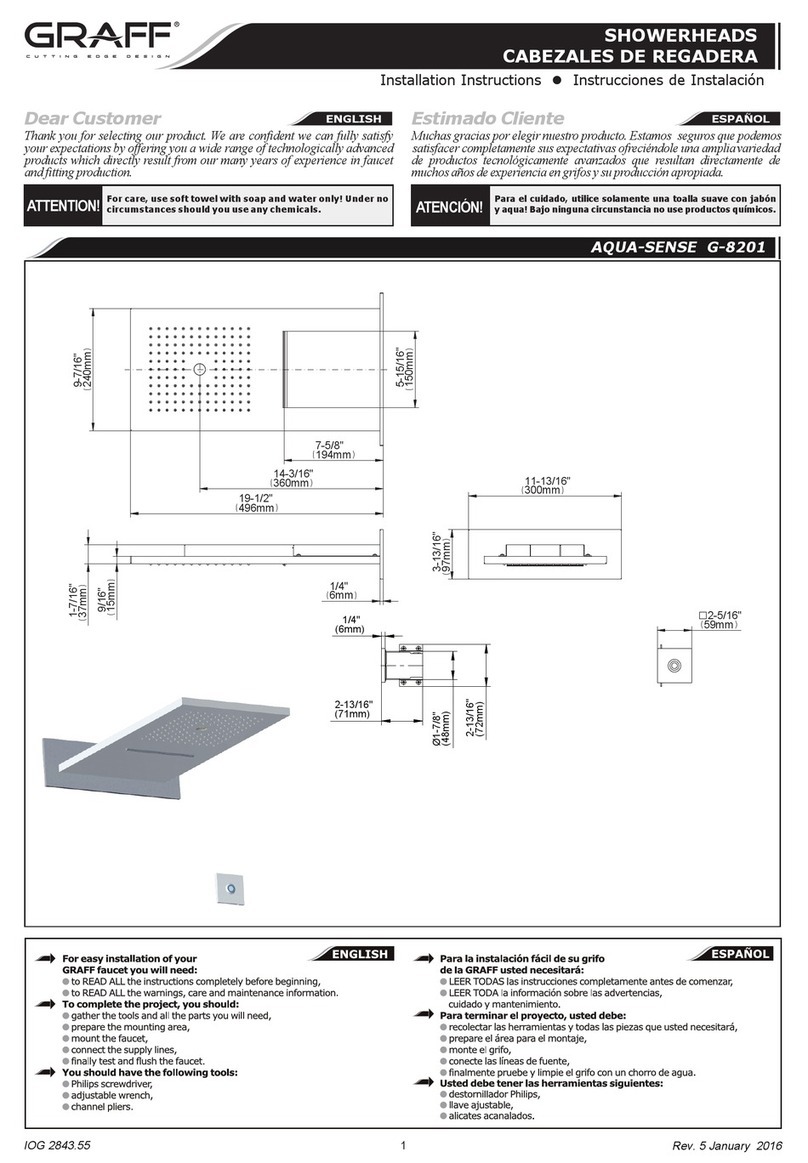
Graff
Graff AQUA-SENSE G-8201-SP installation instructions
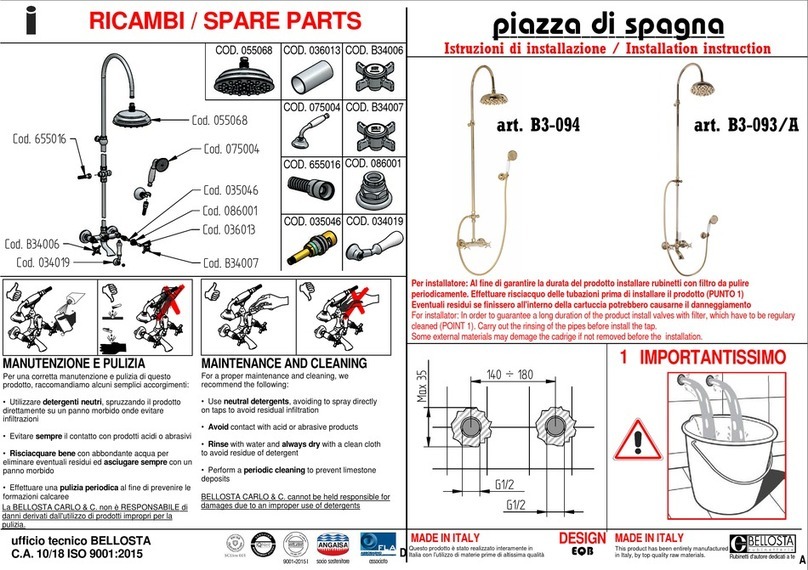
BELLOSTA
BELLOSTA Piazza di Spagna B3-094 Installation instruction

agape
agape BUCATINI ABUC0160 Assembly instructions
