BILT HARD TL-LB-H26 User manual
Model: TL-LB-H26
26cc GAS LEAF BLOWER
User Manual
Thank you for ordering our product. If you have any
issue, please email it and your order ID to
inquiry@bilthardusa.com or call (888) 680-2849.
1
our website: bilthardusa.com
Using tips: Video on YouTube

Model: TL-LB-H26
2
TABLE OF CONTENTS
SYMBOLS
SAFETY INSTRUCTIONS
STRUCTURAL COMPONENTS
PARAMETERS
ASSEMBLING THE TUBE
MIXING FUEL
FILLING THE FUEL TANK
STARTING THE BLOWER
ADJUSTING ENGINE IDLE SPEED
STOPPING THE ENGINE
USING THE BLOWER
ROUTINE MA INTENANCE
SPARK ARRESTOR MAINTENANCE
TROUBEL SHOOTING GUIDE
3
4
6
7
8
9
10
11
13
13
13
14
17
19
WARNING!
This manual contains impoatant instructions for
operating this product. For you safety, and the
safety of others, be sure to read this manual
thoroughly before operating the product.

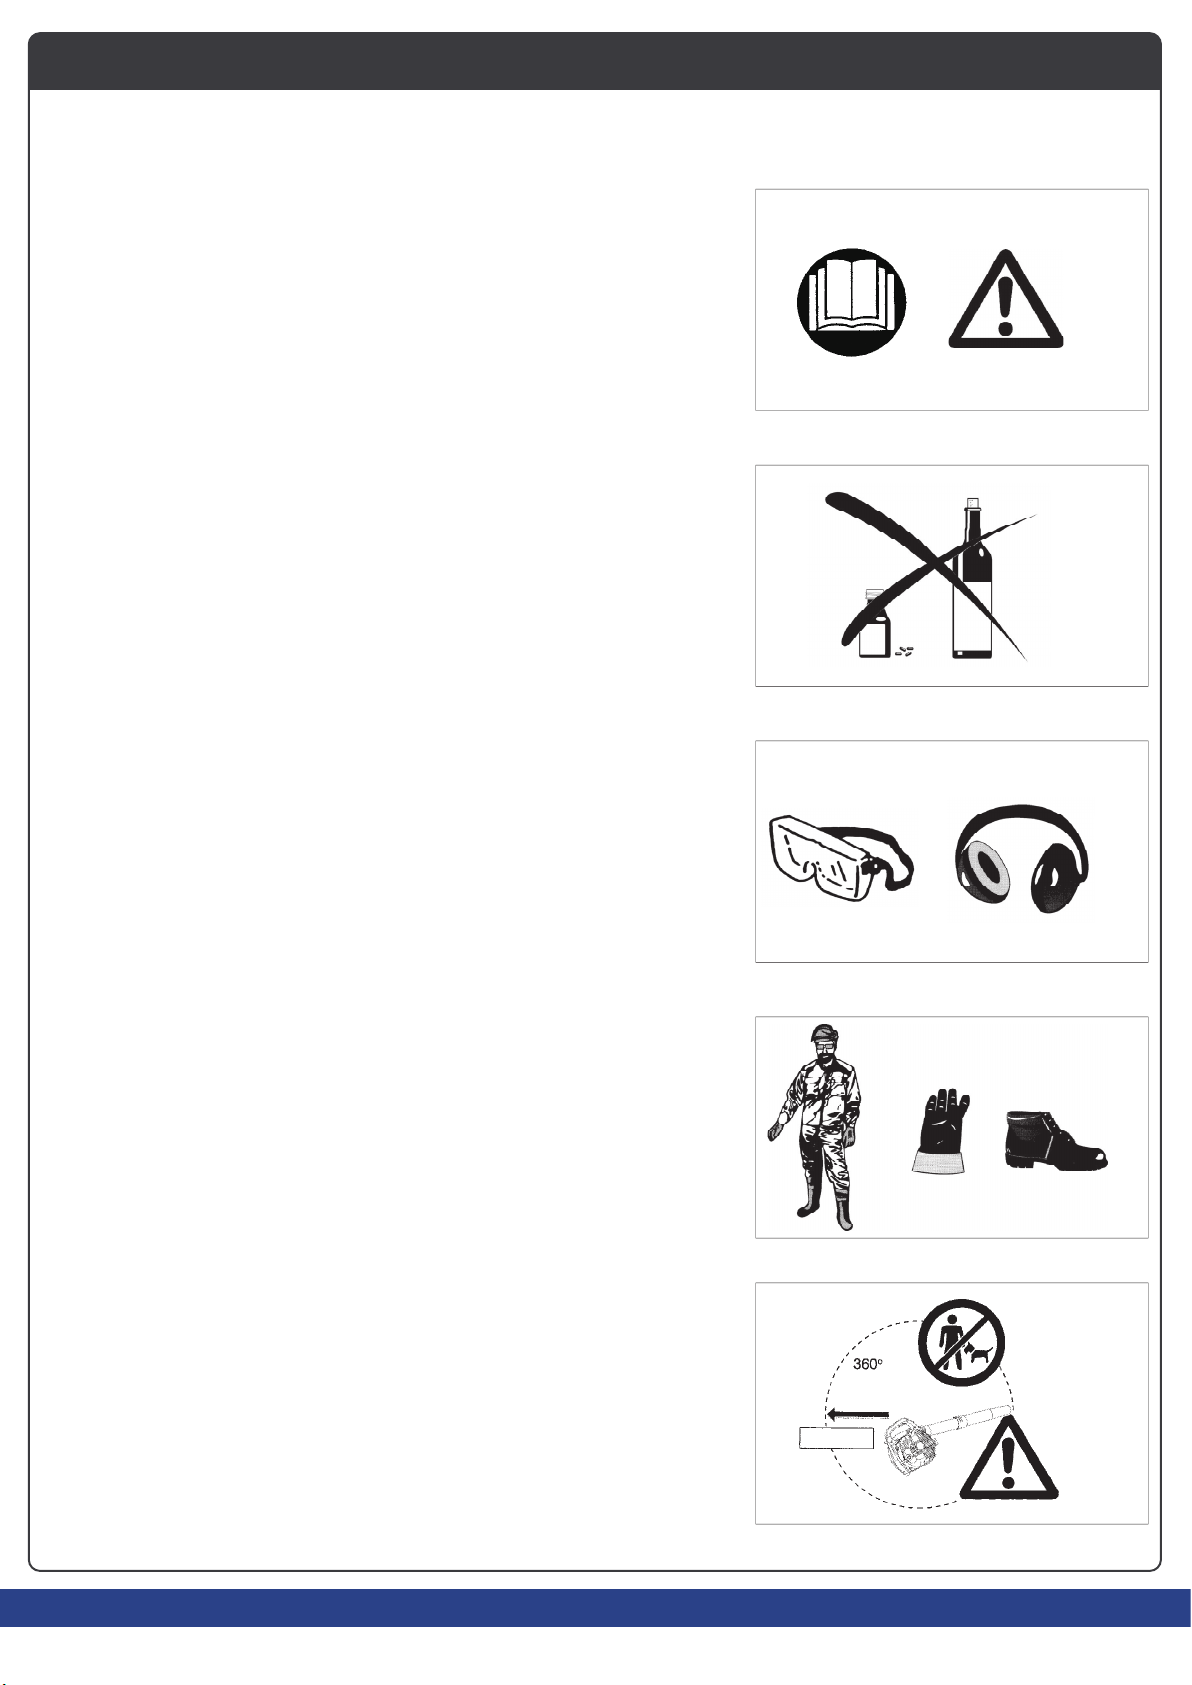
It is very important to understand the following symbols wher reading this instructions manual.
WARNING/DANGER
Read, Understand and Follow
Instruction Manual
Forbidden
No Smoking
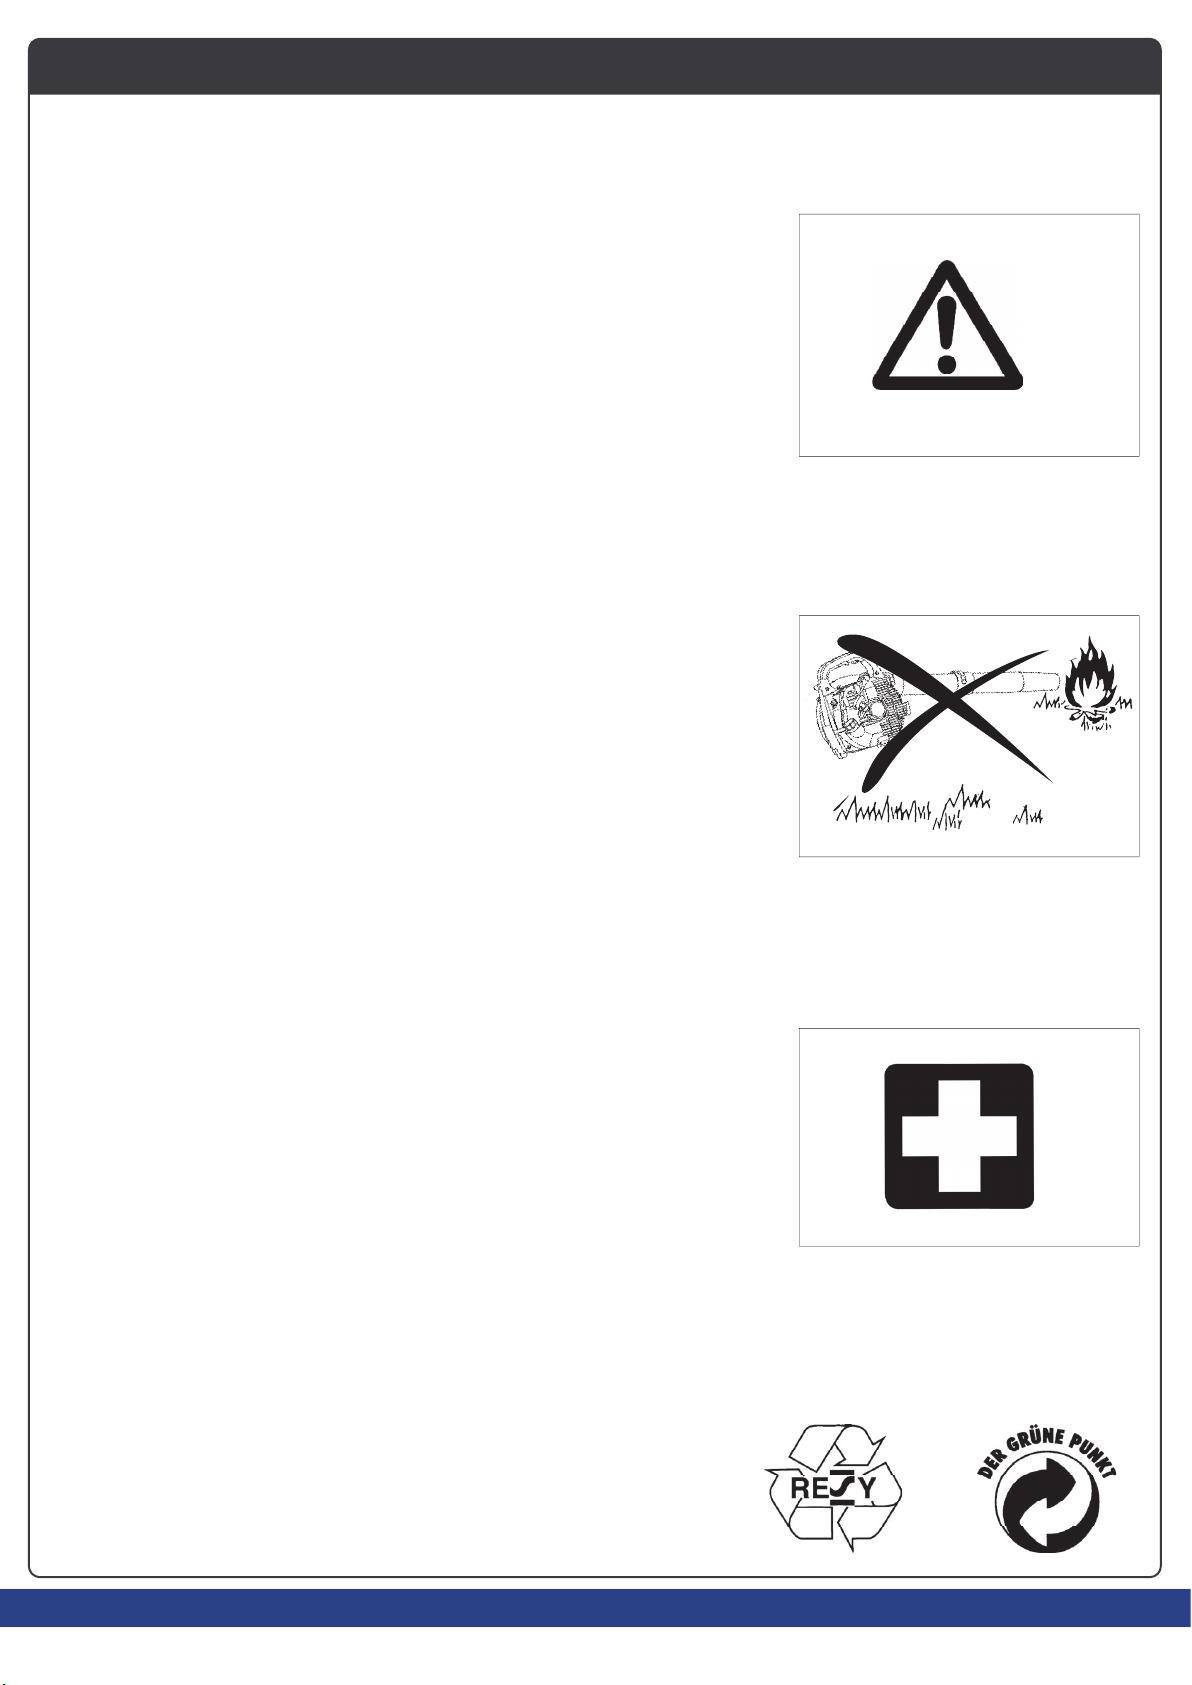
No Open Flame
Protective Gloves Must be Worn
Keep the Area of Operation
Clear of All Persons and Pets
Wear Eye and Ear Protection
OFF/STOP
ON/START
Recyling
First Aid
Emergency Stop
Engine-manual Start
Fuel (Gasoline)
Model: TL-LB-H26
3
Thank you very much for selecting the BILT HARD blower. We are pleased to be able to offer you the BILT HARD
blower which is the resut ofa long development programme and many years of knowledge and experience.
The blower models TL-LB-H26 combines the advantages of state-of-the-art technology with ergonomic
design. They are of light welght, handy, compact and represent professional equipment fora great varlety of
applcations.
Please read, understand and follow this booklet which refers in detal to the varous points that will
demonstrate its outstanding performance. This wil assist you to safety obtain the best possible results from
your BILT HARD Blower.
SYMBOLS
SAFETY INSTRUCTIONS
4
(2)
(3)
(4)
(1)
SAFETY INSTRUCTIONS
(5)
15meters
General Instructions
• To ensure correct and safe operation, the user must read,
understand and follow this instruction manual to assure familiarity
with the handling of the blower (1). Users insufficiently informed
will risk danger to themselves as well as others due to improper
handling.
• It is recommended only to loan the blower to people who have
proven to be experienced with blowers.
• Always hand over the instruction manual.
• First-time users should ask the dealer for basic instructions to
familiarize oneself with the handling of a blower.
• Children and young persons aged under 18 years must not be
allowed to operate the blower. Persons over the age of 16 years
may however use the tool for the purpose of being trained only
while under the direct supervision of a qualified trainer.
• Use blowers with the utmost care and attention.
• Operate the blower only if you are in good physical condition.
• Perform all work conscientiously and carefully. The user has to
accept responsibility for others.
• Never use the blower while under the influence of alcohol or drugs
(2).
• Do not use the unit when you are tired.
• Save these instructions for future referral.
SAFETY INSTRUCTIONS
Personal Protective Equipment
• The clothing worn should be functional and appropriate, I. e. It
should be tight-fitting but not cause a hinderance. Do not wear
jewelry, clothing or long hair which could be drawn into the air
intake.
• In order to avoid head-, eye-, hand- or foot injuries as well as to
protect your hearing the following protective equipment and
protective clothing must be used during operation of the blower.
Pay particular attention to the following regulations
• Clothing must be sturdy and snug-fitting, but allow complete
freedom of movement. Avoid loose-fitting jackets, flared or cuffed
pants, scarfs, unconfined long hair or anything that could be drawn
into the air intake. Wear overalls or long pants to protect your legs.
Do not wear shorts. (4)
• Blower noise may damage your hearing. Wear sound barriers (ear
plugs or ear mufflers) to protect your hearing. Continual and
regular users should have their hearing checked regularly. (3)
• Use of gloves when working with the blower is recommended.
Good footing is most important. Wear sturdy shoes with nonslip
soles. (4)
• Proper eye protection is a must. Even though the discharge is
directed away from the operator, ricochets and bouncebacks can
occur during blower operation. (3)
• Never operate a blower unless wearing goggles or properly fitted
safety glasses with adequate top and side protection which comply
with ANSI Z 87. 1 (or your applicable national standard).
Starting up the blower
• Please make sure that there are no children or other people within a
working range of 15 meters (5), also pay attention to any animals in
the working vicinity. Never use the blower in urban areas.
• Before operating, always check that the blower is safe for
operation:
Check the security of the throttle lever. The throttle lever should be
checked for smooth and easy action. Check for proper functioning
of the throttle lever lock. Check for clean and dry handles and test
the function of the l-O switch. Keep handles free of oil and fuel.
SAFETY INSTRUCTIONS
Method of operation
5
• Use the blower only in good light and visibility. During cold seasons
beware of slippery or wet areas, ice and snow (risk of slipping).
Always ensure a safe footing.
• Never work on unstable surfaces or sleep terrain.
• To reduce the risk of personal injury, do not direct air blast towards
bystanders, since the high pressure of the air flow could injure
eyes and could blow small objects at great speed.
• Never insert any foreign object into the air intake of the machine or into
the nozzle of the blower. It will damage the fan wheel and may cause
serious injury to the operator or bystanders as a result of the object or
broken parts being thrown out at high speed.
• Pay attention to the direction of the wind, i.e., do not work against
the wind.
• To reduce the risk of stumbling and loss of control, do not walk
backward while operating the machine.
• Always shut off the engine before cleaning or servicing the unit or
replacing parts.
Maintenance instructions
Packaging
First Aid
When asking for help, please give the following information:
• Be kind to the environment. Operate the blower with as little noise
and pollution as possible. In particular check the correct adjustment
of the carburetor.
• Clean the blower at regular intervals and check that all screws and
nuts are securely tightened.
• Never service or store the blower in the vicinity of open flames,
sparks, etc. (11).
• Always store the blower in a well-ventilated locked room and with
an emptied fuel tank.
Observe and follow all relevant accident prevention
instructions issued by the trade associations and by
insurance companies. Do not perform any modifications to
the blower as this will risk your safety.
The performance of maintenance or repair work by the user is limited
to those activities as described in this instruction manual. All other
work is to be done by Authorized Service Agents.
Use only genuine spare parts and accessories supplied by BILT HARD.
Use of non-approved accessories and tools means increased risk of
accidents and injuries. BILT HARD will not accept any liability for
accidents or damage caused by the use of any non-approved
attachment or accessories.
(10)
(12)
(11)
In case of accident make sure that a well-stocked first-aid kit is
available in the vicinity of the operations. Immediately replace any item
taken from the first aid kit.
• Place of accident
• What happened
• Number of injured persons
• Extent of injuries
• Your name
The BILT HARD blower is delivered in a protective cardboard box to
prevent shipping damage. Cardboard is a basic raw material and is
therefore consequently reusable or suitable for recycling (waste
paper recycling).
Table of contents
Other BILT HARD Blower manuals

Popular Blower manuals by other brands

Lithium Earthwise
Lithium Earthwise LB20024 Operator's manual

EINHELL
EINHELL GE-CL 36 Li E Original operating instructions

EINHELL
EINHELL VENTURRO 18/210 operating instructions

Troy-Bilt
Troy-Bilt 657 Operator's manual

Weed Eater
Weed Eater VS2000BV instruction manual

KRAUSMANN
KRAUSMANN U37020-00 Operation manual


