BIOEASY LFDMOBR User manual

Manuale d’uso
Food Safety Rapid Detector
Pocket Bluetooth LF Reader System + Honor mobile device
Cat.# LFDMOBR

Caratteristiche
Modello:YR-010
Dimensioni: 88×41×41 (mm) Lunghezza × larghezza × altezza
Peso:circa 100g (inclusi guida per strip e batteria)
Temperatura dell’ambiente di lavoro:0 ° C -70 ° C;
Manutenzione
Condizioni di conservazione:
Mantenere asciutto a temperatura ambiente, evitare la polvere, non colpire, non fare cadere.
Metodo di pulizia:
pulire con un panno pulito e asciutto.
Non usare per un tempo troppo lungo, rimuovere la batteria e conservarla separatamente.
Componenti
Maschera per strip
posizionamento della strip Finestra di Rilevamento
Base Copertura Superiore
Fessura per inserimento della maschera
per strip
Indicatore LED
Inserimento batteria
Lettore

Procedura del test
Fase 1: Preparazione del dispositivo.
Inserire la batteria con il polo “+” verso l’alto. Inserire la maschera della strip nella fessura nel verso
indicato, assicurarsi che sia stabile sul fondo e che l’indicatore LED lampeggi in blu.
Fase 2: Connessione all’APP sullo Smartphone
Accedere all’APP
Nell’interfaccia principale cliccare l’icona “Test” nella barra degli strumenti in basso
(rappresentato con “+”) per la connessione Bluetooth.
Accendere il Bluetooth e attendere la ricercar dei dispositivi. Quando la ricerca è completa,
selezionare il proprio dispositivo. In “Paired devices” sarà mostrato il dispositivo associato.
Il dispositivo è connesso all’APP ed è possibile effettuare i test.
Fase 3: Inserimento della strip
Inserire la strip nella maschera con il tampone per campione (pad sample) verso l’interno (il
pad sample deve essere rimosso)

Fase 4: Rilevazione
Stabilita la connessione Bluetooth, selezionare dal menù la categoria di prodotto che si vuole
analizzare (Milk, Mycotoxin..). Selezionata la categoria di prodotto, selezionare il kit di
interesse.
Il lettore inizia automaticamente la lettura e rilascia la curva del test e il risultato.
Altro.
Cliccare l’icona “Input Data” sotto i risultati del test per salvare i dati o caricarli successivamente
nell’interfaccia dei “Record”.
Per salvare il risultato del test con informazioni sulla strip o sul campione, compilare il format con le
informazioni relative al campione oppure cliccare “+” per aggiungere la foto della strip.
A questo punto apparirà “Enter Successfully” e il salvataggio dei dati sarà completato.
Se non si desidera caricare i risultati, cliccare “Back” in alto a sinistra dello schermo. Il risultato del test
può essere inoltre richiamato tramite l’interfaccia “Record”.
Risoluzione di problemi comuni
Problema Causa del problema Trattamento
La luce LED non è
accesa, nella lista
Bluetooth non c’è il
dispositivo
•Batteria esaurita
•Luce LED guasta
•Hardware guasto
•Cambiare la batteria
•Contattare Generon per inviare il
dispositivo in riparazione
Impossibilità di
leggere i dati della
strip
•La strip è inserita correttamente?
•La direzione e la posizione della
maschera della strip sono corrette?
•Controllare e riposizionare la strip
•Controllare e riposizionare la
maschera della strip
Generon S.p.A.
Via San Geminiano, 4
41030 San Prospero (MO)- Italia
:
+39
059
8637161
: +39 059 7353024
:
ie.techsupport@generon.it
www.generon.it

User manual
Food Safety Rapid Detector
Pocket Bluetooth LF Reader System + Honor mobile device
Cat.# LFDMOBR

Storage conditions: Keep dry at room temperature, avoid dust, knocking, falling or impact.
Cleaning method: wipe with a clean dry cloth.
Do not use for a long time, please remove the battery and store it separately.
Specific parameters
Modello:YR-010
Length × width × height:88×41×41(mm)
Weight: about 100g (including card slot and battery) di
Working environment temperature: 0 ° C -70 ° C;
Maintenance
Product appearance
Strip Slot
Test strip positioning slot Detection window
Base Upper cover
Test strip card
LED indicator
Battery cover
Device

Step 1: Device preparation.
Put battery into battery slot, with “+” upward. Then insert the test strip slot into the device socket
according to the direction indicated, and ensure that it is inserted into the bottom, not loose, and
the LED indicator flashes in blue.
Step 2: APP connection
•Open the APP program and enter the main interface.
•Click the cross pattern “Test” button in the bottom toolbar to enter the Bluetooth connection
settings.
•Turn on the Bluetooth switch and wait for the search. After the search is complete, select your
test device in the device list. After the connection is successful, the device connection status is
displayed as the paired device
At this point, your test device has been successfully connected to the APP and can be tested.
Step 3: Insert the strip
Insert the test strip (sample pad forward inside) into the test strip slot.
(Pls note that the sample pad should be removed and can not be cut off.)
Testing procedure

Step 4: Detection
•After the Bluetooth connection is completed, go to the test item selection menu and select
the product category you want to detect.
•After selecting the product category, enter the test item menu. Please select the
corresponding test item according to the type of rapid test strip you are using.
•The instrument starts reading automatically, then test curve and the test result are displayed.
Others
•Click the “Input Data” button below the detection result to save the data or upload later in
the “Record” interface.
•If you need to save the test result with test strip or milk sample information, please fill in the
relevant information of the sample’s name firstly, or click “+” to add the photo of the test strip
according to your requirements. Then the screen will display “Enter Successfully”, record data
of the test strip is completed.
•If you don't need to upload, click the “Back” button at the top left of the screen. The test result
can also be inquired in the “Record” interface.
Fault phenomenon Cause of issue Treatment
LED light is not lit,
Bluetooth list
cannot find device
1. Change battery
2. Contact customer service to return
to the factory for repair
Unable to read test
strip data
1. Is the test strip installed correctly?
2. Is the insertion direction and position
of the test strip slot correct?
1. Check and adjust the installation
position of the test strip
2. Check and adjust the insertion direction
and position of the test strip slot.
Generon S.p.A.
Via San Geminiano, 4
41030 San Prospero (MO)- Italia
:
+39
059
8637161
: +39 059 7353024
:
ie.techsupport@generon.it
www.generon.it
Common troubleshooting
1. Low battery or exhausted power
2. LED light failure
3. Hardware failure
Table of contents
Languages:
Popular Security Sensor manuals by other brands
Feig Electronic
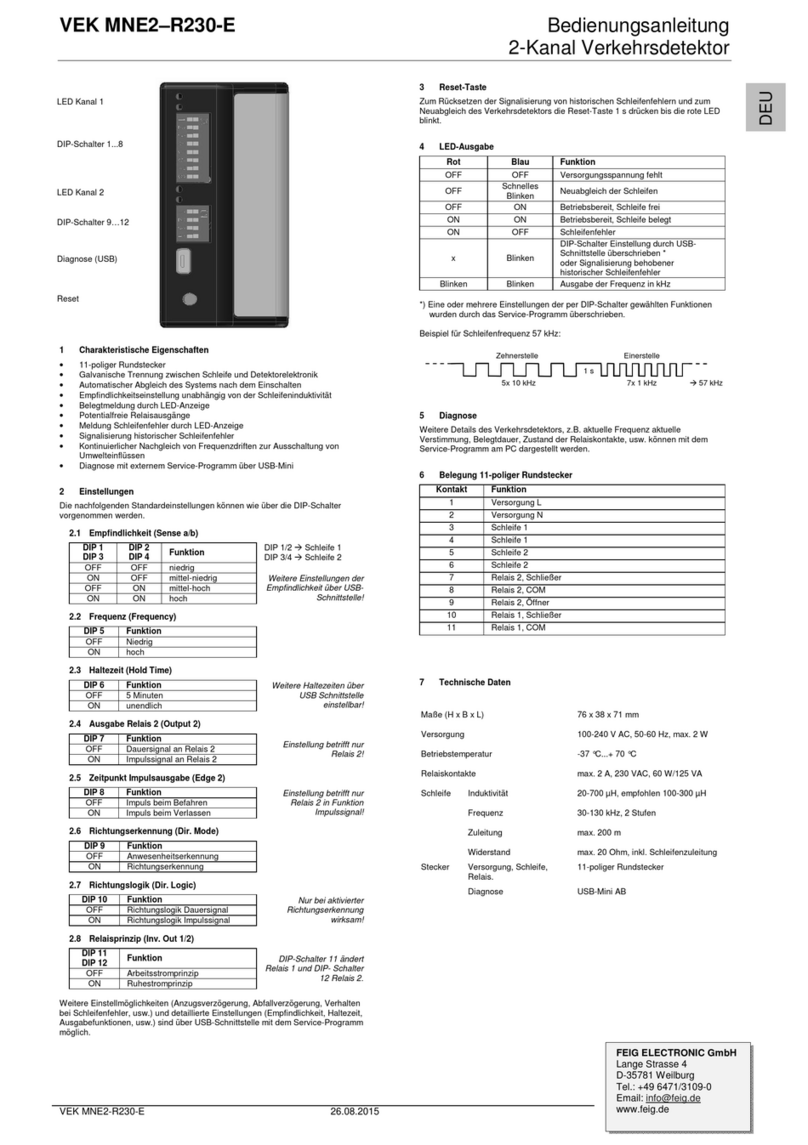
Feig Electronic VEK MNE2-R230-E operating instructions

hyfire
hyfire TAURUS TAU-MC-01 quick start guide
hager
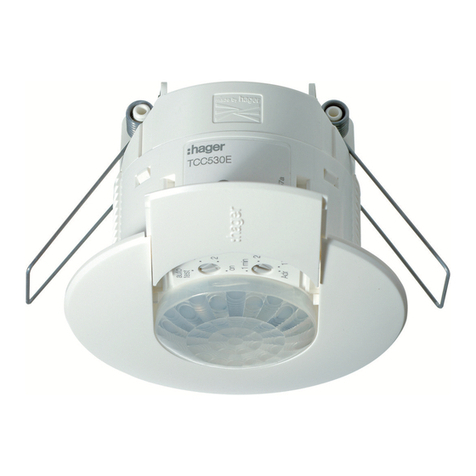
hager TCC510S User instructions
BBC
BBC 7.5HK500 Installation & maintenance instructions

Prime Controls
Prime Controls SD220 operating instructions
hyfire
hyfire TAURUS TAU-TH-01 quick start guide


