Biogenik Wii U Pro User manual

Wii U Pro Controller User Manual
Thank you for purchasing BiogenikTM Wii U Pro Controller. Please
read this manual carefully.
The contents of this package include:
z1 Wii U Pro Controller
z1 Mini USB Charge Cable
z1 User Instruction Manual
Note:
zPlease read the official Nintendo○
RWii UTM Operations Manual carefully before use
this Wii U Pro Controller.
zThis controller only works with Wii UTM software that supports Wii UTM Pro Controller
gameplay (see game packaging for compatibility information). This controller can
be used with the Wii UTM Menu and for Wii UTM system operations.
Product Features:
zErgonomics design for extended gaming marathons,
zWireless technology , up to 10 meters operating distance,
zInterchange position action buttons(A,B,X,Y) and R-stick for easier button press,
zTextured grips and bottom housing soft touch rubber spray enhanced comfort and
grip,
zLonger lasting design soft touch rubber stick caps,
zImproved ZL&ZR trigger buttons,
zBuild in rumble motor provides more immersive gaming experience,
zPerfect analog control ZERO dead zones for sticks provides more accurate targeting
and analog smoothness,
zBuild in rechargeable Li-ion battery,
z2 hours fast full charge time,
zStandby Mode for power saving.

Product Diagram:
Synchronization:
You must synchronize the Wii U Pro controller to the console before use.
1) Turn on the Wii U console,
2) Press the SYNC button on the front panel of the Wii U console,
3) Press the SYNC button on the back of the Wii U Pro Controller. The player LED of Wii
U Pro Controller will blink rapidly to synchronize. If then one of the player LEDs
lights up and stop blinking that means the synchronization is successful, otherwise
please repeat step 2 to 3.
4) The Wii U Pro Controller is ready to use and it will automatic synchronize with the
Wii U console after this synchronization.
Player LED Indicators:
Player LEDs 1, 2, 3, 4 that indicates the player number assigned to the controller currently in use.
The 4 Player LED indicators will be a connection indicator with BATTERY CAPACITY LEVEL

indication for the synchronization status when the synchronization is in progress.
During synchronization is in progress, the Player LED indicators will be as below status:
The Player LED(s) blink(s) rapidly during synchronization, one of Player LED will then light up and
stop blinking when the synchronization is successful.
BATTERY CAPACITY LEVEL indication:
BATTERY CAPACITY LEVEL 1: The Player LED 1 blinks rapidly during synchronization.
BATTERY CAPACITY LEVEL 2: The Player LED 1 and 2 blink rapidly during synchronization.
BATTERY CAPACITY LEVEL 3: The Player LED 1, 2, and 3 blink rapidly during synchronization.
BATTERY CAPACITY LEVEL 4: The Player LED 1, 2, 3, and 4 blink rapidly during synchronization.
LEVEL 1: Lowest battery capacity, it means that you need to charge the Wii U Pro Controller.
LEVEL 4: Highest battery capacity, it means that there is more power of the battery to use.
HOME and POWER Button:
HOME/POWER button is one button with two button functions. Normally press
HOME/POWER button for HOME button function, press and hold HOME/POWER button for
3 seconds for POWER button function.
HOME Button: Displays the HOME Menu, where you can configure or check the battery
life of the Wii U Pro Controller.
POWER Button: Press to turn the Wii U console on or off.
Resetting the L and R Control Sticks:
The neutral position of the control sticks can be incorrectly set if you move them during the
flowing actions:
•Turning the console on
•Launching software
•Quitting software and returning to the Wii U Menu
This can cause erratic gameplay control or cause objects on the screen to move when
you are not using the controller.
Reset Procedure
To reset the control sticks, allow them to return to a neutral untouched position and
simultaneously hold down A, B, ○
+,and○
- buttons for at least three seconds.
Charging the Wii U Pro Controller:
When the battery power is low, the current player LED will blink slowly. You need to
recharge the Wii U Pro Controller.
To recharge the Wii U Pro Controller, please connect the Mini USB power cable to the
front USB port of the Wii U Pro Controller and the other end to any USB port.
Charge and low battery indicators status:
Charging: Player LEDs all blink normally (Not synchronization) or only current player
LED blink normally (Synchronized).
Low battery: Current player LED blinks slowly (Synchronized).

Standby Mode (Power Saving)
The Wii U Pro Controller will automatically enter standby mode for power saving when it
hasn’t been used for a period of time or it has been disconnected. Press any button on the Wii
U Pro Controller top face for recall.
Troubleshooting
The Wii U Pro Controller does not work
(1). If the Wii U Pro Controller fails to operate, or operates incorrectly, follow the steps below before
seeking assistance.
Make sure the Wii U console and the Wii U Pro Controller are both turned on.
Make sure the Wii U Pro Controller is within the operating distance.
Make sure the battery of the Wii U Pro Controller is charged.
Make sure the Wii U Pro Controller has been synchronized with the Wii U console.
Make sure the Wii U Pro Controller is connected to the Wii U console.
(2). If after verifying the steps above, the Wii U Pro Controller does not work or work not correctly, try
the following:
Turn off the power of the Wii U console.
Wait for a few seconds, and then turn on the power of the Wii U console.
a. Press the RESET button in the back hole of Wii U Pro Controller to reset the controller.
b. Wait for a few seconds and then resynchronize the Wii U Pro Controller and the Wii U console.
Wii U is a trademark of Nintendo, Inc., registered in the U.S. and other countries.
All other trademarks are the property of their respective owners.
FCC STATEMENTS
This device complies with Part 15 of the FCC Rules. Operation is subject to the following two
conditions:
(1) This device may not cause harmful interference, and (2) this device must accept any
interference received, including interference that may cause undesired operation.
FCC ID: TAZWL053
MADE IN CHINA
Warning:
Modifications not approved by the party responsible for compliance could void user’s
authority to operate the equipment.

NOTE:
This equipment has been tested and found to comply with the limits for Class B digital device,
pursuant to part 15 of the FCC Rules. These limits are designed to provide reasonable
protection against harmful interference in a residential installation. This equipment
generates uses and can radiate radio frequency energy and, if not installed and used in
accordance with the instructions, may cause harmful interference to radio or television
reception, which can be determined by turning the equipment off and on, the user is
encouraged to try to correct the interference by one or more of the following measures:
•Reorient or relocate the receiving antenna.
•Increase the separation between the equipment and the receiver.
•Connect the equipment into an outlet on a circuit different from that to which the
receiver is connected.
•Consult the dealer or an experienced radio/TV technician for help.
Table of contents
Popular Video Game Controllers manuals by other brands
Danfoss
Danfoss JS2000 Series technical information
Pelican
Pelican Afterglow PL-678 user manual
Nacon
Nacon Revolution Pro instruction manual
Microsoft
Microsoft Xbox 360 Wireless Speed Wheel manual
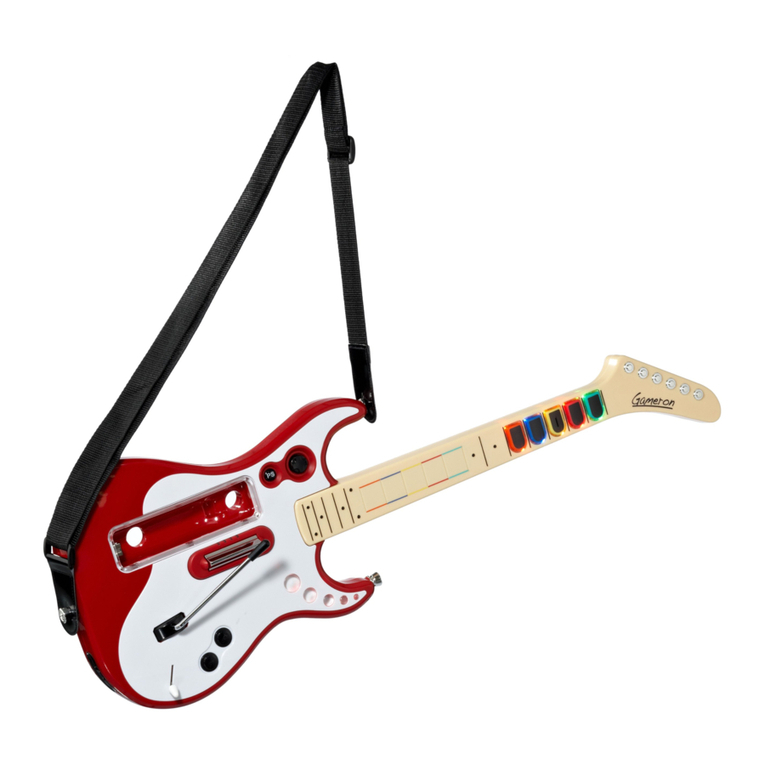
GAMERON
GAMERON ROCKSTAR GUITAR Information and instructions
Simability
Simability GT-Style Ring installation instructions
