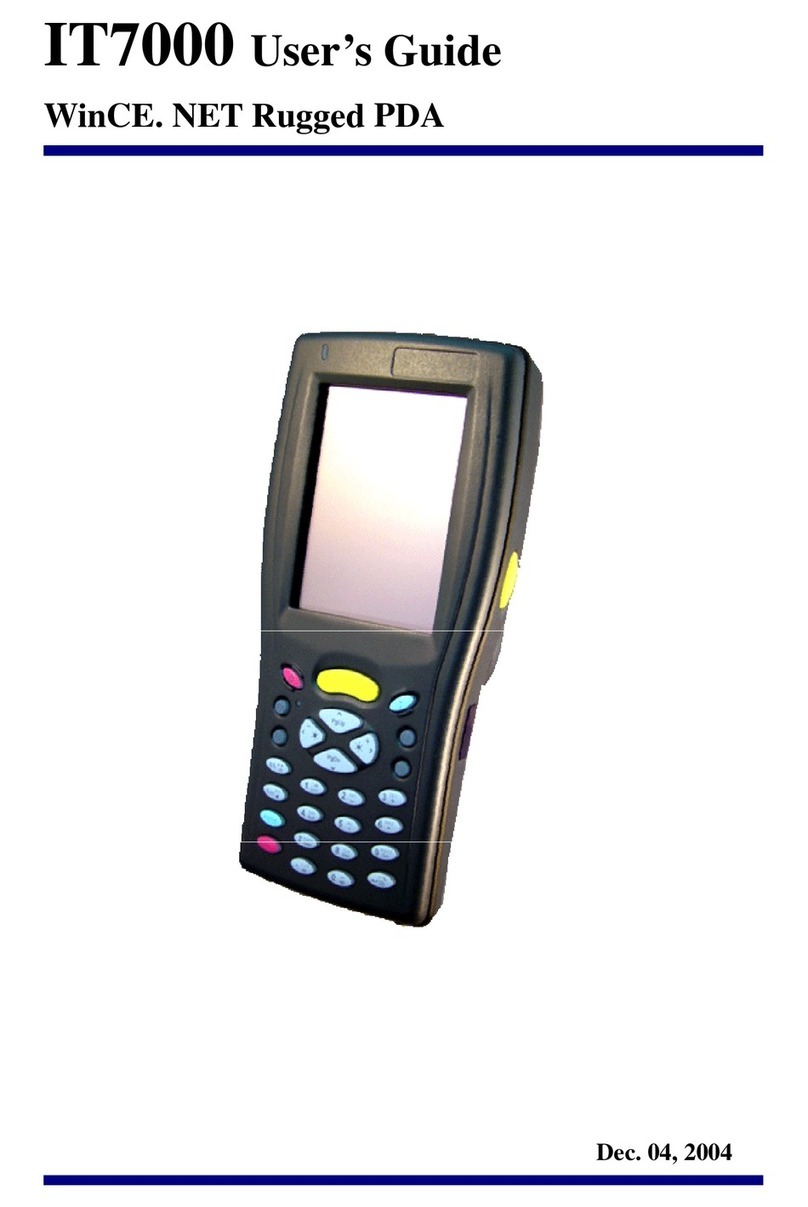
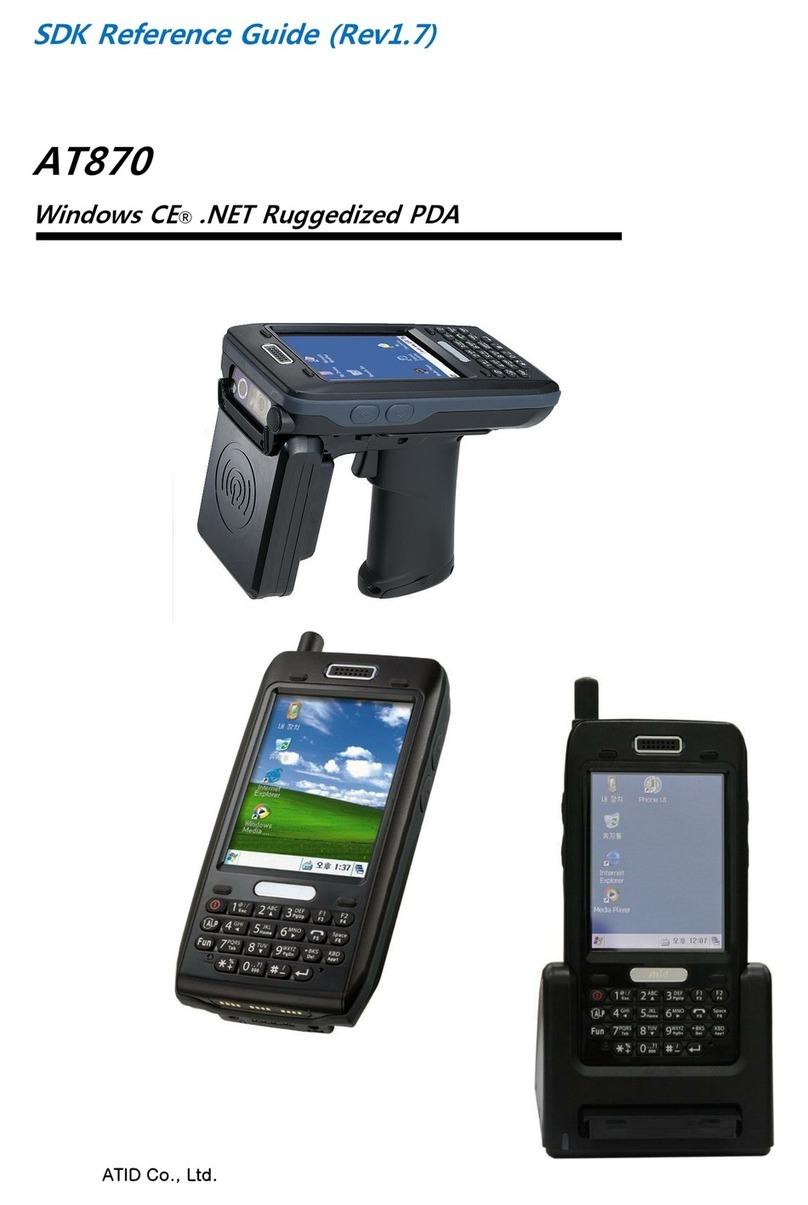
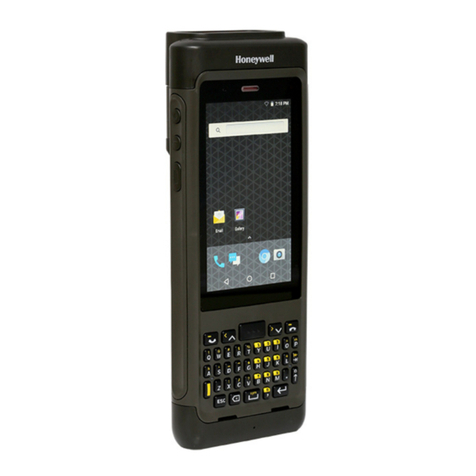
BitaTek IT7000 User manual

User’s Guide for IT7000 GPRS Model
WinCE. NET Rugged PDA
Dec. 06. 2005

Table of Contents
Chapter 1. Introduction
1.1: About this Manual P1-1
1.2: User and Product Safety P1-1
1.3: Insert IT7000 into Holster P1-2
1.4: Radio Frequency Interference Information P1-5
1.5: System specifications P1-6
1.6: Environment standard P1-7
Chapter 2. Getting Started
21: Handling the PDA
2.1.1 Starting the PDA P2-1
2.2: Initiating a Network Connection P2-1
2.3 GPRS Function
2.3.1 Setup GPRS program P2-3
2.3.2 Interface layoutP2-5
2.3.3 SELECTING COMMUNICATIONS SETTING P2-10
2.3.4 MAKING A VOICE CALL P2-11
2.3.5 MANAGING PHONEBOOKS P2-12
2.3.6 DIALER P2-14
2.3.7 SMS P2-19
2.3.8 DIAL-UP NETWORKING P2-24
i

Chapter 1
Introduction
Congratulations on purchasing the IT7000 PDA with GPRS module, a Microsoft
Windows®CE .Net rugged PDA. Its special combination of features make it perfect for
using in a wide range of applications. These features as:
˙Small rugged lightweight form factor
˙Microsoft Windows CE. Net operating system
˙Flexible module design
˙Wireless mobility via 802.11b
˙Robust expansion capability
˙Long battery life
˙Transflective type color LCD display
˙Backlit keypad
1.1 About this Manual
The following chapters contained in this manual are:
Chapter 1: Introduction --- Present the general information about the PDA.
Chapter 2: Getting started --- Describe the basic use of the PDA.
Chapter 3:Setting –Provide basic instructions for customizing the PDA by adjusting
settings
Chapter 4:Communication--- Describe how to use all kinds of communication of the PDA.
1.2 User and Product Safety
◆Do not stare into the laser beam directly or shine it into eyes.
◆Never use strong pressure onto the screen or subject it to severe impact, as the LCD
panel could become cracked and possibility cause personal injury. If the LCD panel is
broken, never touch the liquid inside, for such contact would irritate the skin.
◆Although the IT7000 PDA with GPRS module has been passed the test of IP54 standard
for water and dust resistance, avoid prolonged exposure to rain or other concentrated
moisture. For these conditions exceed the IP54 standard, and could result in water or other
contaminants entering into the PDA.
◆Use only the approved AC Adapter with the PDA. Use of an unapproved AC Adapter
could result in electrical problems, or even cause a fire or electrical shock to the user.
P1-1

User Guide
Introduction
◆Be sure that only authorized supplier are allowed to disassemble and reassemble the
device. If the device or parts has been damaged due to any wrong handling, shall void
the product and parts warranty.
◆Always make back-up copies of all important data. Easy done by using a cable to
transfer data to the computer. Manufacturer is not liable for any data damages or data
loss caused by deletion or corruption by using of this device, or due to the drained
battery.
◆Lithium-ion battery packs might get hot, explode, ignite and/or cause serious injury if
exploded by abusive using. Please follow the safety warnings listed as below:
˙Do not place the battery pack in fire or heat the battery.
˙Do not install the battery pack backwards so the polarity is reserved.
˙Do not connect the positive Battery pack with negative battery pack to each other with
any metal object (like wire).
˙Do not carry or store battery pack together with metal objects.
˙Do not pierce the battery pack with nails, strike the battery pack with a hammer,
step on the battery pack or otherwise put it to strong impacts or shocks.
˙Do not solder directly onto the battery pack.
˙Do not expose battery pack to liquid, or allow the battery contacts to get wet.
˙Do not disassemble or modify the battery pack. The battery pack contains safety
and protection devices, which, if damaged, may cause the battery pack to
generate heat, explode or ignite.
˙Do not discharge the battery pack using any device except for the specified device.
When it is used in devices other than the specified devices, the battery pack can be
damaged or its life expectancy reduced. If the device causes any abnormal current to
flow, it may cause the battery pack to become hot, explode or ignite and cause
serious injury.
˙In the event the battery pack leaks and the fluid gets into one’s eye, do not rub the
eye. Rinse well with water and immediately seek medical care. If left untreated, the
battery fluid could cause damage to the eye.
1.3 Insert IT7000 into Holster
Please insert bottom of IT7000 into holster at first, and keep LCM face to outside in this
uni-direction way same as the below figure.
P1-2
To comply with FCC RF exposure rule, please use only the supplied holster (the supplied holster
does not have any metallic components in the structure and will limit this product only in an
orientation that back-face will toward user’s body), Third-party belt-clips, holsters, and similar
accessories may not comply with this requirement and should be avoided.

User Guide
Introduction
P1-3

User Guide
Introduction
1.4 Radio Frequency Interference Information
1.4.1 FCC Radiation Exposure Statement:
This equipment has been tested and found to comply with the limits for a Class B
digital device, pursuant to Part 15 of the FCC Rules. These limits are designed
to provide reasonable protection against harmful interference in a residential
installation. This equipment generates, uses and can radiate radio frequency
energy and, if not installed and used in accordance with the instructions, may
cause harmful interference to radio communications. However, there is no
guarantee that interference will not occur in a particular installation. If this
equipment does cause harmful interference to radio or television reception, which
can be determined by turning the equipment off and on, the user is encouraged
to try to correct the interference by one of the following measures:
-Reorient or relocate the receiving antenna.
-Increase the separation between the equipment and receiver.
-Connect the equipment into an outlet on a circuit different from that
to which the receiver is connected.
-Consult the dealer or an experienced radio/TV technician for help.
FCC Caution: Any changes or modifications not expressly approved by the party
responsible for compliance could void the user's authority to operate this
equipment.
This device complies with Part 15 of the FCC Rules. Operation is subject to the
following two conditions: (1) This device may not cause harmful interference, and
(2) this device must accept any interference received, including interference that
may cause undesired operation.
P1-4

User Guide
Introduction
IMPORTANT NOTE:
FCC Radiation Exposure Statement:
This equipment complies with FCC RF radiation exposure limits set forth for an
uncontrolled environment. To maintain compliance with FCC RF exposure
compliance requirements, please avoid direct contact to the transmitting antenna
during transmitting.
This transmitter must not be co-located or operating in conjunction with any other
antenna or transmitter.
This equipment has been SAR-evaluated for normal using condition.
Caution:
The FCC ID of IT7000 for GSM function only is SPY-IT7000PDT-G
The FCC ID of IT7000 for WLAN function only is SPY-IT7000PDT-W
The FCC ID of IT7000 for Bluetooth function only is SPY-IT7000PDT-B
Note: 1.A firmware set the used function of each FCC ID when shipping.
2.Only its bottom side of IT7000 with GPRS module will touch the
human body during handling the IT7000 by hand because The
GPRS Module is placed the bottom side of IT7000.
P1-5

User Guide
Introduction
1.5 System Specifications
The detailed specifications as follows. Unless otherwise noted, all the specifications are
subject to change without prior notification.
System Specification
IT7000
Processor -Intel® XScale PXA255 400Mhz 32 bits RISC
Memory -64MB (M-System) Flash ROM
-64 or 128MB SDRAM
Display -Support 240 x 320 TFT 256K Color LCD
-Transflective type TFT LCD with back light
Radio Support
-Wireless LAN: 802.11b
-Siemens MC55 Tri-Band GSM/GPRS Module:
900/1800/1900MHz
Communication
Ports
-Infrared: One IrDA 1.2 compliant port
-USB: Support USB v1.1 both host and client
(PDA and Cradle)
-Serial: RS232 via optional cable or Cradle
Scan Engine -Default: Symbol SE800
-Optional: Symbol SE900, Opticon VLM4000,
Intermec EV-10 CCD, HHP 4080 2D Imager.
Expansion Slot -One Compact Flash Type-II slot (support 3.3V)
-One SD Card slot (support SD memory)
LED
-One three-color LED for Alarm notification (Blue
) and charger
indicator (RED & Green)
-One two-color LED for scanner indicator
P1-6

User Guide
Introduction
Power System
-Builtin 7.4V, 2200mAh Li-ion removable battery pack
(10 operation hours
& 100 standby hours in 64MB
DRAM and 64 ROM module)
-140mA
rechargeable backup battery (It will hold the
system data at least 3hours)
Button/Key
-Power/Front light on/off button
-LED light Key
-4-way navigation button
-4 Application Keys
-3 Scanner Enable Keys
-SW Reset input button
-16 alphanumeric keyboard
Dimensions and
Weight
-Dimensions: 91/76mm (W) x 187mm (L) x 58/43
mm
(H)
-Weight: 350g
Color -Black
Software -Microsoft WinCE.NET 4.2 (Professional Version)
1.6 Environment Standard:
Storage Temperature -20℃~60℃
Operating Temperature -10℃~50℃
Humidity 5% to 90% (non-condensing)
Drop 5ft (1.5m) drop to concrete
Water & Dust proof IEC 529 rating IP54DW
Vibration MIL STD 810F
P1
-
7

Chapter 2
Getting Started
2.1 Handling the PDA
2.1.1 Starting the PDA
Press the Power key to turn on/off the PDA. If the PDA does not power on, perform a
cold boot.
Figure 2-1
2.2: Initiating a Network Connection
To tap the icon at Task bar, then a Wireless LAN screen “PRISMNDS1”(Figure 2-2-
1), select page “Wireless Information”. There is a list of Wireless access points.
Select one by double-clicking the access point you want. Or double-click “Add New “ to
add a new access point.
To Click “Connect”icon to connect WLAN with Access point.( Figure 2-2-2)
To select page “Disable”to disable WLAN to save power consumption. ( Figure 2-2-3
& Figure 2-2-4)
P2-1

User Guide
Getting Start
Figure 2-2-1 Figure 2-2-2
Figure 2-2-3 Figure 2-2-4
P2-2

User Guide
Getting Start
2.3: GPRS Function:
2.3.1 Setup GPRS program
1. Put the SIM card into SIM slot of PDA ( See Figure 2-3-5)<Must Turn off PDA>
2. Enter into Start ?SettingsàControl PanelàSIEMENS GPRS (Figure 2-3-
1)àTag ”OK”
3. A setup screen is showing as Figure 2-3-2
Figure 3-2-1Figure 3-2-2
4. Please tag “OK”ICON to continue the program setup(Figure 3-2-3)
Figure 2-3-3
5. The GPRS program will be finalized setup after the blue bar is fulfilled in the below
figure.(Figure 2-3-4)
P2-3

User Guide
Getting Start
Figure 2-3-4
Figure 2-3-5
P2-4

UserGuide
Interface layout
2.3.2 INTERFACELAYOUT
Depending
on
options available
and the capabilities of
your PDA,
the main
interface enables
you
to:
-
Lookup all
your messages
using
the
Inbox
,
Outbox
and
Sent
icons.
-
Createand send
Fax
and
SMS
messages.
-
Make aphone call
using
the
Dialer
,which also enables you to access
SMSand fax
functions.
-
Manage
several
Phonebooks
.
-
Look
up
WAP
sites.
-
Connectto
the Internet.
Note:
When
you
startthe
application
for
thefirsttime,
the communications
settings
screen is displayed
automatically. You
will
not
be able to
access
the main interface
until
these settings
have been
specified.See
Selecting
communications settings,page
2-10.
Readingmessages
Inbox
Clickingthe
Inbox
icon
displays alist of
all
messages
received at
thecenterofthe
screen.
Unread messages on
thislist appear in bold.
The
message contentisdisplayed in
the lowerframe.
P2-5

User Guide
Interface layout
Depending
on
the
type of message, in order
to
send,see
properties,move, resend,
display,
annotate or delete
a
message on the list:
1.
Select the message and holdthe
selection with
thestylusfor afew
seconds
until a
context
menuisdisplayed.
2.
Select the desired option.
3.
Depending on the option
selected,
followthe usualprocedure
orclick
Cancel
or the
OK
icon,
located
in
thetop right-hand corner ofthescreen,
toreturnto
the main
interface.
Tocollect yourmessages, click
on the
Tools
menu, then
Retrieve SMS
from
thelist
that
shows
up.
Messagesreceivedareplacedin
the
Inbox
automatically.
Outbox
Clickingthe
Outbox
icon displays alistof
all
messages
sent atthe centerofthe
screen. The
message contentisdisplayed in
the lowerframe.
This is alisting ofmessages
waiting to
be sent or
sent
from
theapplication as well
asthose downloaded from
your mobile
phone.
P2
-
6

User Guide
Interface layout
Depending
on
the
type of message, in order
to
send,see
properties,move, resend,
display,
annotate or delete
a
message on the list:
1.
Select the message and holdthe
selection with
thestylusfor afewseconds
until a
context
menuisdisplayed.
2.
Select the desired option.
4.
Depending on the option
selected,
followthe usualprocedure
or
to
return
to
the
main
interface click the
Cancel
button
or
the
OK
icon,located in
the
top
right-hand
corner of the
screen.
Sentbox
Clickingthe
Sent
icon will display
the list
ofmessages sentfrom the
outbox.The content of
the
selected message is
displayed in the
frame.
To send, see
properties,transfer,
display,
annotate ordelete amessage from thelist:
1.
Select the message and holdthe
selection with
thestylusfor afew
seconds
until a
context
menuisdisplayed.
2.
Select the desired option.
3.
Depending on the option
selected,
followthe usualprocedure
orclickthe
Cancel
buttonor
the
OK
icon, located in
the
top
right-hand corner of the
screen, to
return
tothe
main
interface.
P2-7

User Guide
Interface layout
Phonebooks
Clickingon the
Phonebooks
icon
displays adrop-downlist
containing the
phonebooks you
have
created or imported.Select
the one you
wish
to
set
as
the default
phonebook from
the list to be
looked up oredited.
If the
drop-downlistis emptyand
you
wouldlike to
import contacts
from your mobile phone, select the
Tools
>
Reada
phonebook
menu.
See Managing Phonebook,
page 2-12.
Iconsand menus
Displayicons
Clickingthe icon
located
at
the
bottom ofthe
screen
symbolizing
twoarrows on ablank page,
displays the fastaccess icons
for
availablefunctions (which are as
follows,
fromleft
to right: send
and
receive
Fax
,send
and receive
SMS
,
Phonebook
,
Dialer
or
Remote network access
).
Click
this
icon again tohide them.
P2-8

User Guide
Interface layout
Drop-down menus
The
New
and
Tools
drop-down
menus have several
functions, depending on the
context
and options available:
Newmenu
Click on
the
New
menu
atthe
bottom of
thescreen,
then select:
o
SMS
:
follow
the stepsto
prepare and send
SMS messages as described on page
26.
o
Phonebook
.Tocreatea
phonebook, see Managing Phonebook,
page
2-10.
o
PhonebookContact
.To
adda
contactto your phonebook,see Managing
Phonebook,
page
2-10.
o
Call
.
Tospeed-dial
the
telephone
number forone ofyour
Contacts,see page
2-11.
Tools menu
Click on
the
Tools
menu at
the bottom
of
thescreen,then
select:
o
ReadSMS
messages
.
The application retrieves
the
SMS
messages. See
SMS,
page 27.
o
Lookupaphonebook
.Tolook
up and download
aphonebook:
the one
in
your
mobile phone or
the one
in
your SIM
card.See
Phonebook, page
2-8.
o
Reply
:This command
will be available if
amessage is
selected in
theInbox.
o
Resend
.To
resend
the selected
message.
o
Transfer
.Totransferthe selected message.
o
View
.
To
displaythe content of
the selected message.
o
Annotate
.To annotate
a
faxwhich is
tobe resent, transferred or
saved.
See
Fax,page
17.
o
Delete
.To delete one or more
messages selected
fromthe list.
o
Selectall
.Toselect
all
messages on
the list.
o
Options
.
To
configure
theapplication'scommunications settings.See Settings,
page 11.
o
Dialer
.
To
make acall
directlyfrom
the application. See
Dialer,
page 2-14.
o
Dial-up networking
.To
manage remoteaccess networks
suchas
Internet or
WAPservices. See
Dial-up
networking, page 2-24.
o
About
.
Toaccess
information aboutthe application.
o
Exit
.
Toshut
down the application.
P2-9

User
Guide
Selecting communications
settings
2.3.3 SELECTINGCOMMUNICATIONS SETTINGS
Before using the communications
features,ensure
thatthe communications port
and
the equipment
you are using have
been declared correctly.
Communications tab
1.
Select
Tools>Options>
Communications
2.
Select
the
Manufacturer
and the
Model
of
yourequipment (modem or
telephone).
3.
Select
Connectiontype
being used
.
4.
Click
the
icon
located
atthe
top
right-hand corner of
the screen
to
confirm.
The
Detect
button prompts
you
tosearch
yourequipment automaticallyand to
configure
the
application.
The
Status
button
returnsinformation on your equipment.
P2-10

User
Guide
Makingavoice
call
2.3.4 MAKINGAVOICECALL
1.
Select
Call
fromthe
New
menu in
the mainscreen.
The contactslist
shows up.
2.
Select the
contactyou wish
to call.
If
thiscontacthas
more than one telephone
number listed,
select
one ofthem and click
Continue
.
3.
Click
OK
tomakethe
call
and follow
theinstructionsdisplayed on screen. This
function
enables you
tomakea
call
rapidlyfrom the
mainscreen.
If your mobilephone supports
the
Dialer function
you
can also
make
a
voice call using it.
See page
20 for
more detailson
theDialer.
P2-11
Other manuals for IT7000
1
Table of contents
Other BitaTek PDA manuals
