Blue Star 3WAE181YB User manual
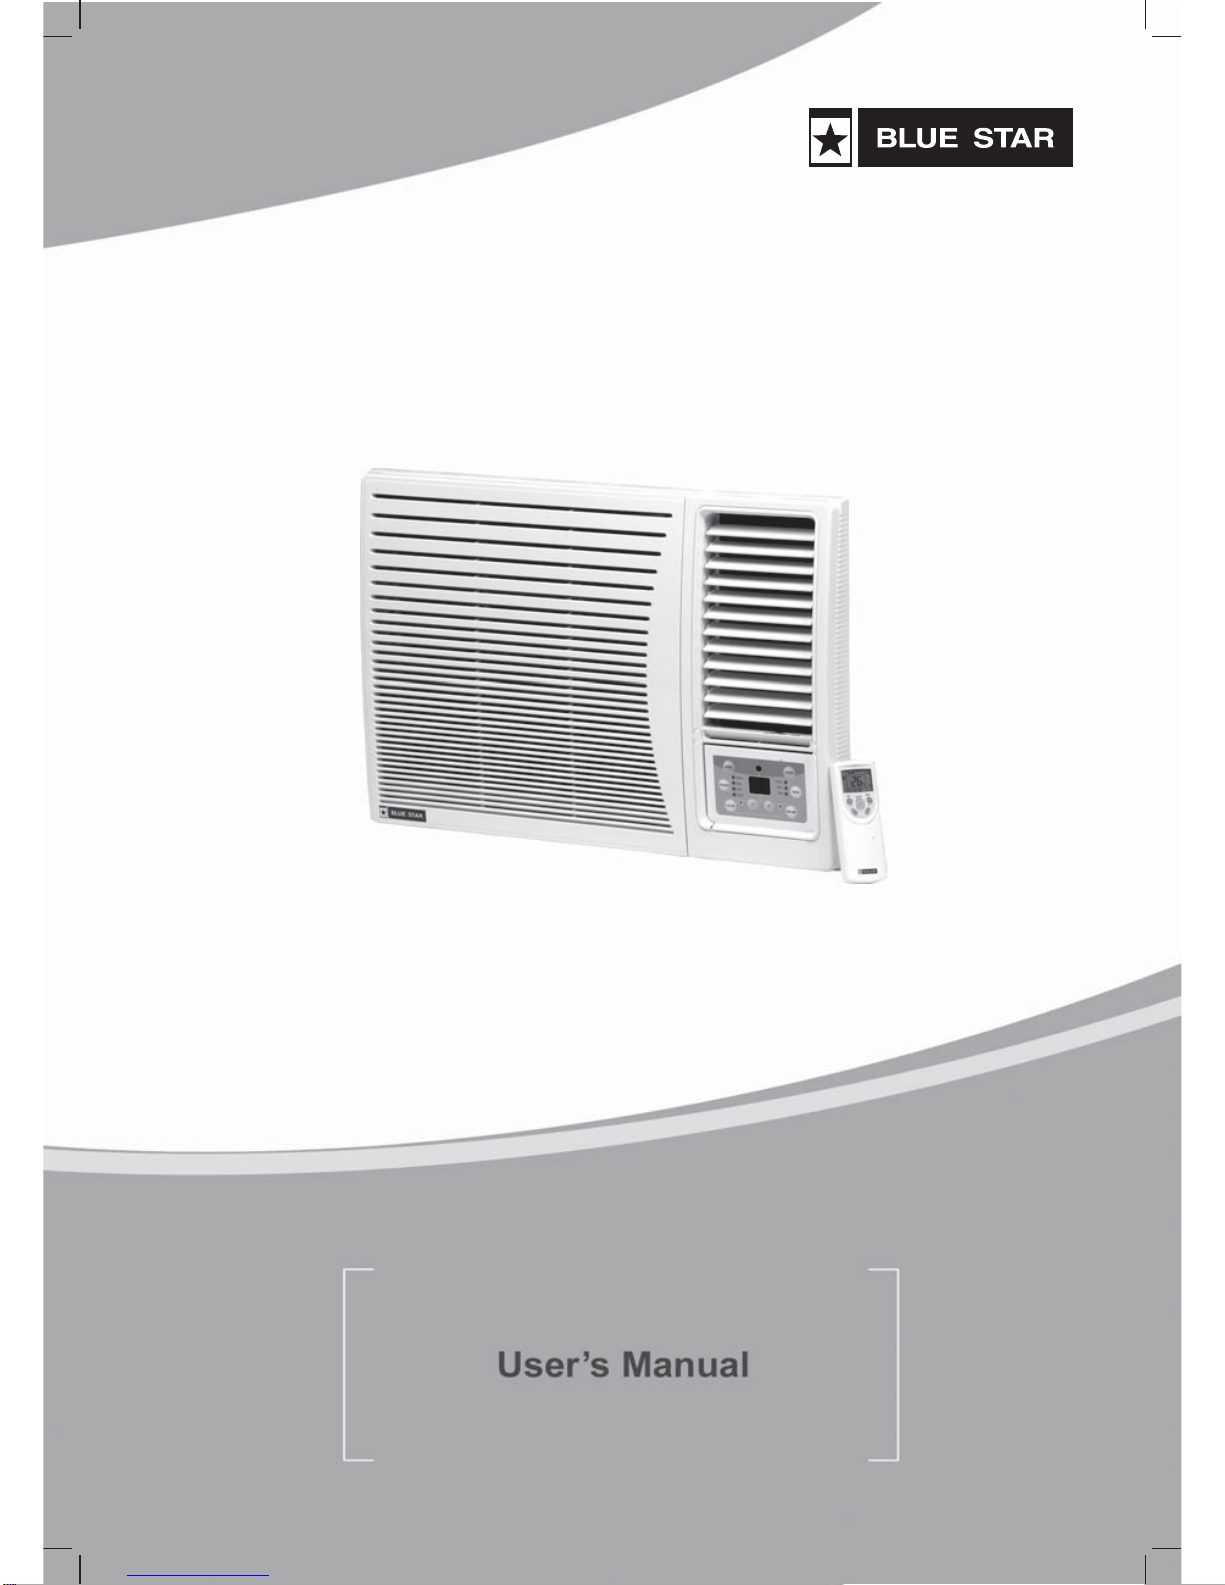
Star-rated
Window Airconditioner
MODELS: 3WAE181YB, 2WAE121YA,
2WAE181YA, 1WAE241YA

First published - December 2009
Reprinted - December 2010
No part of this publication may be reproduced in any manner whatsoever
without permission in writing from the Vice President, Room
Airconditioners Department, 9 Bazullah Road,
T.Nagar, Chennai 600 017.
While due care has been taken to avoid errors or misinterpretation, Blue Star
Limited is neither liable nor responsible for consequence of any action taken,
on the basis of this publication.
All contents applicable as on date of publication. Modifications may take
place subsequent to that.
Published by Blue Star Limited, No. 9, Bazullah Road,
T. Nagar, Chennai-600017, India.
For restricted circulation only. Not for sale.
1
Contents
From our Vice President 2
Know your Airconditioner
- Features 3
- The Touch Control Panel 4
Installation 5
The Remote Control 8
Using the Remote Control 9
Operation 10
Tips for Comfort & Economy 15
Caution 16
Care and Maintenance 18
Warranty Certificate 21
Blue Star Service Offices Back Inner Wrapper
2
2
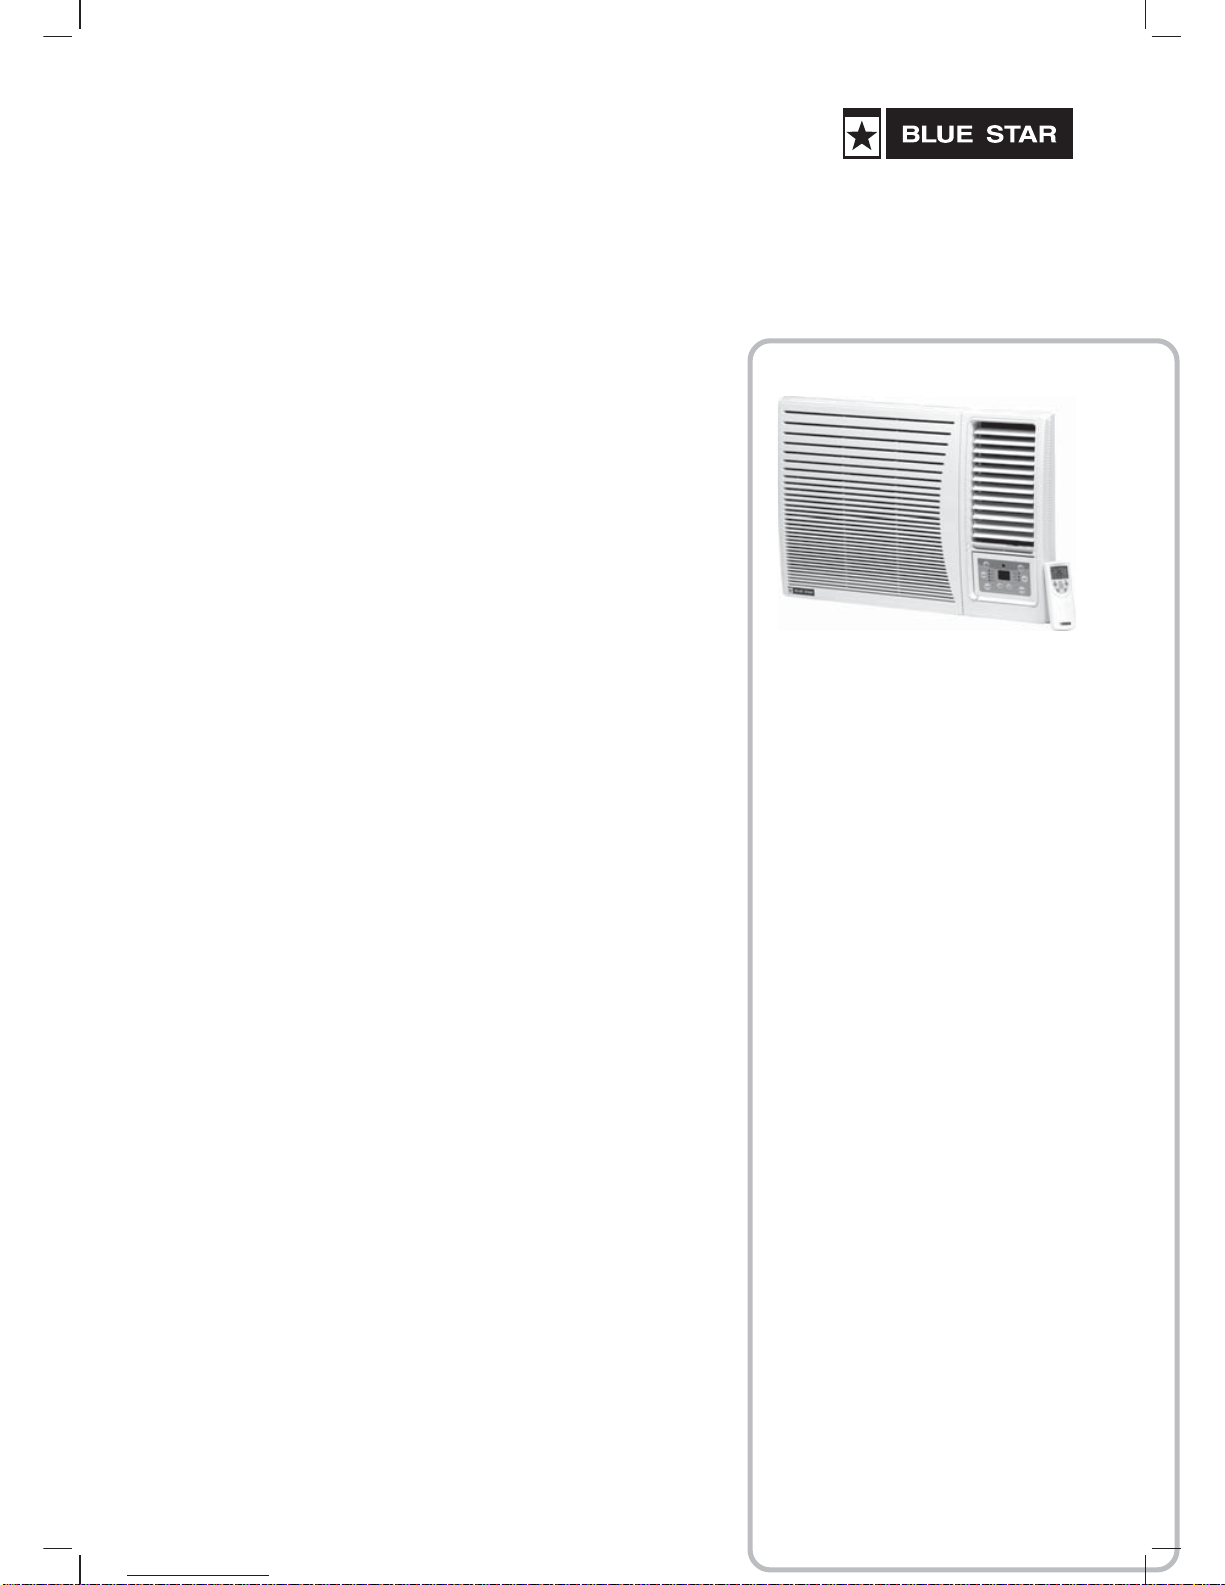
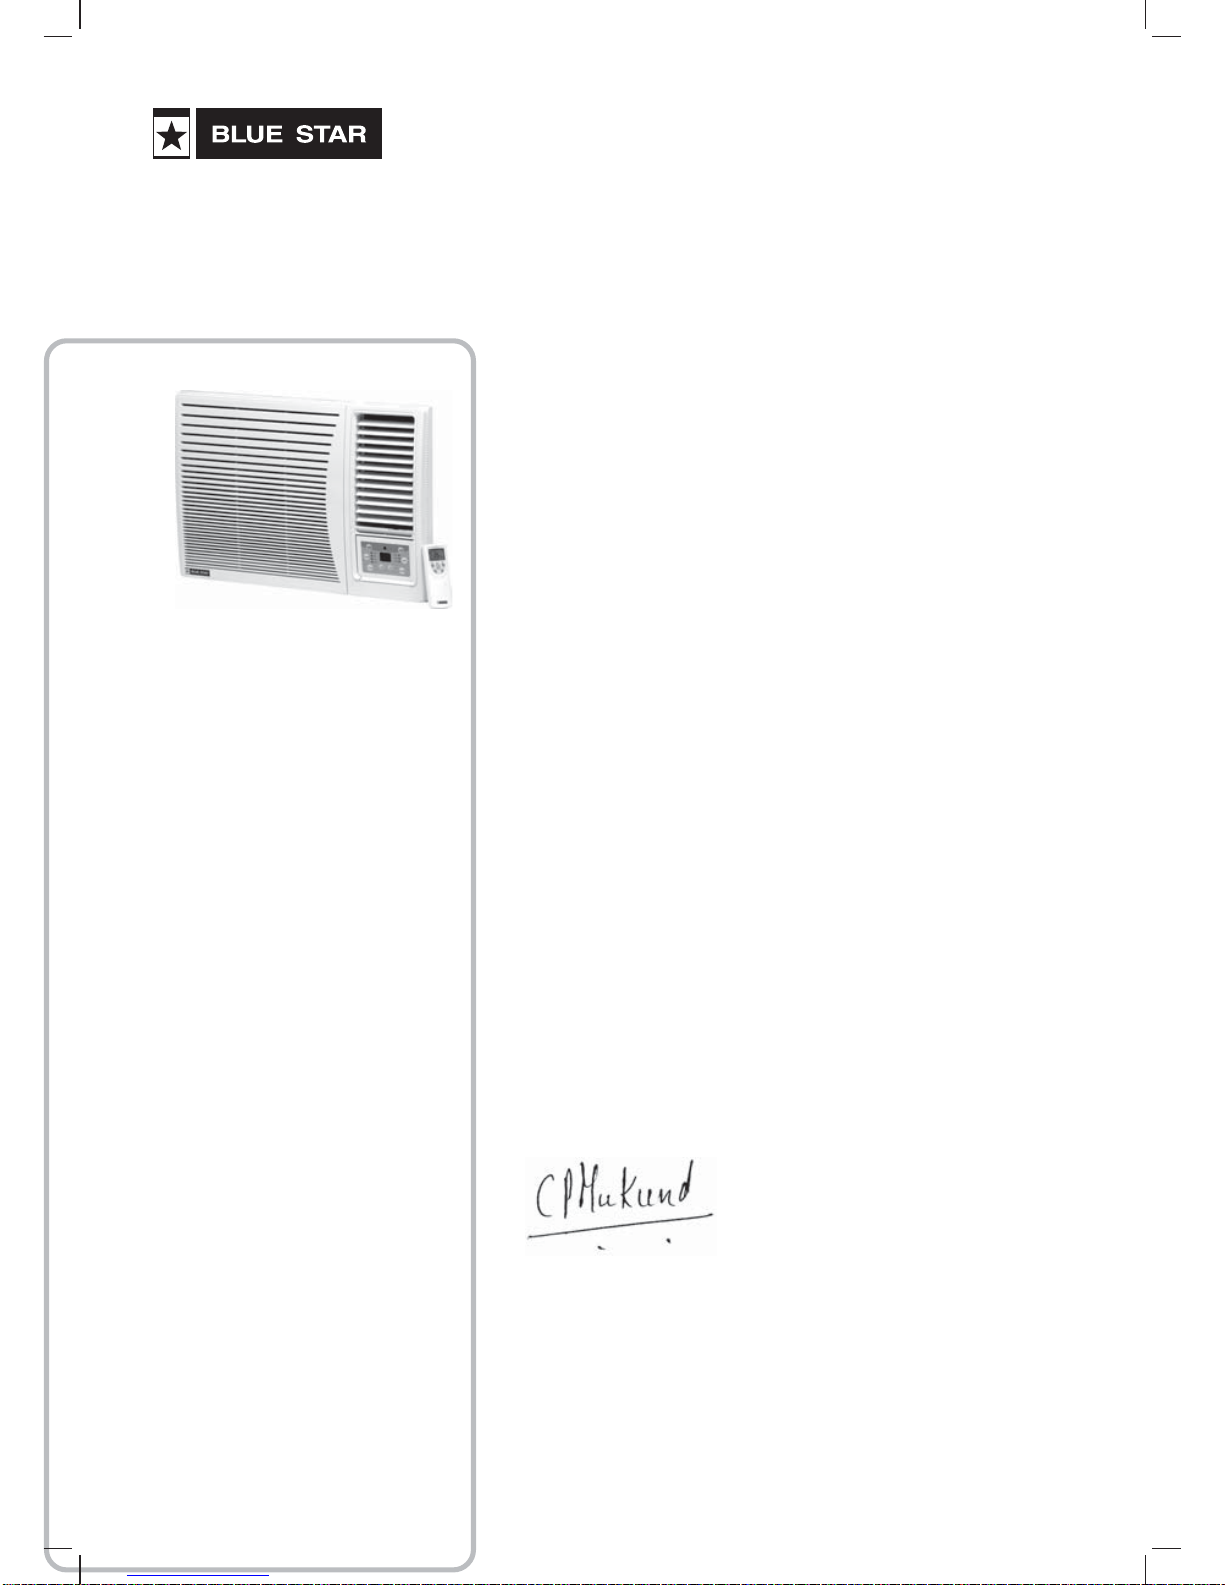
Dear Customer,
Congratulations on the purchase of your New Star-
rated Window Airconditioner. This superior product
has been engineered for convenient and optimum
performance. It has been manufactured with the
best available materials, with stringent quality
controls undertaken during all the manufacturing
processes. It has been tested in the factory under
actual operating conditions to ensure years of
satisfactory and trouble-free performance.
We are confident that time and performance will
justify the trust you have placed in this product.
This manual will help you get the best out of your
Star-rated Window Airconditioner. Please spare some
time to go through this manual carefully.
In the unlikely event of your running into a problem,
do not hesitate to approach your dealer or the
nearest Blue Star office. The list of Blue Star service
offices is provided on the back Inner wrapper.
I do hope that you will enjoy using your Star-rated
Window Airconditioner.
With warm regards,
Mukundan Menon
Vice President
Room Airconditioners Department
Blue Star Limited
Letter from the
Vice President
3
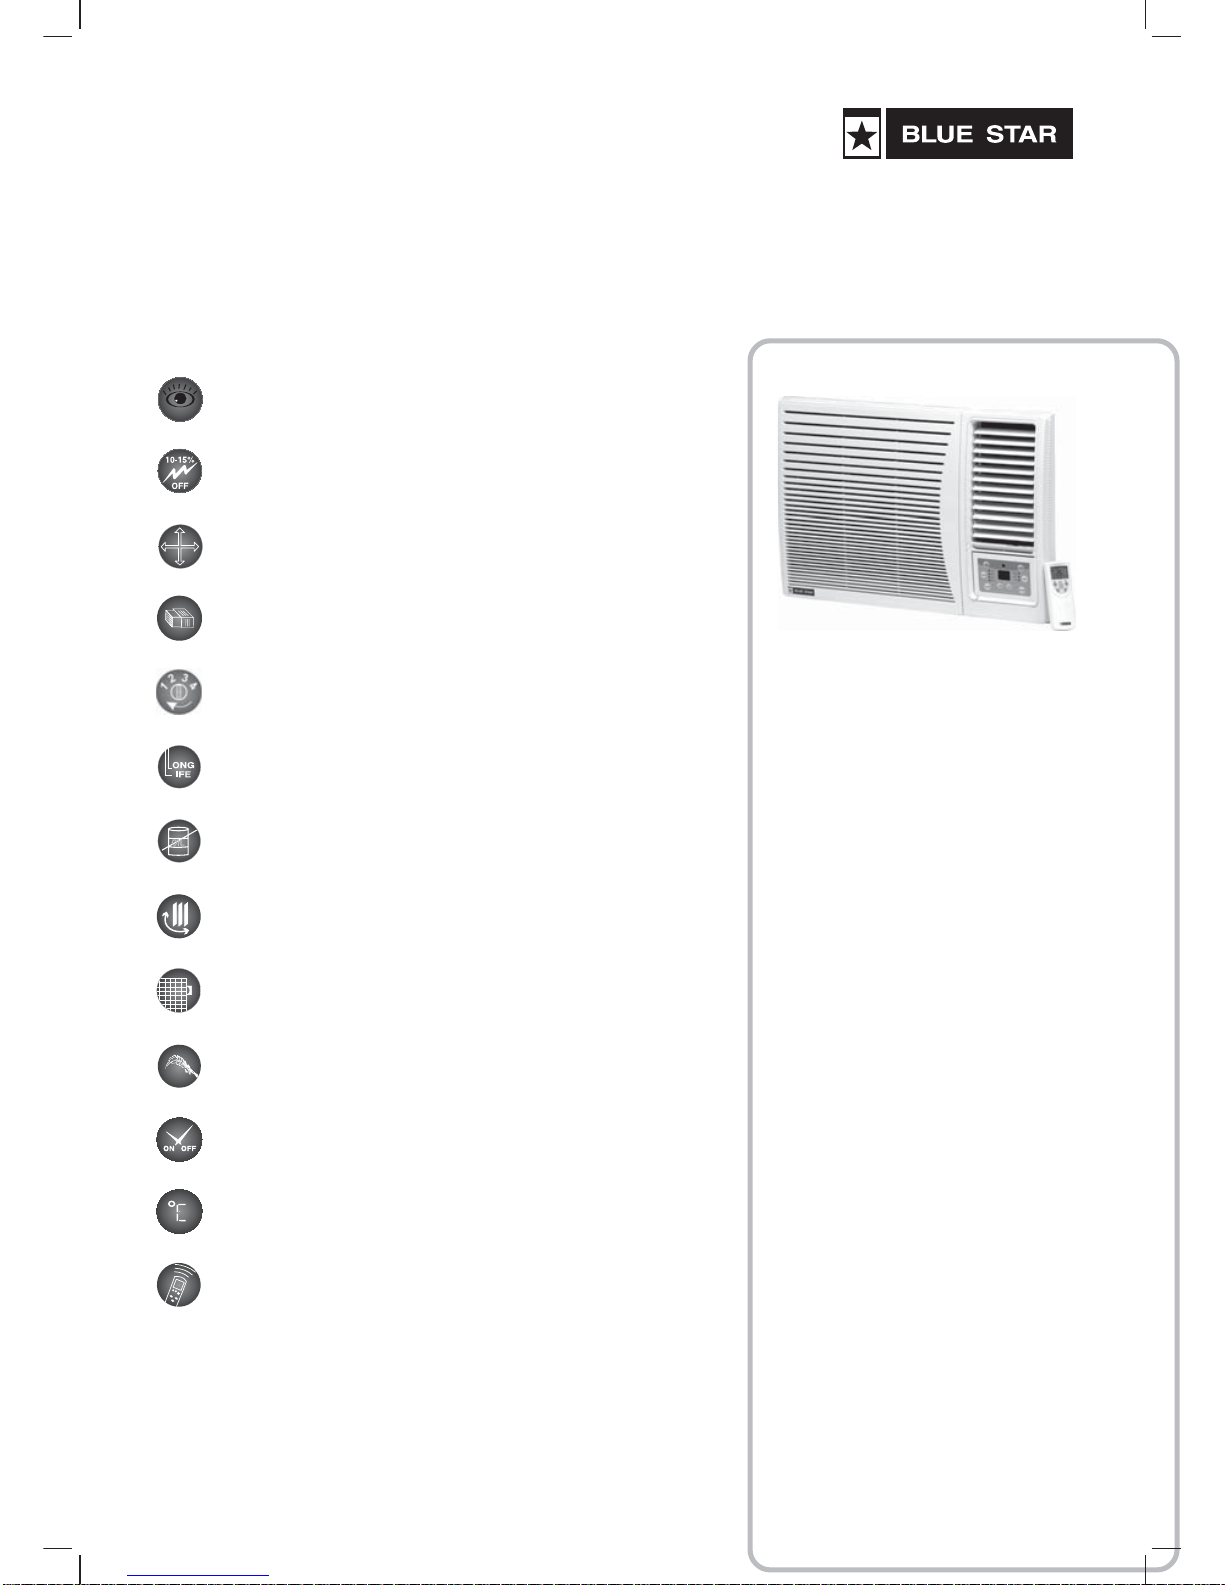
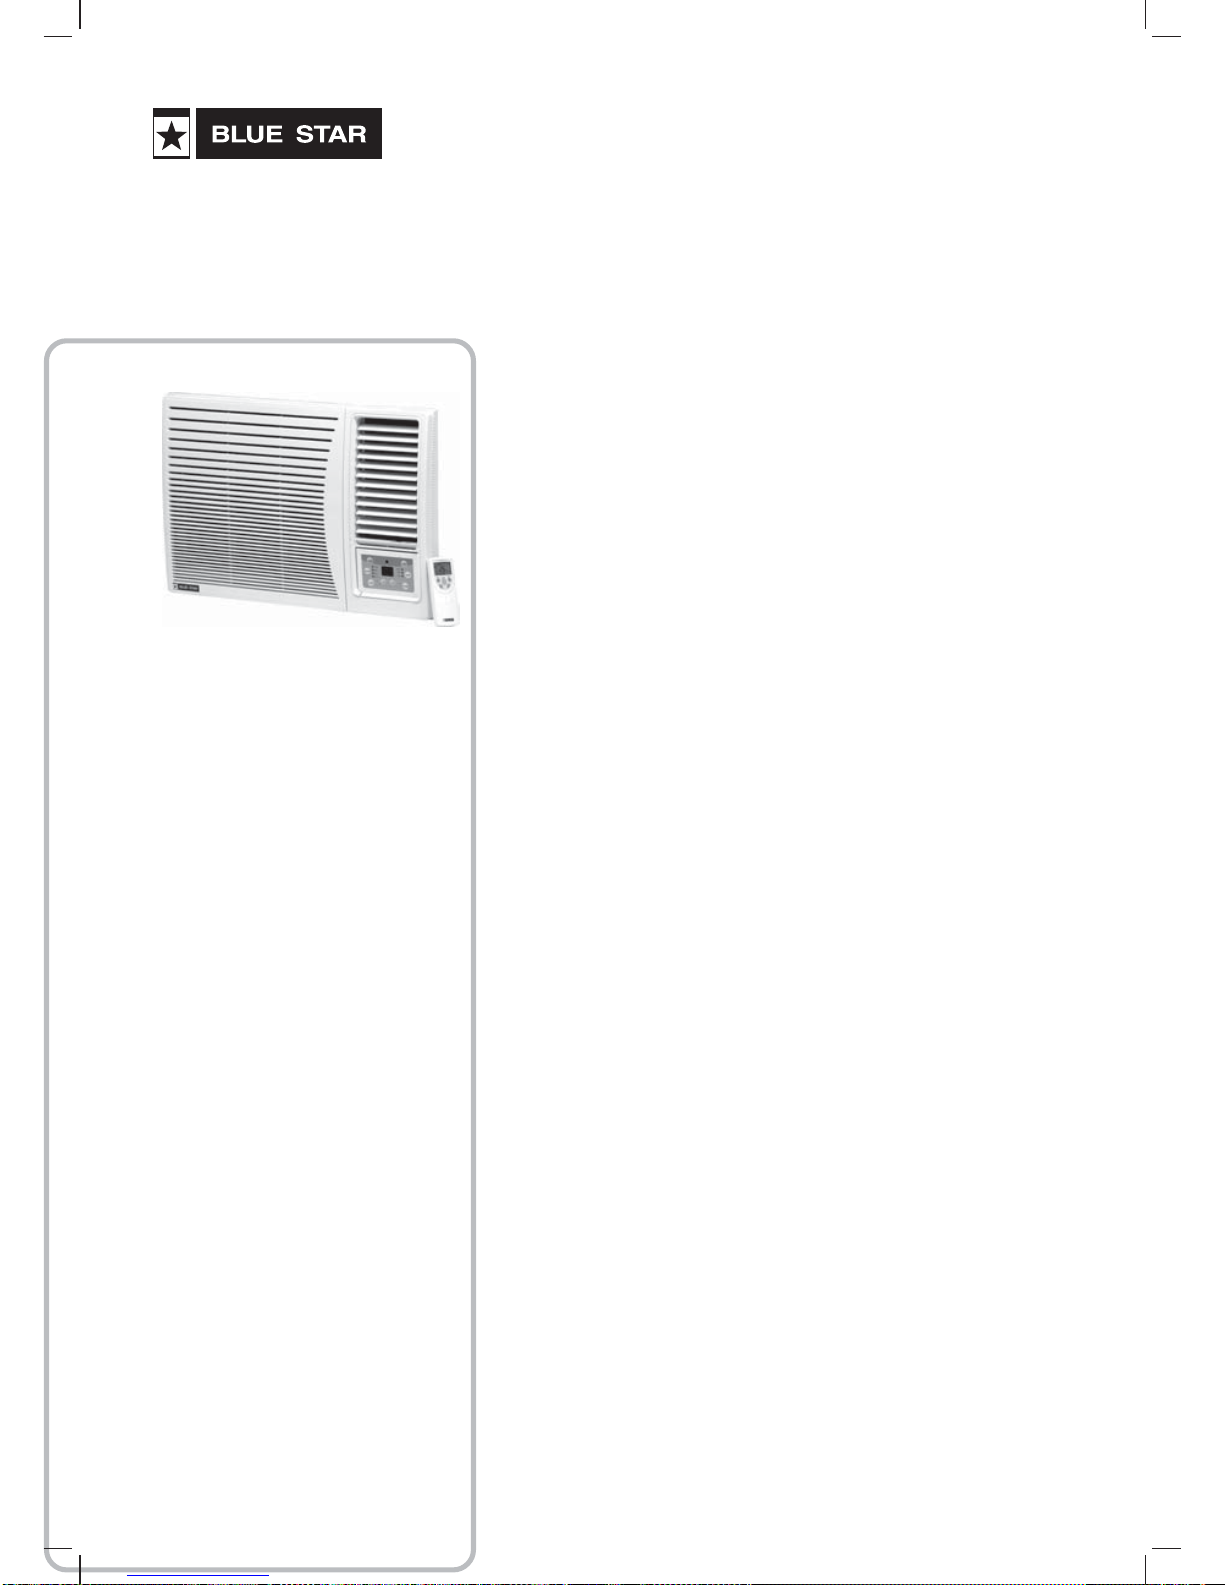
Know Your
Airconditioner
Great Looks
Power Saver Compressor
4-Way Air Distributor
Slide-Out Chassis
4-Speed Cooling
Long Life
Most Advanced Fan Motor
Auto Swing
Slide-In / Slide-Out Filter
Features
Feather Touch Controls
Programmable Timer
Digital Display
Full function Remote

4
4
Nominal Tonnage Model
1.0TR 2WAE121YA
1.5TR 2WAE181YA
1.5TR 3WAE181YB
2.0TR 1WAE241YA
The Touch Control Panel
5
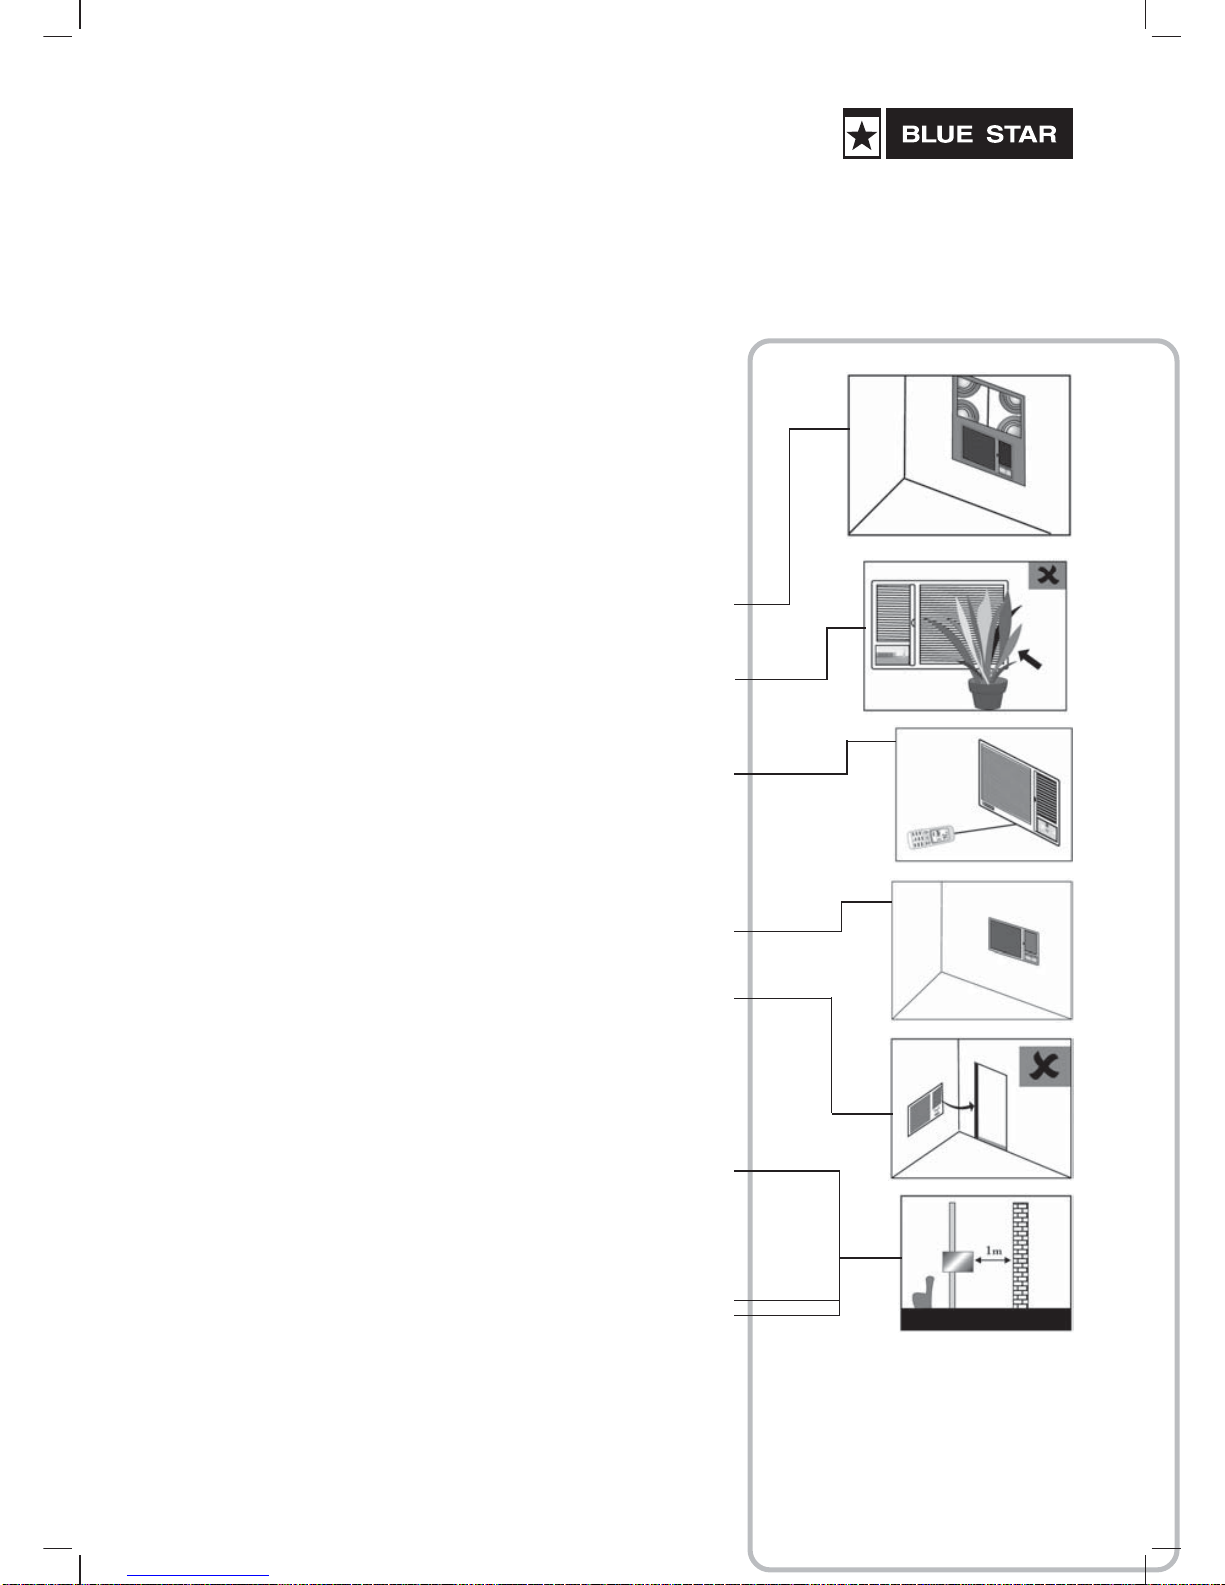
Installation
Precaution
Please ensure that you get only an authorised
Technician to install the airconditioner for you, as
many factors need to be considered for the efficient
performance of your Window Airconditioner.
Location
– To get the best results, install the window
airconditioner at window sill level.
– Ensure that both the air-throw outlet and air-
intake grill are not blocked by any furniture or
other such equipment, for a distance of at
least three feet.
– Identify the area within your room which you
are most likely to occupy. Then ensure that
there is a line-of-sight view from there to the
window airconditioner, because otherwise you
cannot use your remote control conveniently.
– Install the airconditioner as much to the centre
of the wall, as possible. Avoid using a corner.
– Do not install the airconditioner too close to an
entrance which is likely to be opened and
closed frequently.
– Outside the room, ensure that the hot air from
the rear end of the unit discharges freely into
the open atmosphere. A minimum clearance of
30 cms on the two sides and 1.0m at the rear
of the external portion of your airconditioner, is
advisable.
– Select a location that supports the weight of
your airconditioner. Also, there should be no
vibration that results in increased noise.

6
6
Procedure
1. Remove the sticker from the front panel.
2. Slide the unit into the installation opening,
which should be created slightly larger than
the unit size. When installing the unit, it should
be slanted backwards (by 6-10mm).
3. Fill up gaps between the cabinet and the
woodwork / support structure with sponge or
foam.
Support & Protection
–Use Iron Support
If the installation opening is not strong enough
to support the airconditioner, iron supports
should be installed externally on the building.
–Use Sunshade Board
Install a sunshade over the unit on the outside
to prevent direct sunlight on it, as well as to
protect it from falling objects.

7
Drain Water
To achieve the maximum cooling efficiency, the
airconditioner is designed to splash the condensation
water on the condenser coil.
In order to avoid the splashing sound, an external
drain can be provided by using the following
procedure. This may however cause a small loss of
performance.
1. Slide out the chassis from the cabinet
2. Remove the rubber plug from the body base
plate.
3. Install the drain pan at the corner of the cabinet
with 2 screws.
4. Connect the drain hose to the outlet on the
drain pan bottom.
5. Slide the chassis into its original place in the
cabinet.
Relocation
To relocate the airconditioner, please contact your
dealer. Relocation should be carried out only under
the direction of authorised professional technician.
Electric Wiring
– Ensure reliable earthing.
– Use an exclusive circuit
– Do not use removable socket which could lead
to poor contact.
– Install MCB in the AC circuit to suit the capacity.
Recommended: 16A
– The fixed wiring should be more than 2.5sq.mm.
– Use approved voltage stabiliser, with a minimum
capacity of 3kVA.

8
8
Remote Control
9
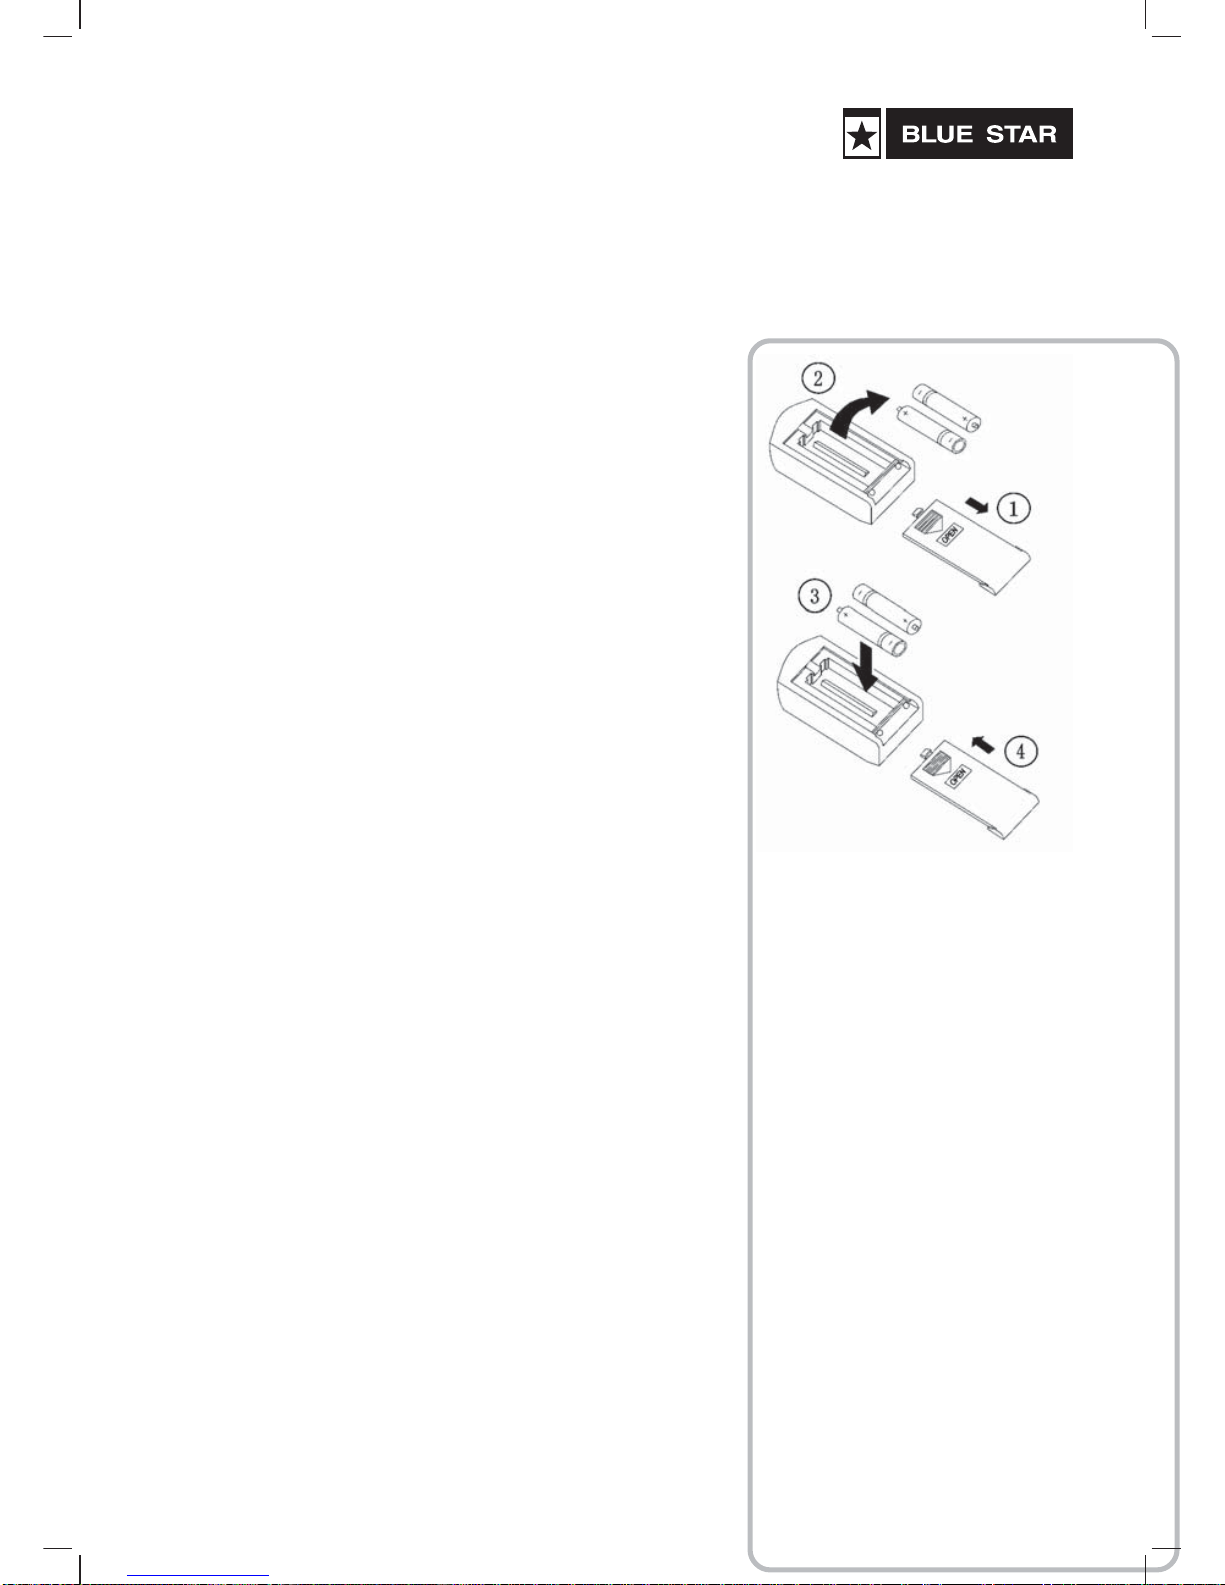
Using the
Remote Control
Changing Batteries
1. Slightly press the battery cover where it is
marked in the arrowhead direction to open the
battery compartment of the remote control.
2. Take out the old batteries.
3. Insert two new AAA 1.5V dry batteries, and
pay attention to the polarity.
4. Reattach the back cover of the remote control.
NOTE:
• Do not use old batteries, or batteries of different
brands as this can cause malfunction of the
wireless remote control.
• Remove the batteries if the remote control is
not going to be used for a long time.
• Operation should be within the receiving range
of the remote control.
• The remote control should be placed at least
1m away from television or audio systems.
Be sure to observe the following:
• Aim remote control at control panel on the
airconditioner when operating.
• Do not drop or throw the remote control.
• Do not place the remote control in a location
that is exposed to direct sunlight or next to a
heating unit or other heat source.
Locking the Keypad
To lock or unlock the keypad, press the + and –
buttons simultaneously. If the keypad is locked, the
icon will be displayed, which disappears if the
keypad is unlocked.

10
10
Adjusting Operation Mode
Remote Control
Switching ON/OFF
MODE
Operation
Using this button, Auto, Cool,
Dry, Fan and Heat mode can
be selected cyclically. Auto
mode is default at power on.
Under Auto mode, the
temperature will not be
displayed. In accordance with
room temperature, the unit will
automatically select the
suitable running mode to make
the ambient comfortable.
Under Heat mode, the initial
temperature setting is 28oC
(82oF); under other modes, the
initial setting is 25oC (77oF).
(only for cooling models)
* Not applicable for this
models
Operation
Remote Control Operation
1. To start operation press ON/OFF once. The unit will
turn on and the display panel will light up.
2. To stop the operation of the unit, press ON/OFF again.
The unit will stop operating and the display panel light
will turn off.
ON / OFF
11
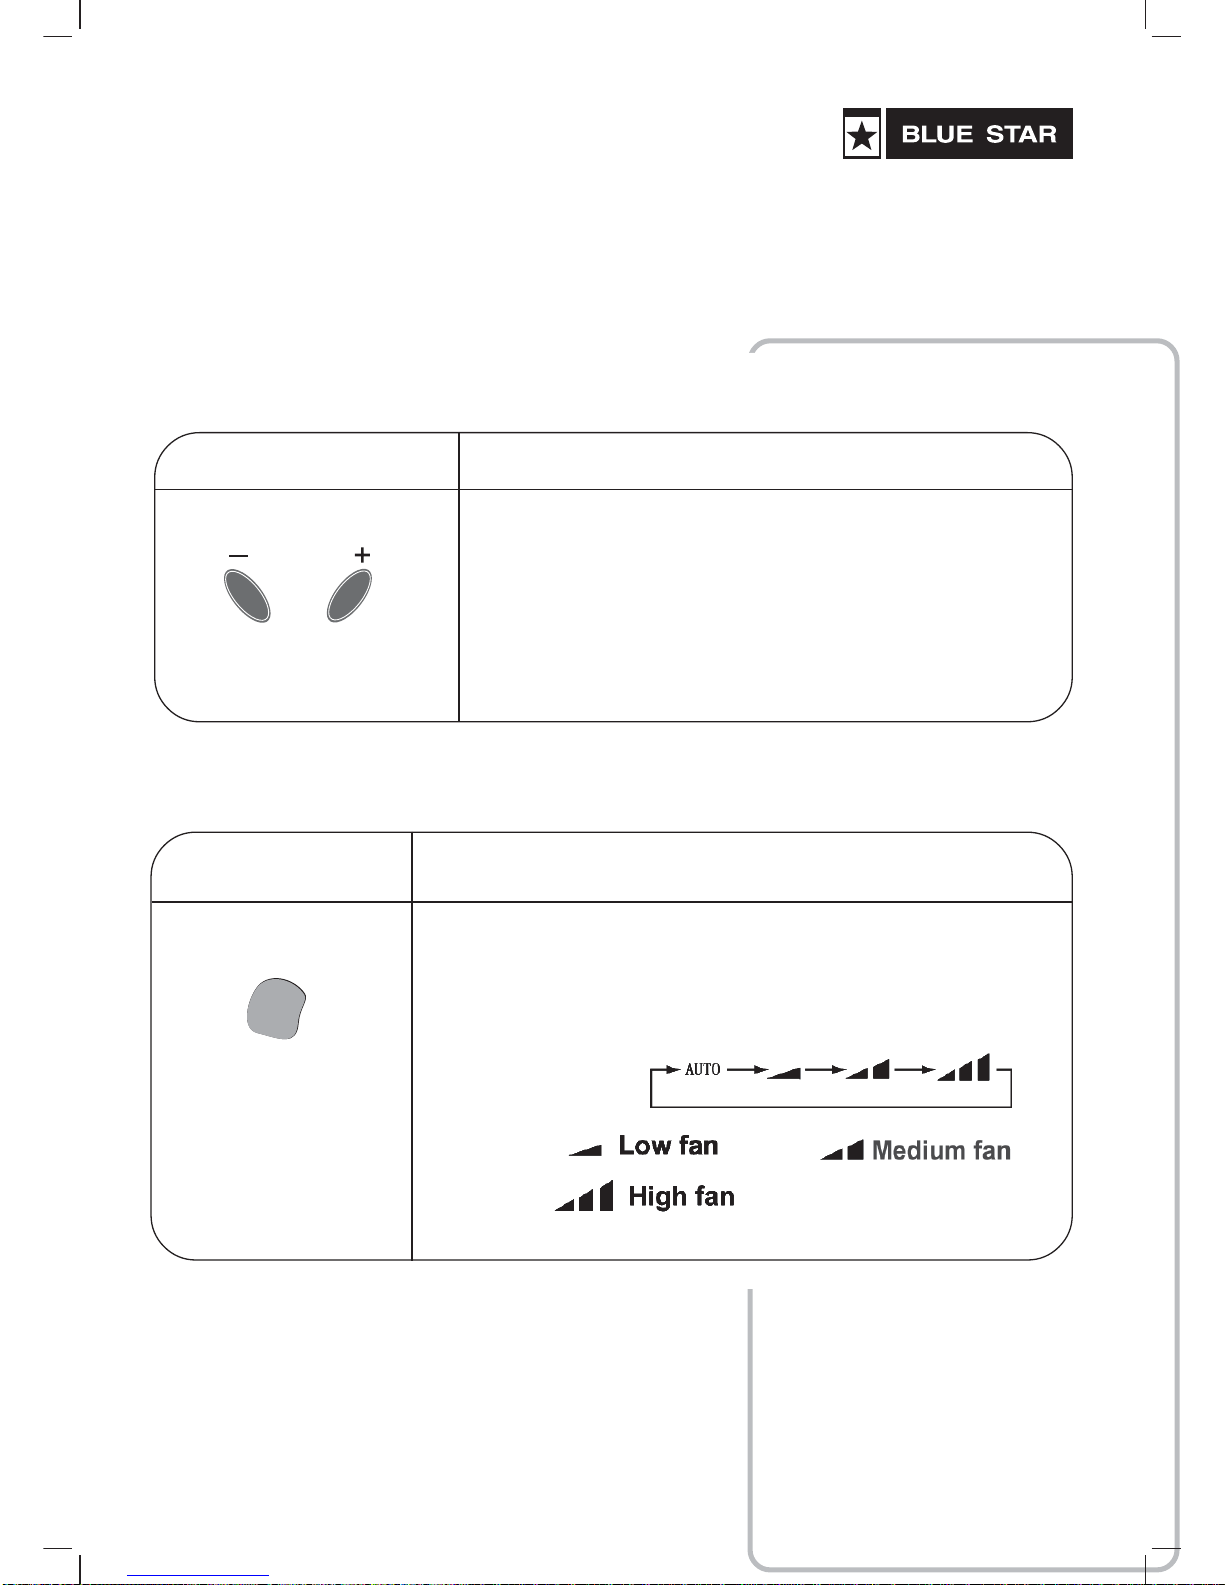
Setting Desired Temperature
Selecting Fan Speed
Remote Control Operation
Using this button, Auto, Low, Medium and High fan speed
can be cyclically selected. Auto fan speed is the default
setting .
FAN
Remote Control Operation
By pressing these buttons, the temperature setting
can be increased or decreased. Continuous press for
two seconds allows quick change of temperature setting
value. Temperature range for Celsius degree setting:
16-30oC. When the unit is off, if + and – buttons are
pressed simultaneously, it is possible to switch between
oC and oF temperature modes.
12
12
AdjustingAirflow Direction
Energy Saver Operation
Under Cool or Dry mode, if the ENERGY SAVER button is
pressed once, the unit enters Energy Saver Mode, and if the
button is pressed again, the mode is exited.
Operation
Remote Control
ENERGY
SAVER
Remote Control
1. Press Swing button to select Air Swing. the vertical
louvers start to rotate for better air distribution around
the room. Press again to stop Swing function.
Note: Using your hands to adjust the direction may cause the
louvers to malfunction. If this happens, stop operation
immediately and restart.
Operation

13
Setting Timer
TIMER ON : When the unit is off, press TIMER ON button.
“HOUR ON” will blink for upto 5 seconds. During that time,
the value can be adjusted by pressing + or – button. For
every press of either of these buttons, 0.5 hours will be
increased or decreased. If the + or – button is pressed
continuously, then after 2 seconds the value will change
quickly. Press the TIMER ON button to confirm the time. After
setting up the timer, if TIMER ON button is pressed again, the
setting will be cancelled. Before setting the Timer, please set
the clock to the current actual time.
Remote Control Operation
TIMER ON
TIMER OFF
TIMER OFF : When the unit is on, press TIMER OFF button
to enter into Timer Off setting. The method of setting is the
same as for Timer On.
Light ON / OFF
Use the LIGHT button to toggle between Light On and Light
Off setting. The default setting when the unit is on is Light
On.
Remote Control Operation
LIGHT
14
14
To set the clock, press the CLOCk button. The value can
be changed using the + or – buttons. Continuous press of
the + or – button can be used to the change the minutes
settings in units of 10 minutes at a time. Press CLOCK or
CONFIRM button to confirm the setting.
Cancel TIMER
After Timer On or Timer Off set up is completed, if the
TIMER ON or TIMER OFF button respectively is pressed
again, then the timer setting is cancelled.
Remote Control Operation
CLOCK
Remote Control Operation
Setting the Clock
TIMER ON
TIMER OFF
SLEEP Mode
Press this button to select Sleep On or Sleep Off. At power
on, Sleep Off is the default. When Sleep function is set,
the Sleep signal will be displayed. It is possible to set the
timer in Sleep mode. Sleep mode is not available under
Fan or Auto modes. When the unit is turned off, the Sleep
function is cancelled.
Remote Control Operation
SLEEP

15
Tips for Comfort
& Economy
Do not overcool the room.
This is not good for health and wastes electricity.
Keep blinds or curtains closed
Do not let direct sunshine enter the room when the
airconditioner is in operation.
Keep the room temperature uniform
Adjust the vertical and horizontal airflow direction to
ensure a uniform temperature in the room.
Make sure that the doors and windows are
closed
Avoid opening doors and windows as much as
possible to ensure effective airconditioning in the
room.
Clean the air filter regularly
Blockages in the air filter reduce dehumidifying
effects. Clean the air filter at least once every two
weeks.
Ventilate the room occasionally
Since windows are kept closed, it is a good idea to
open them and ventilate the room periodically. When
starting the unit, curtains or windows should be
closed to prevent heating/cooling leakage.
16
16
– Do not pull out the power cord.
– Damage to the cord may result in serious
electric shocks.
– Do not use the airconditioner for purposes
other than for cooling the room.
– Do not block the air intake and outlet vents.
This causes lowered performance and irregular
operation.
– Do not insert sticks or other objects into these
vents as it is dangerous to touch the electric
components and the fan.
– Select the most appropriate temperature to
suit the conditions.
– Do not use heating apparatus in the vicinity.
The airconditioner’s plastic parts may melt if
exposed to excessive heat.
– Avoid exposing the body directly to a continuous
unidirectional air flow for long periods. This is
not recommended for health reason.
– Always wait at least 3 minutes before switching
the airconditioner on again after you have
switched it off.
– Always turn off the airconditioner and main
power supply before cleaning to ensure safety.
Caution

17
Inthefollowingsituations,immediately
stop operation of the unit, and contact
your dealer:
– Operation starts or stops abnormally
– Power fuse or switch often breaks
– Water or other liquid is accidentally splashed
into the airconditioners
– Electrical lines are very hot or lines cover
breaks
– Other abnormal situations

18
18
Cleaning the Unit
1. Turn off power before cleaning.
2. Use soft cloth while cleaning cabinet. If the
cabinet is very dirty, dip cloth into warm water
below 400C. The air filter behind the intake
grille should be washed at least once every
two weeks, or as often as it needs cleaning.
3. Do not use gas, benzene, solvent, wash,
chemical solvent etc. for cleaning.
4. Do not splash water directly on the indoor unit,
as it may damage the microcomputer or circuit
plate.
Air Filter
The air filter behind the intake grille should be
washed at least once every two weeks, or as often
as it needs cleaning.
Cleaning theAir Filter
1. To remove the air intake grille, grasp the tab
on the filter and pull to take out.
2. Vacuum clean the filter on the dusty side to
remove light dust.
3. Wash the filter, cleaner side up under gently
flowing water to wash out accumulated dust
and lint.
4. If the filter is very dirty, use a mild household
detergent in the wash water. Let the filter dry
thoroughly before reinstalling it. If necessary,
please ask the professional personnel to clean
it.
5. Check if air inlet and outlet of outdoor unit is
blocked.
Care and
Maintenance
This manual suits for next models
3
Table of contents
Other Blue Star Air Conditioner manuals


Popular Air Conditioner manuals by other brands

Rotel
Rotel MOBILEAIRCONDITIONER790CH Instructions for use

Daikin
Daikin RXL42K2V1B installation manual

Panasonic
Panasonic U-16GE2E5 instruction manual

Wood’s
Wood’s CORTINA Silent 9K Eco operating instructions

Airwell
Airwell HDHC-025N-09M25 User & installation manual

Lennox
Lennox HSXA15 SERIES Homeowner's manual

Biddle
Biddle IndAC manual

Frigidaire
Frigidaire FFRA0511R1 use & care

Vortice
Vortice VORT-KRYO POLAR 10 Instruction booklet

Mitsubishi Electric
Mitsubishi Electric Mr.Slim MS09TW operating instructions

Sharp
Sharp AY-XPC12JHR Operation manual

Retro Aire
Retro Aire R30C Installation, operation & maintenance manual


