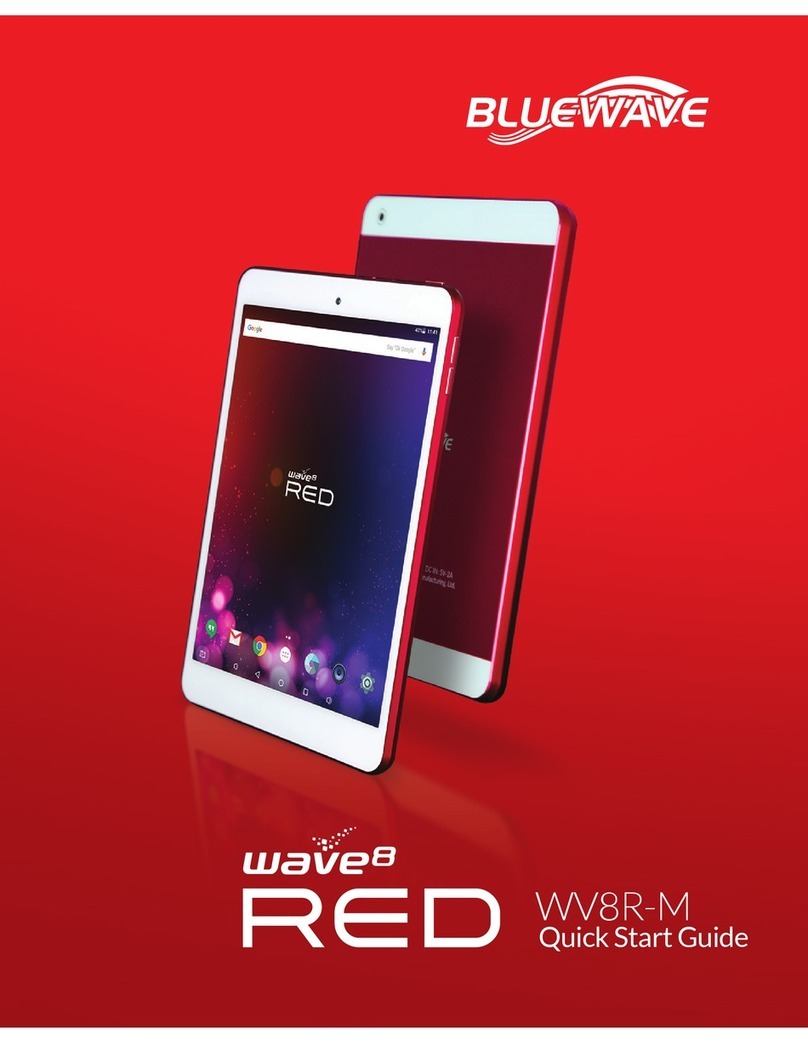
Blue Wave WV8-M User manual

WV8-M
Quick Start Guide

Getting Started .........................................................................2
Yourtabletataglance ..............................................................2
Switchingyourtabletonoroff ...................................................2
Chargingyourtablet.................................................................3
Main User Interface .................................................................2
Changingthewallpaper ............................................................3
Workingwithapps ..................................................................3
Connectivity ..............................................................................2
ConnectingtoaWi-Finetwork ...................................................3
PairingwithBluetoothdevices....................................................3
Memory Storage .......................................................................2
UsingaMicroSDcard ...............................................................3
Transferringlesto/fromPC......................................................3
New Features ............................................................................2
GoogleNowonTap .................................................................3
Doze .................................................................3
AppPermissions.................................................................3
SmartLockforPasswords.................................................................3
DoNotDisturb .................................................................3
SystemUITurner.................................................................3
CONTENTS
Page 01

GETTING STARTED
Your tablet at a glance
Switching your tablet on or off
To turn on your tablet, press and hold the Power button for ve (5) seconds.
To turn it off, press and hold the Power button for two (2) seconds and tap Power Off.
To put the tablet into standby mode, press the Power button once.
To force shutdown, press and hold the Power button for about four (4) seconds.
Charging Your Tablet
1 Power button
2 Volume adjustment
3 Mini HDMI port
4 Micro USB port
5 Earphone jack
6 Reset button
7 MicroSD card slot
8 Rear camera
9 Front camera
10 Speaker
Page 02
To charge via power adapter
1. From All Apps, tap and hold the app icon or widget until the icon magnies.
2. Drag and drop the icon to your desired location on the screen.

Page 03
To charge via PC/notebook
1. Insert the smaller end of the cable into the charging port of the tablet.
2. Connect the other end of the cable to the USB port of the PC/Notebook.
MAIN USER INTERFACE
Icon Name/ Description
Overview
Volume Down
Home
Volume Up
Back
Settings
All Apps
USB Connected
Bluetooth
Wi-Fi
Battery
Time
1. Touch and hold a blank spot on the Home screen.
2. Tap WALLPAPERS.
3. Select the desired wallpaper.
4. Tap Set Wallpaper.
Changing the wallpaper

To view all your apps, tap All Apps
Google Now on Tap
Working with apps
Page 04
These are just some of the Android Marshmallow features supported in your tablet.
Access relevant information and links based on the contents
currently on your screen.
NEW FEATURES
CONNECTIVITY
To add a widget or app on the Home screen
1. Tap and hold the widget or app icon until it magnies.
2. Drag and drop the icon to your desired location on the screen.
To remove a widget or app from the Home screen
1. Tap and hold the widget or app icon until it magnies.
2. Drag to Remove and release your nger when the icon turns gray.
To enable and use Google Now on Tap:
1. Go to Settings > Google > Search & Now >
Now on Tap.
2. Use the toggle switch to enable Now on Tap.
3. To use this feature, tap and hold Home .
1. Go to Settings >Wi-Fi.
2. Slide the Wi-Fi switch to On to see the list of available networks.
3. Tap the name of the network where you want to connect.
4. To disconnect, slide the Wi-Fi switch to Off.
1. Go to Settings > Bluetooth.
2. Slide the Bluetooth switch to On to see the list of devices available for pairing.
3. In the device that you want to pair with the tablet, conrm the pairing code.
4. In the dialog box that appears in the tablet, tap PAIR.
Connecting to a Wi-Fi Network
Pairing with Bluetooth devices

Doze
App Permissions
Smart Lock for Passwords
Page 05
This feature puts the tablet into a sleep state to prevent the tablet’s battery from being
drained. Simply leave your tablet unplugged with the screen off for about 30 minutes.
The tablet remains at Doze mode as long it is kept completely stationary, which means not
moving it and not waking up the screen.
Selectively grant an app the permission to use certain components of your tablet.
Allow apps to automatically sign you in to compatible applications.
To use app permissions
1. Go to Settings > Apps.
2. Tap the gear icon on the top right-hand corner.
3. Tap App Permissions.
4. Tap on any entry to view the apps that have access to that entry.
5. Use the toggle switch to allow or deny an app access to that component.
To use Smart Lock for Passwords
1. Go to Settings > Google.
2. Tap Smart Lock for Passwords.
3. Use the toggle switch to turn on Smart Lock for Password and Auto sign-in.
4. To view your saved passwords, go to passwords.google.com

Page 06
Mute notications with just a tap.
Perform simple UI tweaks over your status bar and its pull-down menus.
Do Not Disturb
System UI Tuner
To use Do Not Disturb
1. Swipe down the notication bar then swipe again.
2. From the Quick Settings, tap Do not disturb.
3. Select whether to apply Total silence, Alarms only, or Priority only.
To enable System UI Tuner
1. Swipe down the notication bar then swipe again.
2. Tap and hold the gear icon until you see it rotate.
3. Upon release, it will display the message “Congrats! System UI Tuner has been added
to Settings.”
4. Go to Settings > System UI Tuner.
5. When you access System UI Tuner for the rst time, it will display a welcome message.
Read carefully and if you agree, tap GOT IT.
To customize Quick Settings
1. Go to Settings > System UI Tuner > Quick
Settings.
2. To rearrange item location, tap, hold, and
drag an item to the desired location.
3. To delete an item from the Quick Settings
page, tap, hold and drag an item to the trash
bin icon.
4. To reset Quick Settings, tap Menu and then
tap Reset.

Page 07
To customize Status Bar
1. Go to Settings > System UI Tuner > Status bar.
2. To remove an item from the Status bar, slide that item’s toggle switch to the left.
Using a MicroSD card
Transferring les to/from PC
MEMORY STORAGE
1. Gently insert the card into the microSD card slot until it clicks into place.
2. Select whether to use the microSD card as portable storage or as internal storage.
Note that using it as an internal storage requires formatting of the microSD card.
1. Connect the smaller end of the cable to the charging port of the tablet and the other
end to the USB port of the PC.
2. Swipe down the notication bar and tap USB for le transfer.
3. In the dialog box, tap File transfers.
4. Once the tablet is detected as a drive, you can copy or move les from tablet to PC, or
vice-versa.
5. When done with the le transfers, swipe down the notication bar, tap USB for le
transfer and tap Charging. You can now safely disconnect the tablet from the PC.
Table of contents
Other Blue Wave Tablet manuals


