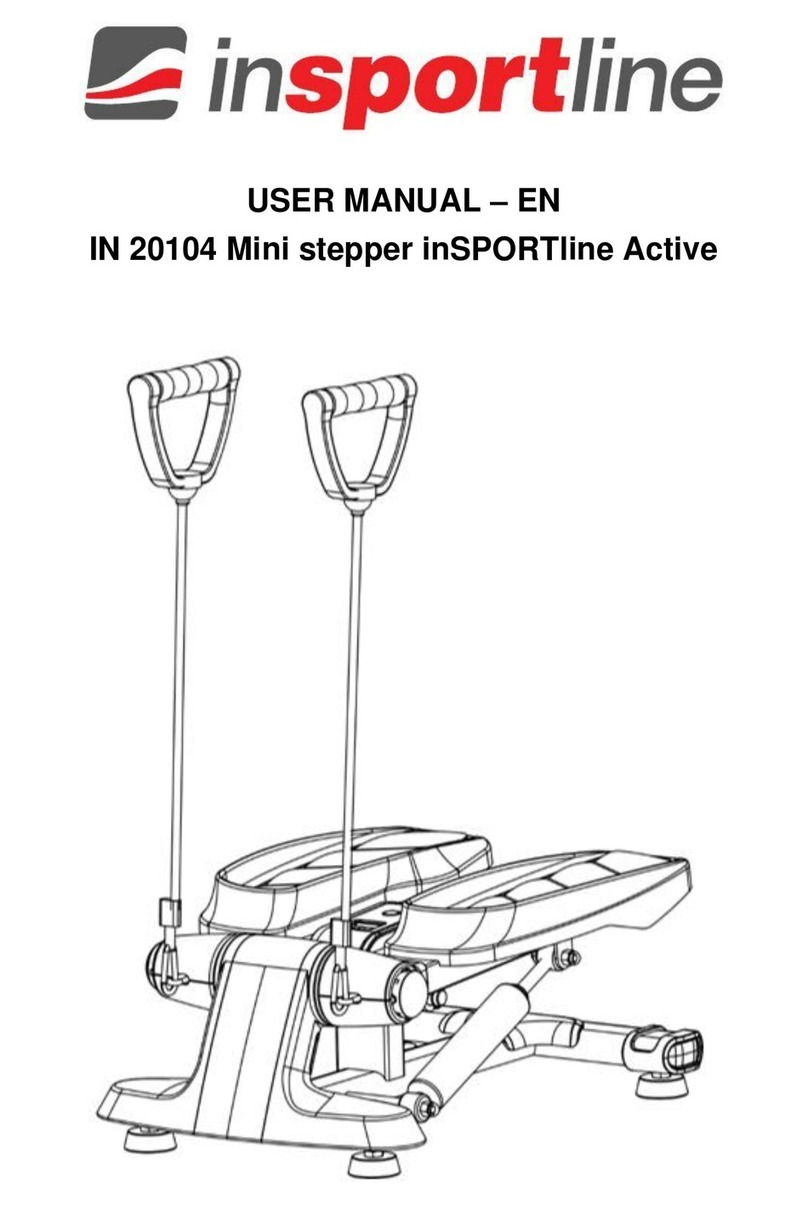
Body Champ BMS 100 User manual


• Read all of the warnings and safety instructions regarding the proper
use of this machine. Use this machine only for the intended purpose of the device.
Do not attempt to modify the machine!
• Before beginning any exercise program, consult with your doctor or health physician.
• Refer to the manual whenever you have a question.
• Keep all body parts and clothing free from all moving parts of this machine!
• If the user needs further assistance, please contact a technical consultant before attempting
to use the machine.
• Keep your ngers, body parts, children and pets away from moving parts.
• Do not allow children near this machine! Teenagers must be supervised!
• Inspect the machine before each use; make sure all of the connections are tightly secured.
• Do not over tighten the bolts or screws as it could result in bending the steel or plastic.
• Inspect the machine for tears, broken welds or loose bolts and make sure to do routine
maintenance on the unit before each use.
• If the parts in the box do not match the owner’s manual, please do not assemble the unit
and contact the customer service department immediately for assistance.
• If the machine is not in proper working condition as specied by the points listed above,
please do not use the machine.
• This product is for consumer use only and it is not meant for commercial use.
• Failure to follow these warnings could result in serious injury or even death.
• The minimum suggested clearance for safe exercise 3’ long 3’ wide.
• The maximum recommended weight capacity for this product is 250 pounds.
Safety and Precaution
1

CA 91789
Warranty Information
2

BMS 100 Parts Listing
3
1 MAIN FRAME 1 18 STEP ARM FOOT PLATE (L & R) 2
2 STEP ARM (LEFT) 1 19 STEP ARM ADJUSTMENT KNOB 1
3 STEP ARM (RIGHT) 1 20 EXERCISE MONITOR MOUNT 1
4 STEP ARM LINK CABLE PULLEY BRACKET 1 1 21 STEP ARM STOPPER 2
5 STEP ARM LINK CABLE PULLEY BRACKET 2 1 22A MAIN FRAME END CAP (FRONT) 2
6 HEX BOLT M10*45L mm 1 22B MAIN FRAME END CAP (REAR) 2
7 HEX BOLT M8*40L mm 4 23 SENSOR 1
8 BOLT M8*25L mm 2 24 EXERCISE MONITOR 1
9 SELF CUTTING SCREW M5*25L mm 4 25 STEP ARM SUPPORT BUSHING 4
10 SELF CUTTING SCREW M4*25L mm 2 26 ROUND PLASTIC DOME END CAP 2
11 SELF CUTTING SCREW M3*10L mm 2 27 GROMMET 1
12 FLAT WASHER OD38*ID19.2*1.0T 4 28 PULLEY 1
13 FLAT WASHER OD25*ID10.3*1.5T 2 29 HYDRAULIC CYLINDER 2
14 FLAT WASHER OD22*ID8.3*1.5T 12 30 CABLE 1
15 FLAT WASHER OD13*ID6.2*1.0T 4 31 MAGNET 1
16 M10 NYLON LOCKNUT 1 32 BUNGEE CORD SET 2
17 M8 NYLON LOCKNUT 6 33 BUNGEE CORD END CLIP 2
Page??
PARTS LIST
Q'TYNO. DESCRIPTION Q'TY DESCRIPTIONNO.

BMS 100 Exploded View
4

STEP HEIGHT ADJUSTMENT
INITIAL STEP
19
BMS 100 Assembly
5
First you will need to install one AA battery in the
Exercise Monitor (24). Simply remove the lid and
insert the battery as shown. Replace the lid.
Next, connect the wire hanging off of the
Exercise Monitor (24) to the connection
located on the Mini Stepper. If the wire is not
visible on the Mini Stepper, use a bent paper
clip to “sh” out the wire.
Your BMS 100 Mini Stepper is almost entirely pre assembled. There are only a few steps you need to take before you
begin using it.
Finally, you will need to place the Mini Stepper on a level surface and start to turn the Step Arm
Adjustment Knob (19) clockwise until the pedals rise to the desired height. Please note, the Step
Arm Adjustment Knob (19) is set to the lowest setting for shipping purposes and as a result the
unit will not function properly until you make the previously mentioned adjustment.
Level 0
Level 1
Level 2
Level 3
Step Height Adjustment
B a t t e r y I n s t a l l a t i o n Installing the Exercise Monitor

0OWERINGTHE%XERCISE-ONITOR
4HEFOLLOWINGINSTRUCTIONSWILLTEACHYOUHOWTOUSEANDREADTHEDIGITALREADOUTONYOUR%XERCISE-ONITOR4OBEGINYOUDONOT
NEEDTOTURNTHE%XERCISE-ONITORONOROFF4HE%XERCISE-ONITORTURNSONAUTOMATICALLYWHENYOUDEPRESSONEOFTHEPEDALSANDIT
SHUTSOFFSHORTLYAFTERYOUHAVESTOPPEDEXERCISING)FYOUR%XERCISE-ONITORDOESNOTTURNONBYDEPRESSINGONEOFTHEPEDALSPRESS
EITHERTHE-/$%OR2%3%4"544/.)FITSTILLDOESNOTTURNONYOURBATTERYMOSTLIKELYNEEDSTOBEREPLACED0LEASEFOLLOWTHE
INSTRUCTIONSLISTEDONPAGEFIVETOREPLACETHEBATTERY
5SINGTHE-/$%"UTTON
4HEMODEBUTTONWILLALLOWYOUTOSELECTTHESTATISTICTHATYOUWISHTOOBSERVEASYOUEXERCISE&OREXAMPLEIFYOUWANTTOSEEHOW
MUCHTIMEYOUHAVEBEENEXERCISINGPRESSTHE-/$%BUTTONUNTILTHELITTLEBLACKARROWPOINTSTO4)-%&OLLOWTHEINSTRUCTIONS
BELOWTOUSETHEREMAININGFEATURES
4)%2
!LWAYS
DISPLAYS
STEPCOUNT
4)%2
$ISPLAYS
4IME
#ALORIE
2%03-).
AND
3#!.
2ESETTINGTHE%XERCISE-ONITOR
4HE%XERCISE-ONITORCANBE
RESETBYPRESSINGTHE2%3%4
BUTTONFORTHREESECONDS)F
THISDOESNOTWORKREMOVETHE
BATTERYFORTWOSECONDSAND
THENREPLACEIT4HISWILLCLEAR
OUTTHEMEMORY
4)-%&5.#4)/.
0RESSTHE-/$%
BUTTONUNTILTHIS
ARROWPOINTSTO4)-%
4IMEISDISPLAYEDIN
-INUTES3ECONDS
2%03-).&5.#4)/.
0RESSTHE-/$%
BUTTONUNTILTHISARROW
POINTSTO2%03-).
2%03-).COUNTSTHE
AMOUNTOFSTEPSYOU
HAVETAKENPER
MINUTE
#!,/2)%&5.#4)/. 3#!.&5.#4)/.
0RESSTHE-/$%
BUTTONUNTILTHISARROW
POINTSTO#!,/2)%
4OTALCALORIEBURNIS
ESTIMATEDAND
DISPLAYED
0RESSTHE-/$%BUTTONUNTILTHIS
ARROWPOINTSTO3#!.4HEARROW
WILLBLINKSTEADILY
4HE3#!.FEATUREWILLAUTOMATICALLY
CHANGETHEMODEFROM2%03-).TO
4)-%TO#!,/2)%%ACHMODEIS
DISPLAYEDFORABOUTSECONDS
BEFOREITCHANGESTOTHENEXTONE
2EADINGTHE$IGITAL$ISPLAY
4HE$IGITAL$ISPLAYSHOWS
NUMBERSONTWODIFFERENT
TIERS4IERWILLALWAYS
DISPLAYTHENUMBEROFSTEPS
YOUHAVETAKENAND4)%2
WILLDISPLAY4IME#ALORIE
2%03-).AND3#!.4HESE
FEATURESWILLBEDESCRIBED
SHORTLY
BMS 100 Exercise Monitor
6

7
Model Number BMS 100
Table of contents
