manuals.online logo
Brands
  1. Home
  2. •
  3. Brands
  4. •
  5. Body Solid
  6. •
  7. Rack & Stand
  8. •
  9. Body Solid SBBR100 Quick start guide

Body Solid SBBR100 Quick start guide

Other Body Solid Rack & Stand manuals

Body Solid SBS100 Quick start guide

Body Solid

Body Solid SBS100 Quick start guide

Body Solid SPR1000DB Quick start guide

Body Solid

Body Solid SPR1000DB Quick start guide

Body Solid SPRRE Quick start guide

Body Solid

Body Solid SPRRE Quick start guide

Body Solid GAR250 Quick start guide

Body Solid

Body Solid GAR250 Quick start guide

Body Solid GMR10 Quick start guide

Body Solid

Body Solid GMR10 Quick start guide

Body Solid GWT56 Quick start guide

Body Solid

Body Solid GWT56 Quick start guide

Body Solid SPRMB Quick start guide

Body Solid

Body Solid SPRMB Quick start guide

Body Solid SSBR200 User manual

Body Solid

Body Solid SSBR200 User manual

Body Solid GDR48 Quick start guide

Body Solid

Body Solid GDR48 Quick start guide

Body Solid SPR250 Quick start guide

Body Solid

Body Solid SPR250 Quick start guide

Body Solid VDRA30 Quick start guide

Body Solid

Body Solid VDRA30 Quick start guide

Body Solid GYR500 Quick start guide

Body Solid

Body Solid GYR500 Quick start guide

Body Solid GDR80 Quick start guide

Body Solid

Body Solid GDR80 Quick start guide

Body Solid SWT1000 Quick start guide

Body Solid

Body Solid SWT1000 Quick start guide

Body Solid GAR100 Quick start guide

Body Solid

Body Solid GAR100 Quick start guide

Body Solid GAR75 Quick start guide

Body Solid

Body Solid GAR75 Quick start guide

Body Solid SSBR100 User manual

Body Solid

Body Solid SSBR100 User manual

Body Solid SPRJC Quick start guide

Body Solid

Body Solid SPRJC Quick start guide

Body Solid SCB-26 Quick start guide

Body Solid

Body Solid SCB-26 Quick start guide

Body Solid GWT66 Quick start guide

Body Solid

Body Solid GWT66 Quick start guide

Body Solid SPR1000DB Quick start guide

Body Solid

Body Solid SPR1000DB Quick start guide

Body Solid GWT76 Quick start guide

Body Solid

Body Solid GWT76 Quick start guide

Body Solid GSR10 Quick start guide

Body Solid

Body Solid GSR10 Quick start guide

Popular Rack & Stand manuals by other brands

Dynex DX-MP3MT Quick setup guide

Dynex

Dynex DX-MP3MT Quick setup guide

Konig & Meyer 24185 manual

Konig & Meyer

Konig & Meyer 24185 manual

ECG LD 326501 instruction manual

ECG

ECG LD 326501 instruction manual

Philips SB7S19S/00 quick start guide

Philips

Philips SB7S19S/00 quick start guide

Woodline KIT-250 lb instructions

Woodline

Woodline KIT-250 lb instructions

ricoo S1222 installation instructions

ricoo

ricoo S1222 installation instructions

Kanto P301 user manual

Kanto

Kanto P301 user manual

VidaBox VB MNT FFS2 installation guide

VidaBox

VidaBox VB MNT FFS2 installation guide

PROEL PLWIN60C user manual

PROEL

PROEL PLWIN60C user manual

AllMounts PLB-43S instruction manual

AllMounts

AllMounts PLB-43S instruction manual

VMP VH-001 instruction sheet

VMP

VMP VH-001 instruction sheet

Nederman SYSTEM 920/400 instruction manual

Nederman

Nederman SYSTEM 920/400 instruction manual

Glasdon ORBIS POST MOUNTING KIT installation guide

Glasdon

Glasdon ORBIS POST MOUNTING KIT installation guide

Songmics LGR105 manual

Songmics

Songmics LGR105 manual

Grape GM401 user manual

Grape

Grape GM401 user manual

FourStarGroup 11225296 manual

FourStarGroup

FourStarGroup 11225296 manual

CHIEF FLR100 installation instructions

CHIEF

CHIEF FLR100 installation instructions

FEC XDCAM EX PMW-EX30 manual

FEC

FEC XDCAM EX PMW-EX30 manual

manuals.online logo
manuals.online logoBrands
  • About & Mission
  • Contact us
  • Privacy Policy
  • Terms and Conditions

Copyright 2025 Manuals.Online. All Rights Reserved.

&
Assembly Instructions
OWNER’S MANUAL
V. SBBR100-20200709
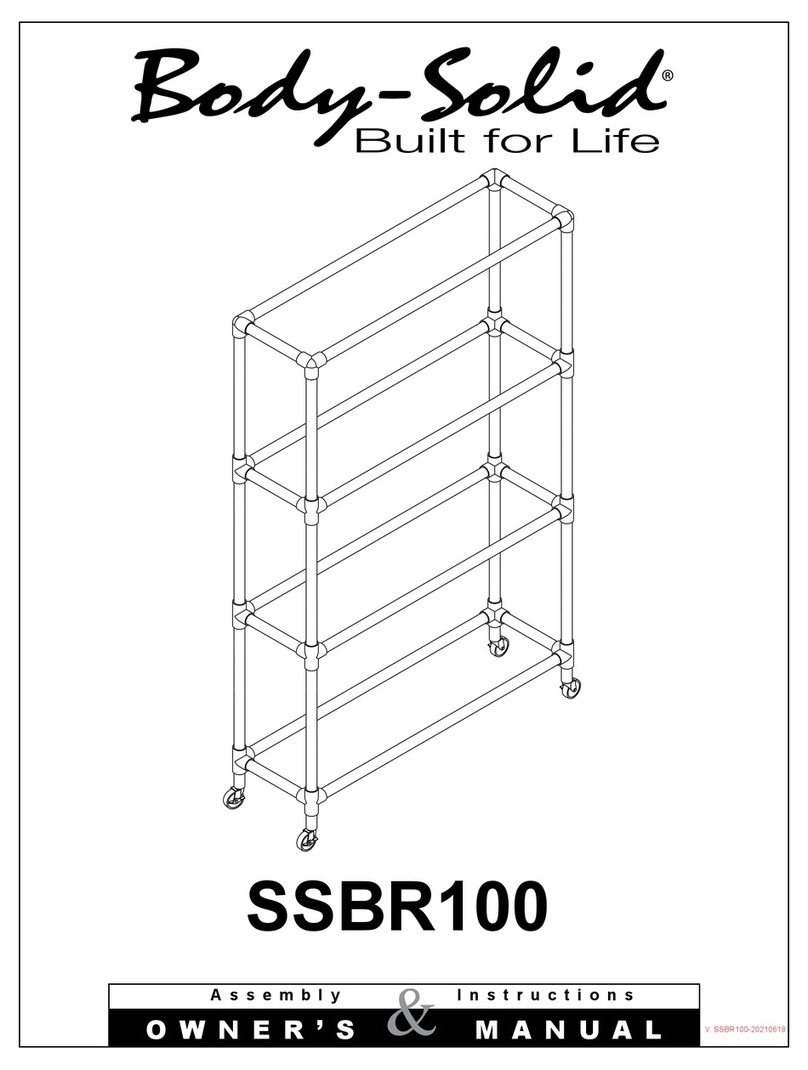
SBBR100
45
2
Notes
Warning, Safety & Maintenance
3
Be sure that all users carefully read and understand all
warning, safety and maintenance labels on the machine
before each use. Failure to do so may result in death or
serious injury.
It is imperative that you retain this Owner’s Manual and be
sure all warning labels are legible and intact. Replacement
Owner’s Manuals and warning labels are available from your
local Body-Solid dealer.
If you have any questions about the operation, set up or
maintenance of this machine please call our customer service
department at 1 (800) 556-3113.

#DWRULE-4
Table of Contents
4
• SAFETY INSTRUCTIONS.............................. PAGE 4
• PREPARATION............................................... PAGE 6
• HARDWARE ILLUSTRATION......................... PAGE 7
• PART / HARDWARE LIST............................... PAGE 8
• ASSEMBLY INSTRUCTIONS......................... PAGE 9
• EXPLODED VIEW.......................................... PAGE 13
• CONTACT PAGE............................................ PAGE 16
Important Safety Instructions
5
Beforebeginninganytnessprogram,youshouldobtainacompletephysicalexaminationfromyourphysician.
Il est conseille de subir un examen medical complet avant d’entreprendre tout programme d’exercise.
Si vous avez des etourdissements ou des faiblesses, arretez les exercices immediatement.
Antes de comenzar cualquier programma de ejercicios, deberias tener un examen sico con su doctor.
When using exercise equipment, you
should always take basic precautions,
including the following:
m ReadallinstructionsbeforeusingtheSBBR100.
Theseinstructionsarewrittentoensureyoursafety
andtoprotecttheunit.
m Do not remove any safety labels from the
machine.
m Donotallowchildrenonorneartheequipment.
m Usetheequipmentonlyforitsintendedpurpose
asdescribedinthisguide.Donotuseaccessory
attachmentsthatarenotrecommendedbythe
manufacturer.Suchattachmentsmightcause
injuries.
m Wearproperexerciseclothingandshoesforyour
workout,nolooseclothing.
m Keephands,limbs,looseclothing,andlonghairwell
outofthewayofallmovingparts.
m Usecarewhengettingonoro󰀨theunit.
m Donotoverexertyourselforworktoexhaustion.
m Ifyoufeelanypainorabnormalsymptoms,stop
yourworkoutimmediatelyandconsultyour
physician.
m Neveroperateunitwhenithasbeendroppedor
damaged.Returntheequipmenttoaservice
centerforexaminationandrepair.
m Neverdroporinsertobjectsintoanyopeningin
theequipment.
m Alwayschecktheunitanditscablesbeforeeach
use.Makesurethatallfastenersandcablesare
secureandingoodworkingcondition.
m Donotusetheequipmentoutdoorsornearwater.
Personal Safety During Assembly
m Beforebeginningassembly,pleasetakethetime
toreadtheinstructionsthoroughly.
m Readeachstepintheassemblyinstructionsand
followthestepsinsequence.Donotskipahead.
Ifyouskipahead,youmaylearnlaterthatyou
havetodisassemblecomponentsandthatyou
mayhavedamagedtheequipment.
m Assembleandoperatethe SBBR100onasolid,
levelsurface.Locatetheunitafewfeetfromthe
wallsorfurnituretoprovideeasyaccess.
TheSBBR100 isdesignedforyourenjoyment.By
followingtheseprecautionsandusingcommonsense,
youwillhavemanysafeandpleasurablehoursof
healthfulexercisewithyourBody-Solid Barbell Rack.
Afterassembly,youshouldcheckallfunctionsto
ensurecorrectoperation.Ifyouexperienceproblems,
rstrechecktheassemblyinstructionstolocateany
possibleerrorsmadeduringassembly.Ifyouareunable
tocorrecttheproblem,callthedealerfromwhomyou
purchasedthemachineorcall1-800-556-3113forthe
dealernearestyou.
Obtaining Service
PleaseusethisOwner’sManualtomakesurethatall
partshavebeenincludedinyourshipment.When
orderingparts,youmustusethepartnumberand
descriptionfromthisOwner’sManual.Useonly
Body-Solidreplacementpartswhenservicingthis
machine.Failuretodosowillvoidyourwarrantyand
couldresultinpersonalinjury.
Forinformationaboutproductoperationorservice,
checkouttheo󰀩cialBody-Solidwebsiteat
www.bodysolid.comorcontactanauthorized
Body-SoliddealeroraBody-Solidfactory-authorized
servicecompanyorcontactBody-Solidcustomer
serviceatoneofthefollowing:
Toll Free: 1-800-556-3113
Phone: 1-708-427-3555
Fax: 1-708-427-3556
Hours: M-F 8:30-5:00 CST
E-Mail: [email protected]
Or write to: Body-Solid, Inc.
Service Department
1900 S. Des Plaines Ave.
Forest Park, IL 60130 USA
Retain this Owner’s Manual for future
reference. If you need to order replacement
parts please be prepared to provide the
following information when contacting us so
that we can assist you better.
1. Model Number
2. Place of Purchase
3. Serial Number (S/N)
4. Part # and Description
Preparation
6
ThankyouforpurchasingtheSBBR100.ThisProductispartoftheBody-Solidlineofqualitystrengthtraining
machines,whichletsyoutargetspecicmusclegroupstoachievebettermuscletoneandoverallbody
conditioning. To maximize your use of the equipment please study this Owner’s Manual thoroughly.
Body-Solidcontinuallyseekswaystoimprovetheperformance,specicationsandproductmanualsinordertoensurethatonly
superiorproductsarereleasedfromourfactories.Pleasetakethetimetocarefullyreadthroughthismanualthoroughly.Instructions
containedinthisdocumentarenotintendedtocoveralldetailsorvariationspossiblewithBody-Solidequipment,ortocoverevery
contingencythatmaybemetinconjunctionwithinstallation,operation,maintenanceortroubleshootingoftheequipment.Even
thoughwehavepreparedthismanualwithextremecare,neitherthepublishernortheauthorcanacceptresponsibilityforanyerrors
in,oromissionfrom,theinformationgiven.Shouldadditionalinformationberequired,orshouldsituationsarisethatarenotcovered
bythismanual,themattershouldbedirectedtoyourlocalBody-Solidrepresentative,ortheServiceDepartmentatBody-SolidInc.
inForestPark,Illinois.
Required Tools
Thebasictoolsthatyoumustobtainbeforeassembling
theSBBR100includebutarenotlimitedto:
m StandardWrenchSet
m MetricWrenchSet
m AdjustableWrench
Installation Requirements
Followtheseinstallationrequirementswhenassembling
theSBBR100:
SetuptheSBBR100onasolid,atsurface.Asmooth,
atsurfaceunderthemachinehelpskeepitlevel.A
levelmachinehasfewermalfunctions.
Provideamplespacearoundthemachine.Open
spacearoundthemachineallowsforeasieraccess.
Insertallboltsinthesamedirection.Foraesthetic
purposes,insertallboltsinthesamedirectionunless
specied(intextorillustrations)todootherwise.
Leaveroomforadjustments.Tightenfastenerssuchas
bolts,nuts,andscrewssotheunitisstable,butleave
roomforadjustments.Donotfullytightenfasteners
untilinstructedintheassemblystepstodoso.
Fill out and mail the warranty card.
Assembly Tips
Readall“Notes”oneachpagebeforebeginningeach
step.
WhileyoumaybeabletoassembletheSBBR100using
theillustrationsonly,importantsafetynotesandother
tipsareincludedinthetext.
Somepiecesmayhaveextraholesthatyouwillnotuse.
Useonlythoseholesindicatedintheinstructionsand
illustrations.
NOTE: Withsomanyassembledparts,proper
 alignmentandadjustmentiscritical.While
 tighteningthenutsandbolts,besuretoleave
 roomforadjustments.
CAUTION: Obtainassistance!Ifyoufeellikeyoucan’t
 assembletheSBBR100byyourselfthendo
 notattempttodosoasthiscouldresultin 
 injury.Reviewtheinstallationrequirements 
 beforeproceedingwiththefollowingsteps.
YourS/N#can
befoundhere
↑
45
7
SBBR100 Hardware Illustration
Part#4  FLATWASHERM10      QTY. 24
Part#1  HEXHEADBOLTM10x75mm     QTY. 8
Part#5  NYLONLOCKNUTM10      QTY. 16


 
 

 













 




































 





 




































 





 































Part#2  FLATHEADCAPSCREWM10x95mm    QTY. 8
Part#3  LOWPROFILEHEADFLATCAPSCREWM8x10mm QTY. 80
   (PRE-INSTALLED)





 





 
































8
SBBR100 Parts &Hardware List
Part# Qty Description
A
B
C
D
E
1
2
3
4
5
6
7
8
1
2
2
4
1
8
8
80
24
16
20
20
4
BOTTOM CROSSMEMBER
UPRIGHT
LOGO PLATE
STEEL PLATE
TOP CROSSMEMBER
HEXHEADBOLTM10x75mm
FLATHEADCAPSCREWM10x95mm
LOW PROFILE FLAT HEAD CAP SCREW
M8x10mm(Pre-Installed)
M10 FLAT WASHER
M10 NYLON LOCK NUT
LARGEPLASTICPAD(Pre-Installed)
SMALLPLASTICPAD(Pre-Installed)
ENDCAP(Pre-Installed)
9
STEP
1
Be careful to assemble all components
in the sequence they are presented.
NOTE:
Finger tighten all hardware in this step. DO NOT wrench tighten until instructed.
Some components may be pre-assembled. Nylon lock nuts will not fully screw onto
bolts, they must be wrench tighten to fully go on.
1A. AttachUprights(B)toBottomCrossmember(A)using:
4 - (#1) M10x75mm Hex Head Bolt
8 - (#4) M10 Flat Washer
4 - (#5) M10 Nylon Lock Nut
2 - (D) STEEL PLATE
1B. AttachUprights(B)toTopCrossmember(E)using:
4 - (#1) M10x75mm Hex Head Bolt
8 - (#4) M10 Flat Washer
4 - (#5) M10 Nylon Lock Nut
2 - (D) STEEL PLATE
STEP
1
AboveshowsStep1assembledandcompleted.
10