Page 2 3BE390835NU – 07/18
BONNET GRANDE CUISINE
Rue des Frères Lumière - Z.I Mitry Compans
77292 MITRY MORY Cedex
1 RECOMMENDATIONS
♦These appliances are for professional use, only qualified personnel should use them.
♦These appliances must be installed with sufficient ventilation to prevent the formation of an excessive concentration of substances harmful for
health within the premises in which they are installed.
♦The equipment is not designed to work in an explosive atmosphere. Accordingly, it must not be installed in a zone covered by the ATEX
provision.
♦The rate of new air required for gas oven combustion is 2 m3/h per kW of heat output (gas appliance).
♦The cooking appliances and their components reach high temperatures. BE CAREFUL, you may burn yourself when using them or handling
accessories (grills, trays...).
♦The gas appliances are fitted with exhaust flues for burnt gases: NEVER COVER THE EXHAUST OUTLETS.
♦For open burners fitted with the optional AutoFlam, (pan detection system) always ensure that the gas is turned off at the control knob before
cleaning or any form of maintenance on the burners to avoid them accidentally igniting.
♦When cleaning, the use of high pressure water jets or sprays is strictly prohibited.
♦It is strictly prohibited to douse grill bars, electric rings and solid tops with water.
♦Never spill cold or hot water on the round electric rings when they are hot.
♦Equipment should not be cooled or cleaned with ice.
♦The appliance must be isolated electrically during cleaning or maintenance and when replacing parts.
♦Ovens must not be used with the door opened permanently (risk of the control board overheating).
♦If the door is to be opened frequently, only use the bottom heating element.
♦To ensure long-lasting, safe and proper functioning, we recommend a full check and maintenance of the appliance twice a year by qualified
personnel from our company (Dismantling of burners, inspection and cleaning of venturis, cleaning of nozzles, adjustment of air rings, cleaning of
vents, checking possible leaks, checking control elements, regulating and safety accessories…).
♦The manufacturer certifies that the packaging conforms to the provision 94/62/CE of 20.12.94 relating to packaging and packaging materials and
requires the fitter (and the user) to observe the rules relating to packaging removal (recycling or reconditioning of packaging materials).
♦« According to article 6 of the decree of 20 July 2005 a marking giving the identity of the manufacturer and the release on the market of the
equipment after the 13 August 2005 is indicated on the appliance. »
« The Manufacturer has filled in the National Register. »
As per the legal provisions in force (article 21 & 22 of the decree 2005-829), the customer is responsible for the obligations relating to the
elimination of waste, namely:
- he is to deal with selective treatment, reconditioning and destruction of residue arising from electric and electronic equipment,
selectively collected in the installations meeting the technical requirements or in any other installation authorised for the purpose, in
another member State of the European Union, or in another State so far the transfer of these residues out of France is made
according to the provisions of the Regulation of 1st February 1993 indicated above.
- he must make sure that all fluids of electric and electronic equipment are drained according to the requirements of the provisions.
- he must make sure that the information relating to the removal and treatment of these residues is forwarded to any further acquirer.
♦The warranty will not cover problems caused by failure to comply with these recommendations.
2 PRACTICAL HINTS FOR USE
2.1 BEFORE STARTING UP
Remove the packaging paper from the ovens. Clean the cast-iron plates of griddles and solid tops (a grease film protects them against
oxidising).
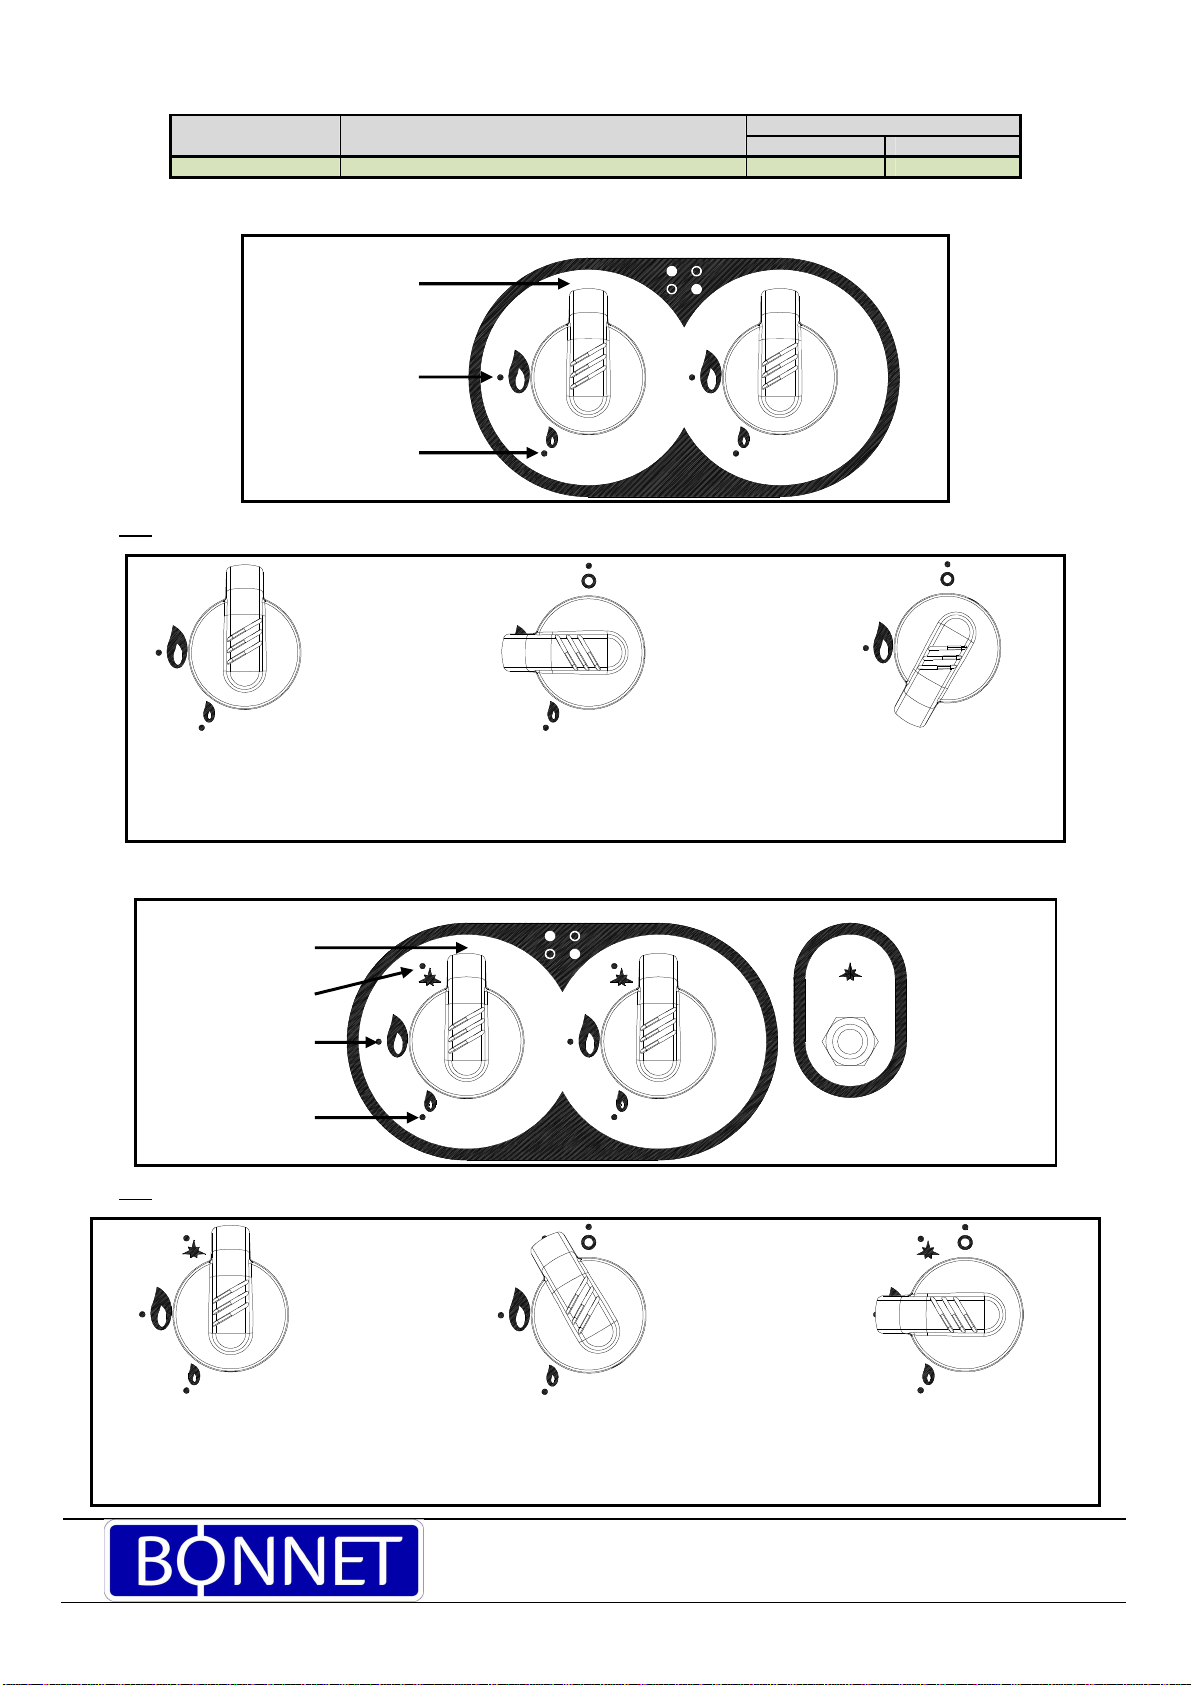
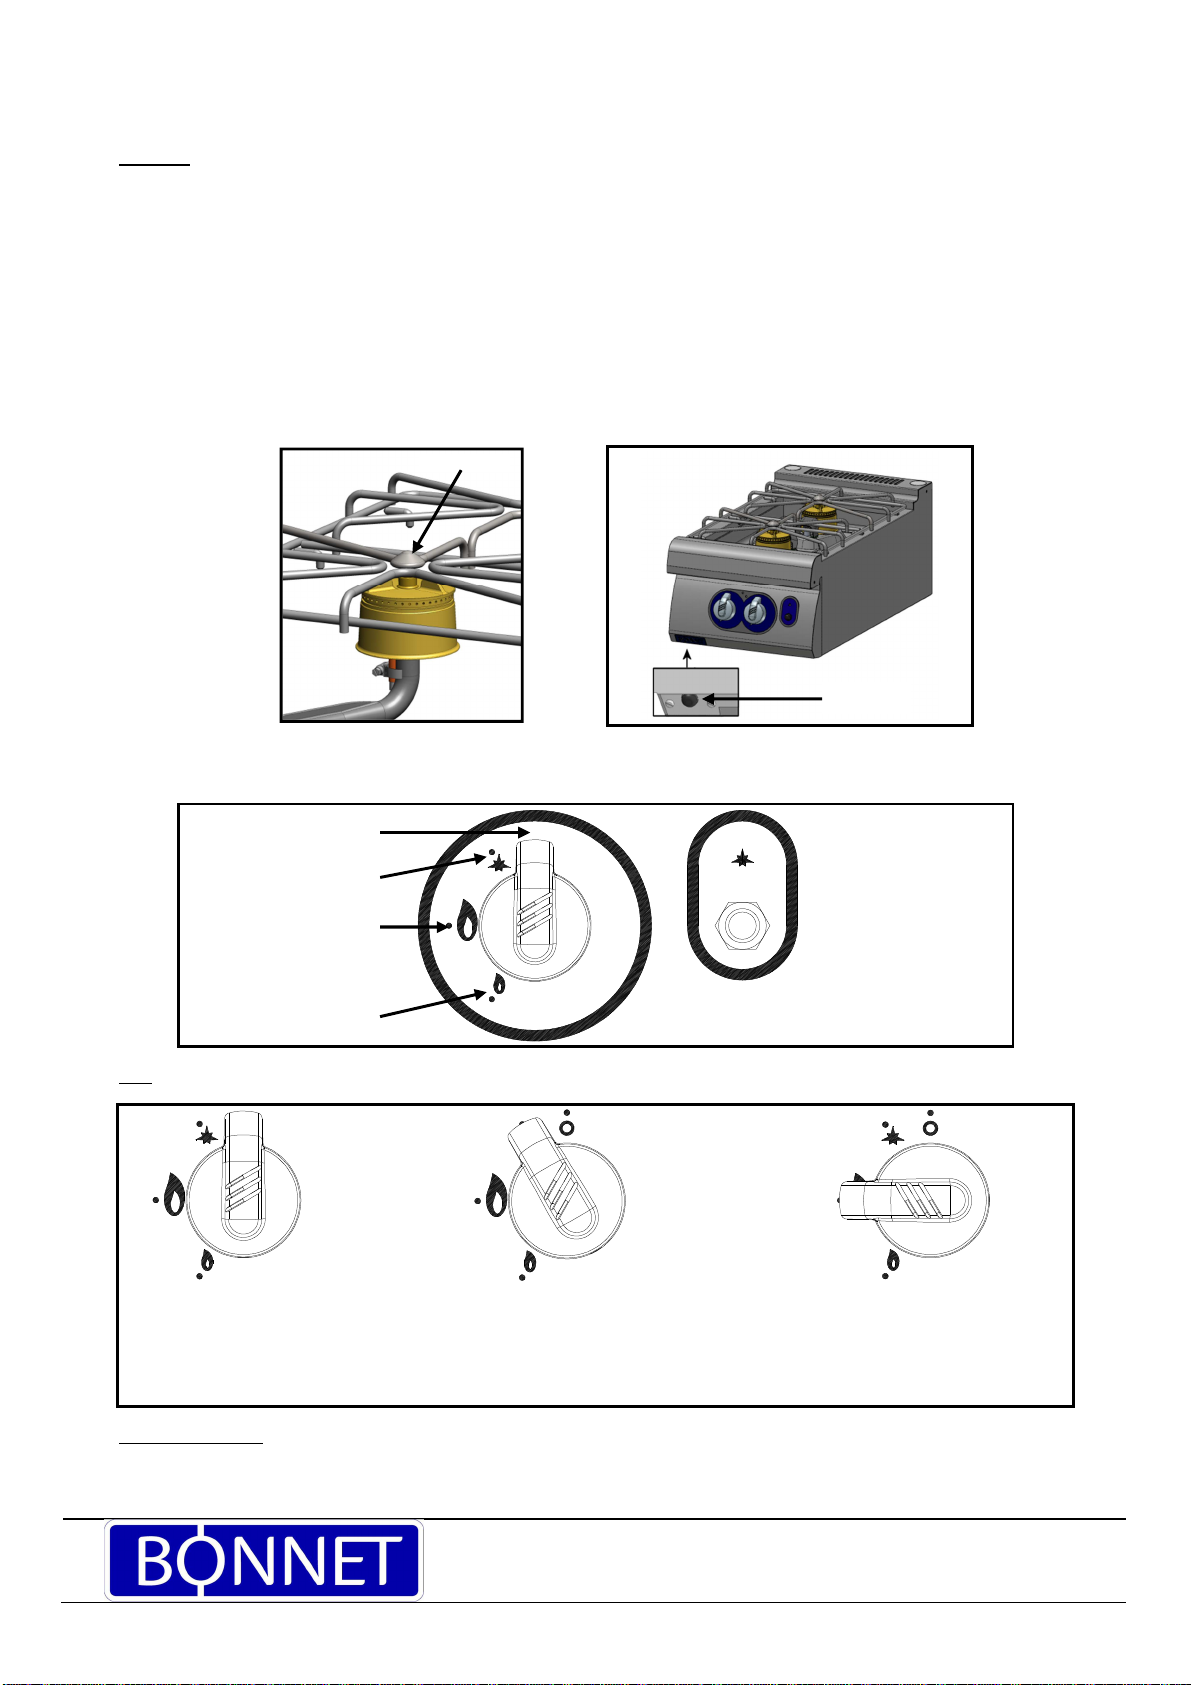
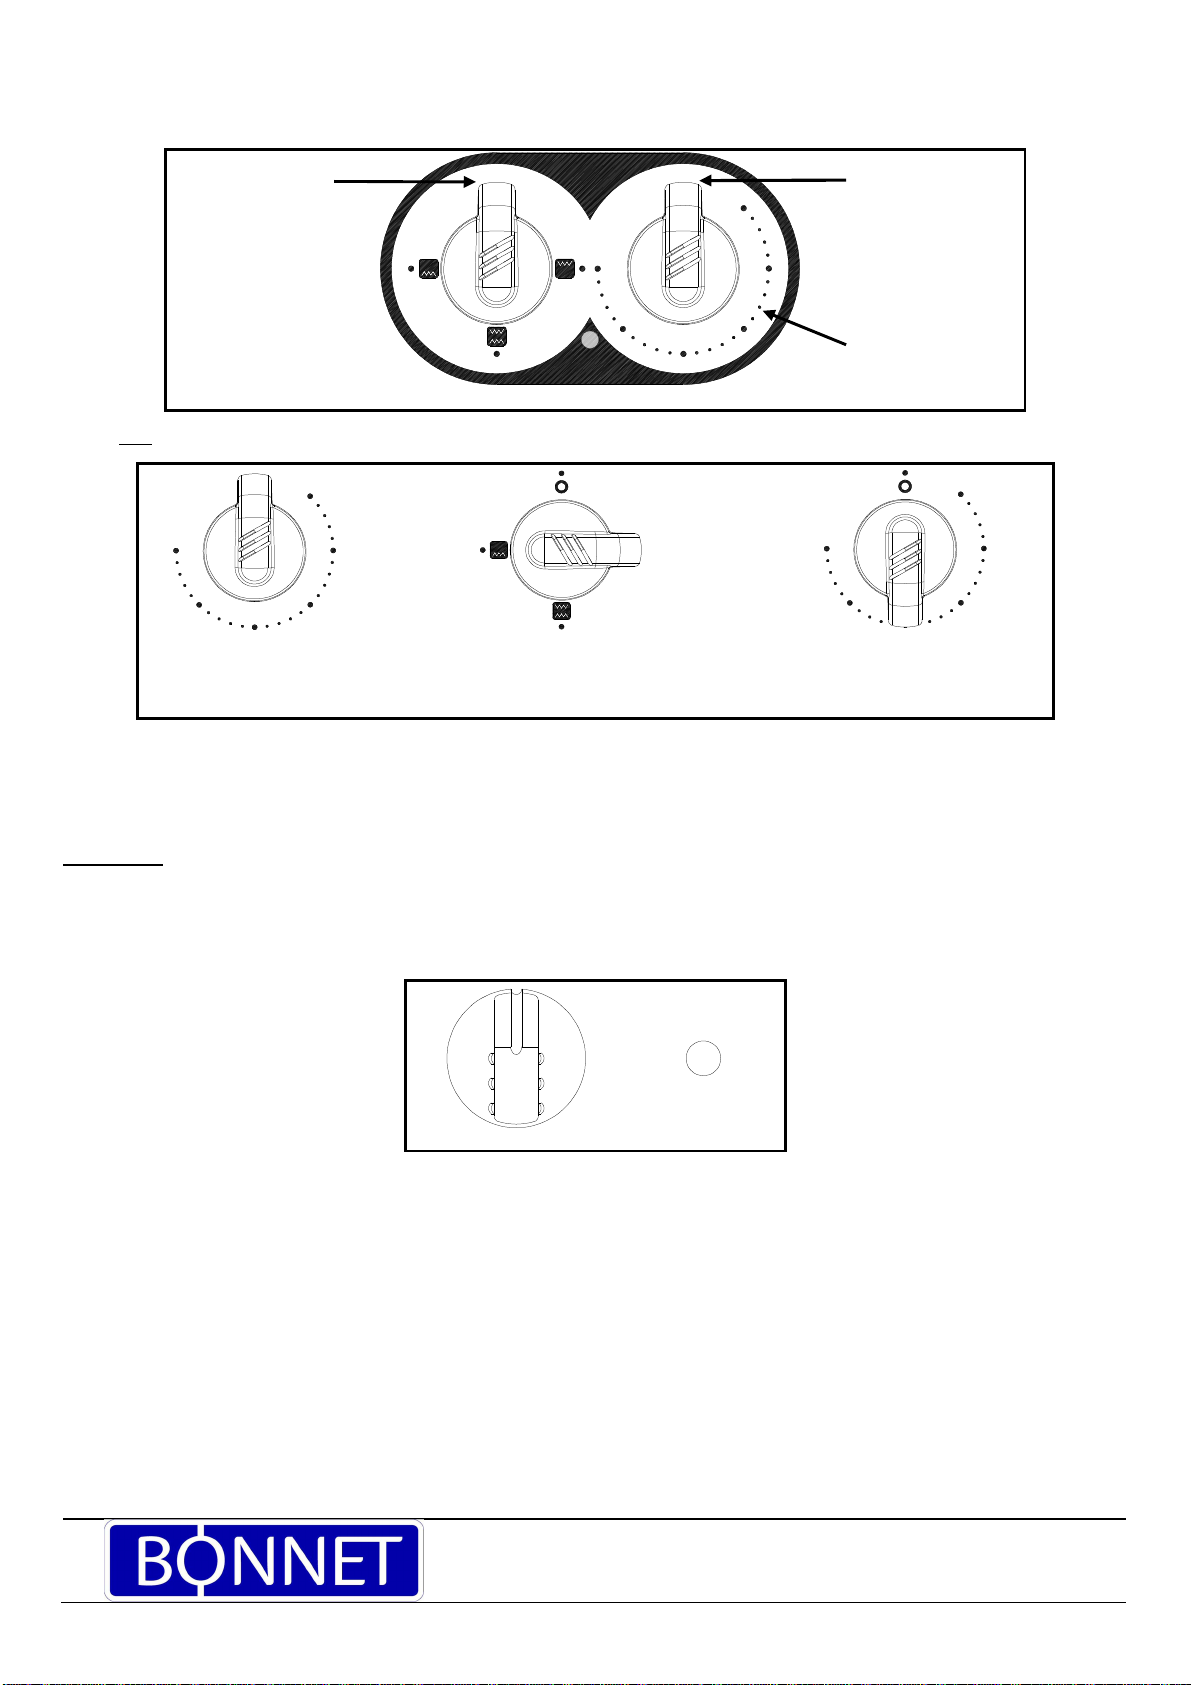
2.2 OPEN BURNERS
Open burners prior to January 1, 2014
Use with water in the base of the tank
Before use: Fill the waterbath to a depth of about 2cm (below the level of the drain)
5 litres for a 400 unit and 12 litres for an 800
Whilst in use: Top up during the day about every 2 to 3 hours.
Open burners after January 1, 2014
Use with water film in the base of the tank
Before use: Fill the waterbath to a depth of about 3mm
Whilst in use: Top up as necessary during the day.