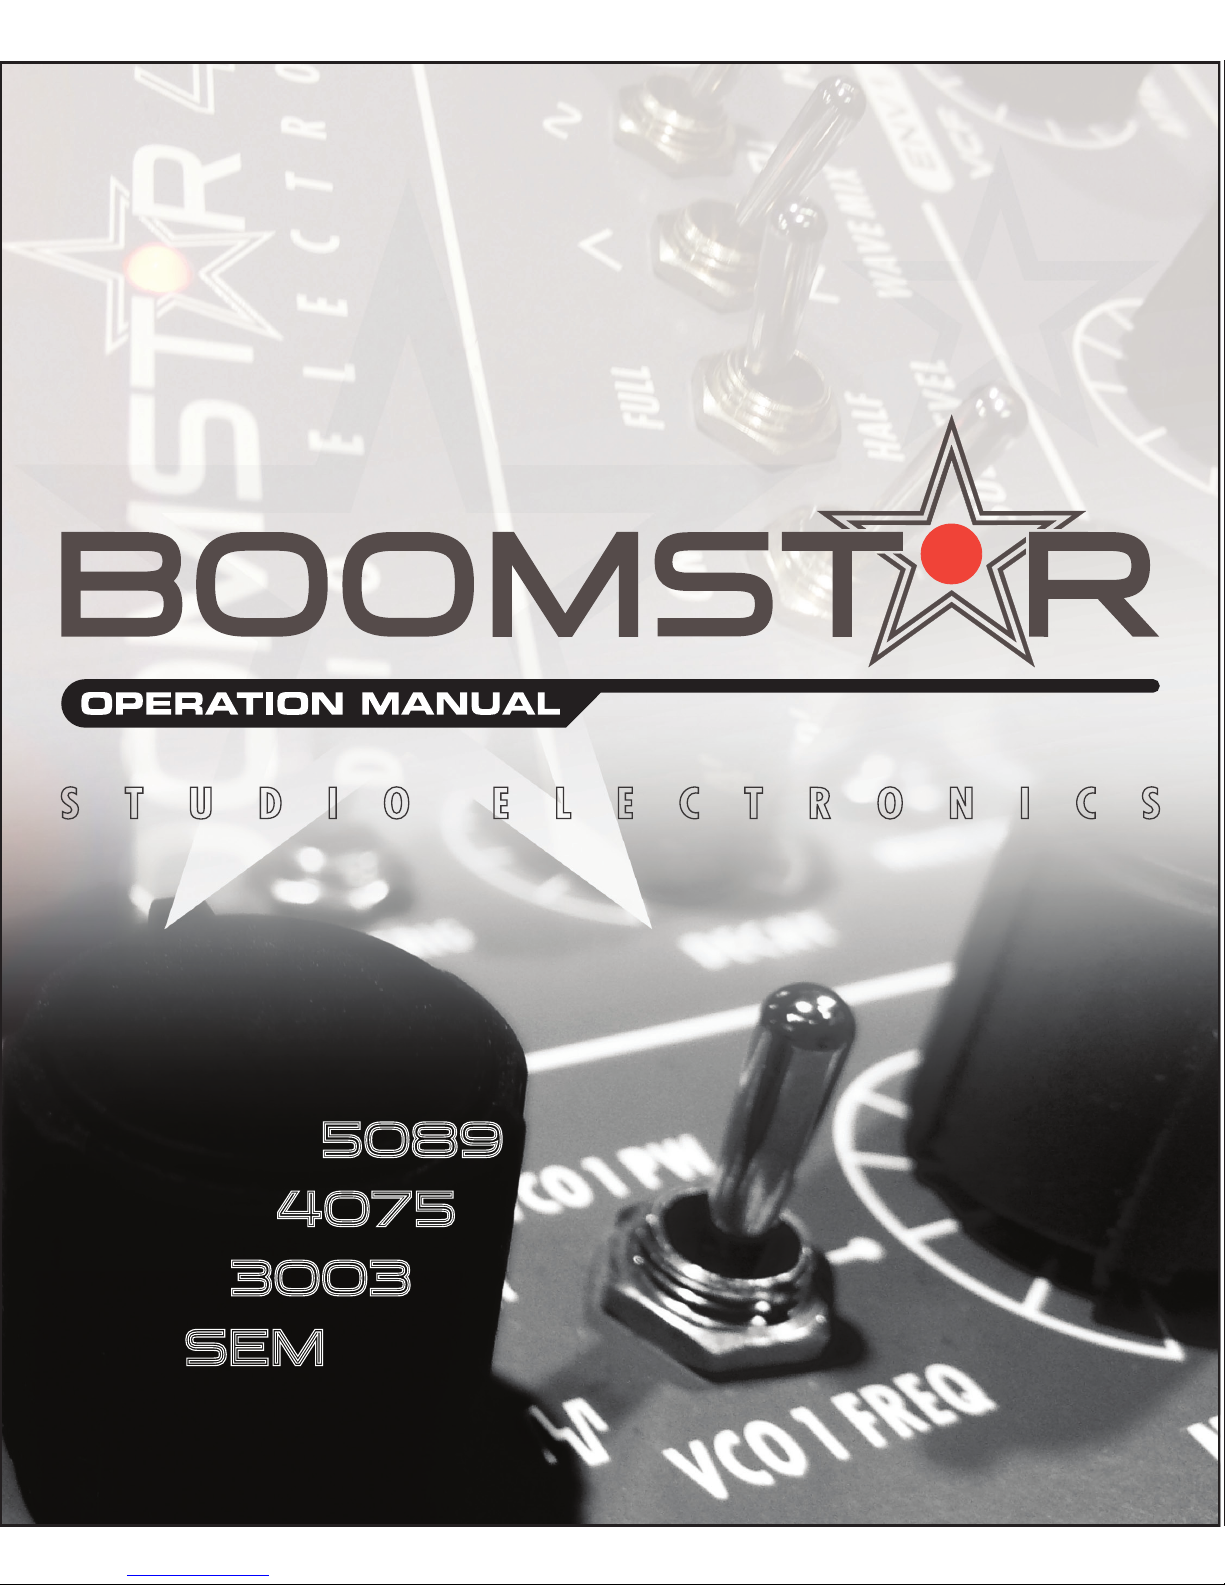
Boomstar 5089 User manual
Studio Electronics Boomstar Manual 1

Studio Electronics Boomstar Manual 2
LIMITED WARRANTY TERMS AND CONDITIONS
This Limited Warranty applies only to ANALOGIA INC./STUDIO ELECTRONICS purchased in the United
States of America. Outside the USA, warranty policy and service is determined by the laws of the country of
purchase and followed by our local authorized distributor. A listing of our authorized distributors is available
at http://www.studioelectronics.com/shop/distributors/
ANALOGIA INC./STUDIO ELECTRONICS warrants to the first owner of a covered product purchased from
an authorized ANALOGIA INC./STUDIO ELECTRONICS dealer in the U.S., that this product will be free
from defects in materials and/or workmanship for a period of one year from the date of purchase. Please
register this product online at www.studioelectronics.com/product-registration/ to establish the date of
purchase (NOT A REQUIREMENT FOR WARRANTY SERVICE BUT A GOOD IDEA).
To exercise your rights under this Warranty as the first owner/purchaser, YOU MUST SHIP THIS PRODUCT
IN ITS ORIGINAL PACKAGING (which we can replace and send to you for $10) at your expense, with proof
of purchase documentation and the ANALOGIA INC./STUDIO ELECTRONICS supplied power adapter,
to ANALOGIA INC. An RMA (Return Material Authorization) number from ANALOGIA INC./STUDIO
ELECTRONICS must be obtained first before returning any product. Online RMA requests at:
http://studioelectronics.com/RMA/, or call us at (310) 640-3546 to secure an RMA #. Products shipped to
ANALOGIA INC. without an RMA will be refused and returned. Shipping insurance ––optional, but highly
recommended.
ANALOGIA INC./STUDIO ELECTRONICS will repair, or replace––where deemed necessary––this product at
its sole option at no charge to you for parts and labor, within the warranty period, provided that ANALOGIA
INC./STUDIO ELECTRONICS reserves the right to determine whether the product is “defective” for purposes
of this Limited Warranty. This Warranty does not apply to damage to this product that occurred as a result
of abuse or misuse, abnormal use or handling, improper packaging, damage which may have been caused
by another product’s interaction, exposure to temperature extremes, or if the product has been altered or
modified/customized in any way, or if the damage was caused by unauthorized repair or service––the
original product must return to ANALOGIA INC. unaltered.
IN NO EVENT SHALL ANALOGIA INC./STUDIO ELECTRONICS BE LIABLE FOR ANY INDIRECT, INCIDENTAL,
COLLATERAL, EXEMPLARY, PUNITIVE, CONSEQUENTIAL OR SPECIAL DAMAGES OR LOSSES ARISING OUT
OF YOUR PURCHASE OF PRODUCTS AND/OR OUT OF THIS WARRANTY, INCLUDING WITHOUT LIMITATION,
LOSS OF USE, PROFITS, GOODWILL OR SAVINGS OR LOSS OF DATA, MUSIC, ELECTRONIC FILES, OR
PREFERENCES THAT MAY HAVE BEEN STORED BY A USER OF THE PRODUCT, EVEN IF ANALOGIA INC./
STUDIO ELECTRONICS HAS BEEN ADVISED OF THE POSSIBILITY OF SUCH DAMAGES OR CLAIMS. SOME
STATES DO NOT ALLOW THE EXCLUSION OR LIMITATION OF INCIDENTAL, PUNITIVE, OR CONSEQUENTIAL
DAMAGES, SO THE ABOVE LIMITATION OR EXCLUSION MAY NOT APPLY TO YOU.
This Limited Warranty and the right of replacement is in lieu of any and all other
warranties––which you hereby waive, and it gives U.S. purchasers specific legal rights; you
may also have other rights which vary from State to State.
ANALOGIA INC., 530 West Palm Ave. El Segundo, CA 90245

Studio Electronics Boomstar Manual 3
CIRCUIT AND SOFTWARE DESIGN
Tim Caswell
USER INTERFACE AND FEATURE IRON FIST
Greg St. Regis
SOUND PROGRAMMING AND DEMOS
Drew Neumann Greg St. Regis Marc St. Regis
GRAPHIC DESIGN
John Greczula
ESSENTIAL FEATURE WHIP, DEBUGGING, WIT AND TEA SERVICE
Drew Neumann
QUICK START GUIDE MANUAL
Marc St. Regis Greg St. Regis
VERY SPECIAL THANKS
Mary St. Regis Geoff Farr Daniel Wendell Rachael Herbison Lucy Bauer
Rev. 1, 3.26.2013
Information contained in this “Quick Start Guide” Manual is subject to change without
notice and does not represent a commitment on behalf of ANALOGIA INC. No portion
of this manual may be produced or transmitted in any form, or by any means––whether
electronic or mechanical, or for any purpose other than purchaser’s personal use, without
the explicit written permission of ANALOGIA INC. All other products, logos or company
namesmentionedhereinaretrademarksorregisteredtrademarksoftheirrespectiveowners.
© ANALOGIA INC. 2013. All Rights Reserved.
A N A L O G I A I N C.
530 West Palm Ave., El Segundo California 90245
facebook.com/StudioElectronics • twitter.com/SE_BoomStar • youtube.com/user/StudioElectronics

Studio Electronics Boomstar Manual 4Table of Contents
TABLE OF CONTENTS
1 The Design Behind the ‘Stars (and a Word about the Filters) ... 7
2 Setup Essentials .............................................................. 8-13
2.1 Warnings, Precautions and Advice .......................................... 8-10
2.2 Smart and Safe Connections ................................................. 11-12
2.3 Product Registration .................................................................. 12
2.4 Boomstar Warming and Output Warning .................................... 12
2.5 Signal Flow Chart .................................................................... 13
3 Patch Reset / Templates ................................................. 14-38
3.1 Sawtooth Bass Patch ................................................................ 14
3.2-3.25 Various Templates ........................................................ 15-38
4 Panels .......................................................................... 39-58
4.1 Front Panel ......................................................................... 39-41
4.1.1 Adjustment Holes ..................................................... 40-41
4.1.1.1 CV 1 Input .............................................................. 40
4.1.1.2 OSC 1 High ............................................................ 40
4.1.1.3 OSC 1 Octave ........................................................ 40
4.1.1.4 OSC 1 Tune ............................................................ 40
4.1.1.5 OSC 1 Scale ........................................................... 40
4.1.1.6 OSC 2 Scale ........................................................... 40
4.1.1.7 OSC 2 Tune ............................................................ 40
4.1.1.8 OSC 2 High ............................................................ 40
4.1.1.9 OSC 2 Octave ........................................................ 40
4.1.1.10 ENV Drive ............................................................ 40
4.1.1.11 VCA Offset 1 ........................................................ 41
4.1.1.12 VCA Offset 2 ........................................................ 41
4.2 Top Panel............................................................................ 42-56
4.2.1 Patch Points ............................................................ 42-43
4.2.1.1 CV IN - Control Voltage Input ................................... 42
4.2.1.2 GATE IN - Gate Input ............................................... 42
4.2.1.3 VCF FM - Voltage Controlled Filter Frequency Mod. ... 42
4.2.1.4 VCA AM - Voltage Controlled Amp. Amplitude Mod. 42

Studio Electronics Boomstar Manual 5Table of Contents
4.2.1.5 OSC Out - Oscillator Output .................................... 43
4.2.1.6 EXT IN - External Input ............................................. 43
4.2.2 VCO 1 - Voltage Controlled Oscillator 1 .................... 44-45
4.2.3 VCO 1 - Voltage Controlled Oscillator 2 .................... 45-46
4.2.4 VCF - Voltage Controlled Filter .................................. 46-48
4.2.5 ENV 1 - Envelope 1 ................................................. 48-49
4.2.6 ENV 2 - Envelope 2 ................................................. 49-51
4.2.7 X MOD - Cross Modulation ........................................... 51
4.2.8 LFO - Low Frequency Oscillator ................................. 51-52
4.2.9 VCA - Voltage Controlled Amplifier ................................ 53
4.2.10 Master Tune .............................................................. 53
4.2.11 Bend ........................................................................ 53
4.2.12 Glide ....................................................................... 54
4.2.13 Dynamics .................................................................. 54
4.2.14ENV1•PW1-Envelope1toPulseWidth..........,.......54
4.2.15 MIXER .................................................................. 54-55
4.2.15.1 VCO 1 - Voltage Controlled Oscillator ............... 54-55
4.2.15.2 VCO 2 - Voltage Controlled Oscillator 2 ............. 55
4.2.15.3 Ring Mod - Ring Modulation .................................. 55
4.2.15.4 Noise ................................................................... 55
4.2.15.5 Feedback .............................................................. 55
4.2.16 BOOMSTAR SEM Filter Controls .................................. 56
4.2.16.1 Notch ................................................................... 56
4.2.16.2 Band Pass ........................................................... 56
4.3 Back Panel ......................................................................... 56-58
4.3.1ConnectionsandSwitchesandConnectionWarnings.56-58
4.4 Side Panel .............................................................................. 58
4.4.1 Rack Mounting Holes ................................................... 58
5 Legal ............................................................. 59-61
5.1 Liability ................................................................... 59
5.2 FCC .................................................................. 59-60
5.3 Canada .................................................................. 61
5.4 Europe ................................................................... 61
6 Glossary ............................................................. 62

Studio Electronics Boomstar Manual 6Table of Contents
6 Filter Talkers ................................................. 63-64
6.1 Bace ....................................................................... 63
6.2 Drew Neumann ....................................................... 64
7 The Ancient Chinese ............................................ 64
8 Back Panel Art .................................................... 65

Studio Electronics Boomstar Manual 7Design Beind the‘Stars
THE DESIGN BEHIND THE ‘STARS
As SE fans know, we’ve been doing the multiple filter thing for some time,
and while our approach has never been one of exact emulation of the
original synthesizers––that could only be accomplished if the entire signal
path was cloned as well––the focus and purpose was/is to bring the main
essence–-the ‘spirit” of the classic originals into our own unique, performance-
based platforms, and in the case of the Boomstar, with as many hardware
“handles,” i.e., crossmod, ringmod, overdrive, feedback... “fit-able.” Judging
from the many flattering remarks (from owners/well-wishers/followers), and
downright effusive praise, satisfaction has been “gotten,”––and thanks to all!
The Grimy Circuit Details: For oscillators, essentially we’ve been using
the same Moog based design since our re-issue of the MiniMoog® stabilized
oscillator board. In the Boomstar synths we replaced the Fairchild cans with
3046s, which are stabilized with temperature compensating resistors placed
on top––something very similar to what is in an S.E.M: it’s gives us just the
right amount of warmth and tuning stability. The Moog® filter employed in all
our own synths is a clone, except that in the Boomstar 5089, a 3046 replaces
the original hand-matched transistors in the top and bottom of the ladder. The
resonance produced is lovely; it sits perfectly along with the signal, singing
out, but never dominating. The Arp filter is very faithful to the original 4075
circuit, and the 3003 and S.E.M are near identical twins* as well, with some
design license taken by Tim Caswell (in respect to all the filters). The VCA in
the BoomStar is the MiniMoog® VCA which we used in the SE-1(X) as well;
the Omega and ATC series synths use a VCA incorporating an LM13700.
These are “through-hole” (to be contrasted with “surface-mount”) decidedly
discrete analog synthesizers: the Holy Grail of PCB assembly procedures, built
to last and utterly serviceable––bound to be necessary if they stick around
making people happy as long as we expect them to!
Greg St. Regis 3.3.13
*to their original namesakes, that is, not to each other El Segundo, CA USA

Studio Electronics Boomstar Manual 8Setup Essentials
SETUP ESSENTIALS
2.1 Warnings, Precautions, and Advice
WARNING - When using electric products basic precautions should always
be followed to avoid the possibility of serious injury or even death to you
or others, or damage to the device or other property, from electrical shock,
fire or other risks. These precautions include, but are not limited to, the
following “to do list”:
• Read, save and understand all of the instructions before using product.
• Do not use product near any water source––such as a bathtub, wash
basin, kitchen sink, wet floor, swimming pool or the like.
• Clean with a soft, dry cloth, with unit unplugged from AC outlet.
• This product, either alone or in combination with an amplifier and
headphones or speakers, may be capable of producing sound levels that
could cause permanent hearing loss. Do not operate for a long period
of time at high volume level or at a level that is uncomfortable. If you
experience any hearing loss or ringing in the ears, you should consult an
Audiologist.
• Do not place anything heavy on the instrument.
• The product should be situated so that its location or position does not
interfere with its proper ventilation.
• The product should be located away from heat sources such as radiators,
heat registers, or other items that produce heat.
• Avoid using the product where it may be affected by dust, or hot sunlight.
• Make sure the line voltage in your location matches the input voltage
specifications on the DC power adapter.

Studio Electronics Boomstar Manual 9Setup Essentials
• All Boomstar synth models use an external power adapter. No other
power supply or adapter other than the one provided by Analogia Inc./
Studio Electronics is to be used under any circumstances. Analogia Inc./
Studio Electronics accepts no responsibility for damage caused by use of
an unauthorized power supply or adapter.
• Mute channel volume before making audio connections to prevent
malfunction and speaker damage.
• Unplug power supply cord from outlet when not in use for an extended
period.
• Do not trample on the power-supply cord, trip over it, nor pull at it, but
grasp the plug portion when unplugging.
• Care should be taken so that objects do not fall and liquid is not spilled
into the enclosure through openings.
• Protect the unit from strong jolts and vibration and never apply strong
pressure to the front, back or side panels, or strike them in any manner.
• The product should be serviced by qualified service personnel when:
A) The power-supply cord or the plug has been damaged.
B) Solid objects or liquid either have fallen or spilled into the product.
C ) The product has been exposed to rain.
D) The product does not appear to operate normally or exhibits a marked
change in performance.
E) The product has been dropped, or the enclosure damaged.
• Do not attempt to service the product beyond that described in the user
maintenance instructions. All other servicing should be referred to qualified
technicians.
DANGER – INSTRUCTIONS RELEVANT TO RISK OF FIRE, ELECTRIC SHOCK, OR
INJURY TO PERSONS: Do not open the chassis. There are no user serviceable
parts inside. Refer all servicing to qualified personnel only.

Studio Electronics Boomstar Manual 10 Setup Essentials
GROUNDING INSTRUCTIONS - This product must be grounded. If it should
malfunction or break down, grounding provides a path of least resistance for
electric current to reduce the risk of electric shock. This product is equipped
with a cord having an equipment grounding conductor and a grounding plug,
which must be plugged into an appropriate outlet that is properly installed and
grounded in accordance with all local codes and ordinances.
DANGER - Improper connection of the equipment grounding conductor can
result in a risk of electric shock. Check with a qualified electrician or serviceman
if you are in doubt as to whether the product is properly grounded. Do not
modify the plug provided with the product. If it does not fit the outlet, have a
proper outlet installed by a qualified electrician.
SAVE THESE INSTRUCTIONS

Studio Electronics Boomstar Manual 11 Setup Essentials
2.2 Smart and Safe Connections
Always power-off all audio gear before making any connections. Failing to
do so may damage your speakers, or other audio equipment and possibly
your Boomstar Synth.
After completing all connections, set all levels to 0. Power on the various
devices with audio amplifier or monitoring system last, then raise the
volumes to an appropriate listening level.
a) Plug Boomstar +/-15 VDC power supply male 5 pin din plug into
female 5 pin din connector mounted on the right side of back panel,
near bottom ofsynth (markedPin 1/: Com...).
b) Plug female 3 prong IEC cable plug into +/-15 VDC power supply male
3 prong IEC socket.
c) Plug male 3 prong IEC cable plug into AC outlet.
BOOMSTAR POWER ADAPTER REMOVAL PROCEDURE:
a) Unplug female 3 prong IEC cable plug from +/-15 VDC power supply.
b) Unplug female 3 prong IEC cable plug from AC outlet.
c) Unplug Boomstar male +/-15 VDC power supply plug from female
connector on the right side of back panel, near bottom of synth
(marked Pin 1/: Com...).
IMPORTANT WARNING: DO NOT POWER ON OR OFF THE BOOMSTAR BY
ANY OTHER METHOD THAN THAT SPECIFIED ABOVE TO PREVENT DAMAGE
TO UNIT. BE CERTAIN TO STRICTLY FOLLOW THE AFOREMENTIONED
CONNECTION PROCEDURE CAREFULLY AND ACCURATELY.
THE IMPROPER
CONNECTION AND DISCONNECTION OF THIS POWER SUPPLY MAY RESULT

Studio Electronics Boomstar Manual 12 Setup Essentials
IN DAMAGE TO SYNTHESIZER AND SUPPLY. THE OPERATOR OF THIS
SYNTHESIZER ASSUMES ALL RESPONSIBILITY AND LIABILITY. ANALOGIA
INC./STUDIO ELECTRONICS––OWNERS, OFFICERS AND EMPLOYEES, ASSUME
NO RESPONSIBILITY OR LIABILITY FOR PERSONAL AND PROPERTY DAMAGE
INCURRED DUE TO ACCIDENT, CARELESS HANDLING, ABUSE OR MISUSE,
IMPROPER CONNECTION, AND OR INSTALLATION, IMPROPER ELECTRICAL
CONTACT OR GROUNDING. OWNERSHIP AND/OR USE OF BOOMSTAR
SYNTHESIZER CONSTITUTES AN AGREEMENT WITH THESE TERMS.
2.3 Registration
Registering your BOOMSTAR synth establishes your ownership (should
there be a legal ownership dispute in the future), which then secures access
to Analogia Inc. Tech. Support and Service, and if you so desire, update
information and promotional offers. As always, our RSS feed, News Page,
Facebook and Twitter outlets are current and update conscious.
Create and connect to your studioelectronics.com account @:
http://www.studioelectronics.com/login
2.4 Boomstar Warming & Output Warning
Once the Boomstar is powered up, its temperature-regulated Oscillators will
attain optimal temperature stabilization in 5 minutes––ready for tuning and
accurate control of all parameters.
IMPORTANT WARNING: DO NOT PATCH
OUTPUTS TO OUTPUTS! THE “AUDIO OUT” ON THE BACK PANEL MUST NOT
BE PATCHED TO THE “OSC OUT” PATCH POINT ON THE FRONT PANEL.

Studio Electronics Boomstar Manual 13 Setup Essentials
2.5 Signal Flow Chart

Studio Electronics Boomstar Manual 14 Patch Reset /Templates
PATCH RESET/TEMPLATES
3.1 Home Base
We advise starting (and returning to this “home base” when puzzled or
lost) with this very basic patch to begin your exploration of the Boomstar
sound.

Studio Electronics Boomstar Manual 15 Patch Reset /Templates
3.2 Smoother Circuit - Bass
Boomstar Manual Rev. 1.1

Studio Electronics Boomstar Manual 16 Patch Reset /Templates
3.3 Hardtack & Salt Pork - Bass
Boomstar Manual Rev. 1.1

Studio Electronics Boomstar Manual 17 Patch Reset /Templates
3.4 Chirpy 432 - Bass
Boomstar Manual Rev. 1.1

Studio Electronics Boomstar Manual 18 Patch Reset /Templates
3.5 Wonder In - Bass
Boomstar Manual Rev. 1.1

Studio Electronics Boomstar Manual 19 Patch Reset /Templates
3.6 Good Day Gone Bad - Bass
Boomstar Manual Rev. 1.1

Studio Electronics Boomstar Manual 20 Patch Reset /Templates
3.7 Rubbero - Bass
Boomstar Manual Rev. 1.1
This manual suits for next models
3
Table of contents


