BORK C700 User manual

COFFEE MAKER C700
OPERATING MANUAL
OPERATING MANUAL
COFFEE MAKER
C700

2 3
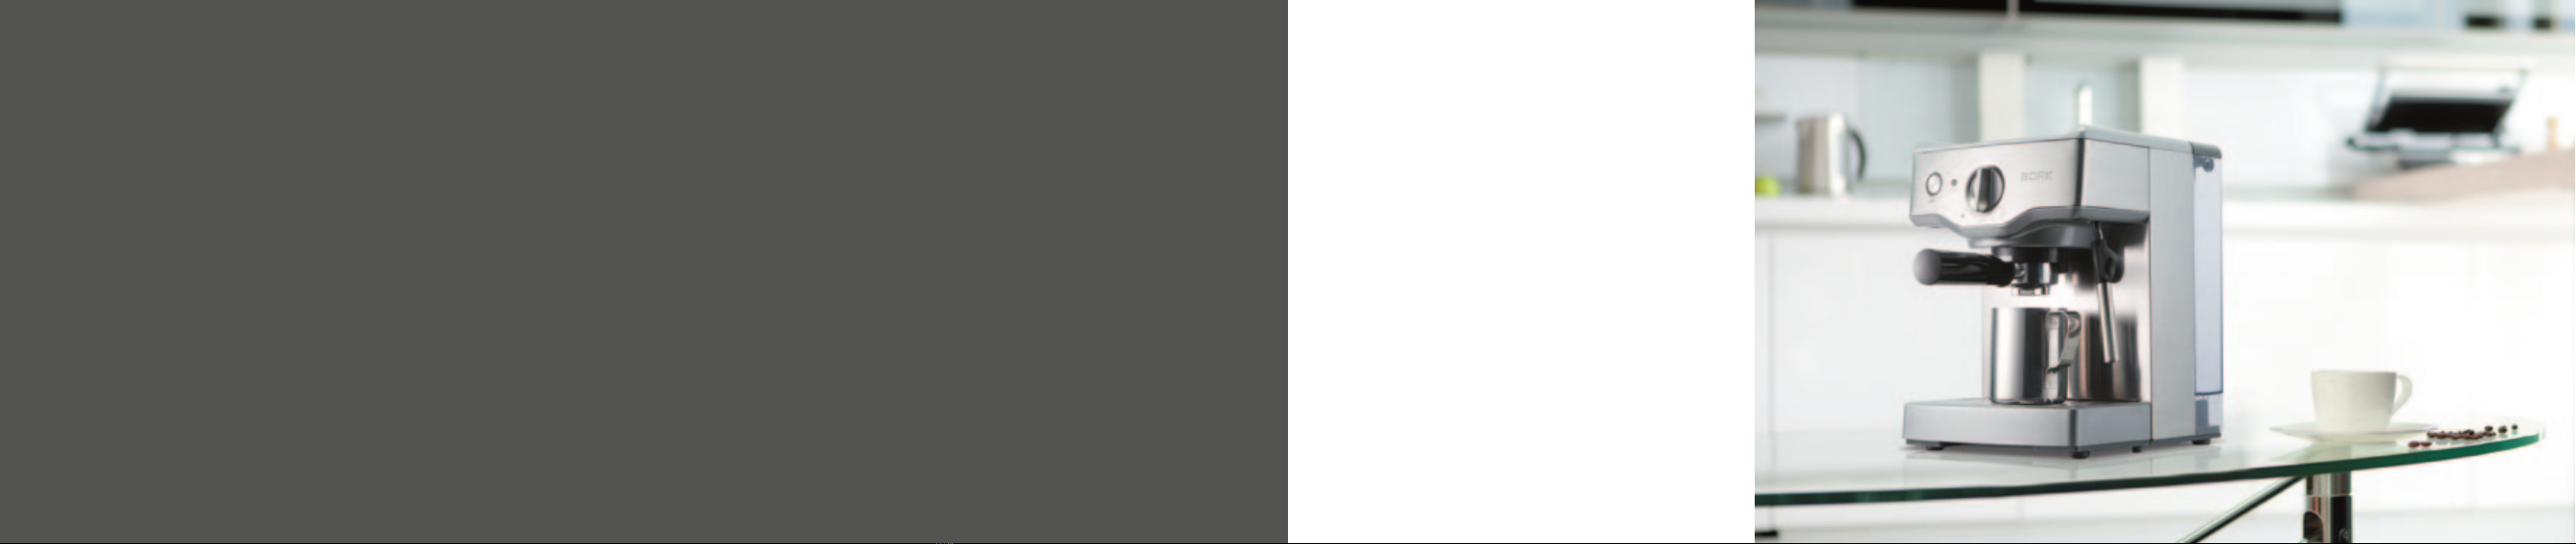
DESCRIPTIONDESCRIPTION
2 3
AUTOMATIC COOLING OF THE HEATING
ELEMENT
After using the Cappuccinatore, a little amount of water is automatically passed
through the heating element to cool it down to the optimal espresso brewing
temperature.
PRE-BREWING FUNCTION
In order to brew espresso hot water is pumped through the heating system
for a short time, causing the ground coffee to moisten and swell, and thus
increasing the pressure to obtain a rich coffee aroma.

4 5
DESCRIPTIONDESCRIPTION
4 5
CUP WARMER PANEL
You can warm up the dishes and maintain the best temperature before serving
coffee. The warmed up cups preserve the creamy texture of espresso.
The cup warmer panel starts to heat right after switching of the coffee maker.
CAPPUCCINO OPTION
The Cappuccinatore tube can be set into any convenient position.
This makes the process easy and practical. With the help of the nozzle placed
on Cappuccinatore tubeou can easily receive rich milk froth.

6 7
DESCRIPTIONDESCRIPTION
6 7
POWERFUL HEATING ELEMENT AND
15 BAR PUMP
Provide ultra-fast water heating, maintaining the optimal temperature and
pressure for brewing espresso.
DOUBLE BOTTOM FILTERS
Double bottom filters slow down the water flow during coffee making to receive
high quality of espresso.
Double bottom filters are recommended for coarse-ground coffee.

8 9
OPERATIONCONFIGURATION
CONTROL PANEL
POWER — switch on / off button.
Heating — light indicator of heating.
The coffee maker is ready for operation once the
light indicator is off.
MODE SELECT SWITCH
In order to switch espresso mode turn the switch to
position .
In order to froth milk or supply hot water turn the
switch to position .
In STAND BY vertical position the coffee maker is in
the stand by mode.
CAPPUCCINATORE TUBE
In order to receive milk froth immerse the
Cappuccinatore tube, so that the end was a little
lower than the milk surface, and rotate smoothly by
the perimeter of the jar. Do not let milk rise above
the nozzle.
Use the nozzle and cold fat-free milk to receive rich
froth.
Milk frothing
jar
Removable
water
container
Control panel
Cleaning
instrument
Removable
tray for drops
Filter holder Cup warmer
panel
Filter
Brewing unit
Cappuccinatore
tube
Cappuccinatore
tube nozzle

10 11
OPERATIONOPERATION
FILTER HOLDER
Install the filter holder in the brewing unit by
turning it to the right against the stop.
Before installation of the filter holder let some
water flow though the brewing unit by turning of the
mode select switch to position . This will clean
the brewing unit, ensure its heating and stabilize
temperature before brewing.
REMOVABLE WATER CONTAINER
Fill the container with cold drinking water to the
maximum mark. The water container volume is
2,75 l.
Ergonomic handle and automatic lid opening
system ensure convenient usage.
SPECIAL POD FILTERS
Pods make usage of the coffee maker easy, clean
and convenient.
• Place the pod in the special pod filter.
• Make sure that the pod is evenly spread.
• Place the filter in the holder and fix it.
Do not use 2 pods simultaneously.
REMOVABLE TRAY FOR DROPS
Assemble the tray for drops upon setting of the filling
indicator and the grid and place the tray in the coffee
maker’s base against the stop.
When the filling indicator turns into position Empty
Me, remove water from the tray.
MEASURING RAMMING SPOON
To make one 30 ml portion measure one spoon of
ground coffee. Compress coffee with the other end
of the measuring spoon.
Caution! Make sure that the ramming degree
corresponds to the ground level: use the average
ramming degree for fine grind.
FILTER FOR 1 OR 2 CUPS
Place the filter into the holder. The 1 cup filter is
meant for brewing 30 ml of espresso, the 2 cups
filter is meant for 60 ml of espresso.

12 13
OPERATIONOPERATION
MILK FROTHING
The coffee maker is completed with a stainless
steel nozzle for milk frothing. Turn the mode select
switch to position STEAM. The red indicator will
start to blink. Wait until water flows down and
steam generation begins.
Immerse the Cappuccinatore tube, so that the end
was a little lower than the milk surface, and rotate
smoothly by the perimeter of the jar.
Do not let milk rise above the nozzle. When the milk
is warmed up and the froth is ready, turn the mode
select switch into STAND BY position.
Advice. Use the nozzle and cold fat-free milk to
receive rich froth.
Take off the froth nozzle to warm up milk without
frothing.
Note. In order to make more coffee right after using
of the steam release function the coffee maker has
the function of automatic heating element cooling.
Ground coffee will not be scalded by the first water
flow. Instead, water will automatically flow inside
the coffee maker into the water tray insuring
optimal water temperature for brewing.
Make sure that the mode select switch is in the
Stand by position. Plug and switch on the coffee
maker. The POWER button will be on.
The heating indicator will be off when the coffee
maker is heated to the necessary temperature.
During operation of the coffee maker operating
noise and vibration can increase. This is connected
with characteristics of configuration and is not
a failure.
• Turn the mode select switch into position .
Place the heated cup under the filter holder.
• After filling of the cup turn the mode select
switch into STAND BY position.
If you do not want to use the steam release
function, turn the POWER button into OFF position.
The coffee maker is ready for operation and
maintains constant temperature when the POWER
button is in ON position.
If the temperature decreases, the red heating
indicator will be on and the coffee maker will
automatically restore the temperature suitable for
brewing.
GRIND
When buying ground coffee make sure that the
grind suits for usage in espresso / cappuccino
coffee makers. Make sure that the grind is fine
enough but not too fine – coffee shall not turn into
powder. Grind will influence the speed of the water
flow through the filter and, consequently, the taste
of the ready coffee.

14 15
CLEANINGCLEANING
REMOVAL OF LIME DEPOSITS FROM THE
COFFEE MAKER
Due to regular usage hard water can cause
formation of mineral deposits on many internal
components, which will lead to delay in water
supply, reduction of power and worsening of coffee
quality. It is recommended to remove lime deposits
regularly (every 2-3 months) with special cleaning
agents.
We do not recommend to wash any parts of the
coffee maker or additional appliances in the
dishwasher.
• Make sure that the mode select switch is in
STAND BY position and the POWER button is in
OFF position, the coffee maker is switched off
and unplugged.
• Remove the filter holder and the frothing nozzle.
Mix the cleaning agent with water and pour in the
water container.
• Pug in and switch on the coffee maker.
• Set the POWER button into ON position and the
mode select switch in STAND BY position.
• Place a large container under the brewing unit
and the Cappuccinatore tube. When the coffee
brewing temperature is reached, red HEATING
indicator will be off.
• Set the mode select handle into right position
and wait until the mixture starts to flow out.
• Once a half of the cleaning agent and water
mixture flows out through the brewing unit, set
the mode select handle in STAND BY position.
• Set the mode select handle in STEAM position
and wait until the remaining mixture flows out
through the Cappuccinatore tube. Return the
mode select handle in STAND BY position.
• Carefully wash the container with water, add
water and repeat the previous steps.
Use only special cleaning agents to clean the coffee
maker from scale.
CLEANING OF THE FILTER HOLDER
Remove the filter by pressing EJECT button in the
bottom part of the filter holder. Wash the filter and
the holder with water and dry them.
CLEANING OF THE CAPPUCCINATORE
TUBE AND THE FROTHING NOZZLE
Clean the Cappuccinatore tube and the frothing
nozzle after each milk frothing.
• Remove the frothing nozzle and wash it with
warm running water.
• Wipe the Cappuccinatore tube with a wet napkin
and then direct it into the water tray upon turning
of the mode select switch into position STEAM.
This will remove the remaining milk inside the
filter holder.
If the Cappuccinatore tube is dirty wait until the
coffee maker cools down before using the cleaning
tool.
• If it did not help and the Cappuccinatore tube
is still dirty remove the tip with the key in the
middle of the accessory cleaning tool.
• Soak the tip in hot water and then clean it with
the needle of the accessory tool. Place the tip on
the tube and fix it.
To not take off the water container and do not
empty it entirely during removal of lime deposits.

16 17
SAFETY PRECAUTIONS
• The coffee maker is not meant for usage by
unattended children.
• Before using the coffee maker make sure that it
is correctly and entirely assembled.
• Store the coffee maker in the vertical position.
During storage do not place any objects on the
upper panel of the coffee maker.
• Add only cold drinking water into the container.
• Do not use the coffee maker in places with
increased humidity and at the temperature below
0 ˚С. If the appliance is transported or stored at
a negative temperature and then brought into
a warm premise, it shall be kept in the premise
for no less than 4 hours.
• Never take off the filter holder during operation
of the coffee maker: coffee is brewed under
pressure.
• Carefully wash the water container, the
filter holder, filters, the brewing unit and the
Cappuccinatore tube after usage of cleaning
agents.
• Wash all removable parts before usage of the
coffee maker.
• The quality of espresso depends on the speed, at
which water passes through ground coffee during
brewing – the finer and the more compressed
the coffee is – the stronger extraction will be.
When buying ground coffee make sure that the
grind suits for usage in espresso coffee makers.
For proper extraction coffee must be evenly
compacted in the filter.
• Upon detection of any damages immediately
suspend operation of the coffee maker and bring
it to the nearest service center for testing, repair
or replacement.
Dear customer, if you have any questions connected with purchase, operation and maintenance of BORK appliances, call us
Information Support Service 8 800 700-55-88
or visit our site www.bork.ru

18
SPECIFICATIONS
Voltage: ~220–240 V
Frequency: 50 Hz
Power: 1100–1300 W
Weight: 7,2 kg
Caution! The manufacturer reserves the right
to make changes to specifications as a result of
continuous product updating without additional
notice thereon.
CONFIGURATION
Coffee maker: 1 pc.
Filter holder: 1 pc.
1 cup filter: 1 pc.
2 cups filter: 1 pc.
1 cup pod filter: 1 pc.
2 cups pod filter: 1 pc.
Cappuccinatore nozzle: 1 pc.
Measuring / ramming spoon: 1 pc.
Cleaning tool: 1 pc.
Milk frothing jar: 1 шт.
Operating manual with guarantee card: 1 pc.

Table of contents
Other BORK Coffee Maker manuals


