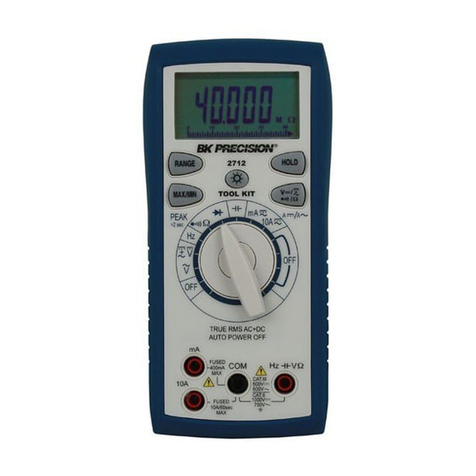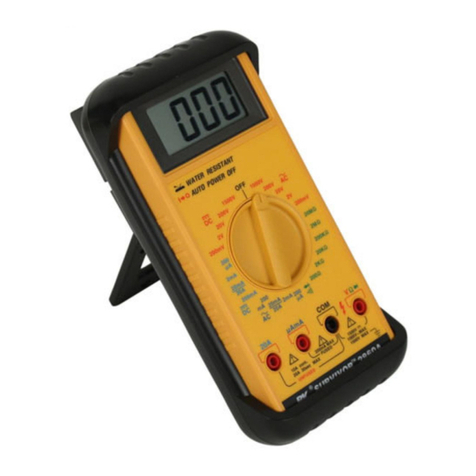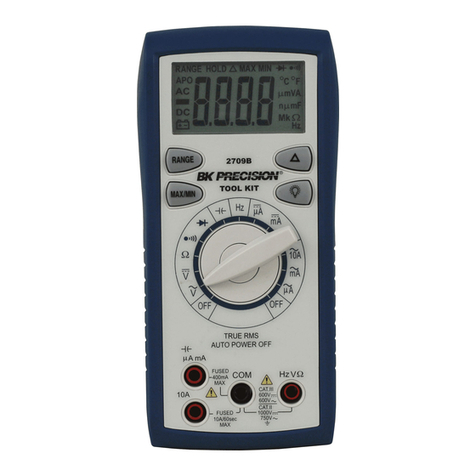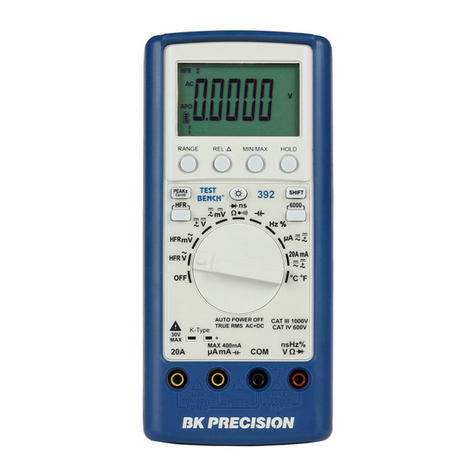
(a beep sound is audible). The HOLD symbol appears on the display. Press HOLD
button again to delete the HOLD symbol in the display, and adjustment is completed.
Press RANGE button to select the next range.
d. On 400V range: Apply DC +390.00V to the meter. Press HOLD button to save the
setting (a beep sound is audible). The HOLD symbol appears in the display. Press
HOLD button again to delete the HOLD symbol in the display, and adjustment is
completed. Press RANGE button to select the next range.
e. On 1000V range: Apply DC +600.0V to the meter. Press HOLD button to save the
setting (a beep sound is audible). The HOLD symbol appears in the display. Press
HOLD button again to delete the HOLD symbol in the display, and adjustment is
completed.
f. After above 5 steps are completed, press BACKLIGHT button to save the setting (a beep
sound is audible), and the DCV auto calibration is completed.
Step 5: ACV Auto Adjustment
Set the function switch to ACV range. Press RANGE button to select the 4V range.
a. On 4V range: ApplyAC +3.9150V/50Hz to the meter. Press HOLD button to save the
setting (a beep sound is audible). The HOLD symbol appears in the display. Press
HOLD button again to delete the HOLD symbol in the display, and adjustment is
completed.
b. After above step is completed, press BACKLIGHT button to save the setting (a beep
sound is audible), and theACV auto calibration is completed.
Step 6: ACV+DCV ( ) Auto Adjustment
Set the function switch to DCV range. Press ACV+DCV ( ) button to select the
ACV+DCV function. Press RANGE button to select 1000V range.
a. On 1000V range: Apply DC 0mV to the meter. After 30 seconds when the LCD is
settled, press HOLD button to save the setting (a beep sound is audible), and the HOLD
symbol appears in the display. Press HOLD button again, and the HOLD symbol in the
display disappears. Zero adjustment is completed. Press RANGE button to select 4V
range.
b. On 4V range: Apply DC +3.9000V to the meter. Press HOLD button to save the setting
(a beep sound is audible), and the HOLD symbol appears in the display. Press HOLD
button again, and the HOLD symbol in the display will disappear.
c. After above 2 steps are completed, press BACKLIGHT button to save the setting (a beep
sound is audible), and theACV+DCV ( ) auto calibration is completed.
Step 7: DC 400mAand AC 40mAAuto Adjustment
Set the function switch to DC/AC mA range. Press DCA/ACA button to select DCA
function, and press RANGE button to select 400mA range.
