manuals.online logo
Brands
  1. Home
  2. •
  3. Brands
  4. •
  5. Brandy Best
  6. •
  7. Indoor Furnishing
  8. •
  9. Brandy Best TRIO120 User manual

Brandy Best TRIO120 User manual

TRIO120
www.brandybest.com
Créateur de solutions
pour les ‘‘mini’’ endroits...
Manuel d’instructions - Instruction Manual
Il est important de lire cette notice
It is important to read this leaet
FR Remerciements :
Nous vous remercions d’avoir choisi un meuble créé Brandy Best et espérons qu’il vous donnera
entière satisfaction.
EN Thank you :
Thank you for choosing furniture designed by Brandy Best. We hope you are totally satisfied with
your purchase.
HORUS sarl
P.A. Ravennes-les-Francs
1 rue de Haarlem
59200 Tourcoing - France
[email protected]
www.brandybest.com
Fabriqué en Grèce
Attention de sortir le four avant usage
comme indiqué dans le manuel d’instruction.
Be careful to remove the oven before use
as indicated in the instruction manual.
1) Montage du meuble / Furniture assembly
Veuillez vous référer aux étapes de montage suivantes
Please refer to the following assembly steps
1
2
3
4
5
6
7
8
9
10
11
12
x 29
B1
x 26
E2
x 26 E3
x 26E1
x 26
E4
x 6
A1
x 21
3,5x35
V4
x 5
3,5x20
V3
x 2
5x50
V2
x 19
4x16
V1
x 1
B1
x 1
B2
x 1
C1
x 1
C4
D2
x 1
A2
x 1
A3
x 1
F1
x 1
D1
x 2
C5
x 1
C3
C2
x 2
x 2
E1 et E4 sont déja montésE1 et E4 sont déja montés
E1 and E4 are already installedE1 and E4 are already installed
D3
x 4
x
C6
x 2
6x14
ø12
ø24
Planche / Board
n°
Longeur / Length
(cm)
Largeur / width
(cm)
Epaisseur / Thickness
(cm)
187,8 56 1,8
287,8 56 1,8
387,8 56 1,8
4120,2 60 2,5
561 10 1,8
657,3 18 1,8
757,3 49,9 1,8
857,3 56 1,8
957,3 10 1,8
10 57,3 56 1,8
11 54,7 45 2,5
12 76 60,7 1,8
1
A
B
C
1
A
B
2
B1
E2
E2
B1
B1
C5
4x16
V1
4x16
V1
3
A
B
3
A
B
Paroie intérieure coté four
Interior wall on the oven side
Paroie intérieure coté évier
Interior wall on the sink side
Retourner la paroie
Return the board
E2
E2
B1
B1
C5
4x16
V1
A
4
5
A
E2
E2
B1
2
A
1
3
A
1
6
7
E3
E3
4
8
1
5
A
7
8
3
E3
E3
7
6
9
A
3
3
A
10
E3
E3
10
9
2
9
A
2
3
1
4
E3
E3
10
11
A
5
1
3
A
B
E3
D1
x 2
x 6
A1
x 12
3,5x50
V3
4x16
V1
12
12
1
4x16
V1
D1
x 2
D2
x 1
4x16
V1
13
A
11
2
3
x 1
C4
4x16
V1
4x16
V1
x 1
B2
3,5x35
V4
C5
14
A
15
A
4x16
V1
F1
x 1
4x16
V1
x 1
C1
C3
16 A3
x 1
A2
x 1
Installation de l’électroménager / Appliance installation
Installer le système de fixation du four à l’arrière du four en vous aidant des pré-trous prévus à
cet effet.
Ci-dessous une photo vous montrant la position de celui-ci.
Install the oven fixing system on the back of it using the pre-holes provided for this purpose.
Below a photo showing you the position of it.
Mise place du four / Positioning the oven
Placez le four dans le meuble comme le montre la pho-
to ci-contre.
Celui-ci doit être à fleur du meuble
Place the oven in the cabinet as shown in the photo
opposite.
It must be adjust with the furniture
x 2
5x50
V2
C3
C2
x 2
IMPORTANT Utilisation du four dans le meuble/ Use of the oven in the cabinet
Afin que le four ne chauffe pas trop lors de son utilisation, un système de tablette coulissante a
été mis en place pour que le four sorte de son logement afin d’obtenir une meilleure ventilation
du système. Cette tablette sera alors bloquée en position ouverte.
To prevent the oven from heating up too much during use, a sliding shelf system has been ins-
talled so that the oven can come out of its housing in order to obtain better ventilation of the
system. This tablet will then be locked in the open position.
ATTENTION ! LA TABLETTE DOIT IMPÉRATIVEMENT ÊTRE SORTIE LORS DE L’UTILISATION
DU FOUR
WARNING ! THE SHELF MUST BE RELEASED WHEN USING THE OVEN
Lorsque vous aurez terminé d’utiliser votre appareil et que celui-ci aura refroidi, vous pourrez
rentrer la tablette en déverrouillant la sécurité. Il suffit d’appuyer sur la languette blanche située
en bas à droite du four comme le montre la photo ci-dessous et repousser la tablette à l’aide de
la poignée.
When you’re finished using your device and it has cooled down, you can re-enter the tablet by
unlocking the security. Just press the white tab located at the bottom left of the oven as shown
in the photo below and push the shelf using the handle.
Mise en place de la plaque / Placing the hob
Placez la plaque dans l’emplacement prévu dans le plan de travail en suivant les instructions indi-
quées dans la notice d’utilisation correspondante.
Place the plate in the space provided in the work plan following the instructions given in the
corresponding user manual.
Mise en place du lave-vaisselle / Positioning the dishwasher
Le lave-vaisselle se glisse par l’avant du meuble sur l’emplacement du bas.
Pour la connexion et le réglage, veuillez vous référer à sa notice d’utilisation.
The dishwasher slides from the front of the cabinet to the bottom location.
For connection and adjustment, please refer to its user manual
Plan de travail /Work table
Mur / Wall
Crédence du meuble /Furniture credenza
Meuble / Furniture
Fixation murale anti-basculement (vis non four-
nies)
Wall fixing anti-tilt (screws not supplied)
ATTENTION : Pour des raisons de sécurité, le meuble doit être fixé
au mur à l’aide de la fixation murale fournie avec ce kit.
CAUTION: For safety reasons, the cabinet must be fixed to the wall
using the wall bracket supplied with this kit.
Pour installer la fixation, placez votre
meuble contre le mur, placez le support
de fixation au centre du meuble à environ
1mm en dessous de la crédence en veil-
lant bien à ce que sa position soit la plus
proche du schéma d’installation ci-contre.
Marquez les trous de perçage, retirez votre
meuble, fixez le support.
Une fois que vos appareils électroména-
gers sont en place et connectés, rappro-
chez votre meuble de son emplacement
en le faisant rentrer la crédence dans le
rainure du support de fixation.
To install the fixing, place your furniture against the wall,
place the fixing support in the center of the furniture about
1mm below the credenza, making sure that its position is
closest to the installation diagram opposite.
Mark the drilling holes, remove your furniture, fix the sup-
port.
Once your household appliances are in place and connec-
ted, bring your furniture closer to its location by making it fit
the splashback in the groove of the fixing bracket.
This manual suits for next models

1

Other Brandy Best Indoor Furnishing manuals

Brandy Best TRIO60 User manual

Brandy Best

Brandy Best TRIO60 User manual

Brandy Best MPF60-CC User manual

Brandy Best

Brandy Best MPF60-CC User manual

Brandy Best MPF60 User manual

Brandy Best

Brandy Best MPF60 User manual

Brandy Best CAMPUS300RN User manual

Brandy Best

Brandy Best CAMPUS300RN User manual

Brandy Best MPF60RO User manual

Brandy Best

Brandy Best MPF60RO User manual

Brandy Best STANDUP180 User manual

Brandy Best

Brandy Best STANDUP180 User manual

Popular Indoor Furnishing manuals by other brands

Riverside Furniture Stone Forge 31041 Assembly instructions

Riverside Furniture

Riverside Furniture Stone Forge 31041 Assembly instructions

Argos BRADLEY 2581747 Assembly instructions

Argos

Argos BRADLEY 2581747 Assembly instructions

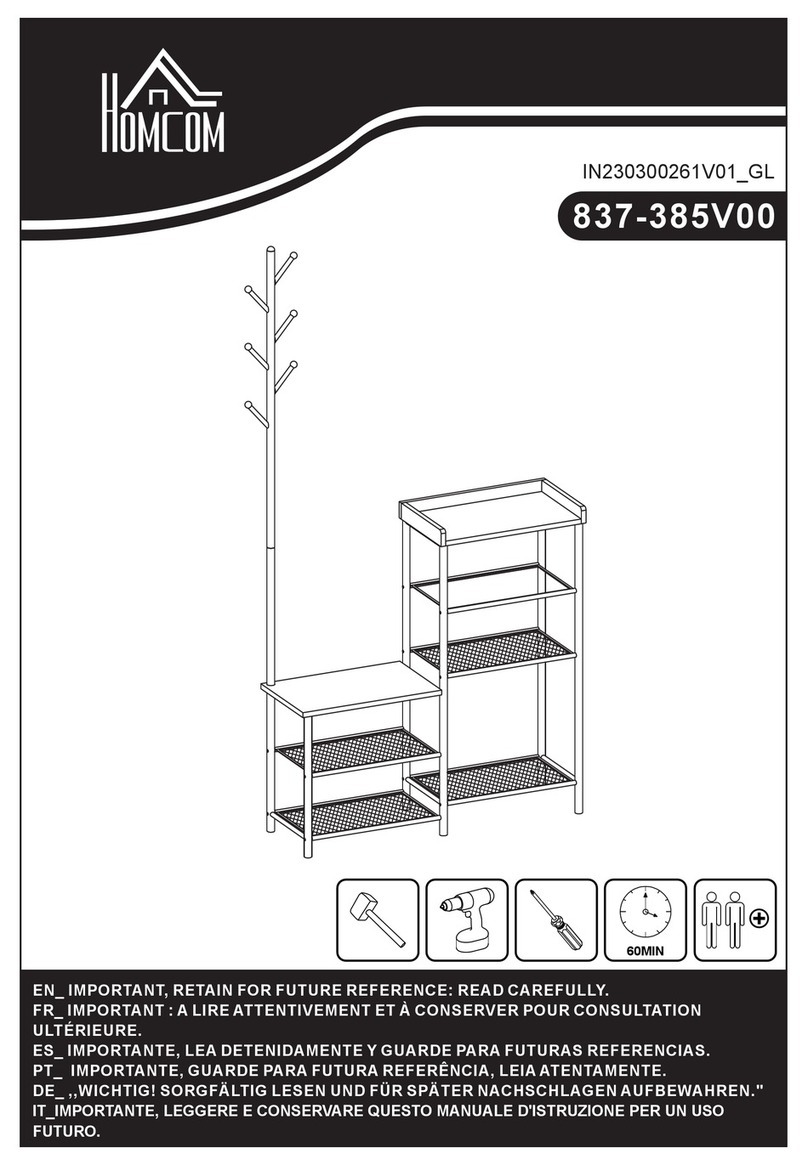
HOMCOM 837-385V00 manual

HOMCOM

HOMCOM 837-385V00 manual

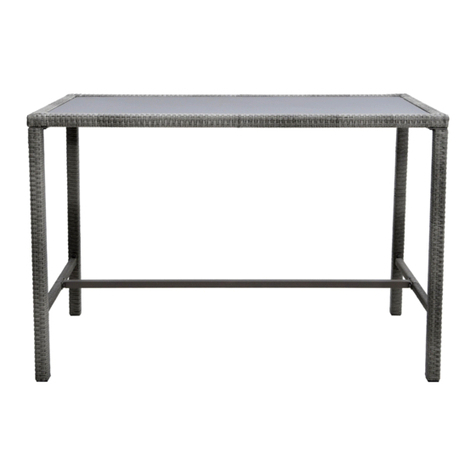
Marquee BAYFIELD STEEL WICKER BAR TABLE 0177371 Assembly instructions

Marquee

Marquee BAYFIELD STEEL WICKER BAR TABLE 0177371 Assembly instructions

HoMedics EnviraScape Tabletop Relaxation Fountain... Instruction manual and warranty

HoMedics

HoMedics EnviraScape Tabletop Relaxation Fountain... Instruction manual and warranty

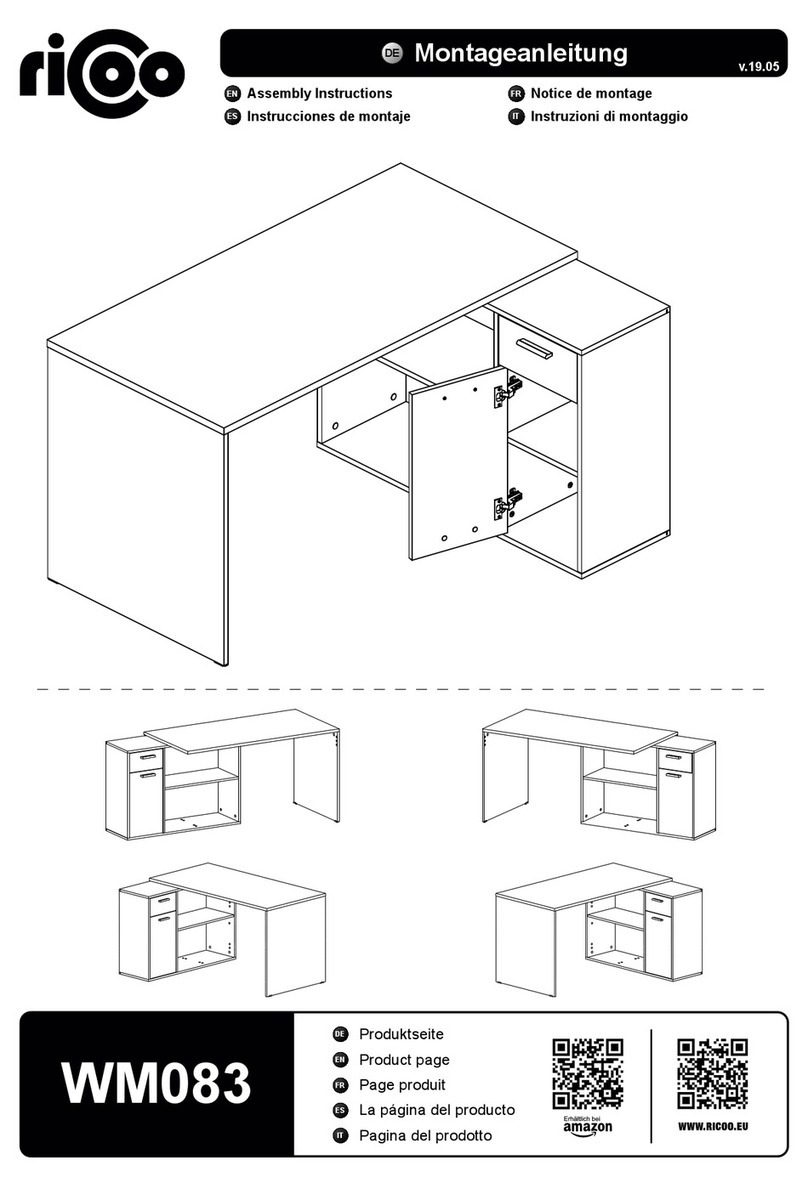
ricoo WM083 Assembly instructions

ricoo

ricoo WM083 Assembly instructions

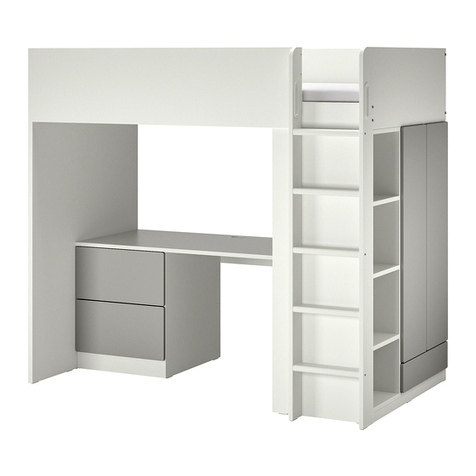
IKEA SMAGORA 904.608.94 manual

IKEA

IKEA SMAGORA 904.608.94 manual

Next BRONX 425622 Assembly instructions

Next

Next BRONX 425622 Assembly instructions

Worden Folio installation manual

Worden

Worden Folio installation manual

HURAKAN HKN KWS-21/0603 manual

HURAKAN

HURAKAN HKN KWS-21/0603 manual

ofichairs Hong kong manual

ofichairs

ofichairs Hong kong manual

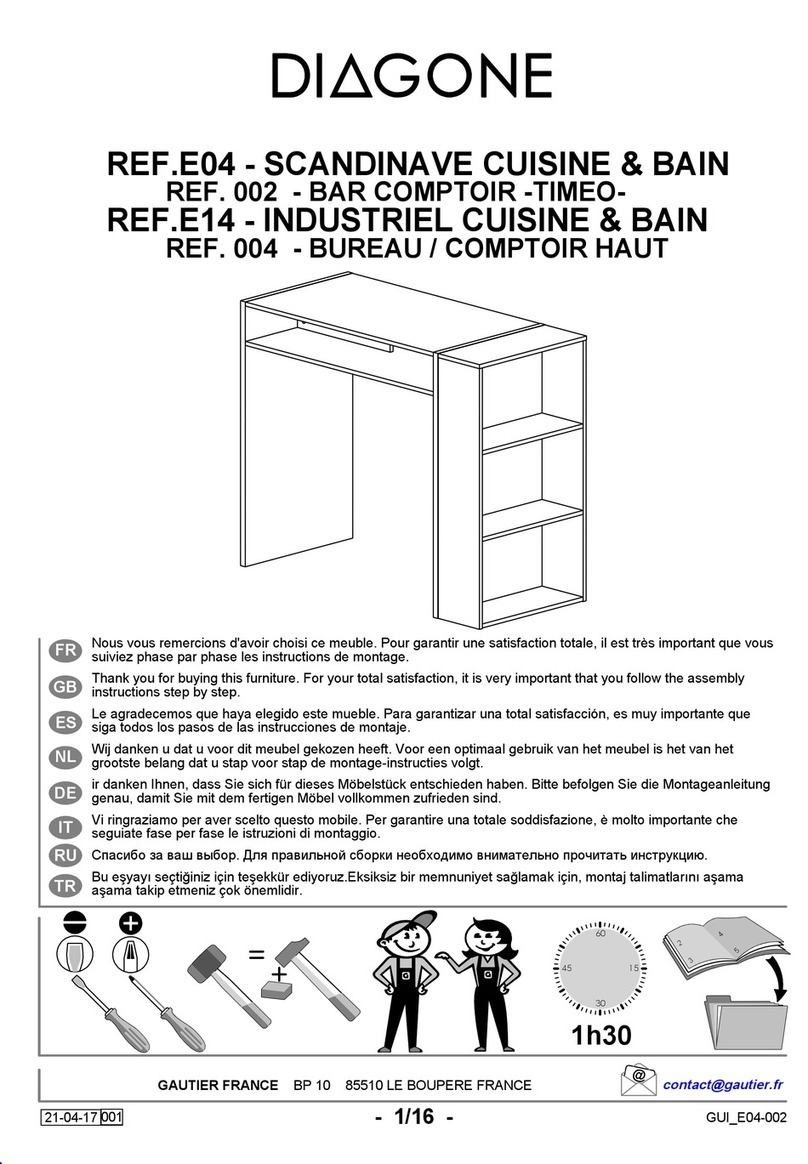
Diagone E04 manual

Diagone

Diagone E04 manual

avaks nabytok REA AMY 33/225 Assembly instructions

avaks nabytok

avaks nabytok REA AMY 33/225 Assembly instructions

Politorno Xangai 160441 Assembly instructions

Politorno

Politorno Xangai 160441 Assembly instructions

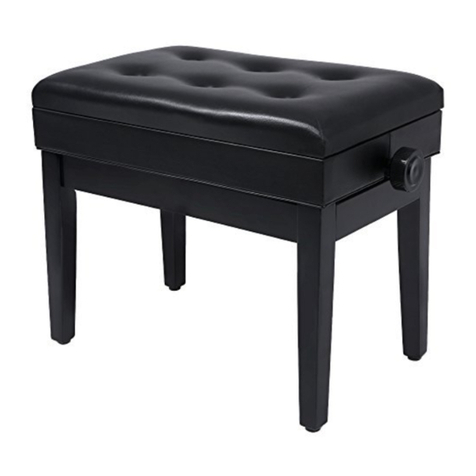
Songmics ULPB57 Assembly manual

Songmics

Songmics ULPB57 Assembly manual

Polini kids Simple manual

Polini kids

Polini kids Simple manual

Musterring Set One Atlanta/160 Assembly instructions

Musterring

Musterring Set One Atlanta/160 Assembly instructions

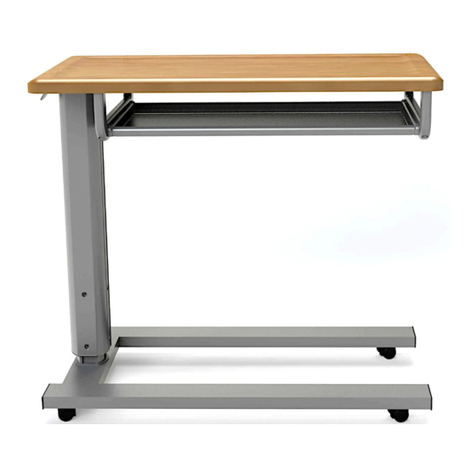
MedViron 32 Overbed Table user manual

MedViron

MedViron 32 Overbed Table user manual

manuals.online logo
manuals.online logoBrands
  • About & Mission
  • Contact us
  • Privacy Policy
  • Terms and Conditions

Copyright 2025 Manuals.Online. All Rights Reserved.